For our debut product review we’ve decided to choose a product which we really think more people need to know about.
*drum roll please* Introducing
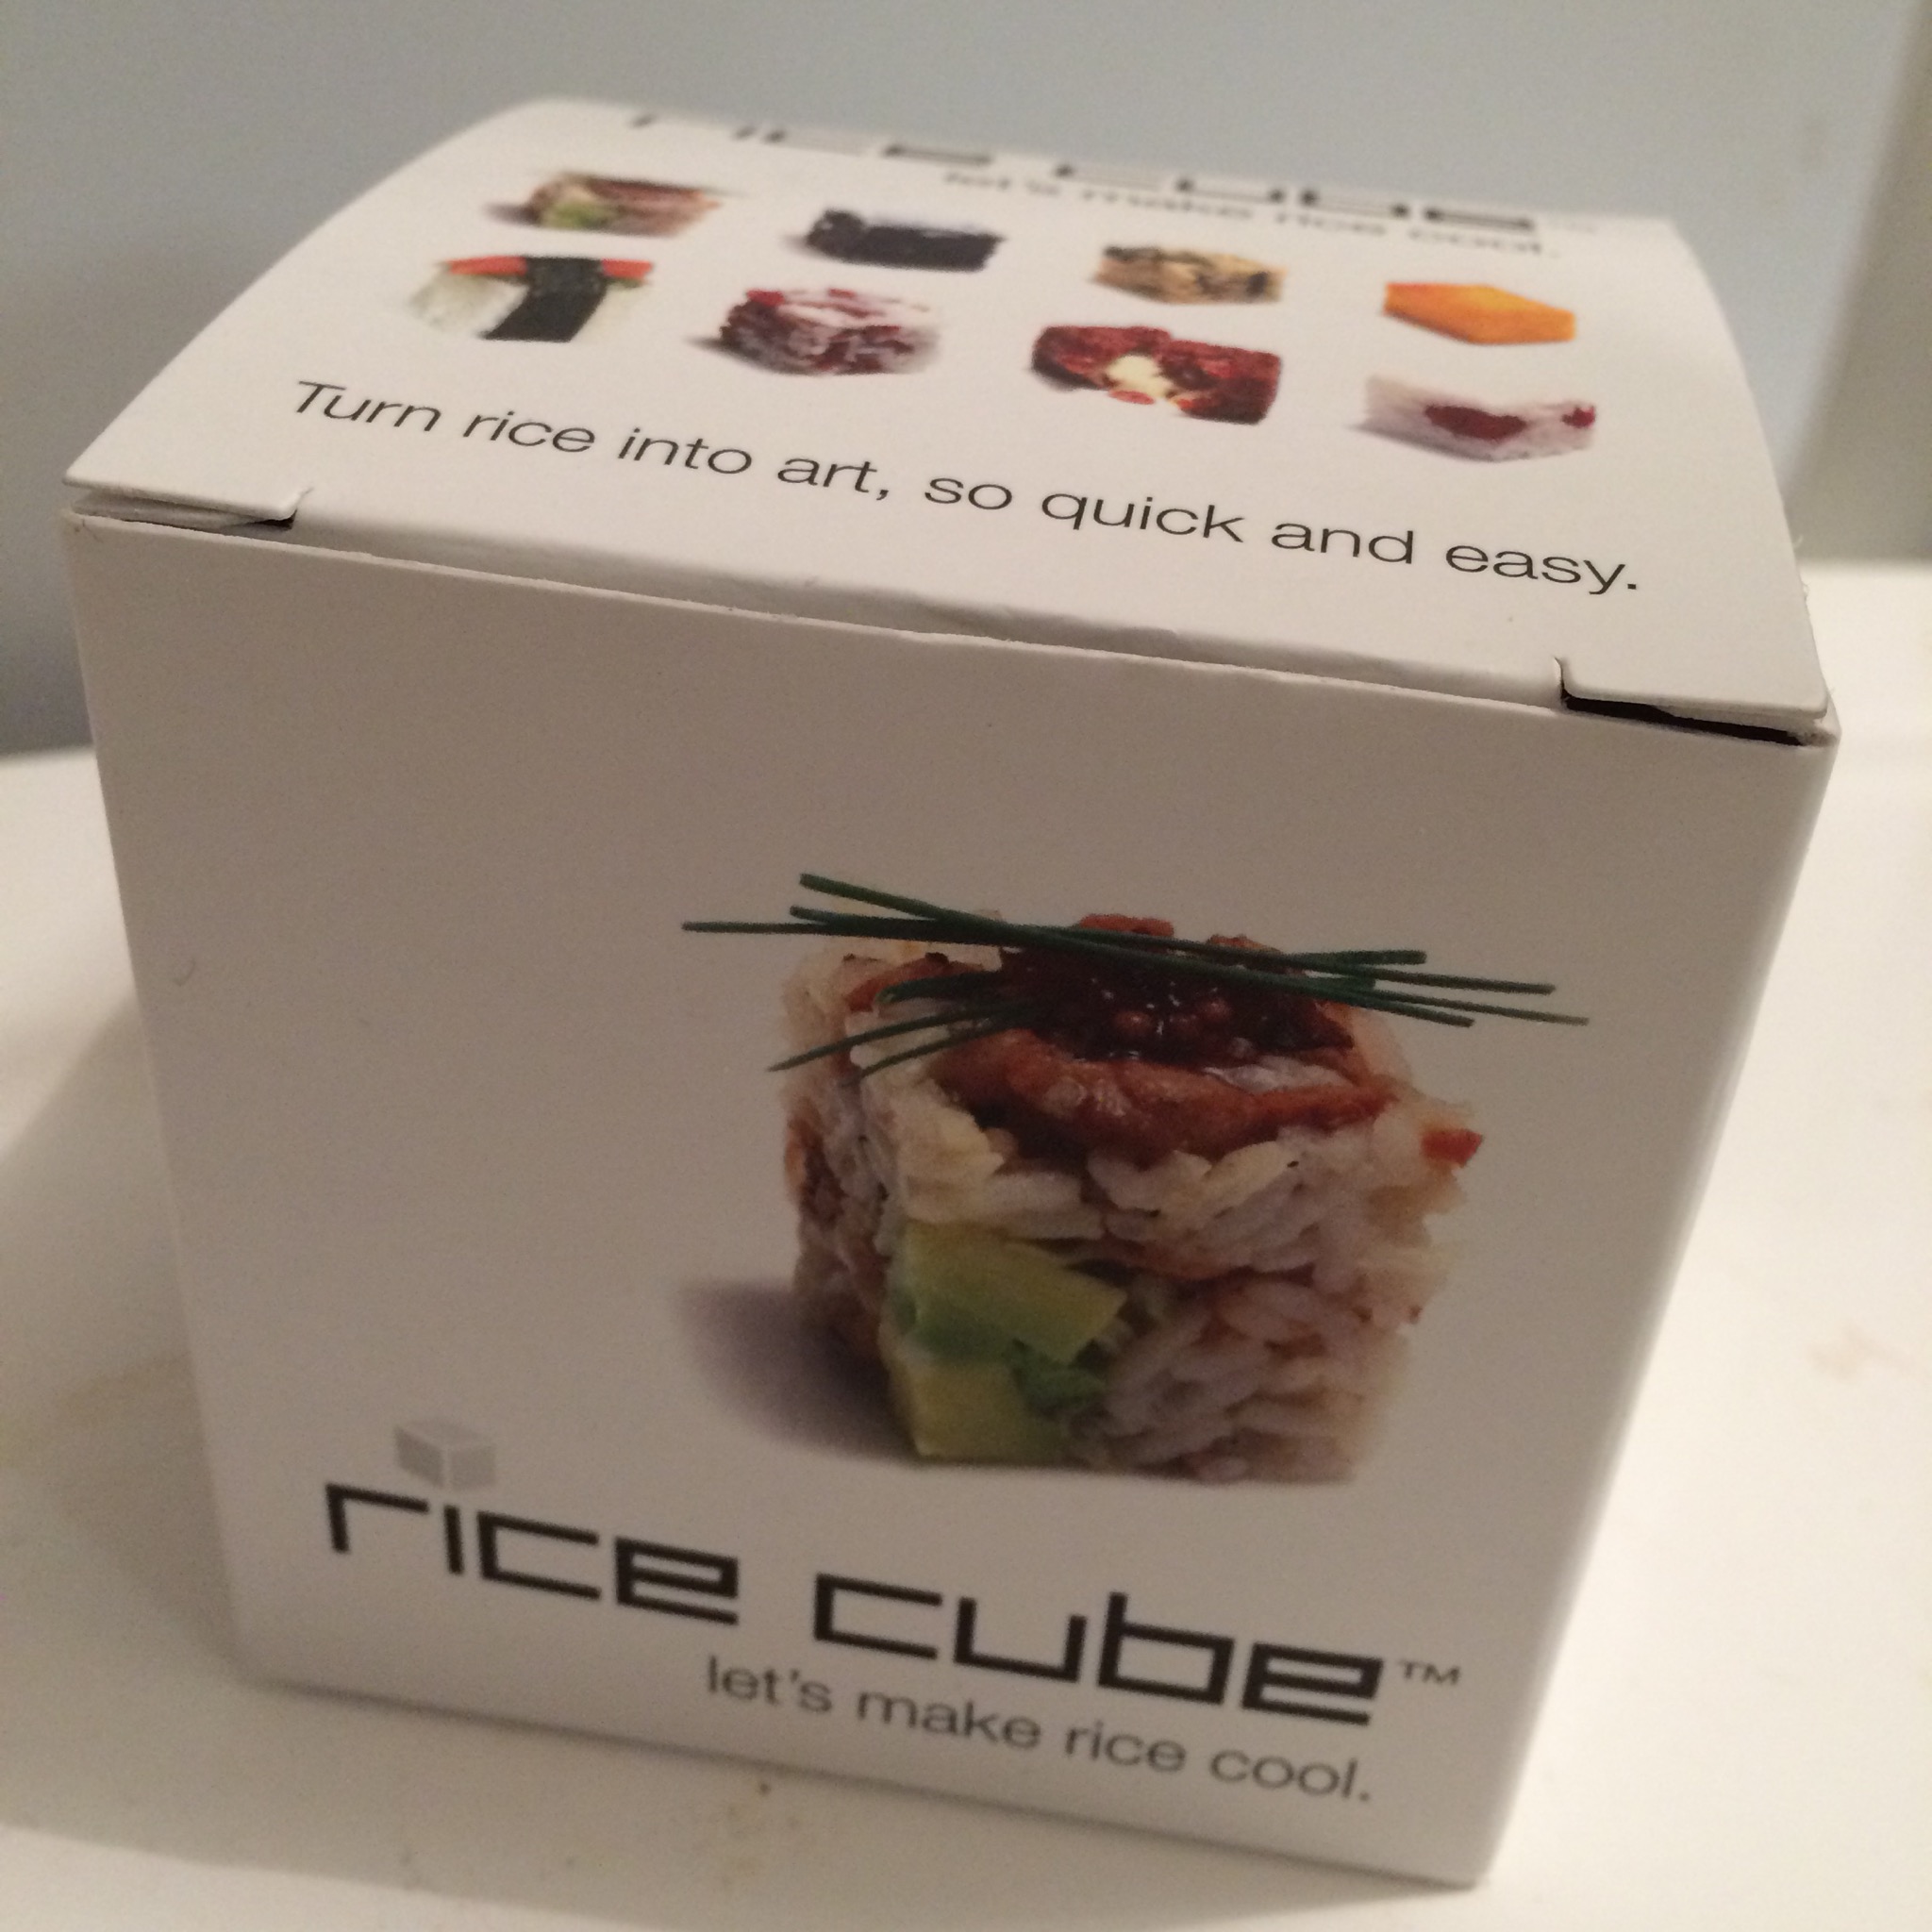
THE ‘RICE’ CUBE!
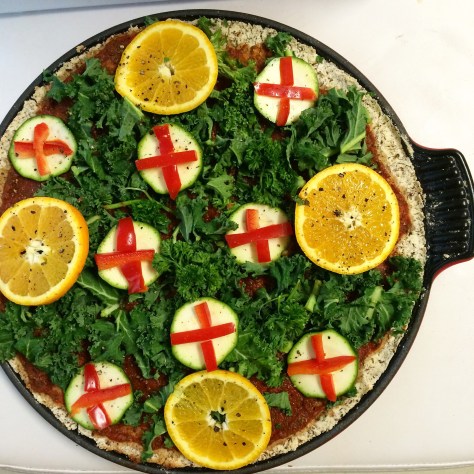
Now as you know we love on our blog something that can make shapes with our food. Contrary to what you may have been taught as a toddler – we really believe you SHOULD play with your food, anything to make food more creative and interesting. We have to eat everyday so why not make meals different and presentable. We love cookie cutters, stencils, spiralisers, pressers – Any gadget that can create a new way to eat or arrange our food.
So when we discovered The Rice Cube – we were most excited!
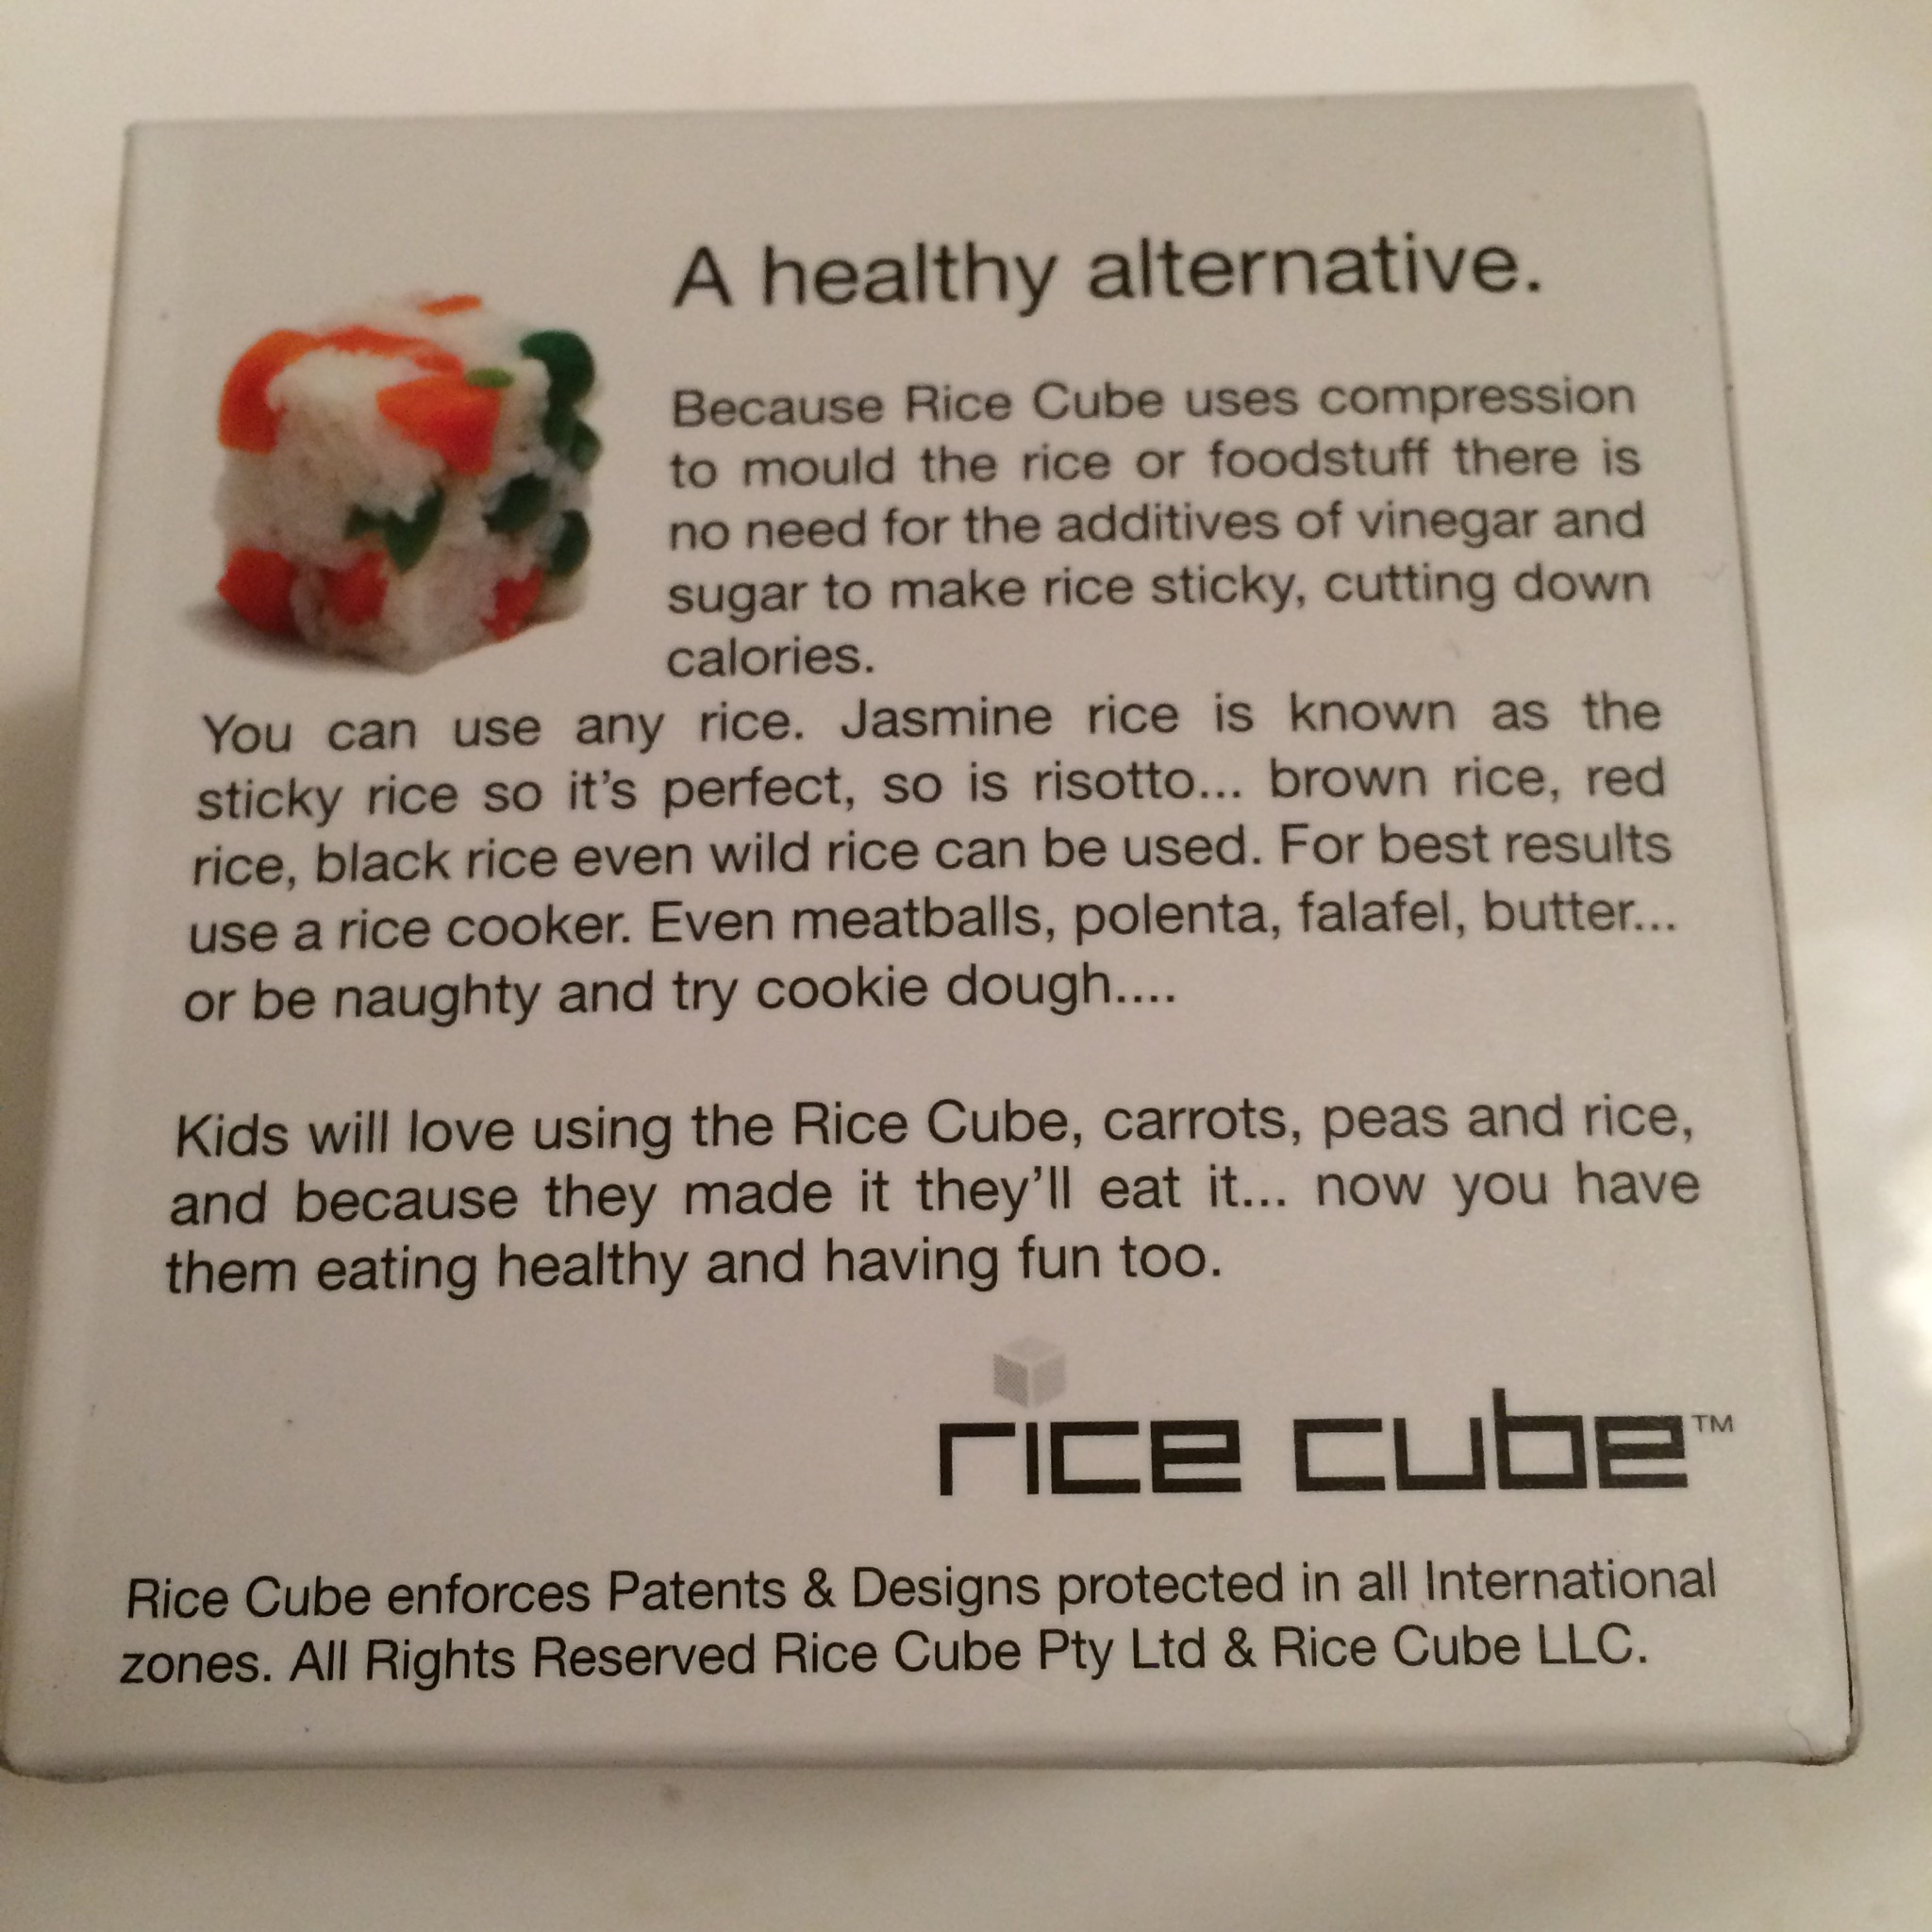
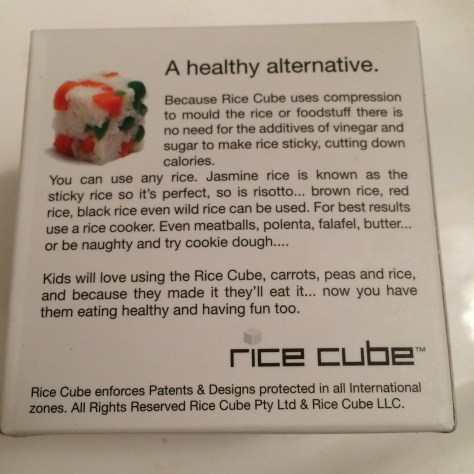
Now all our recipes our grain free so you might be surprised by our obtaining a ‘rice’ cube? However we strongly believe that the company named their amazing product all wrong! What we saw instead was the DICE cube and unlimited possibilities.
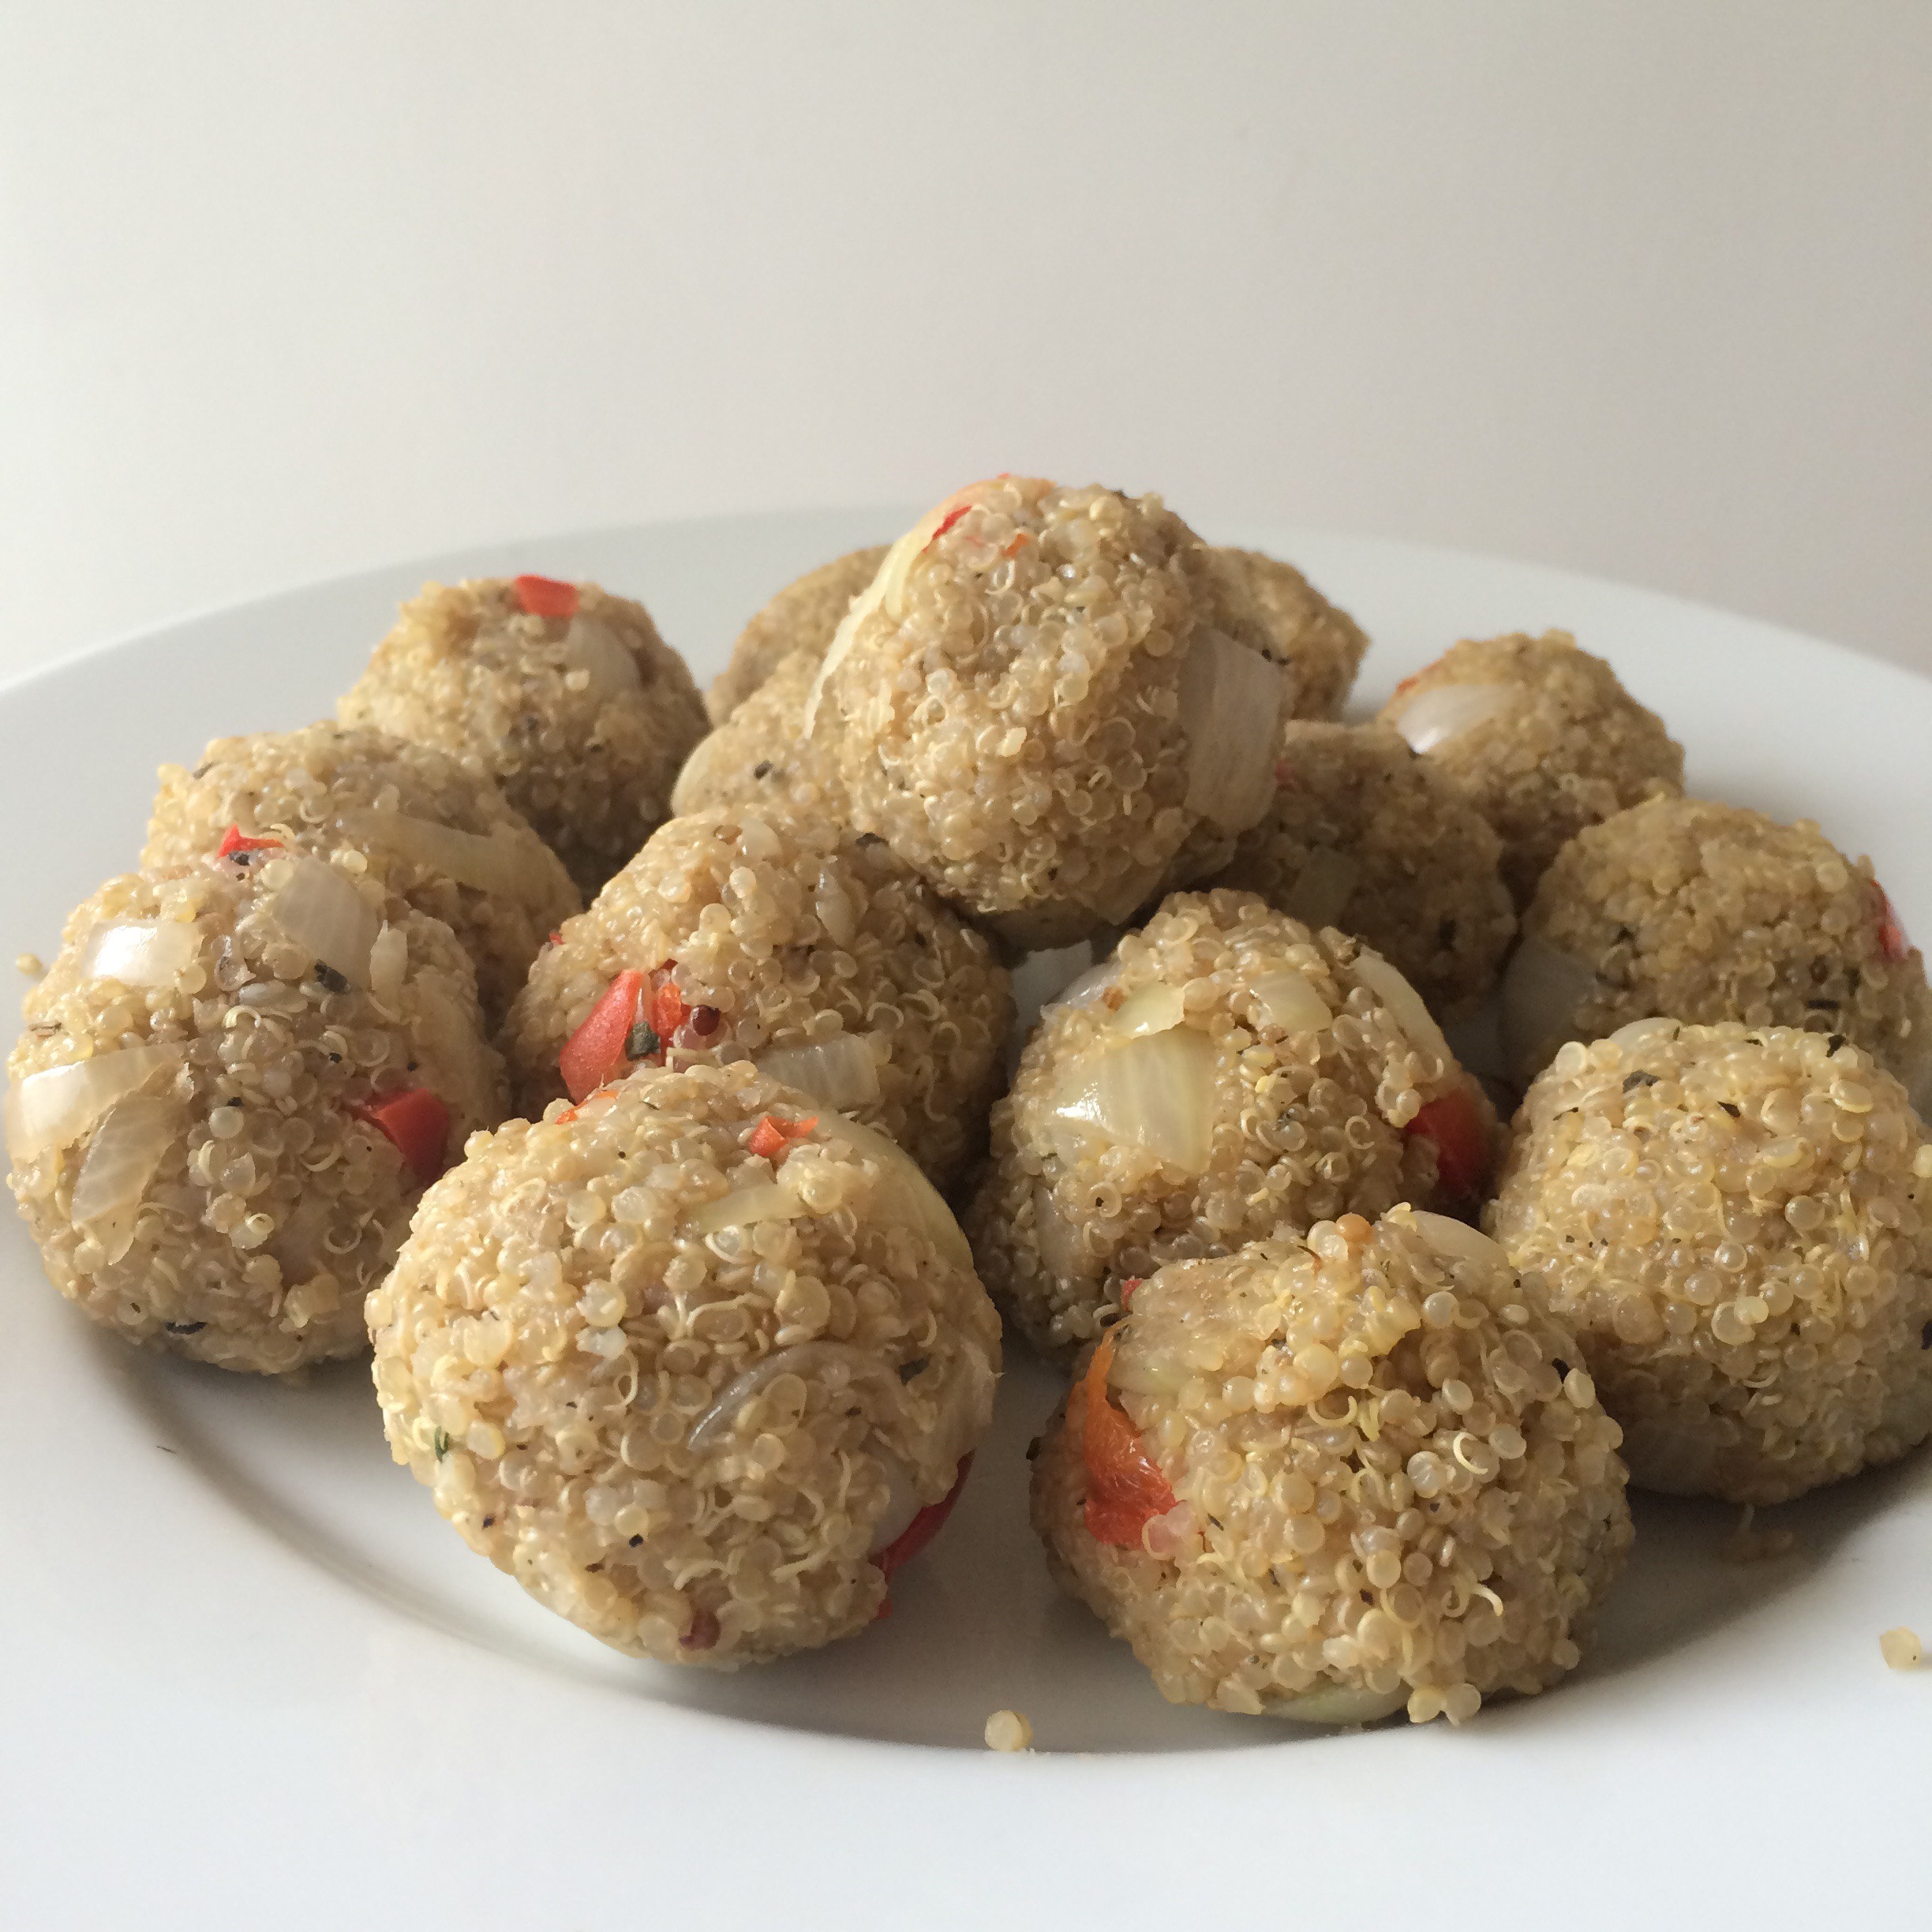
When we had a look at their website we knew instantly that the cube wouldn’t only just work for rice however any form of mashable/blendable food. We were thinking potatoes, different coloured quinoa, beans, warm buckwheat, lentils and an array of doughs! We ordered ours from Amazon at the reasonable price of £9.76 and ran to the postman every day until it arrived….
And then that day came!!!

Re-write: “let’s dice everything so it looks cool” 😆
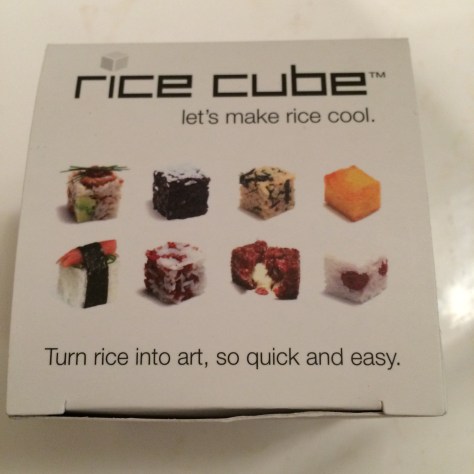
Turn dice into art, so quick and easy 😉

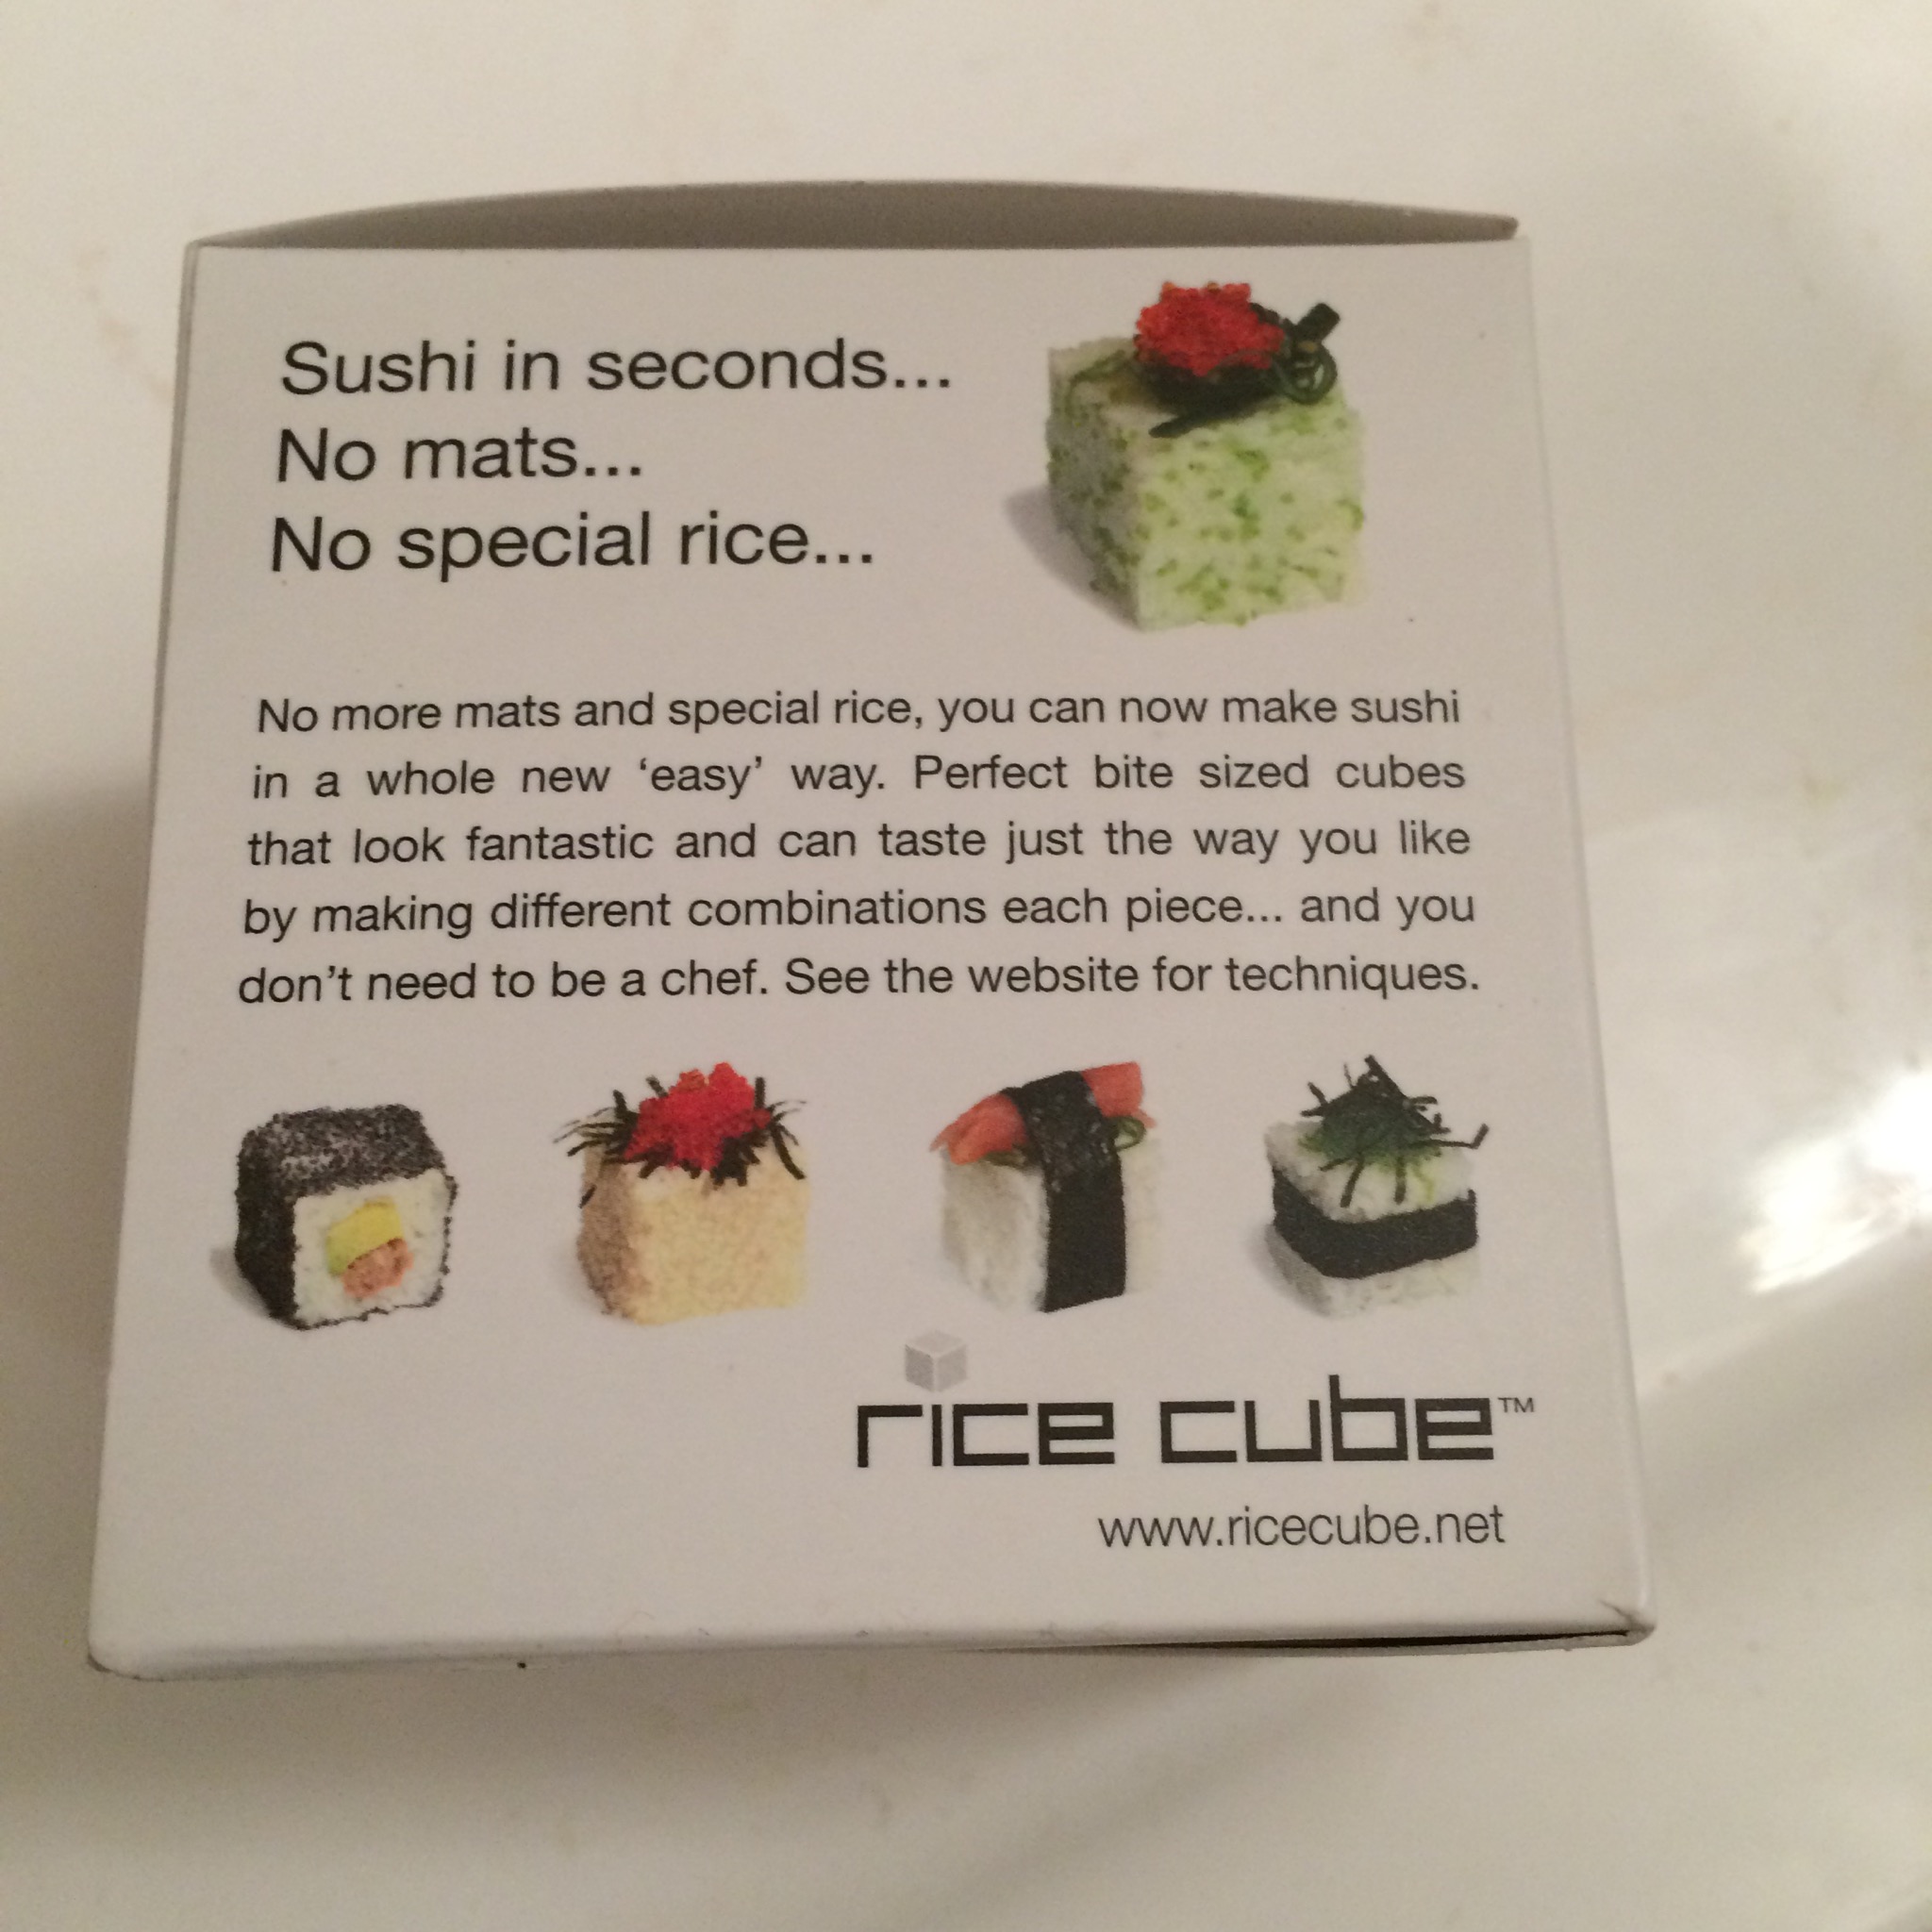
Neat canapés in seconds…. 😆
No knives
No special skills…
Falafel ooo now that’s an idea and burgers yes we can make diced vegan burgers and cookies and breads and… And… And mmmmmm
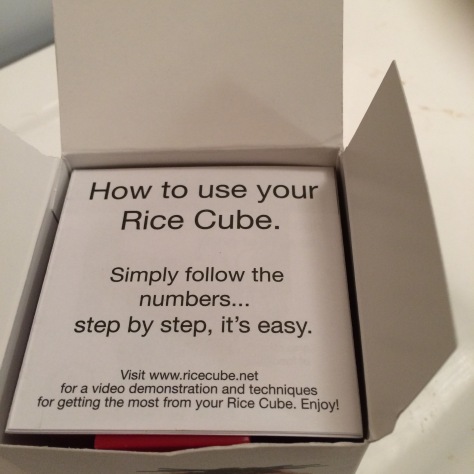
Nothing like being greeted with a little message in a box 😀
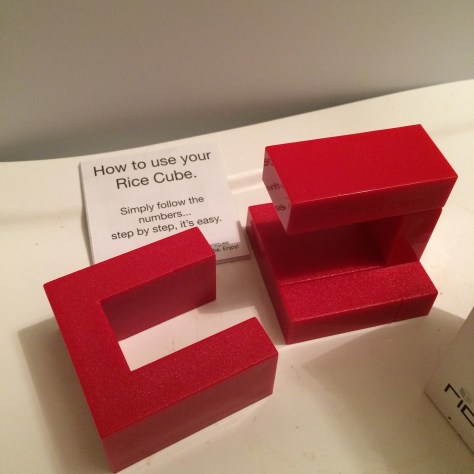
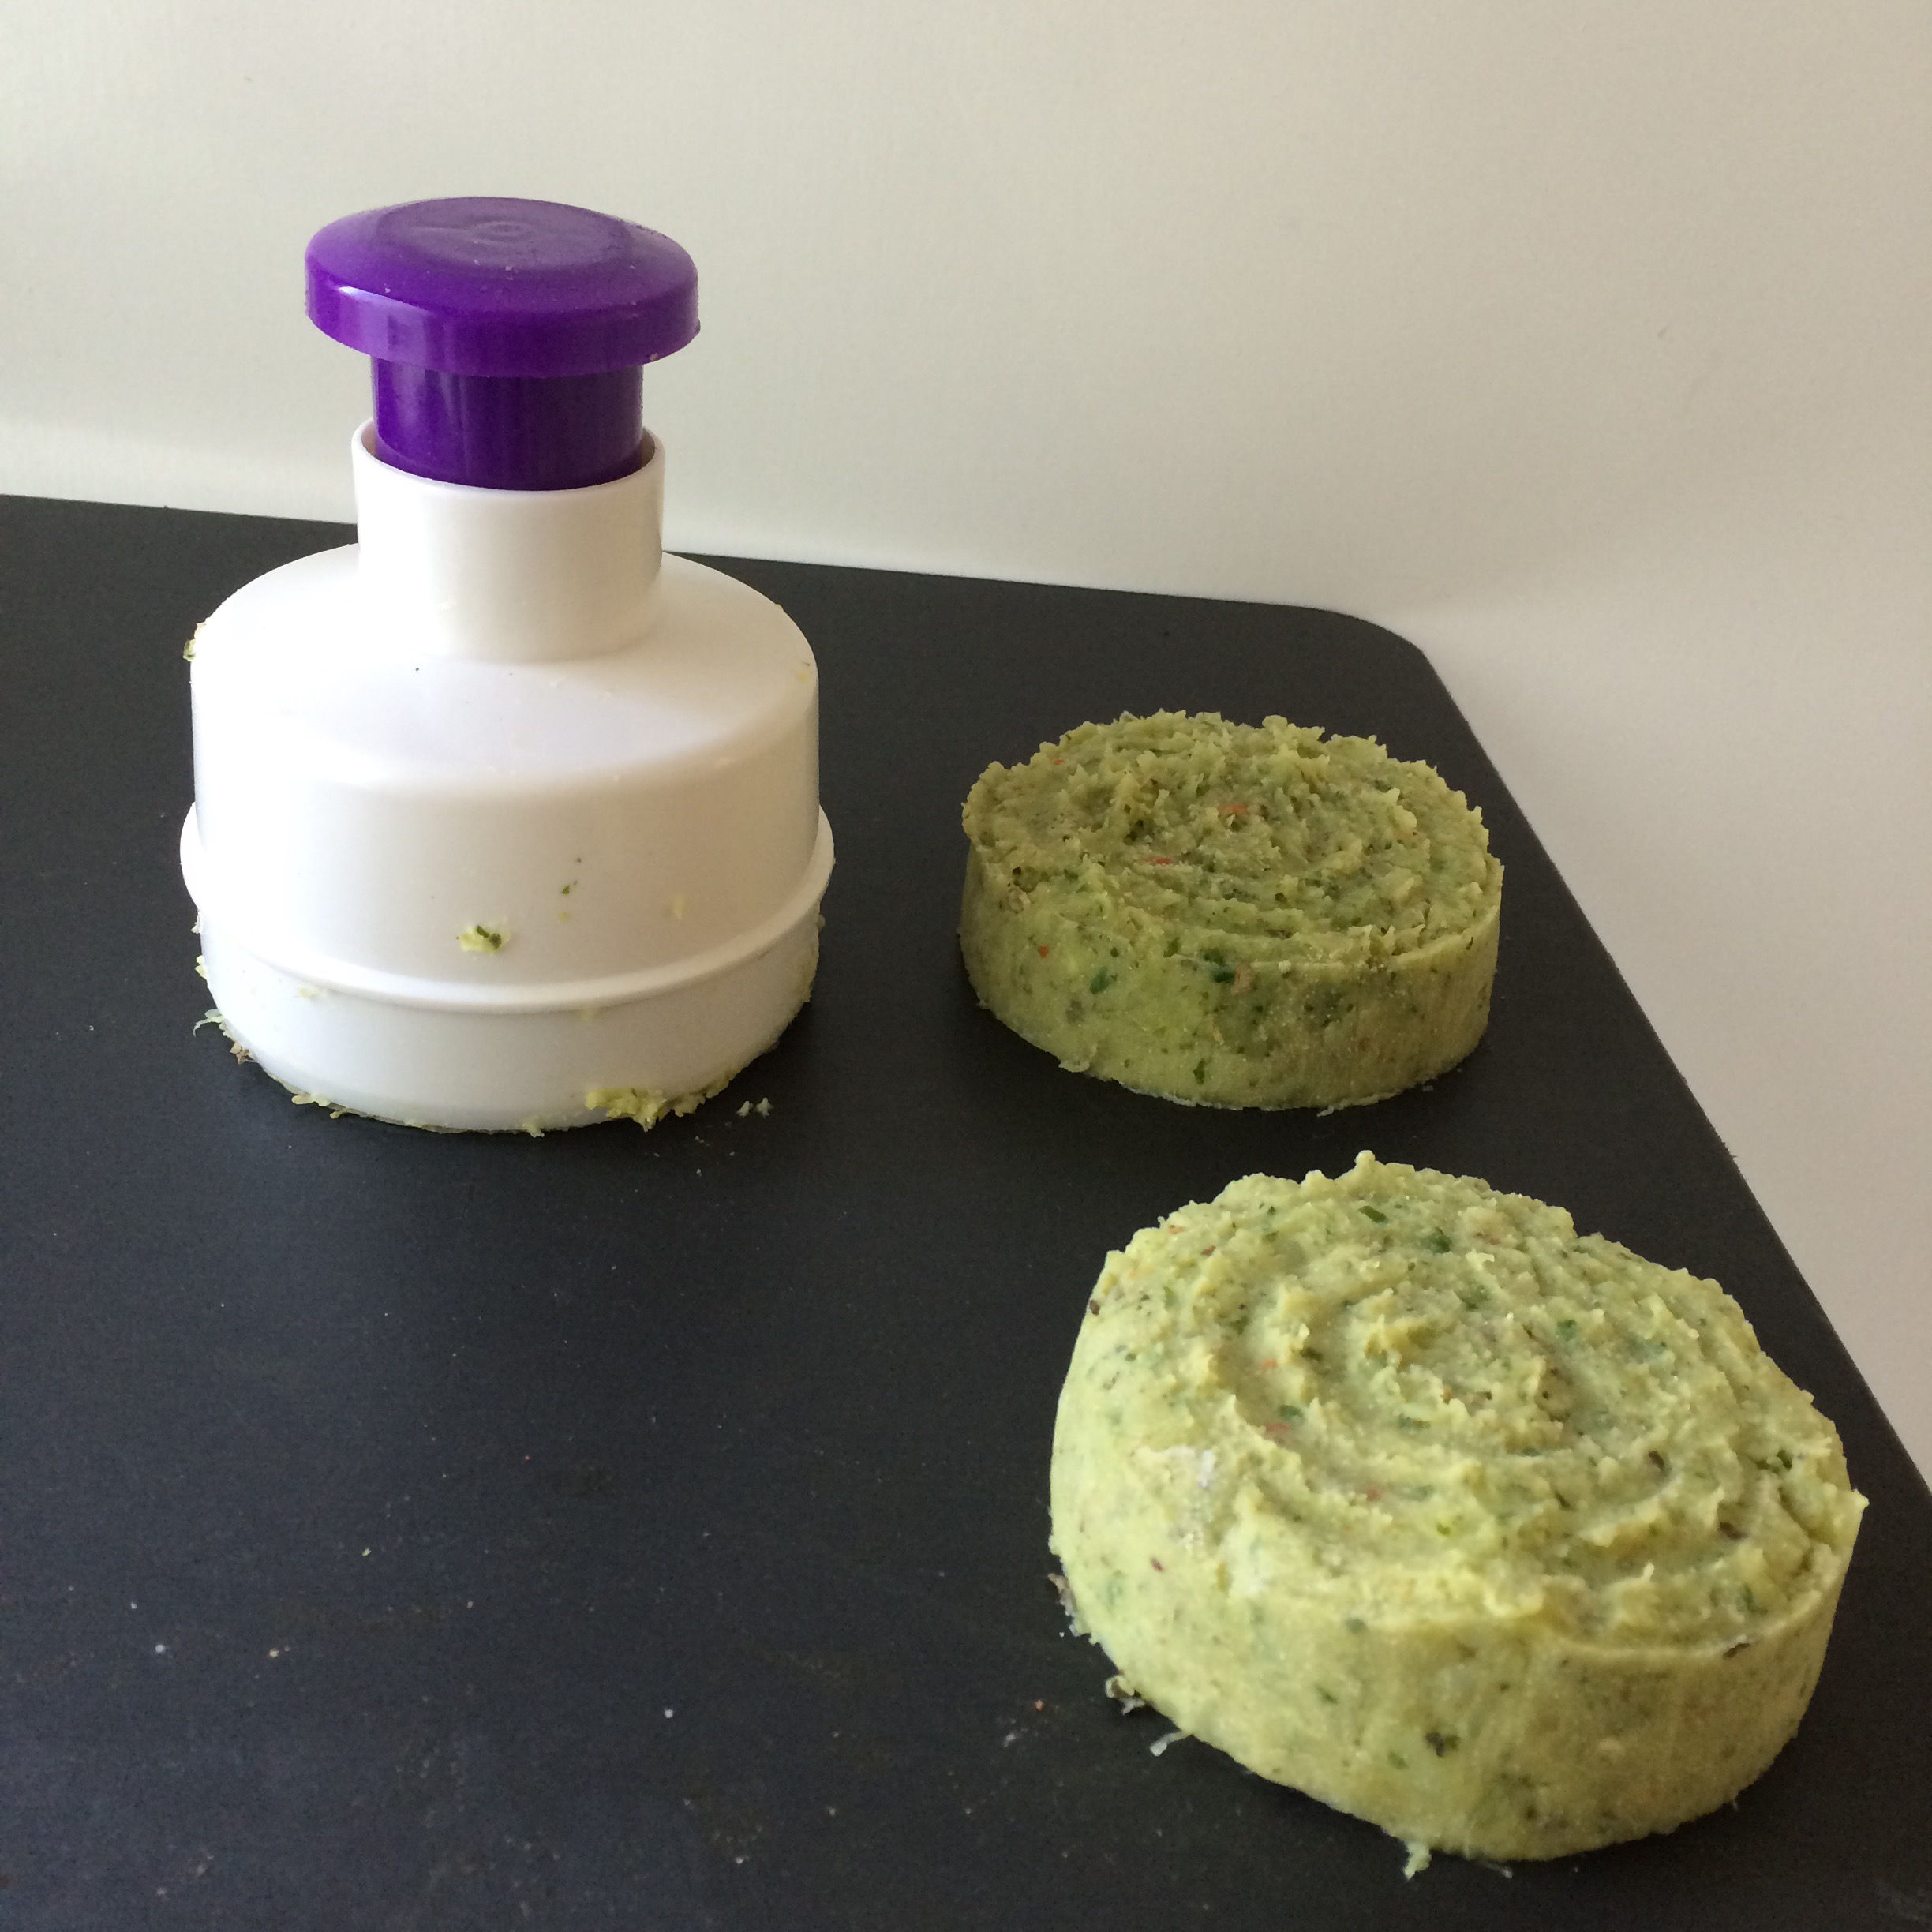
The ‘rice’ cube consists of these two wonderfully vibrant red pieces which perfectly match our kitchenware which of course was a bonus! Not to mention both parts ARE DISHWASHER PROOF! (Which is a serious plus point if like us you’re allergic to washing up! ☺️)
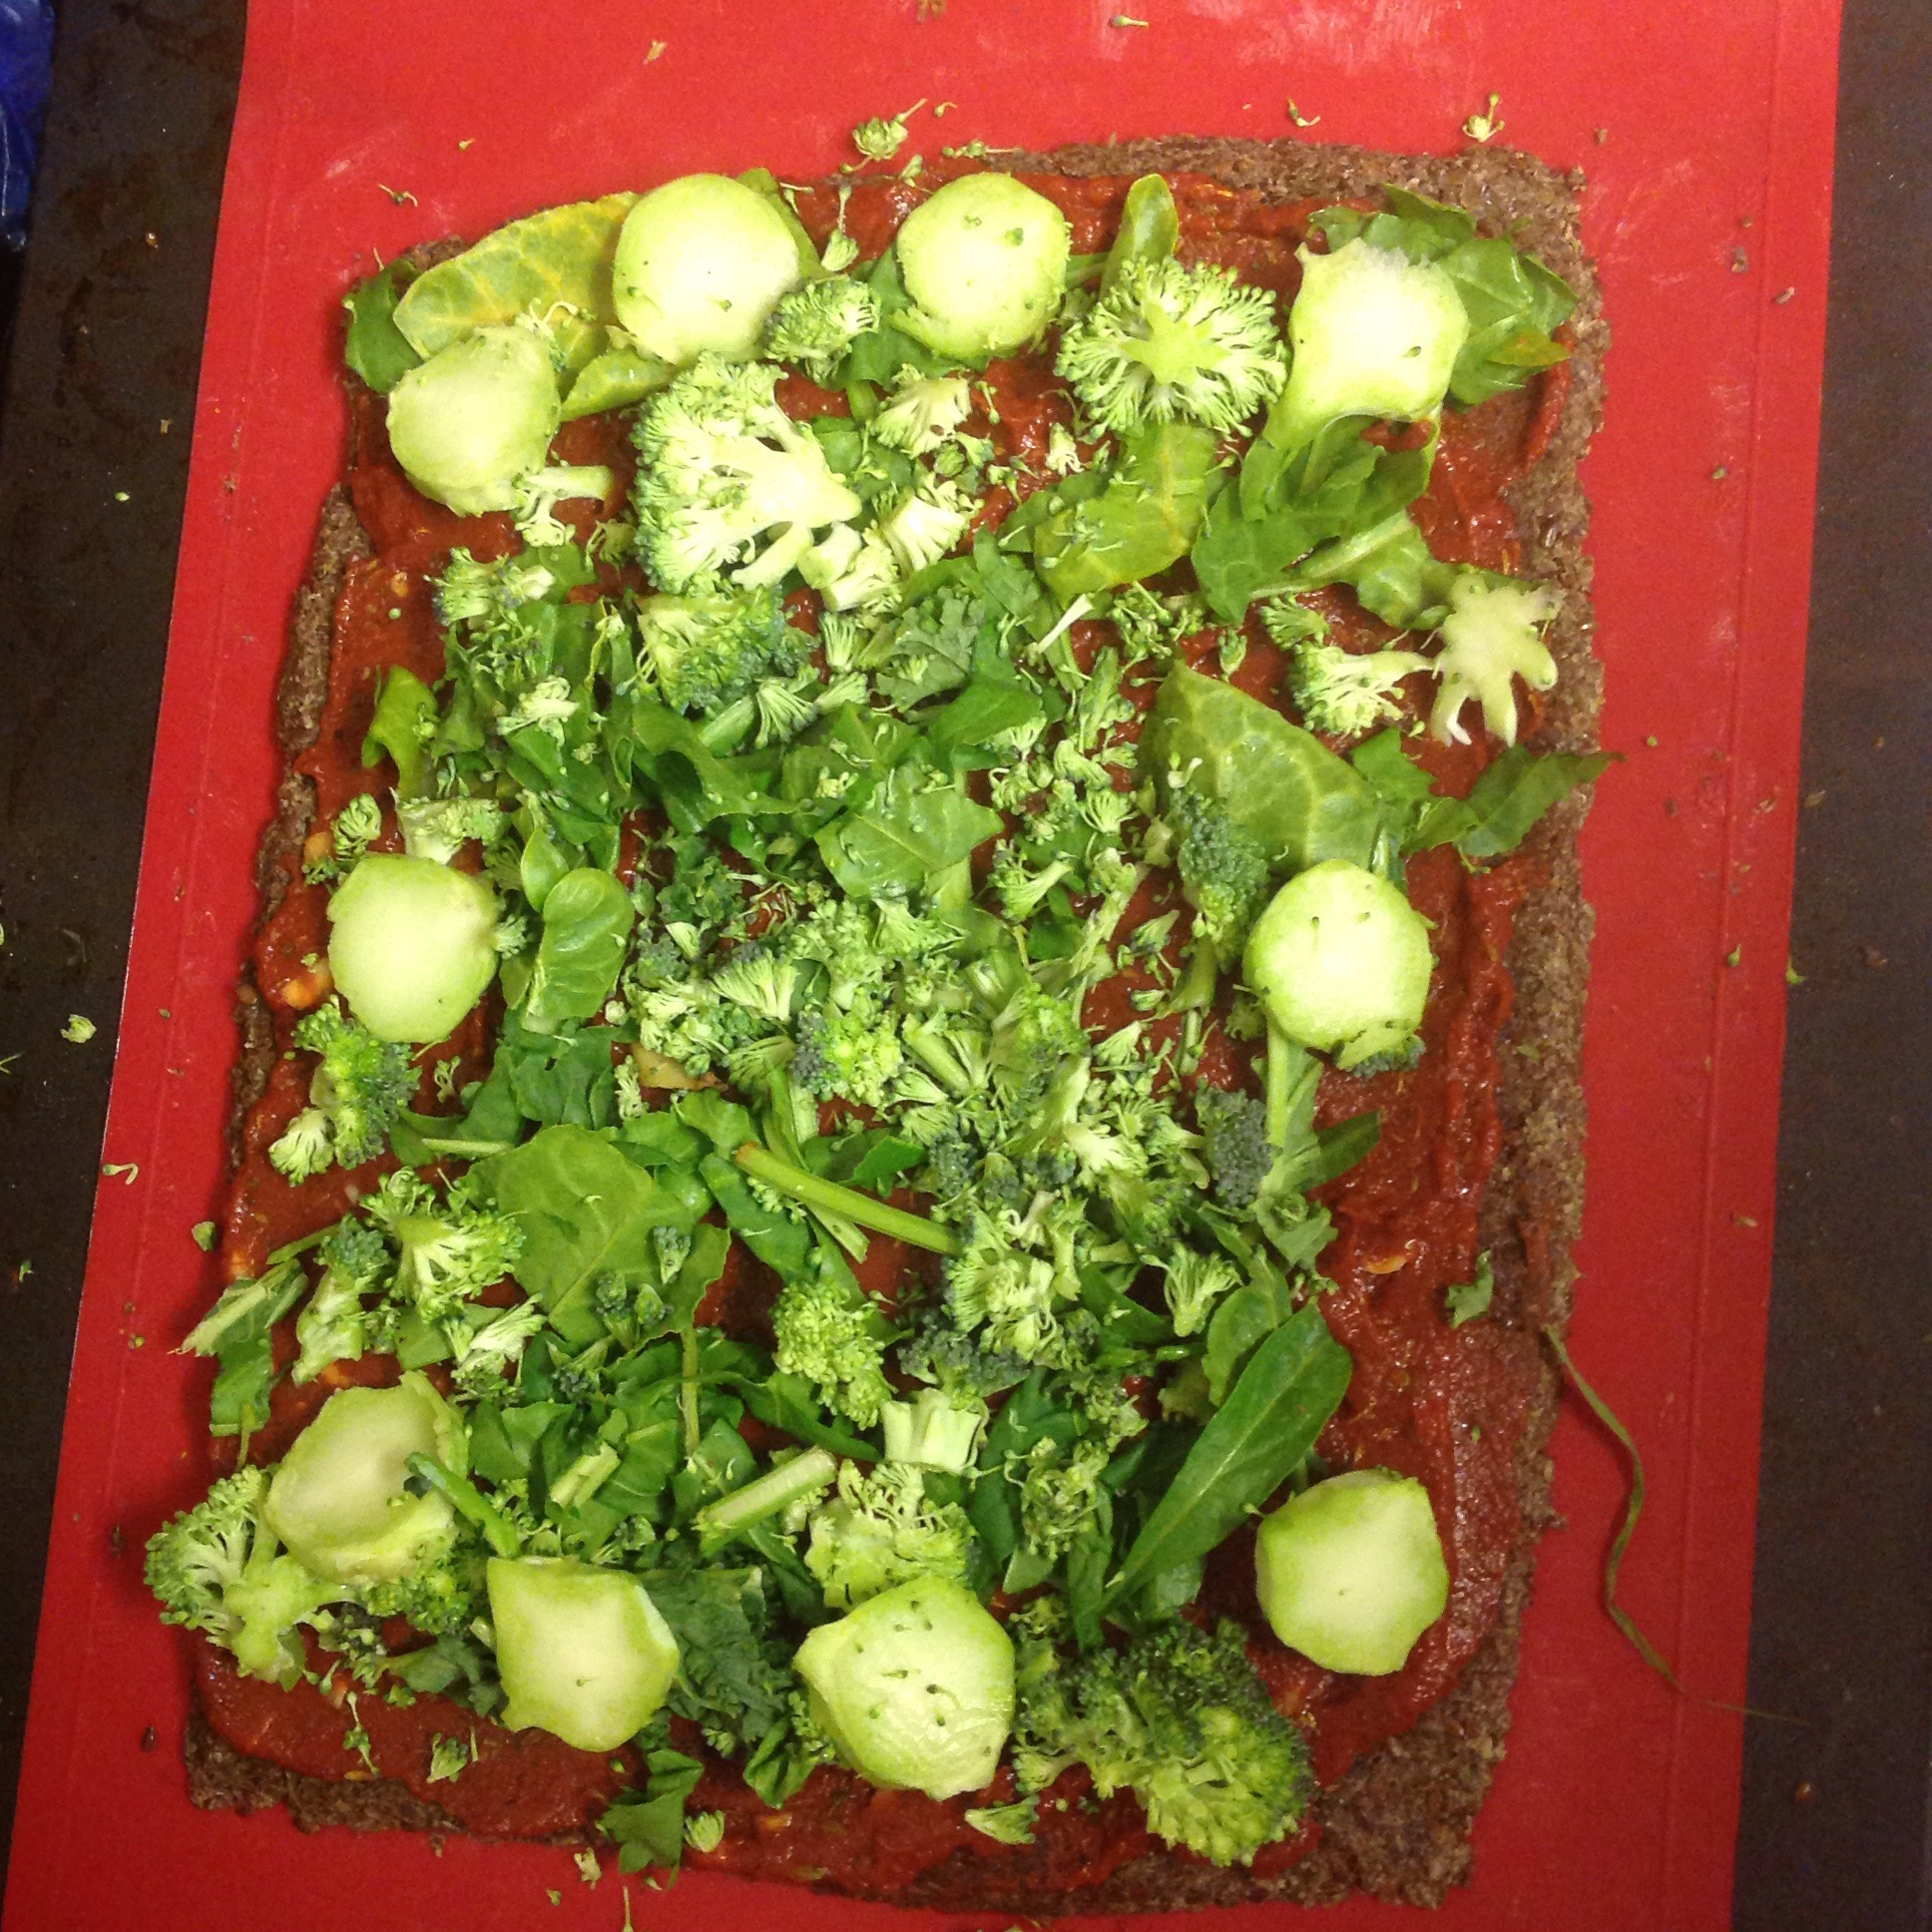
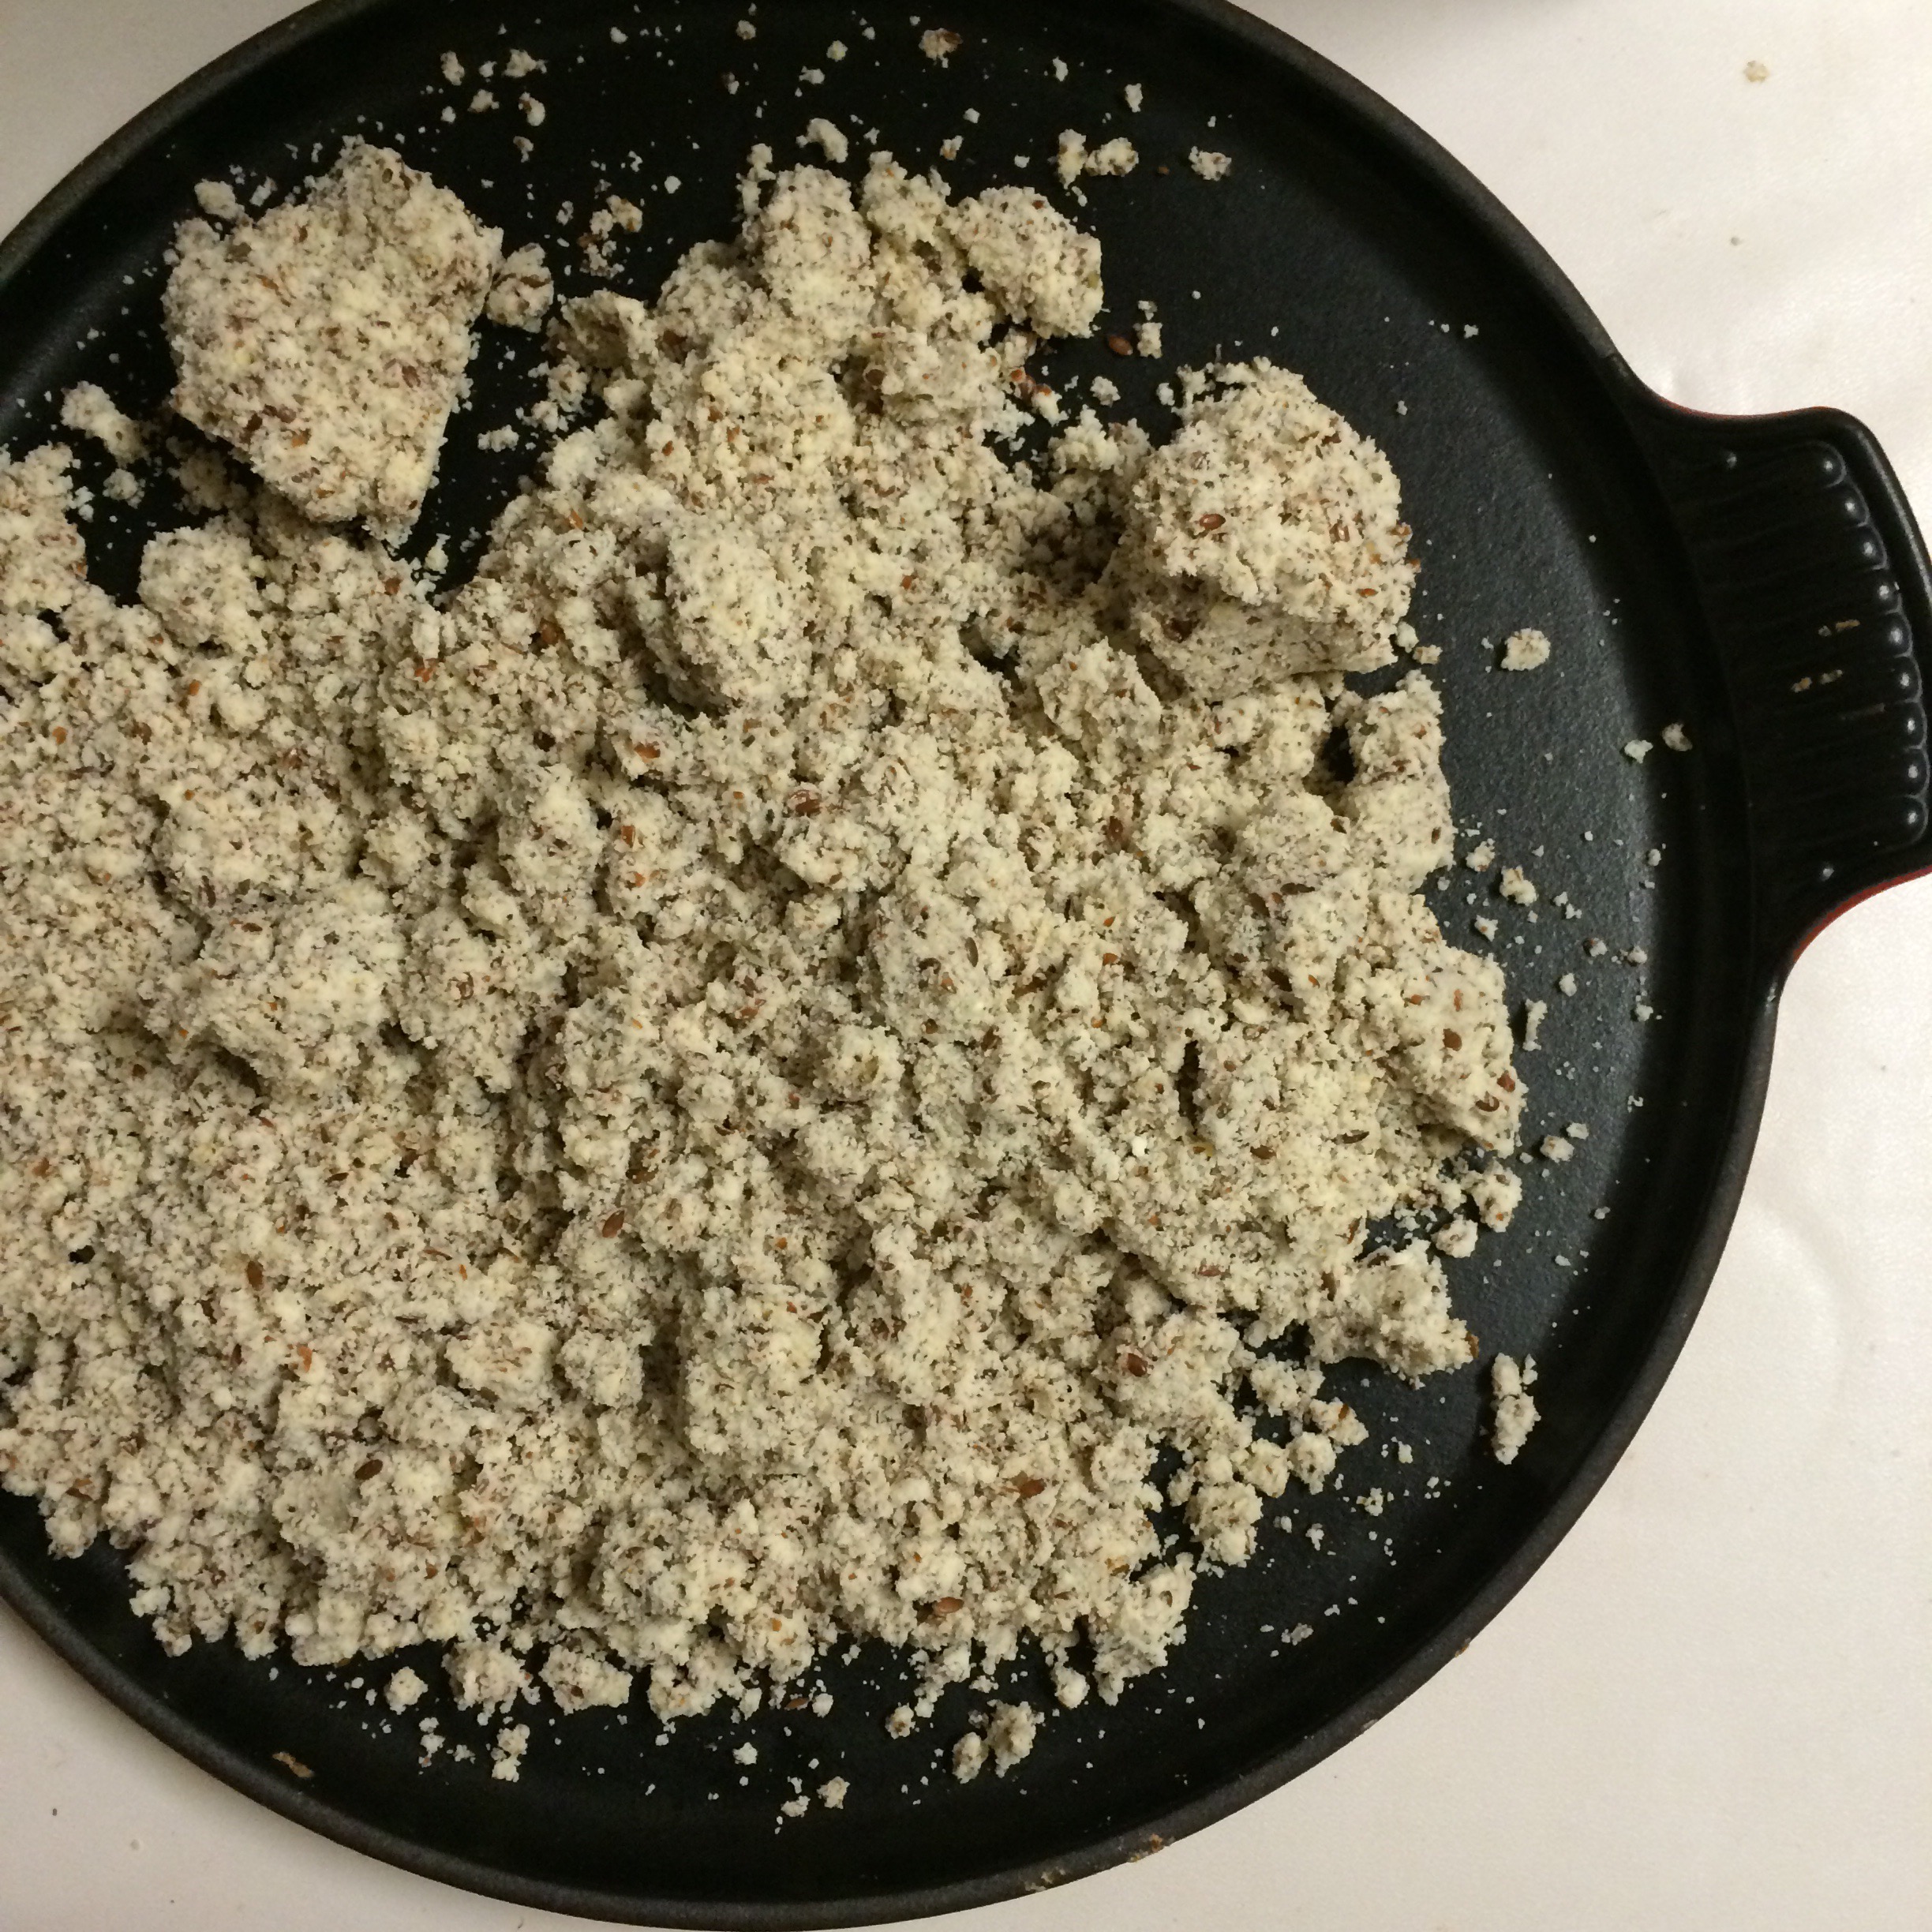
Here’s a photo by photo demonstration of how we started off first experimenting making buckwheat cubes. (You’ll need a ‘rice’ cube and some cooked buckwheat)
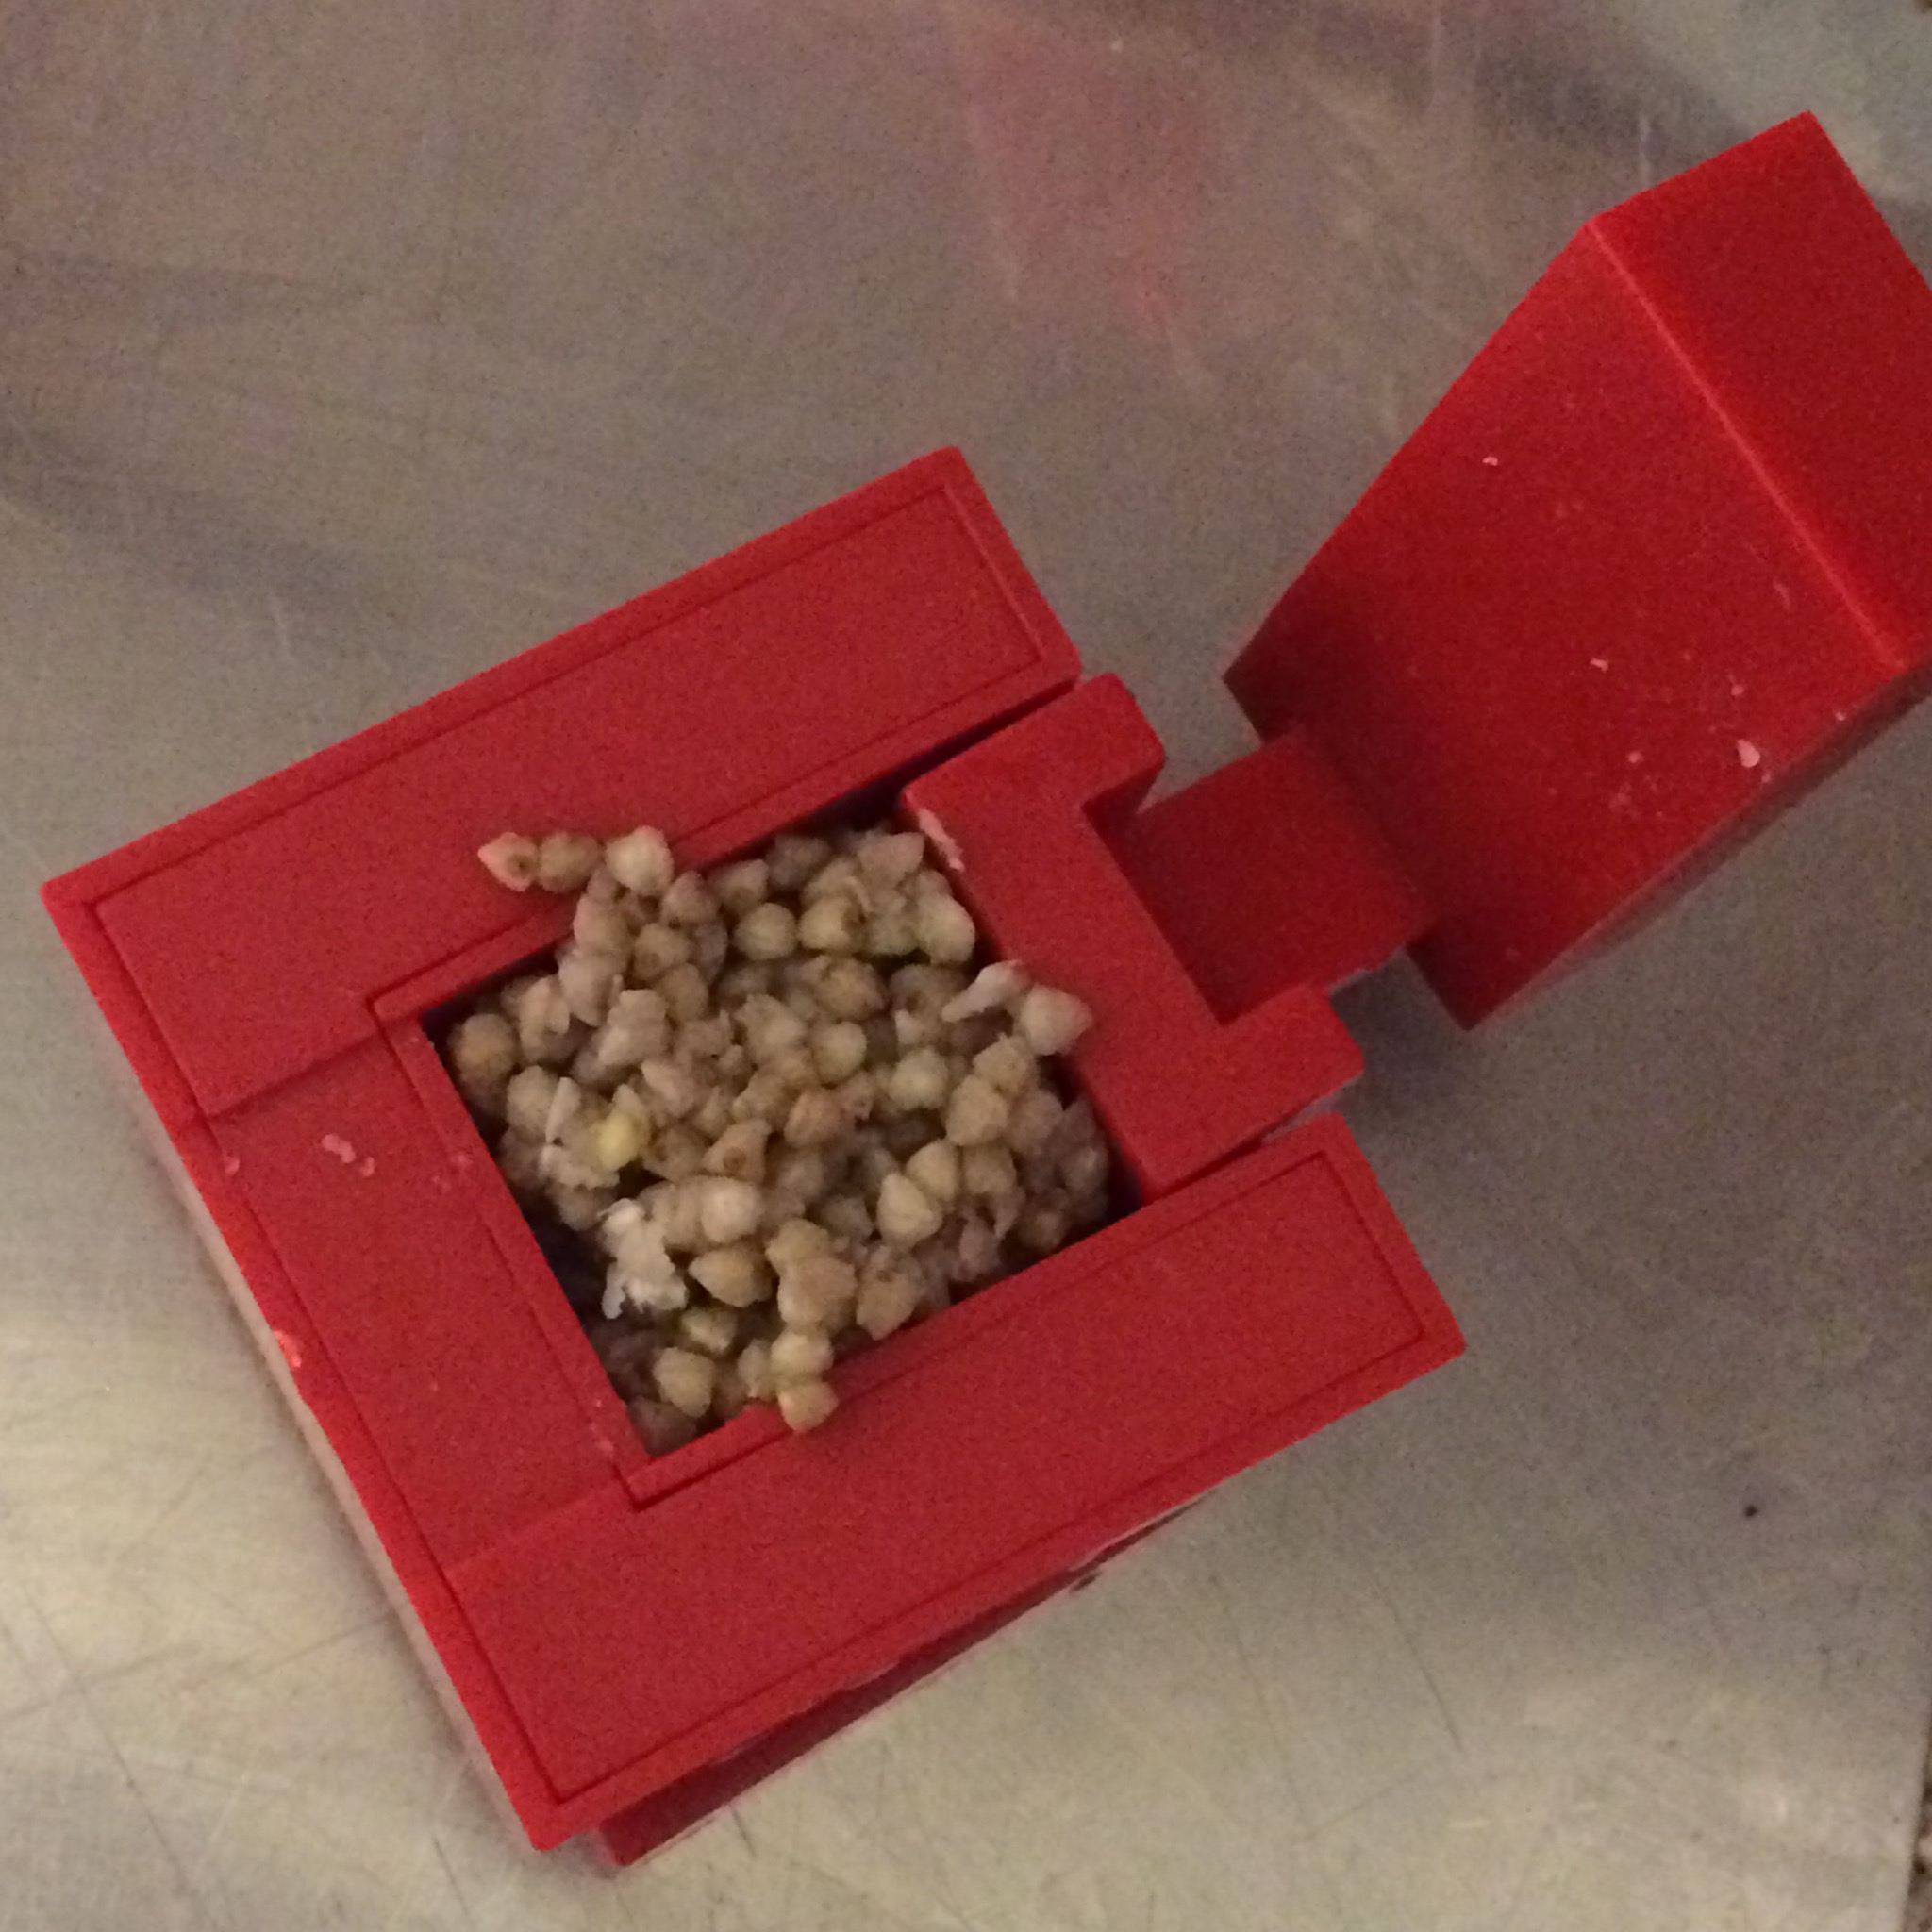
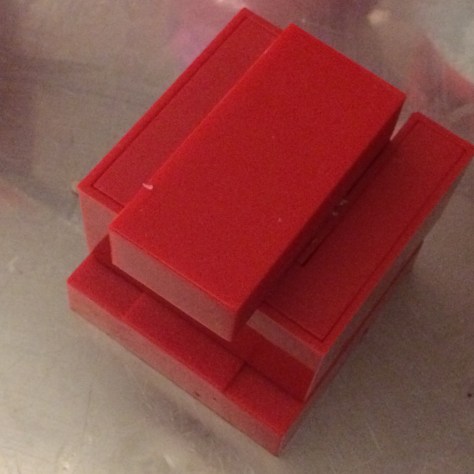
So here we go! Assembling the two pieces together as per the helpful handy instructions and filling with our warm cooked buckwheat (it works best when it is warm because it is little sticky!):

Then we push the top clamp down rather reminding us of that satisfying feeling when you push down a hole punch of any kind! (Maybe that’s just us!)
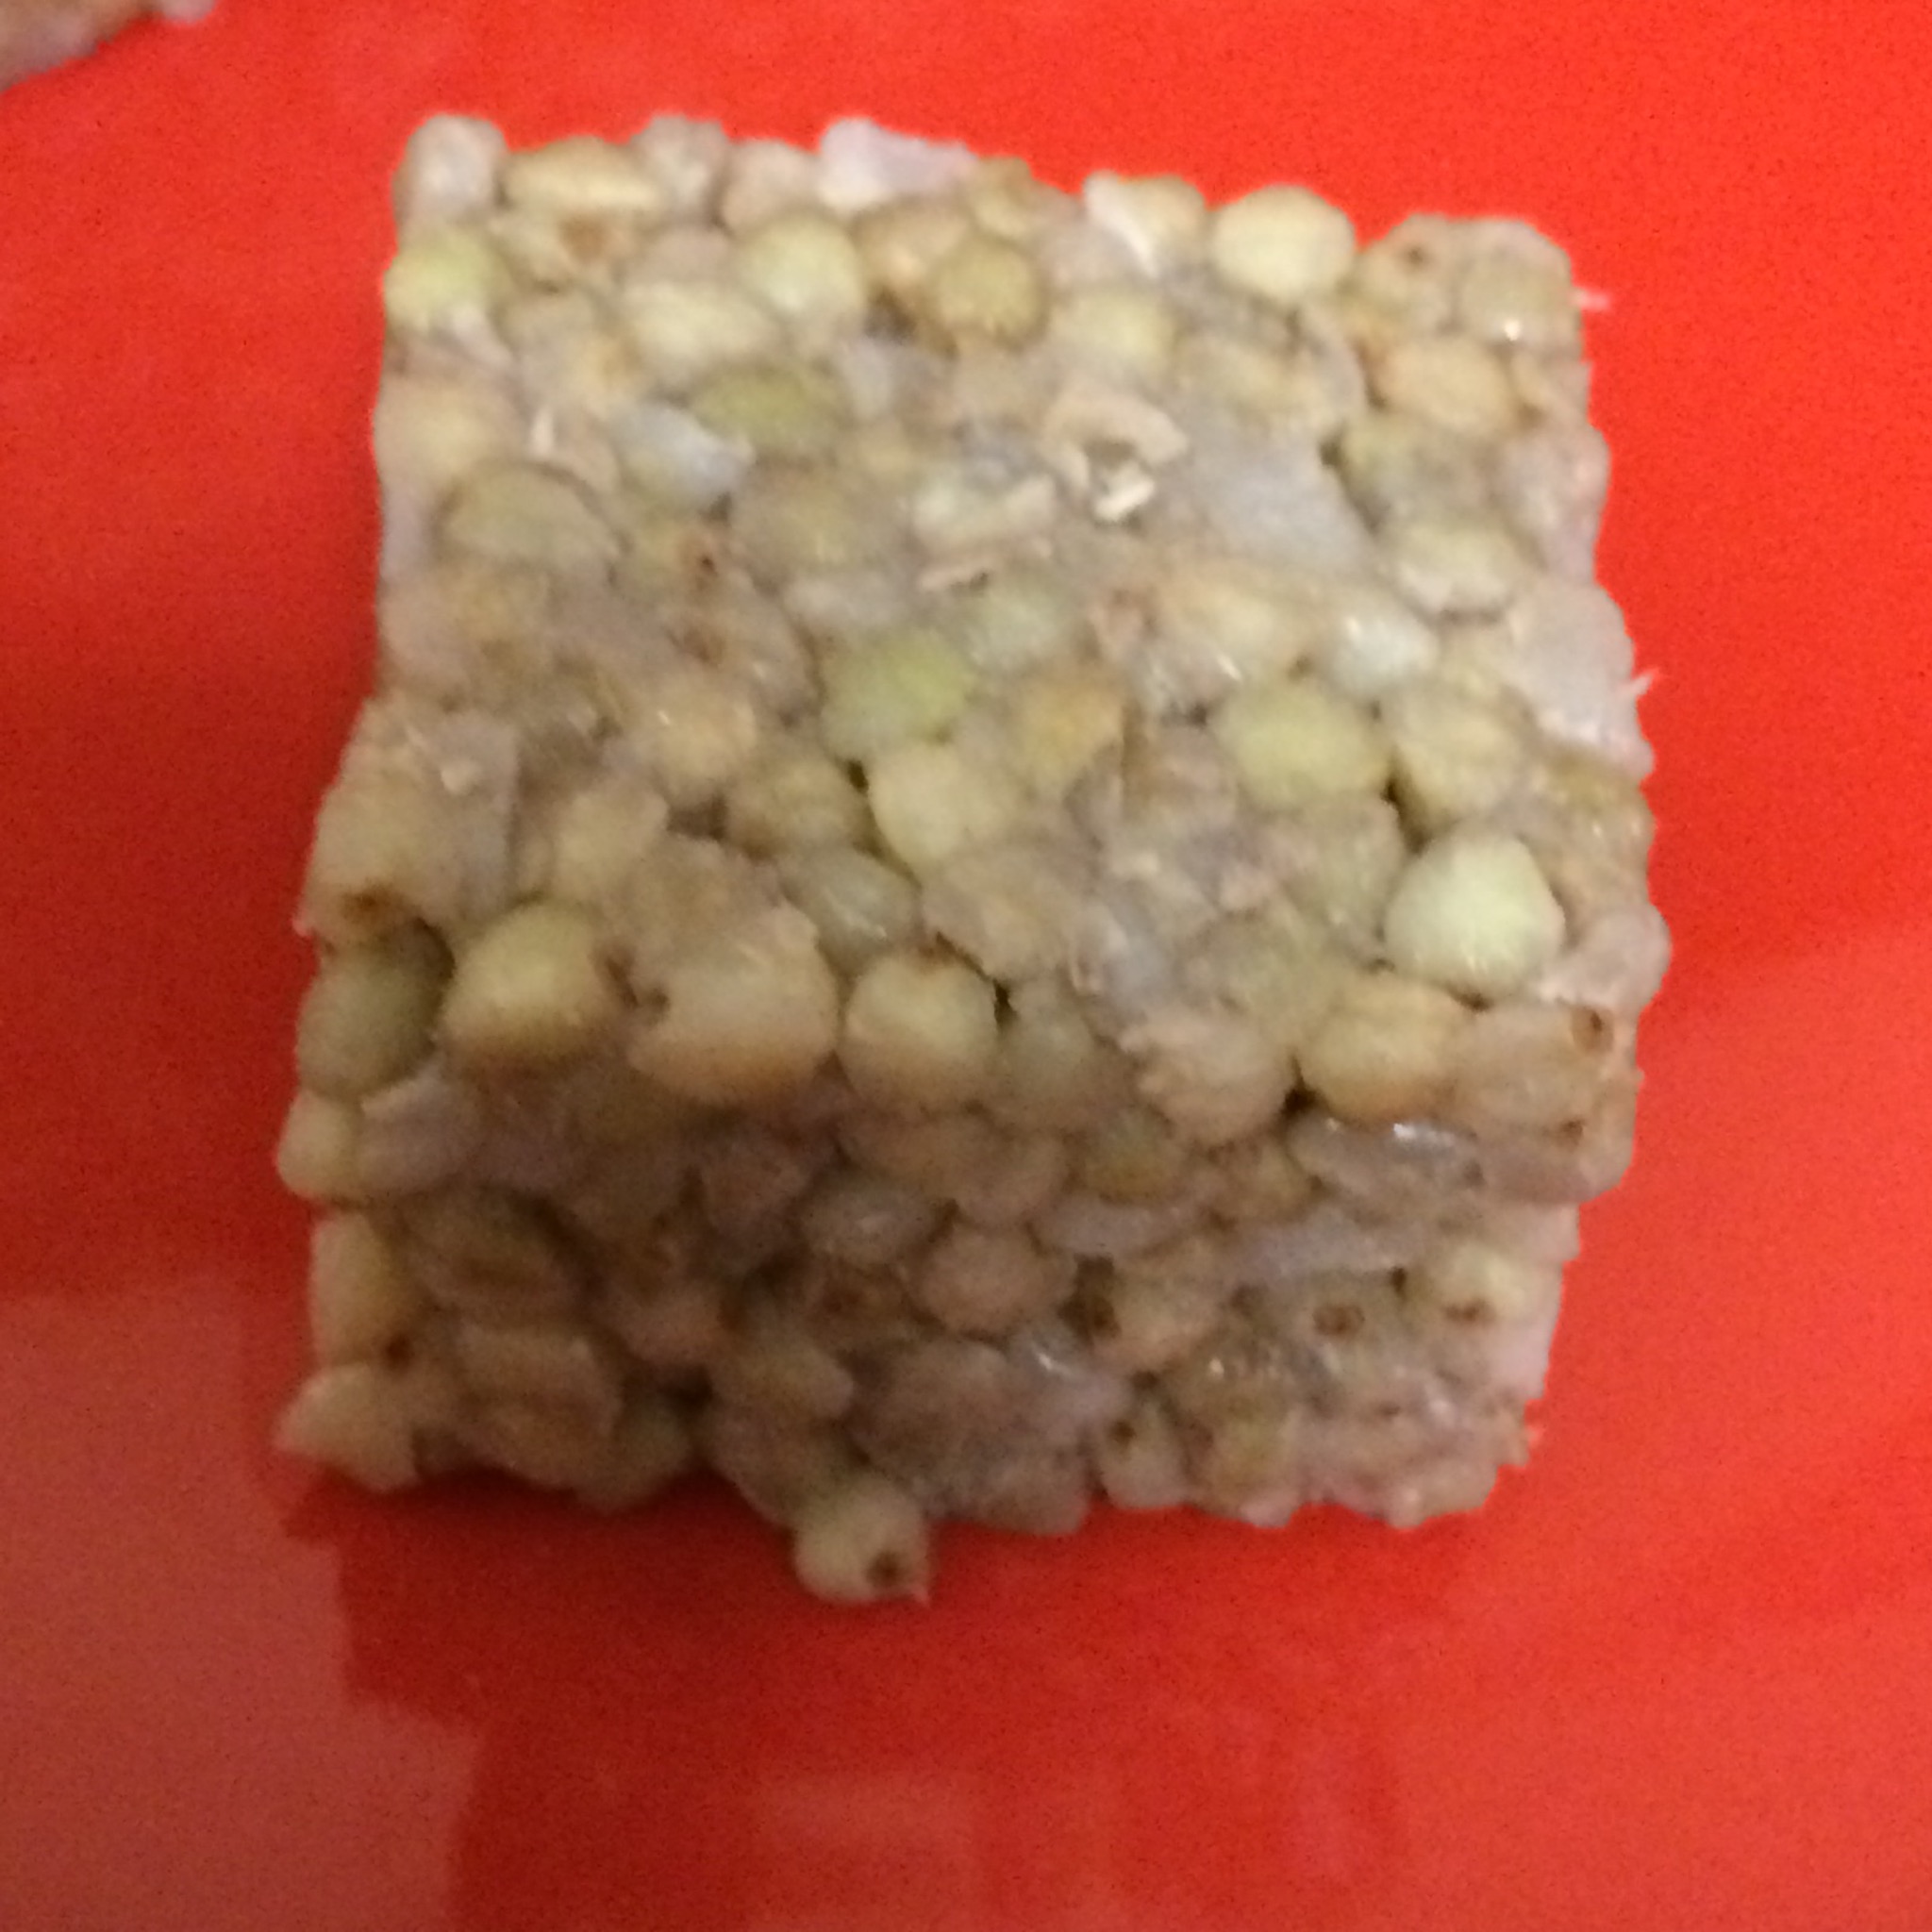
And when we opened it up…
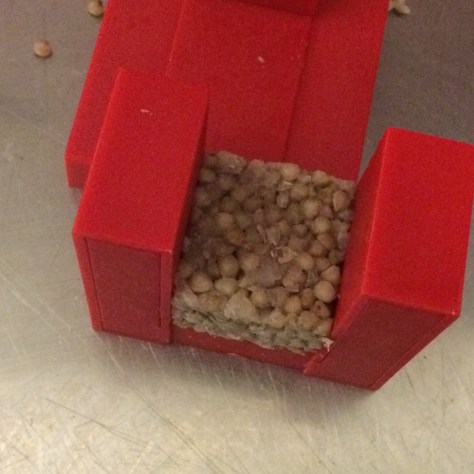
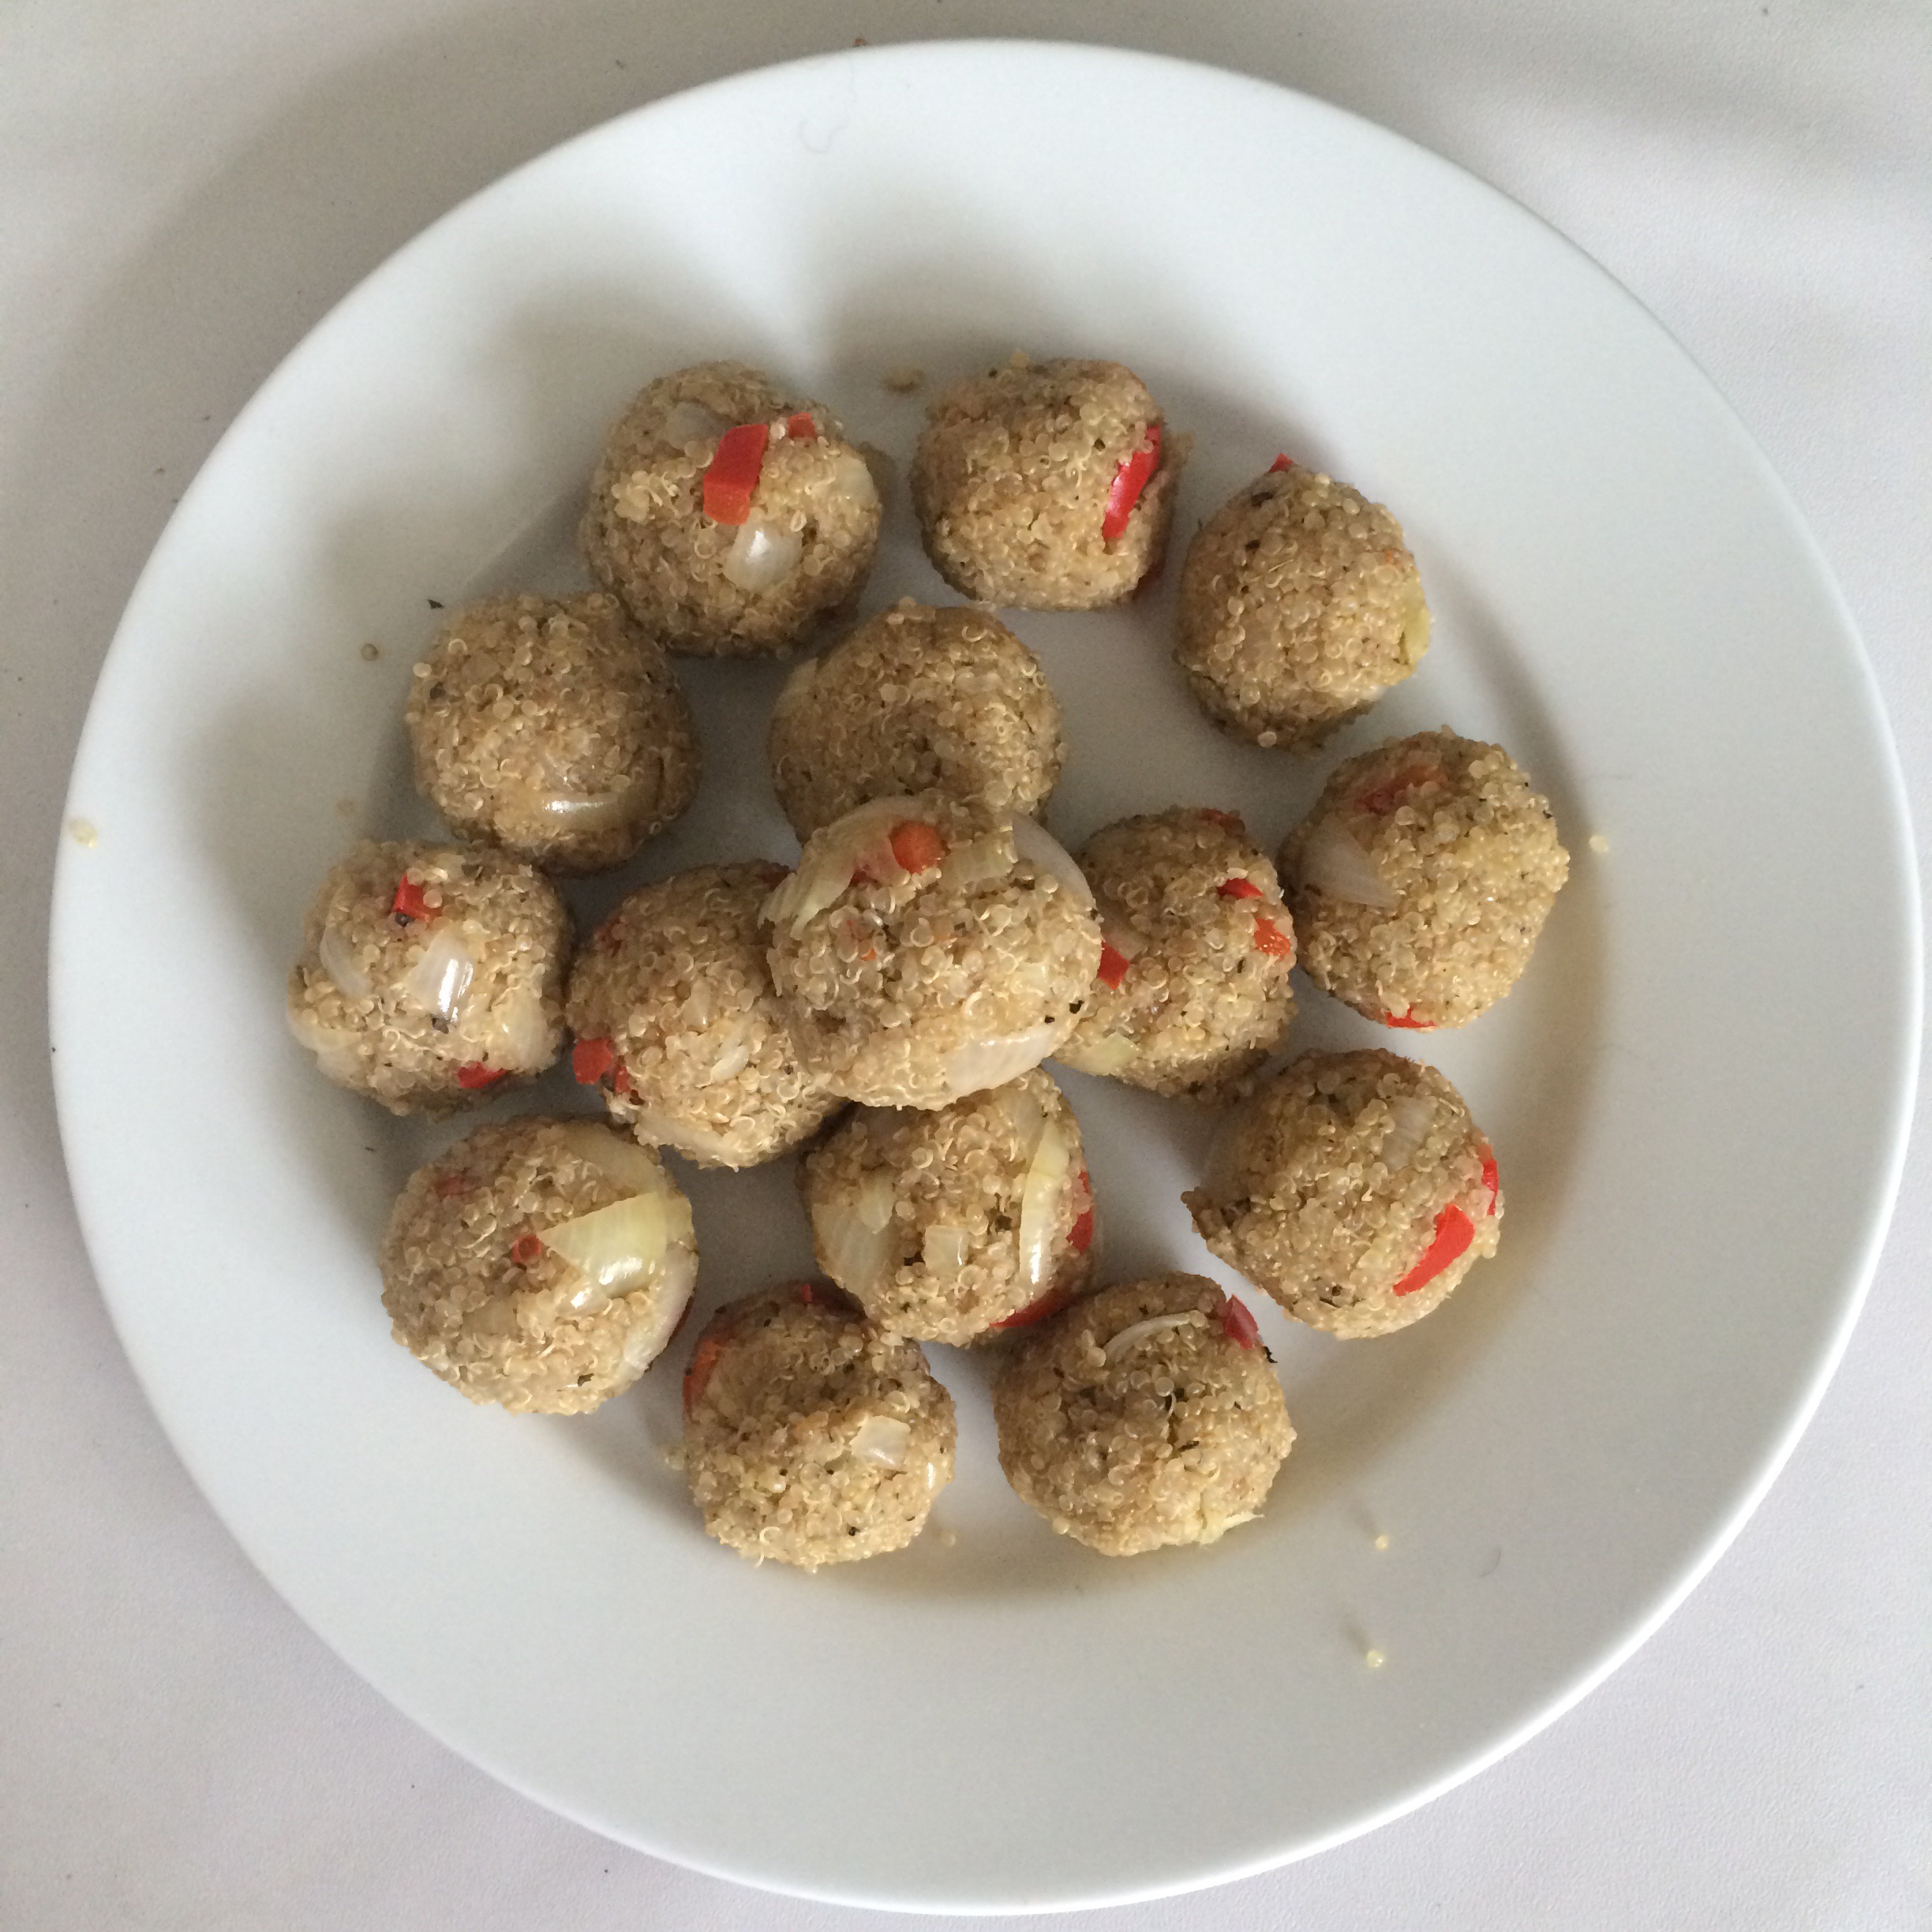
Just look at that! 😮😳

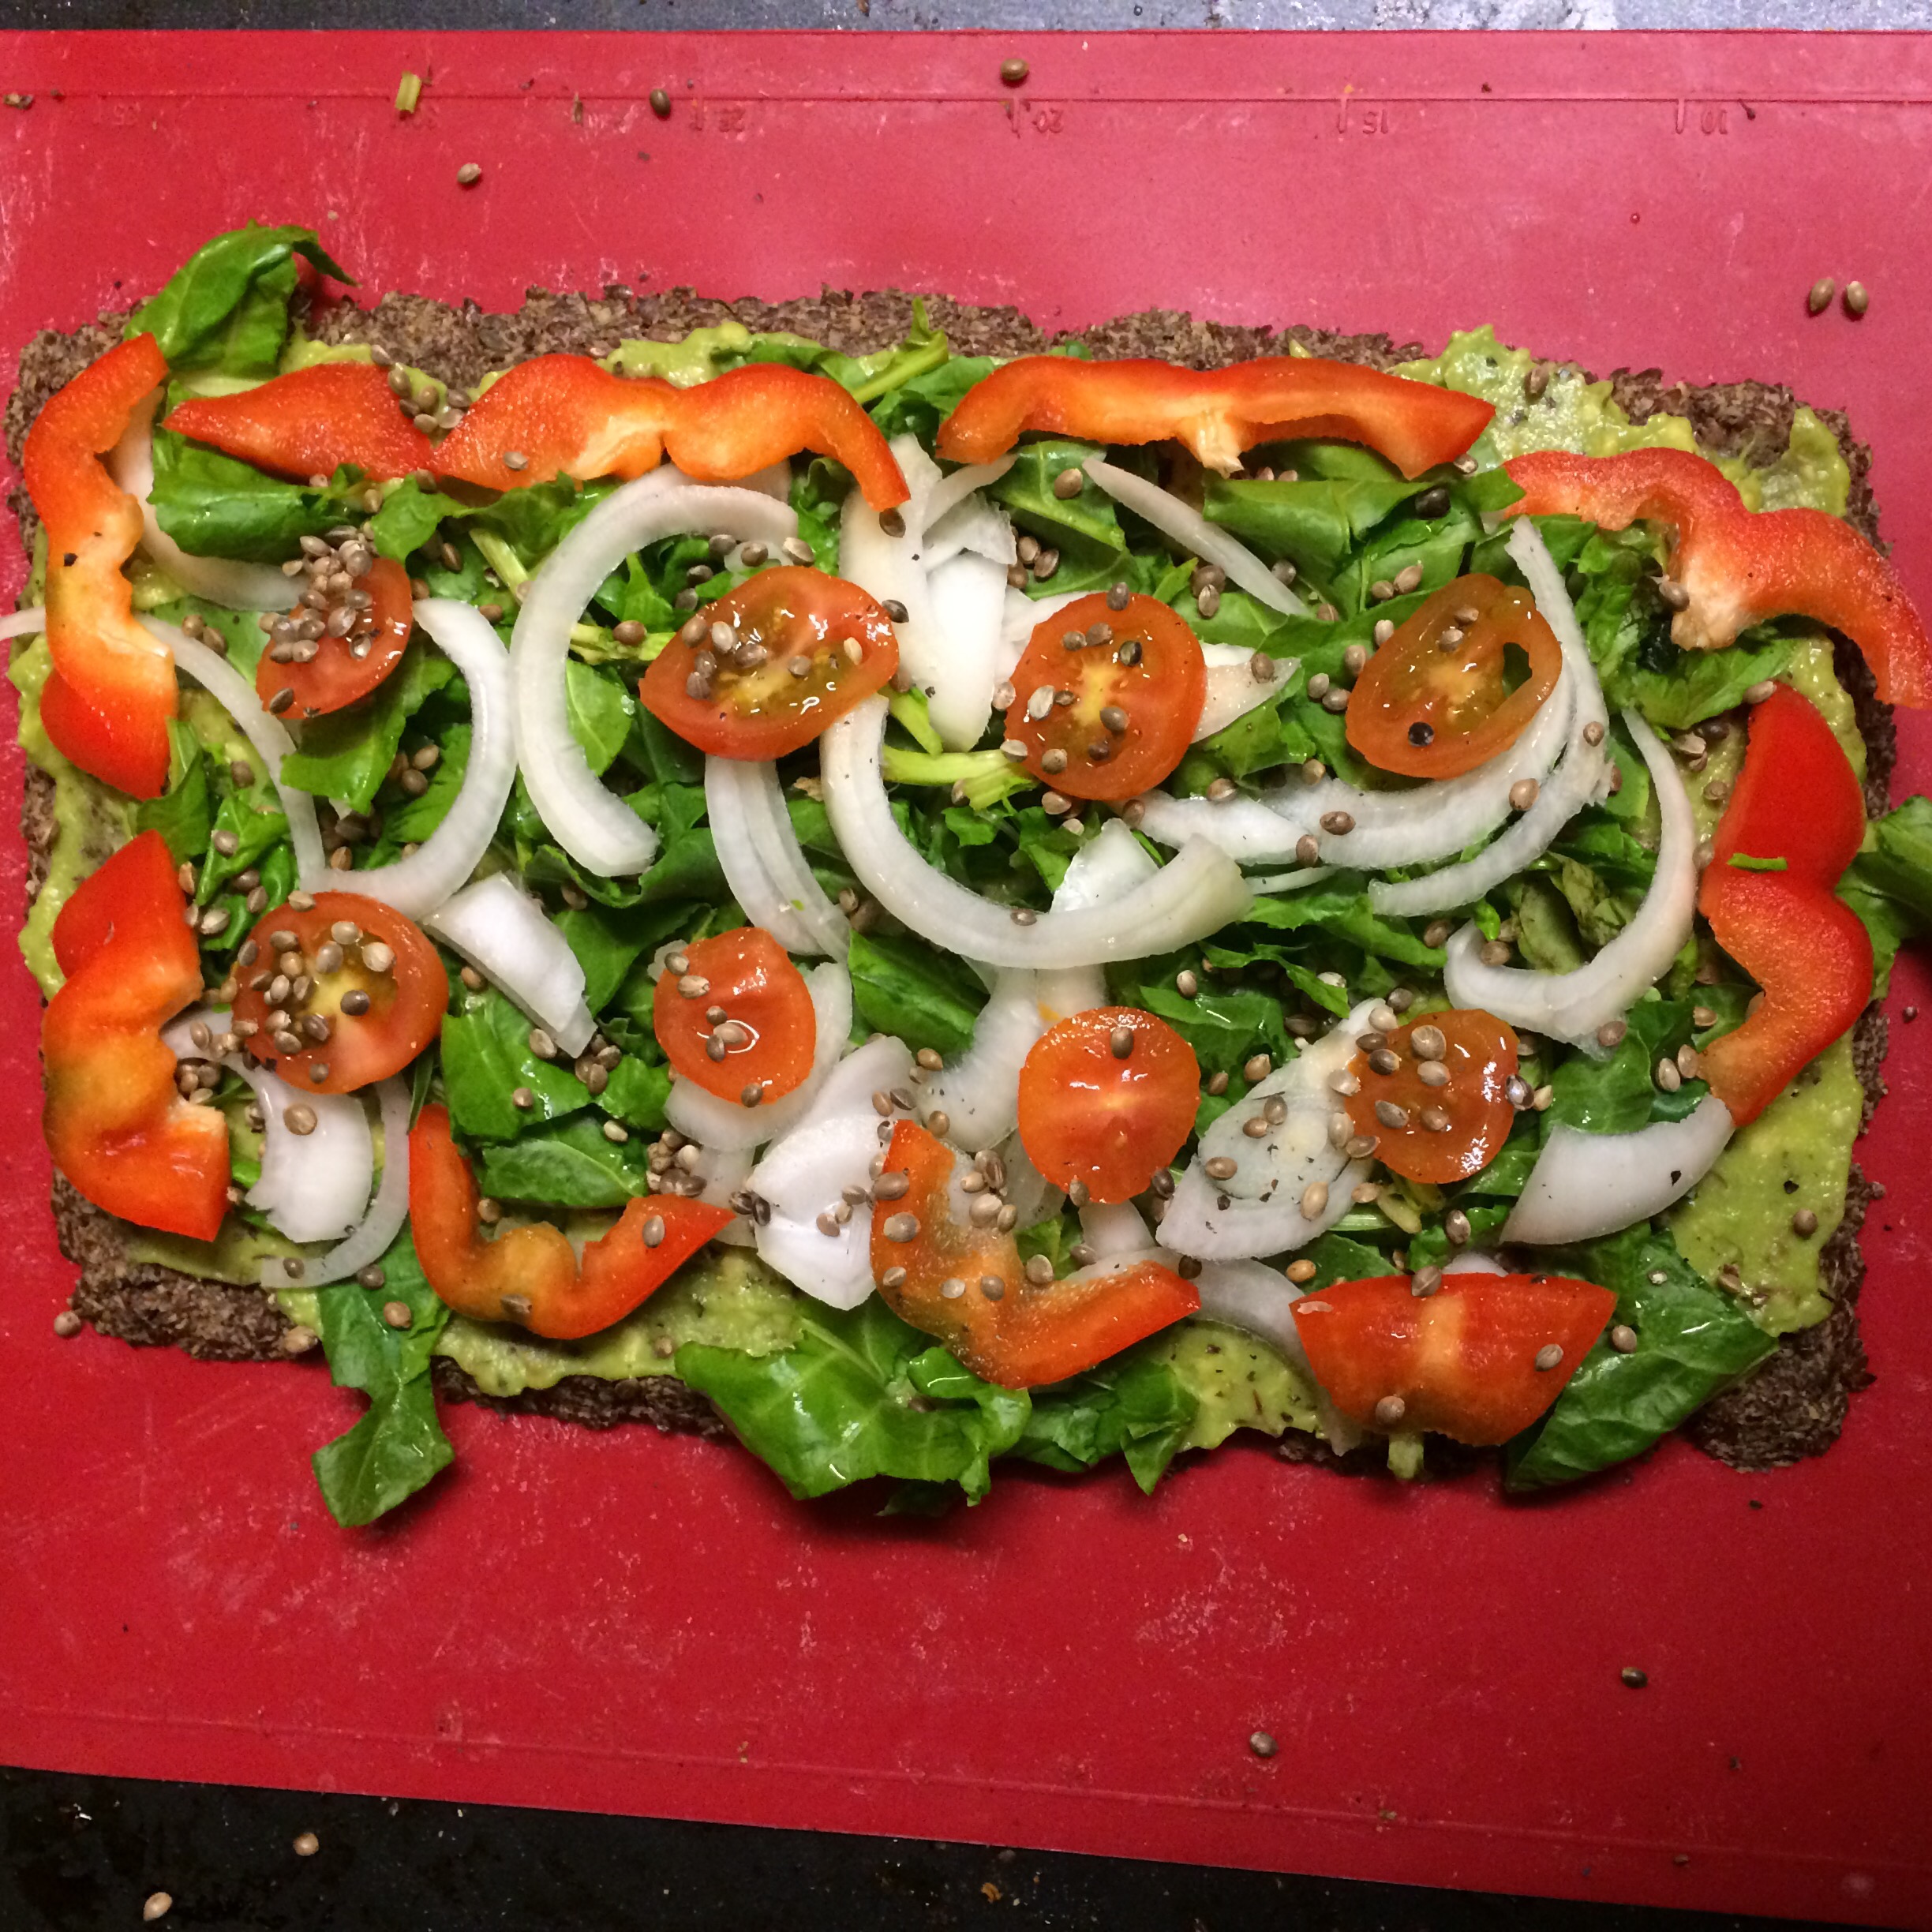
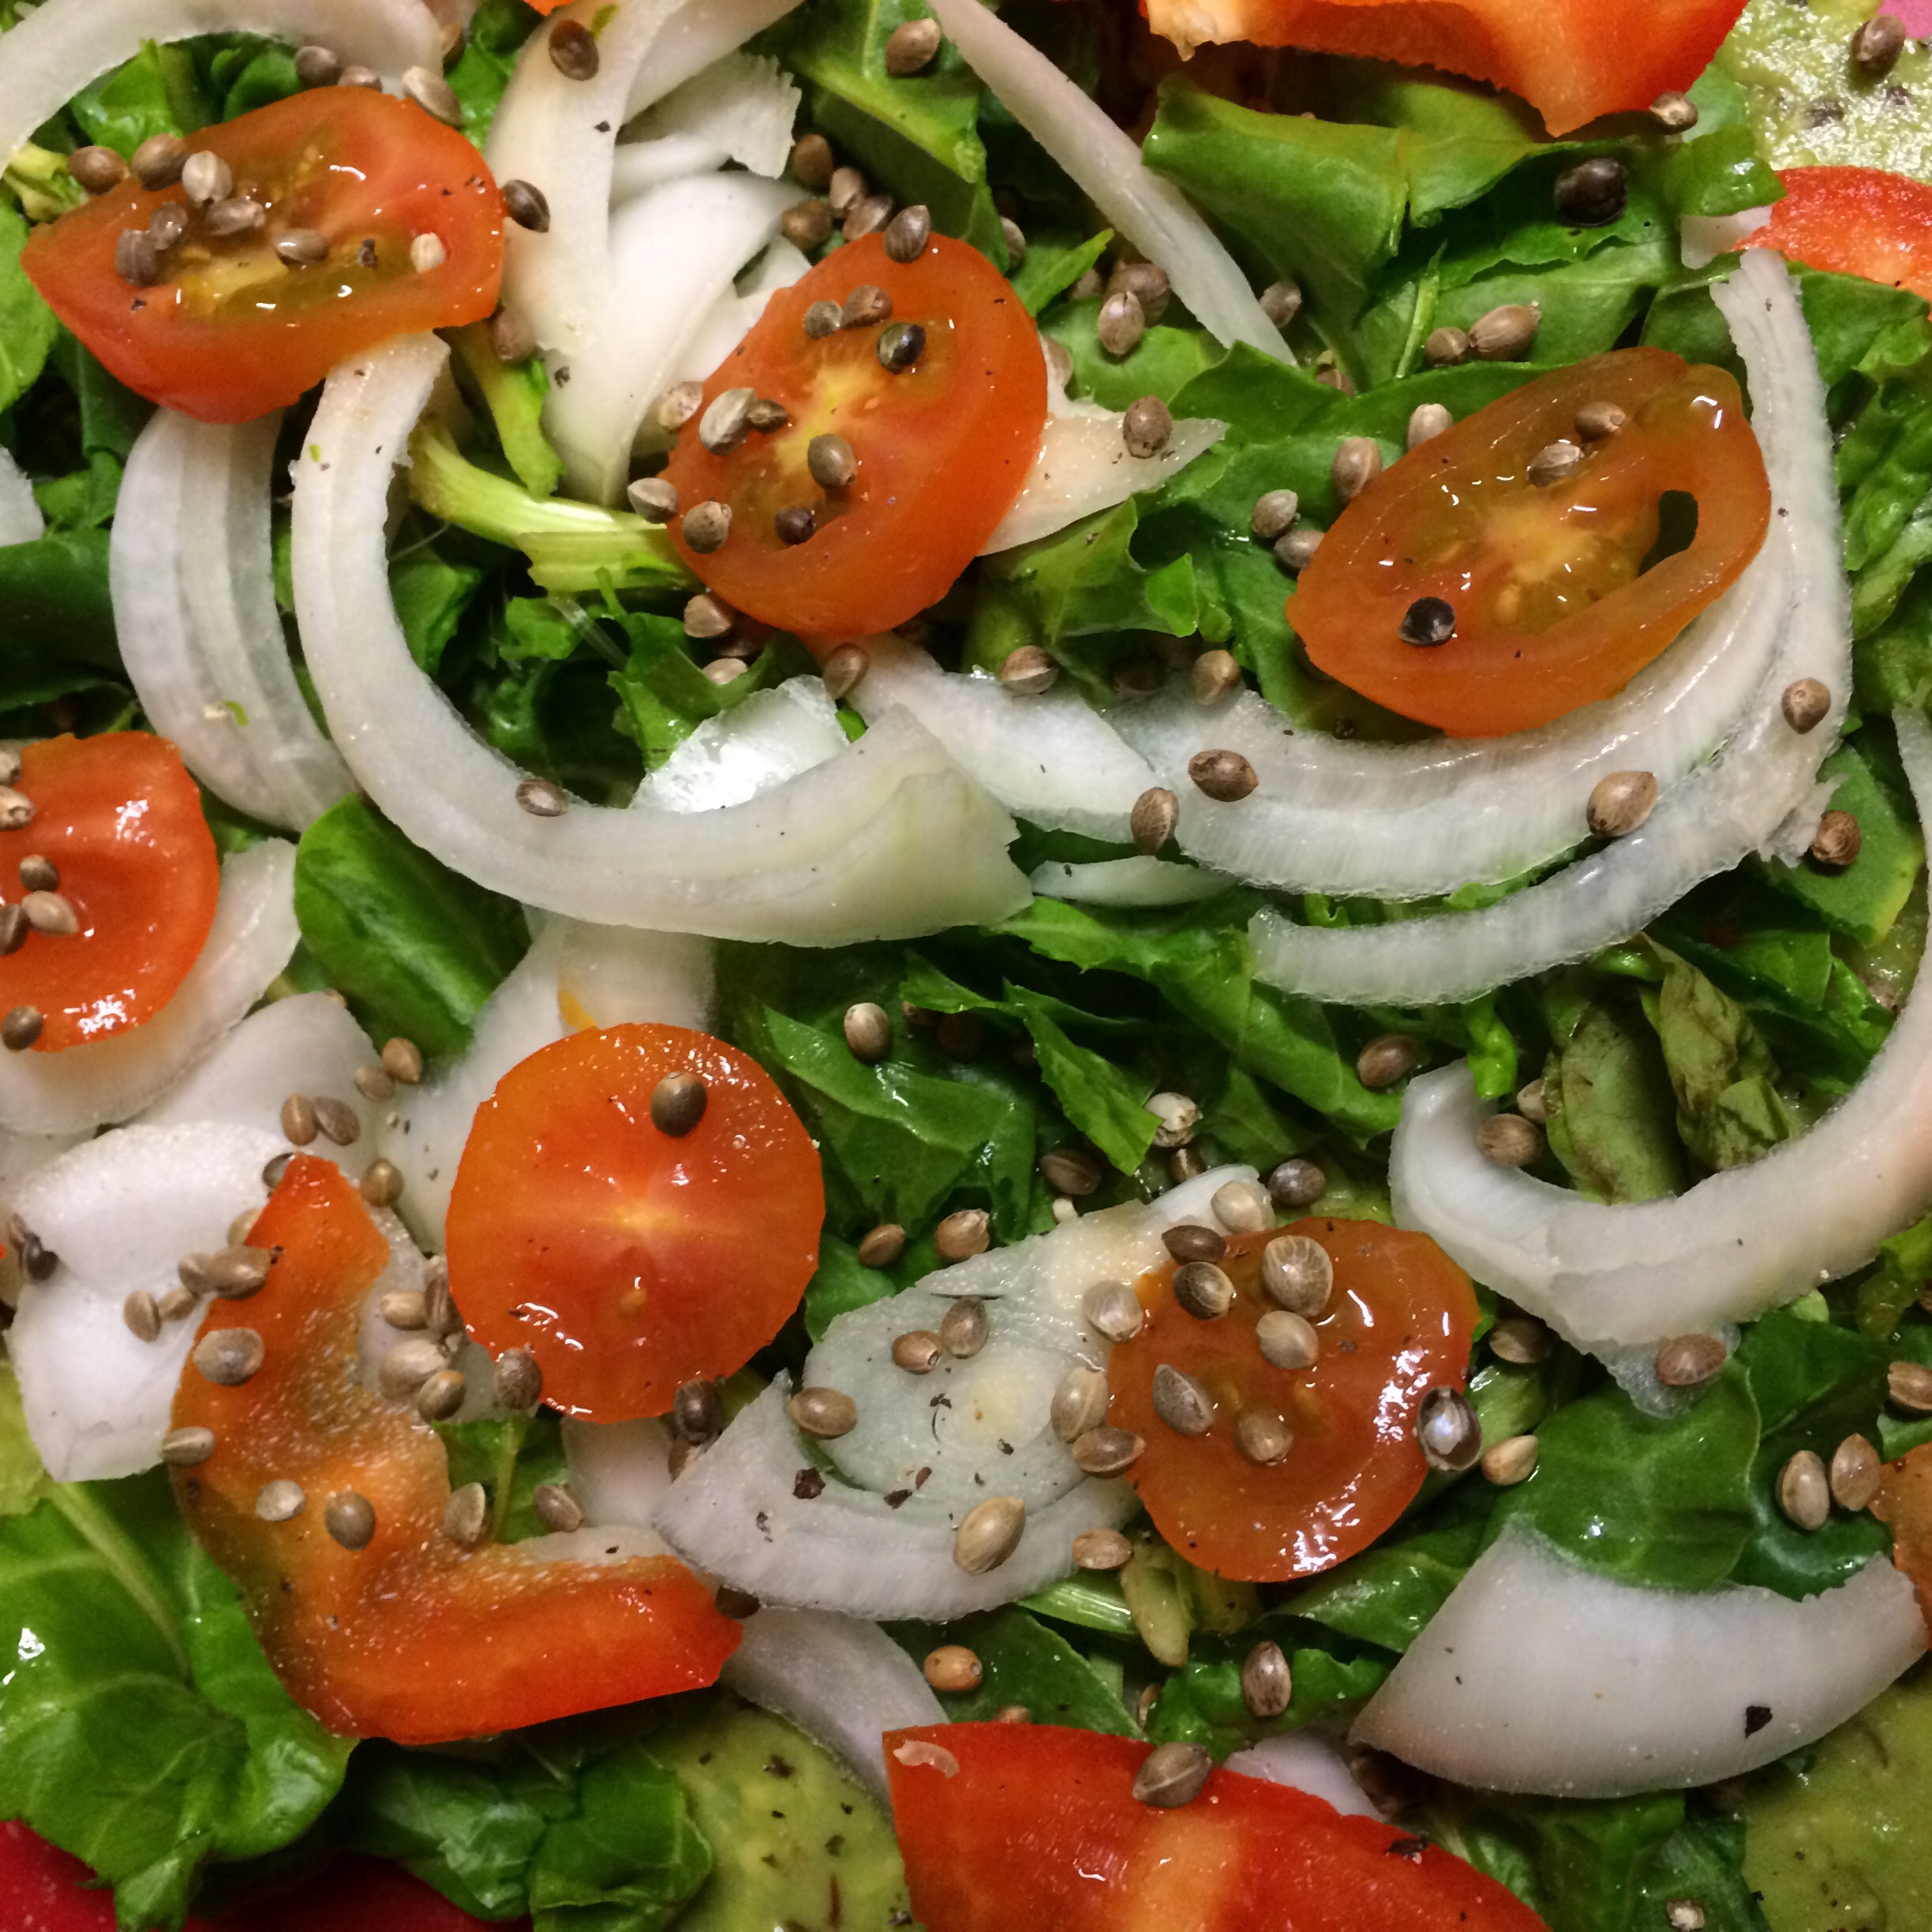
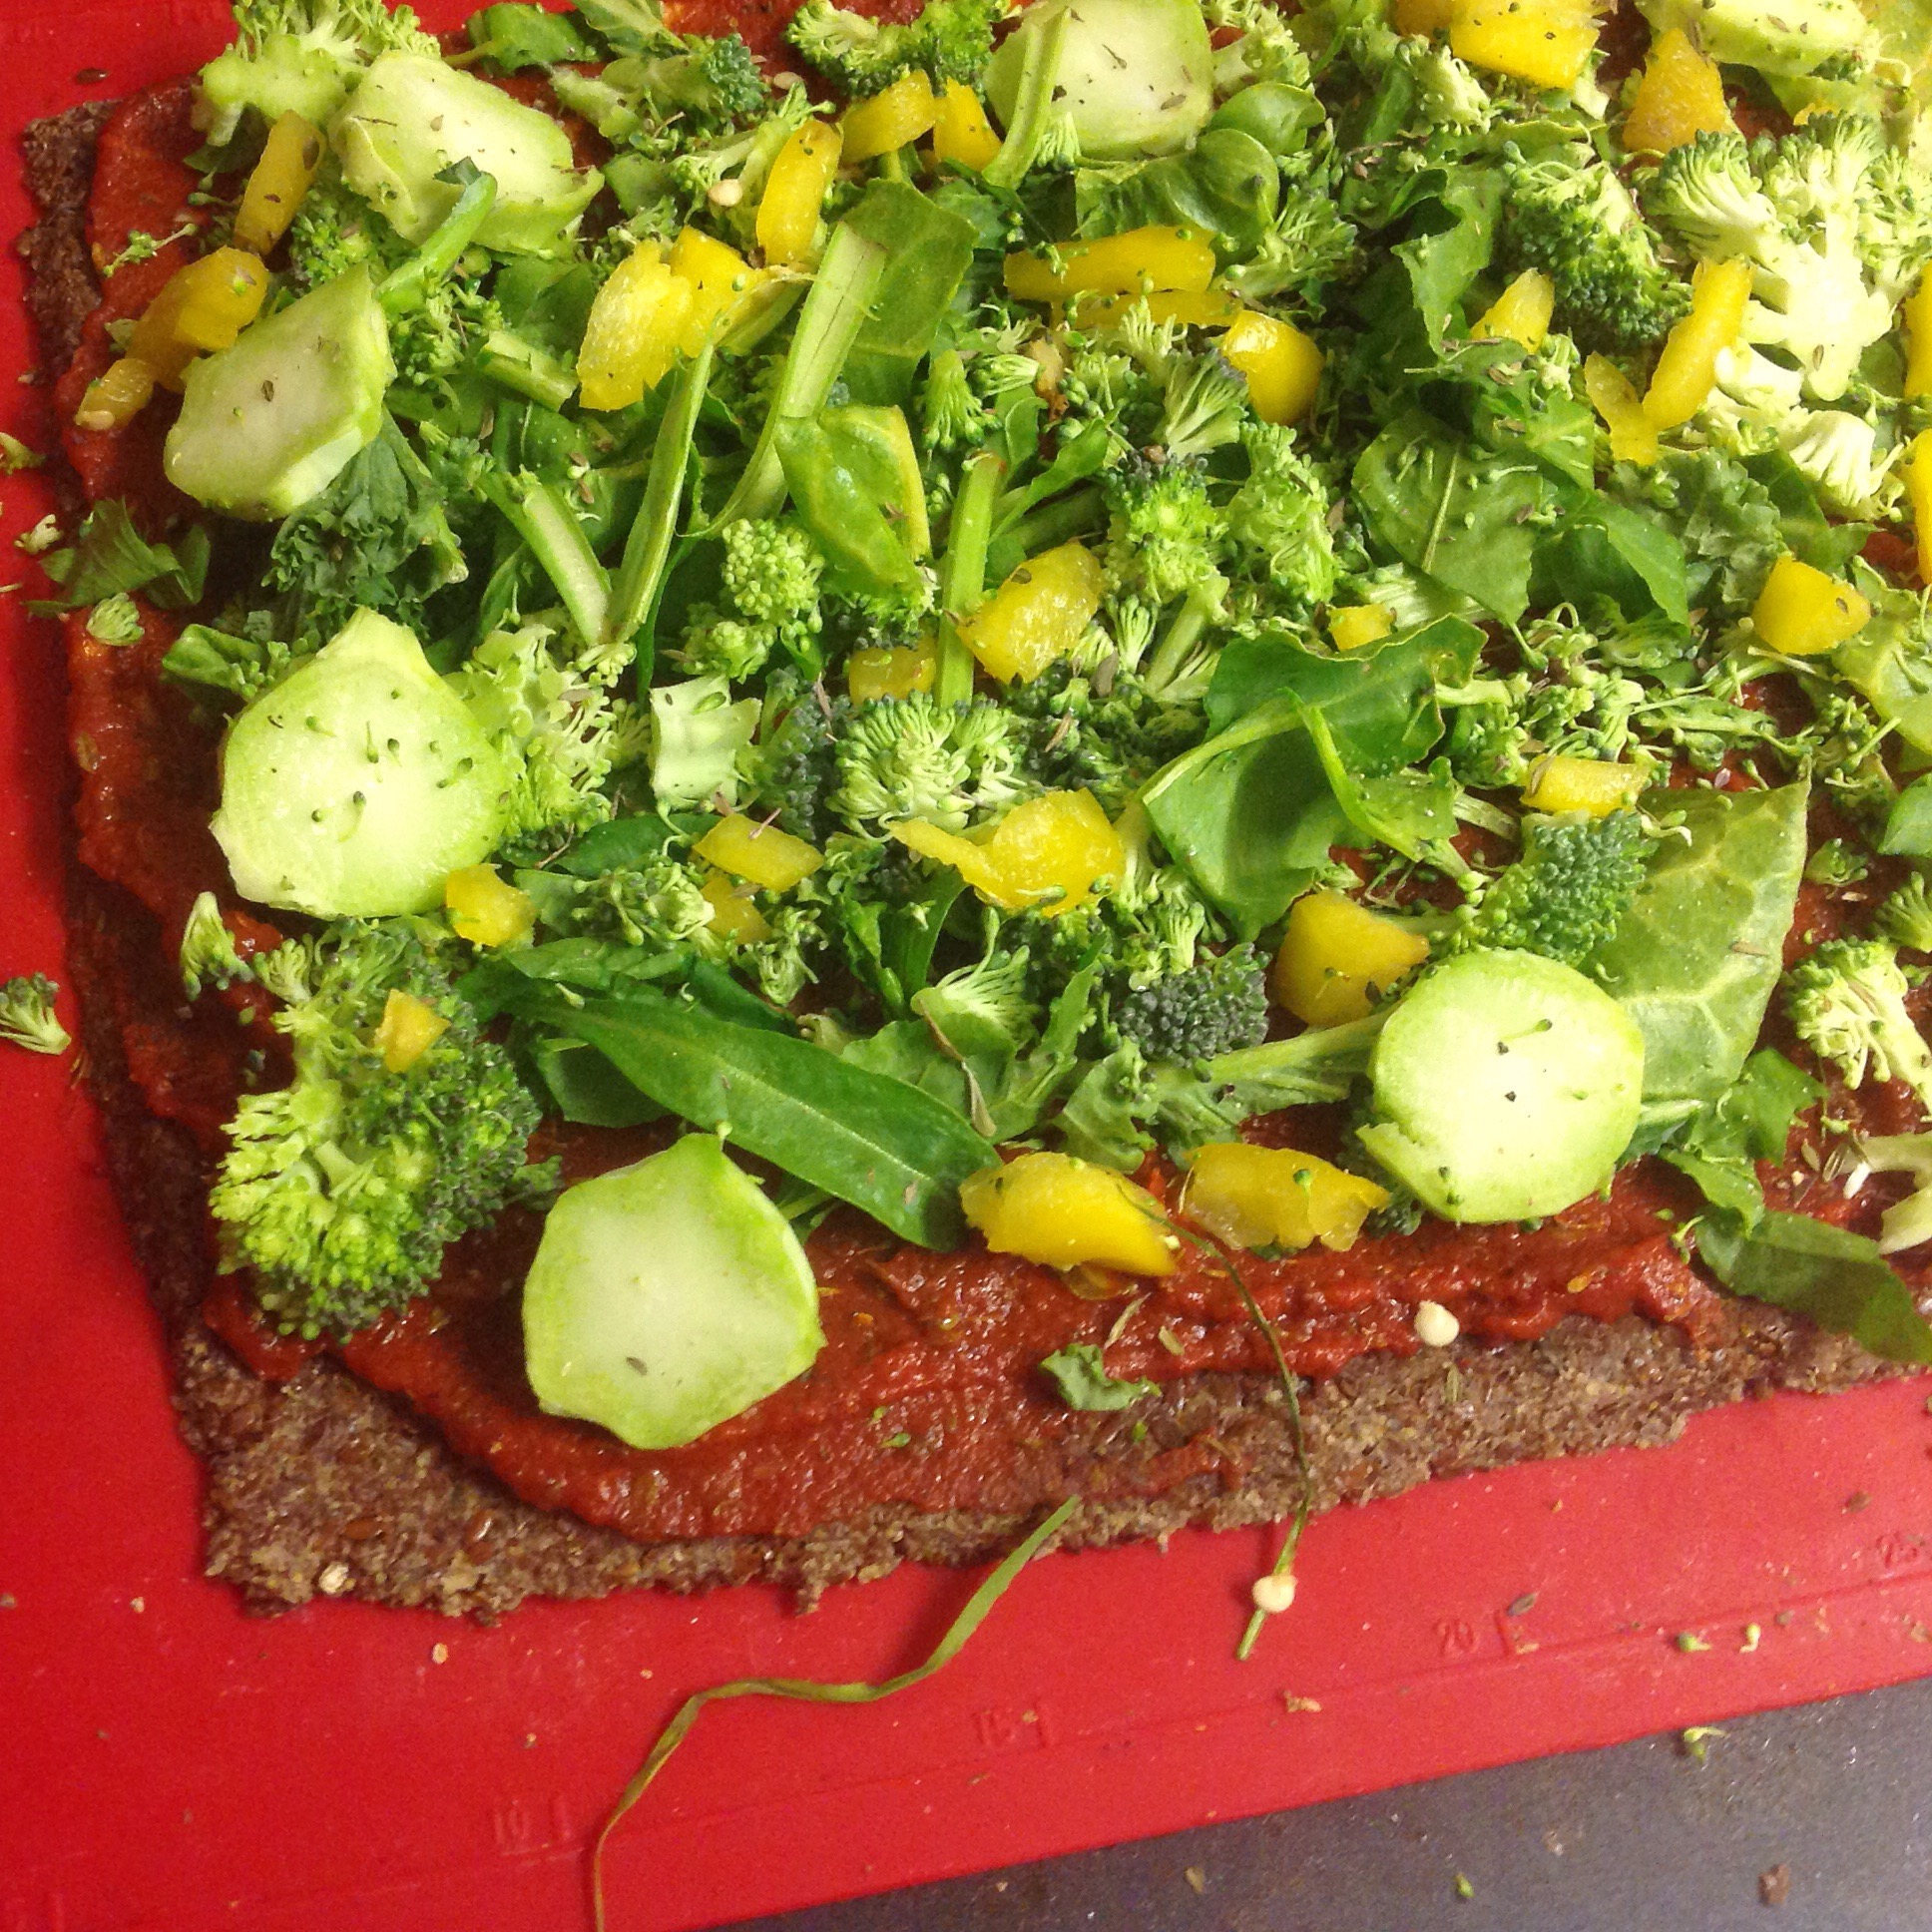
Amazing! We put some diced salad vegetables into the top ones too!
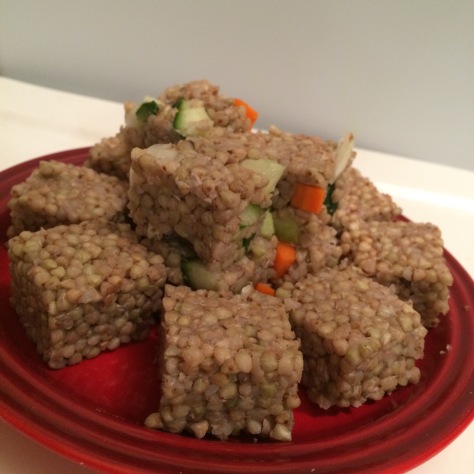
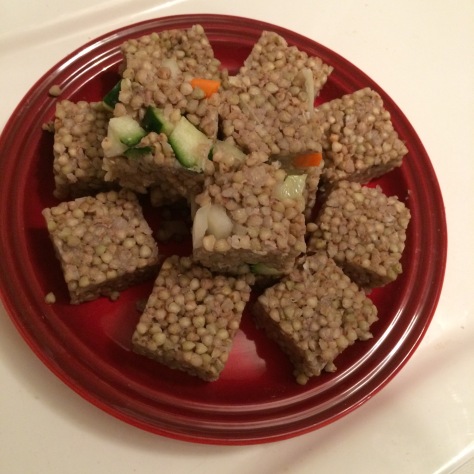 Oh so neat!
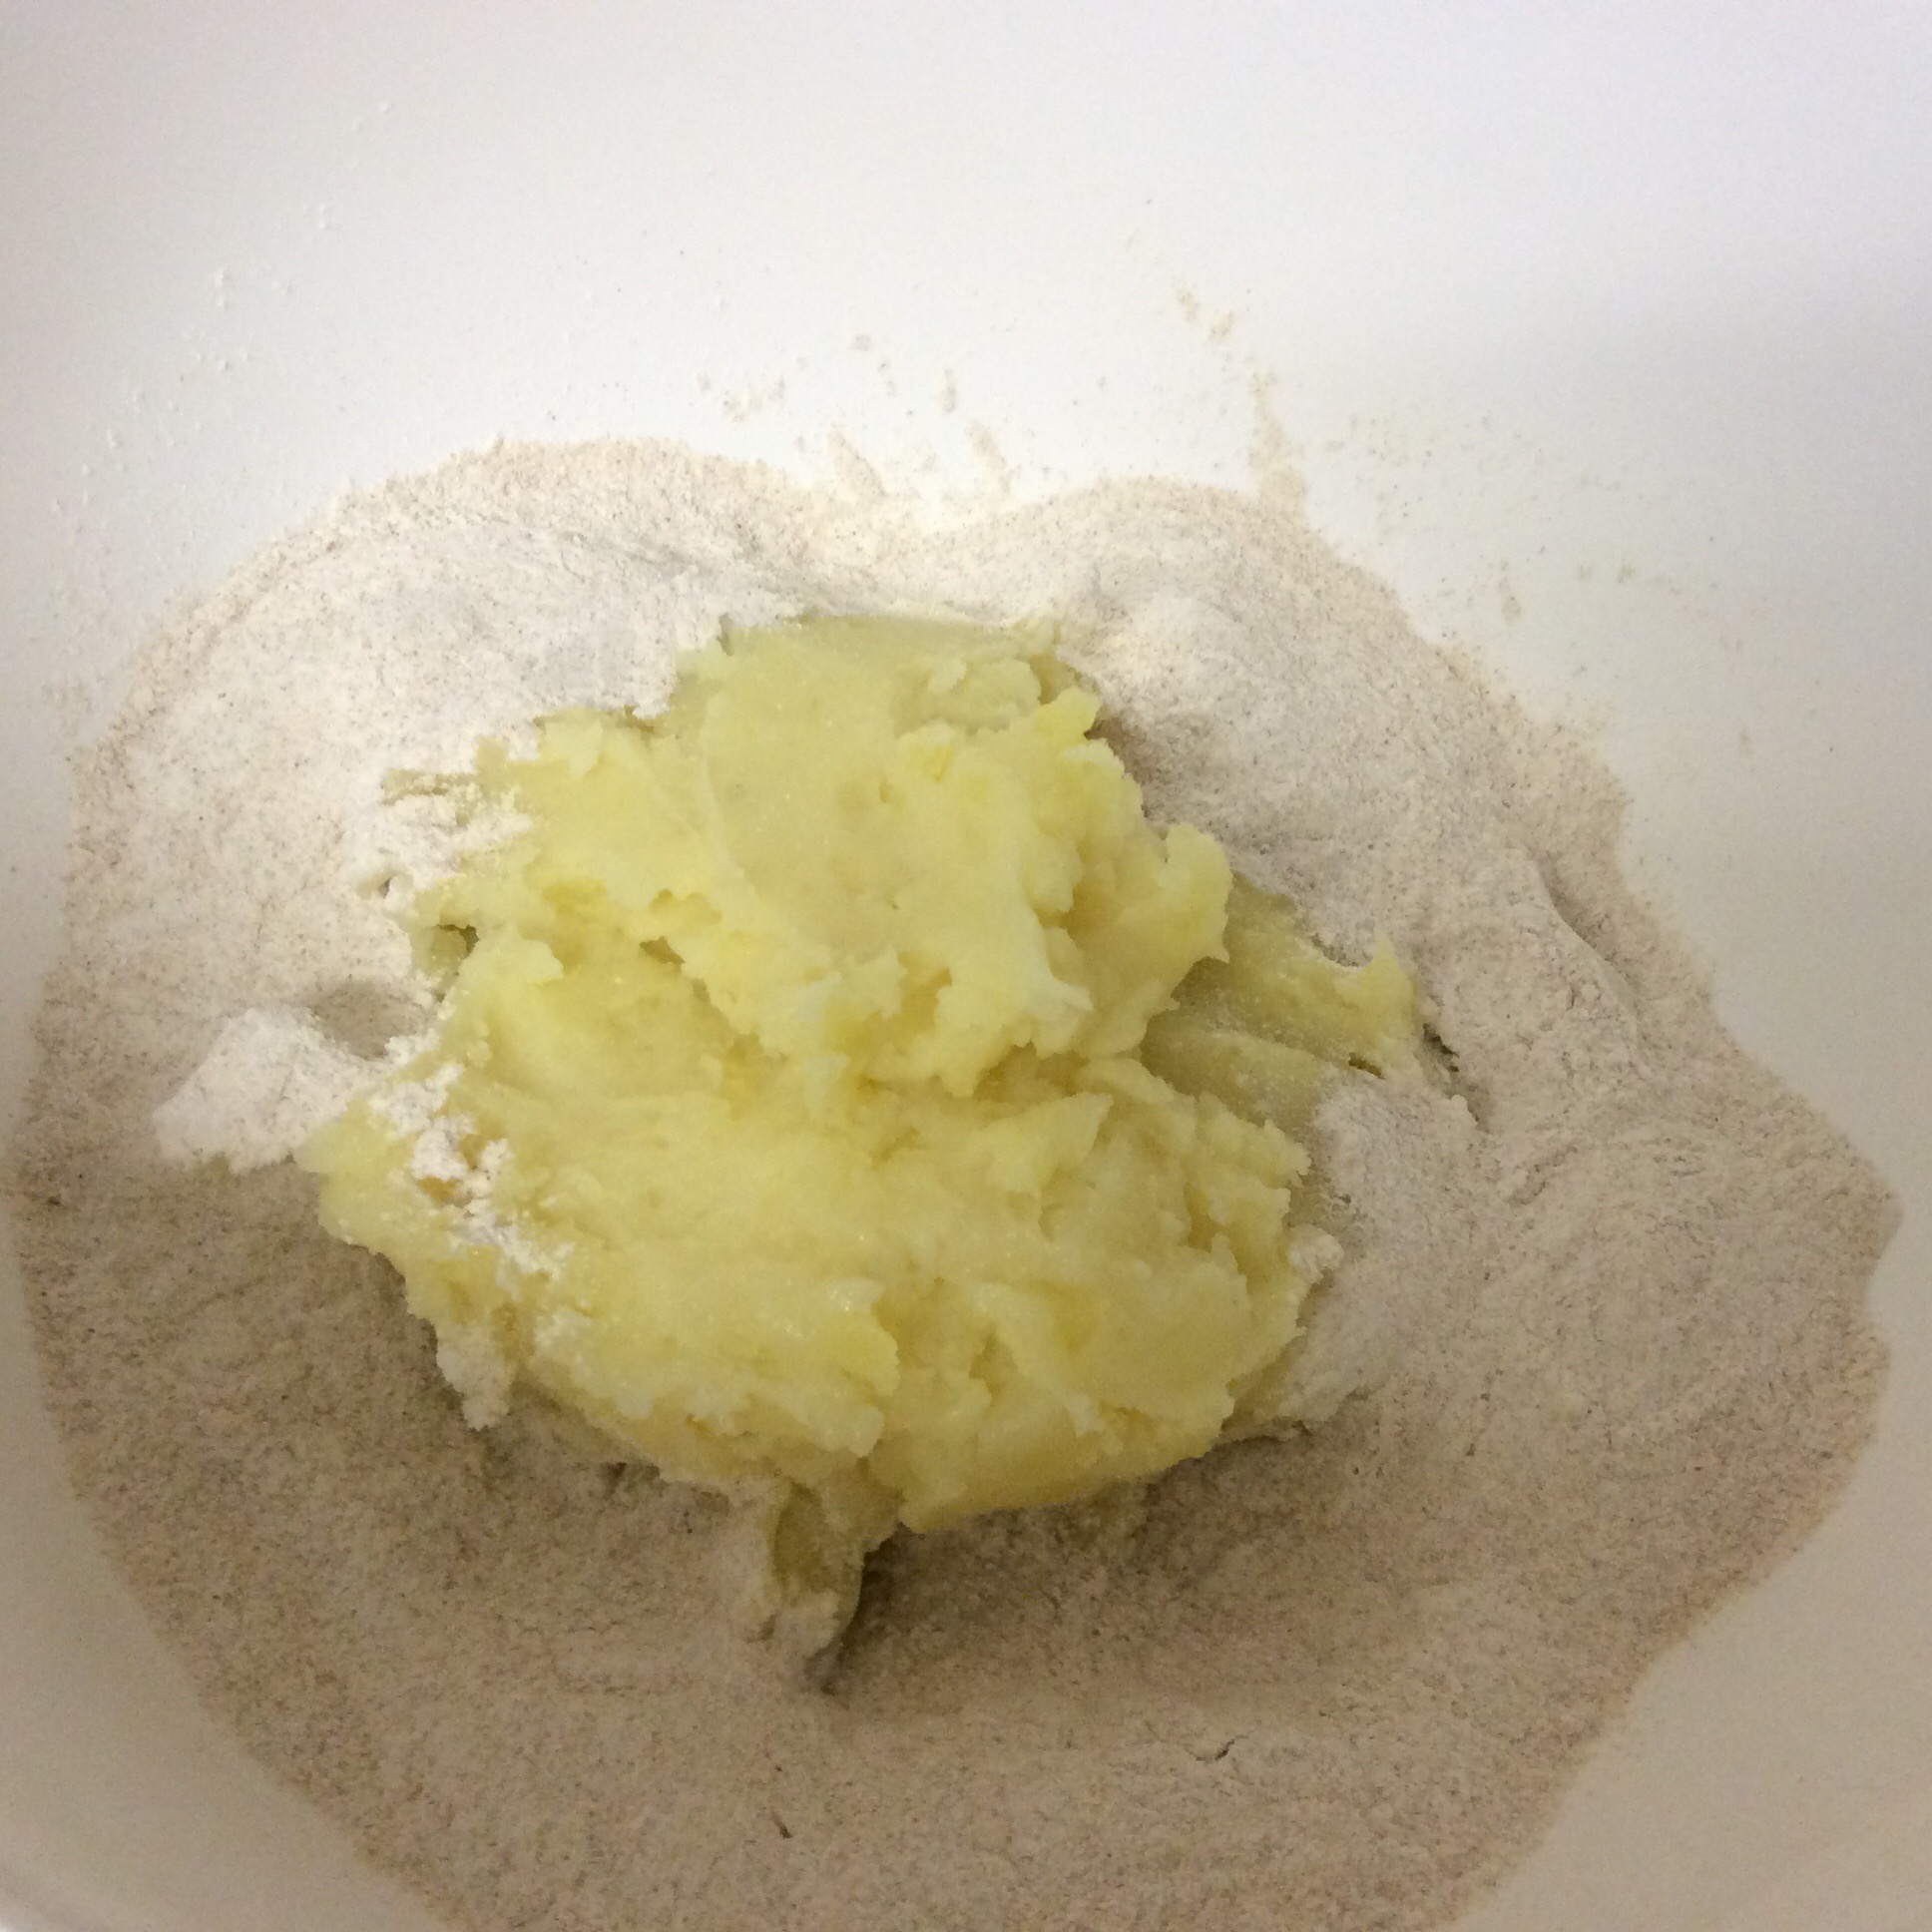
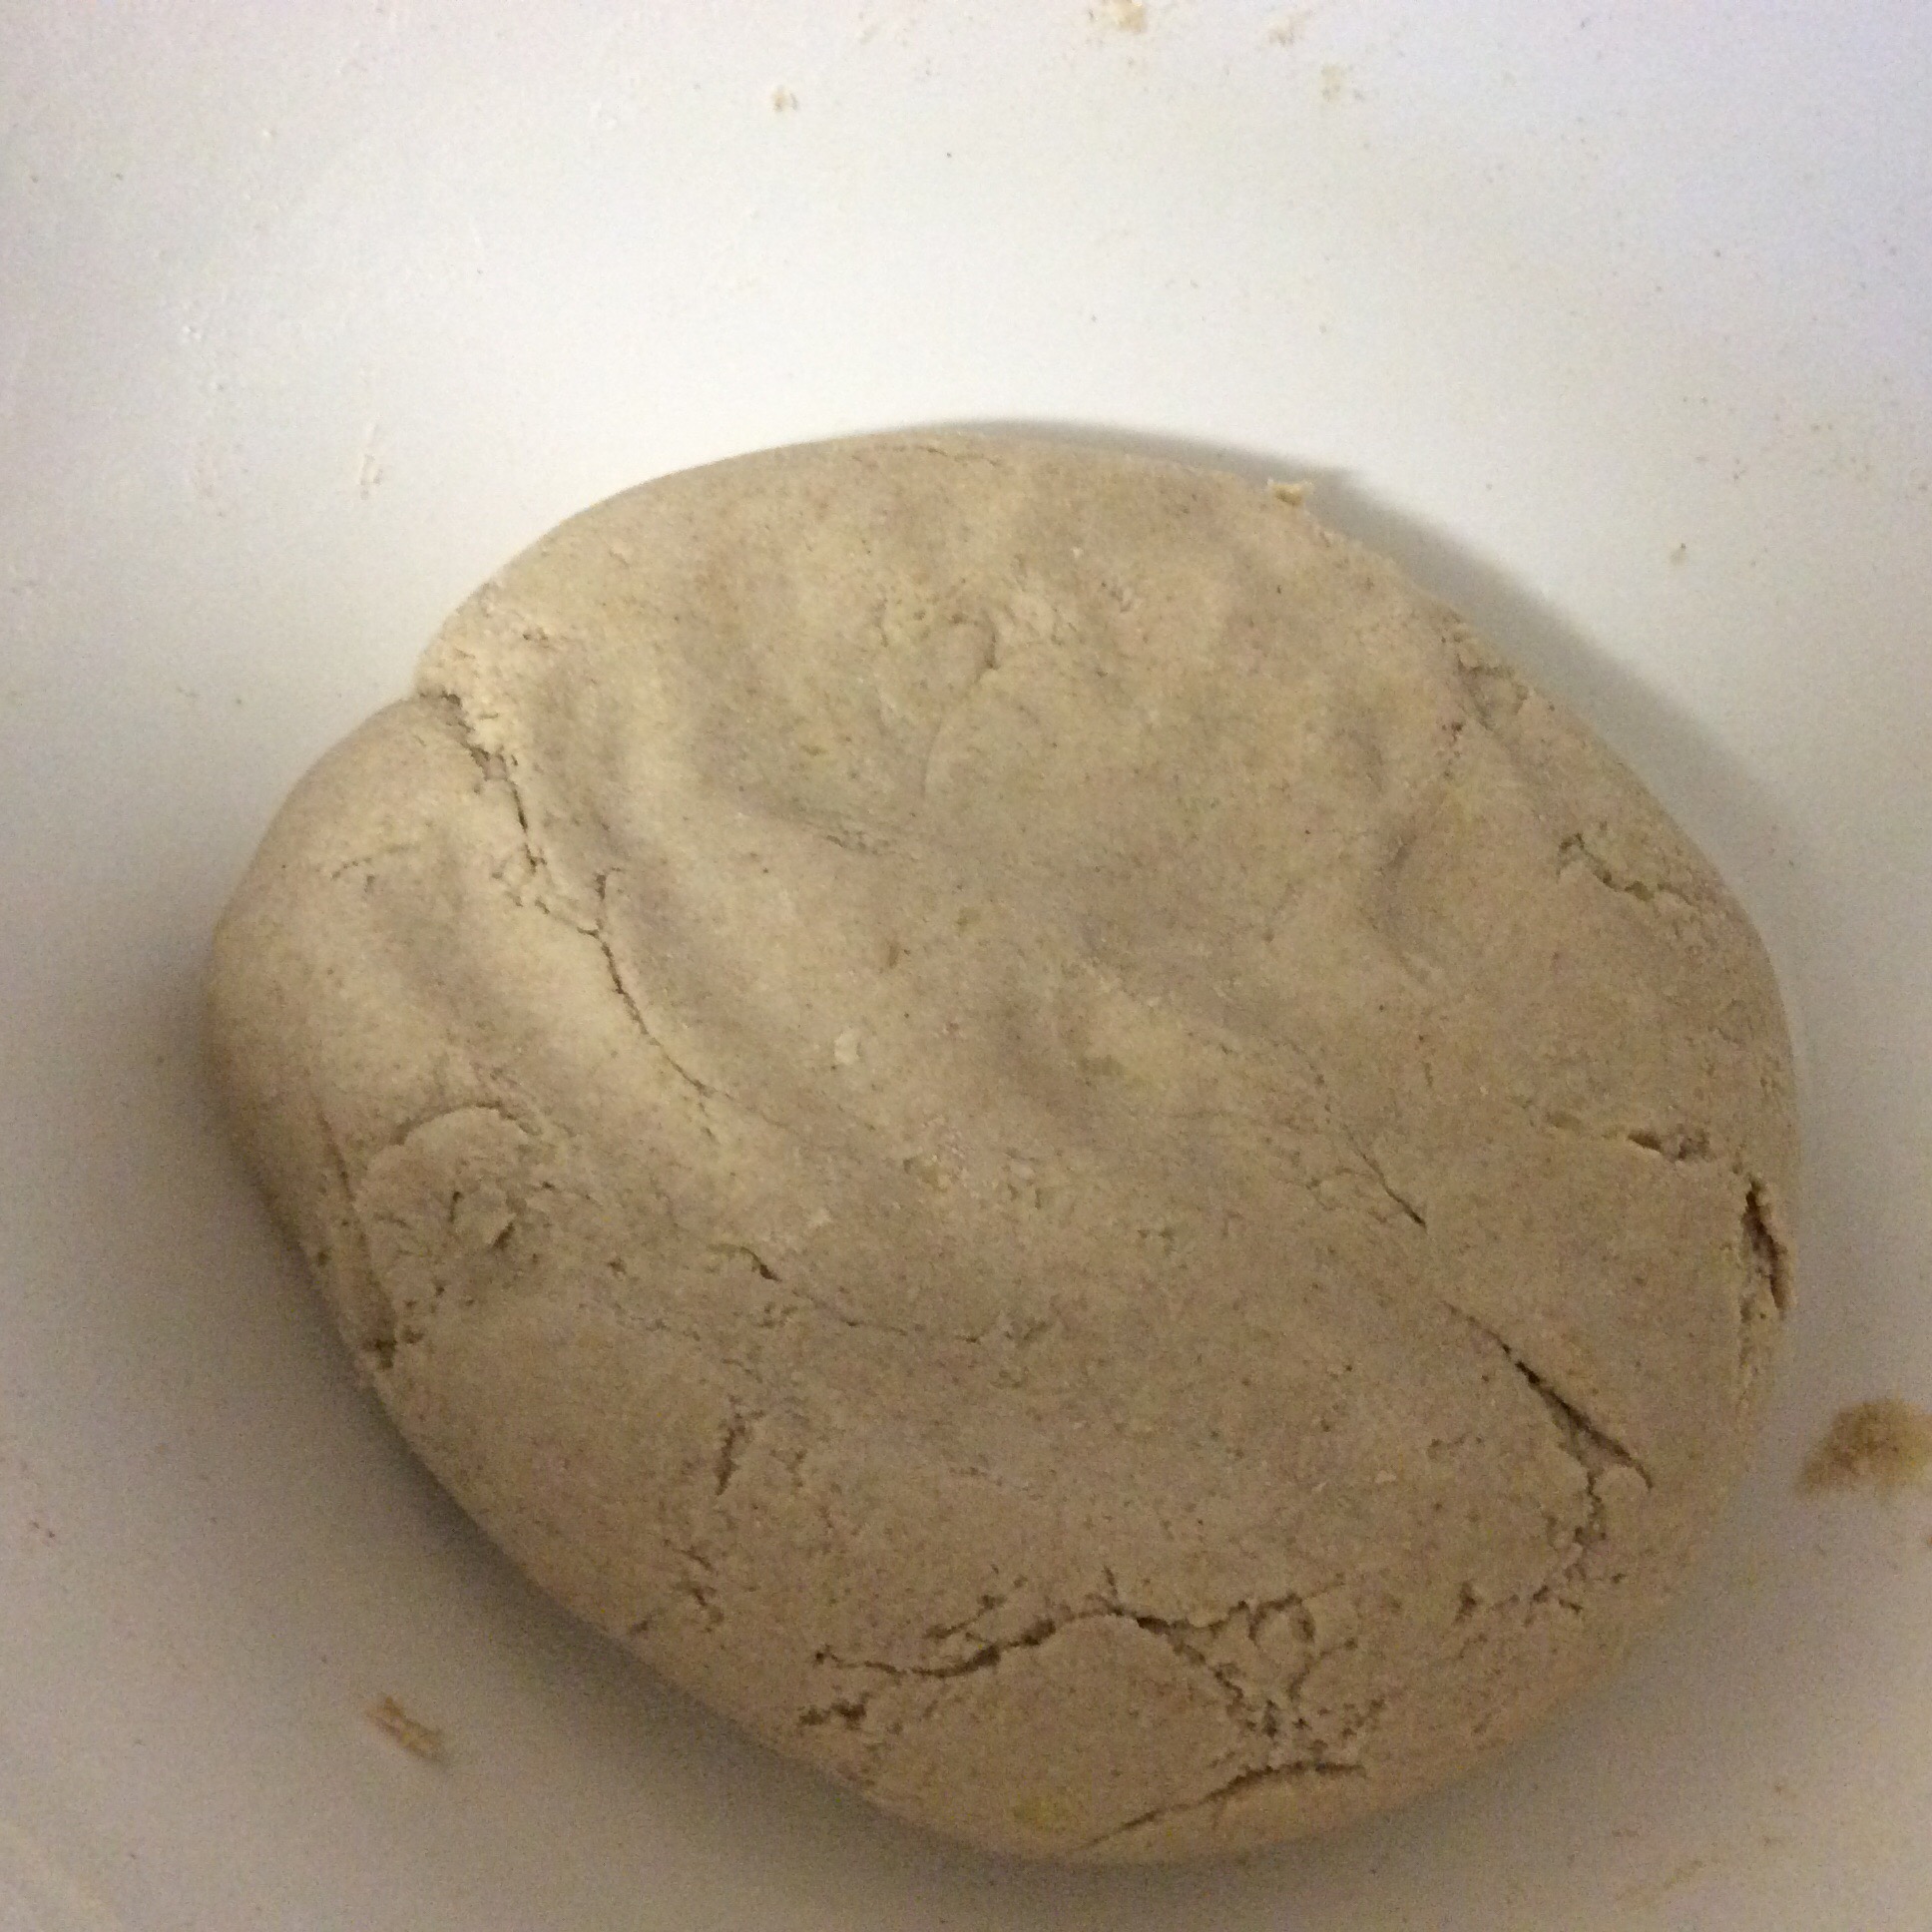
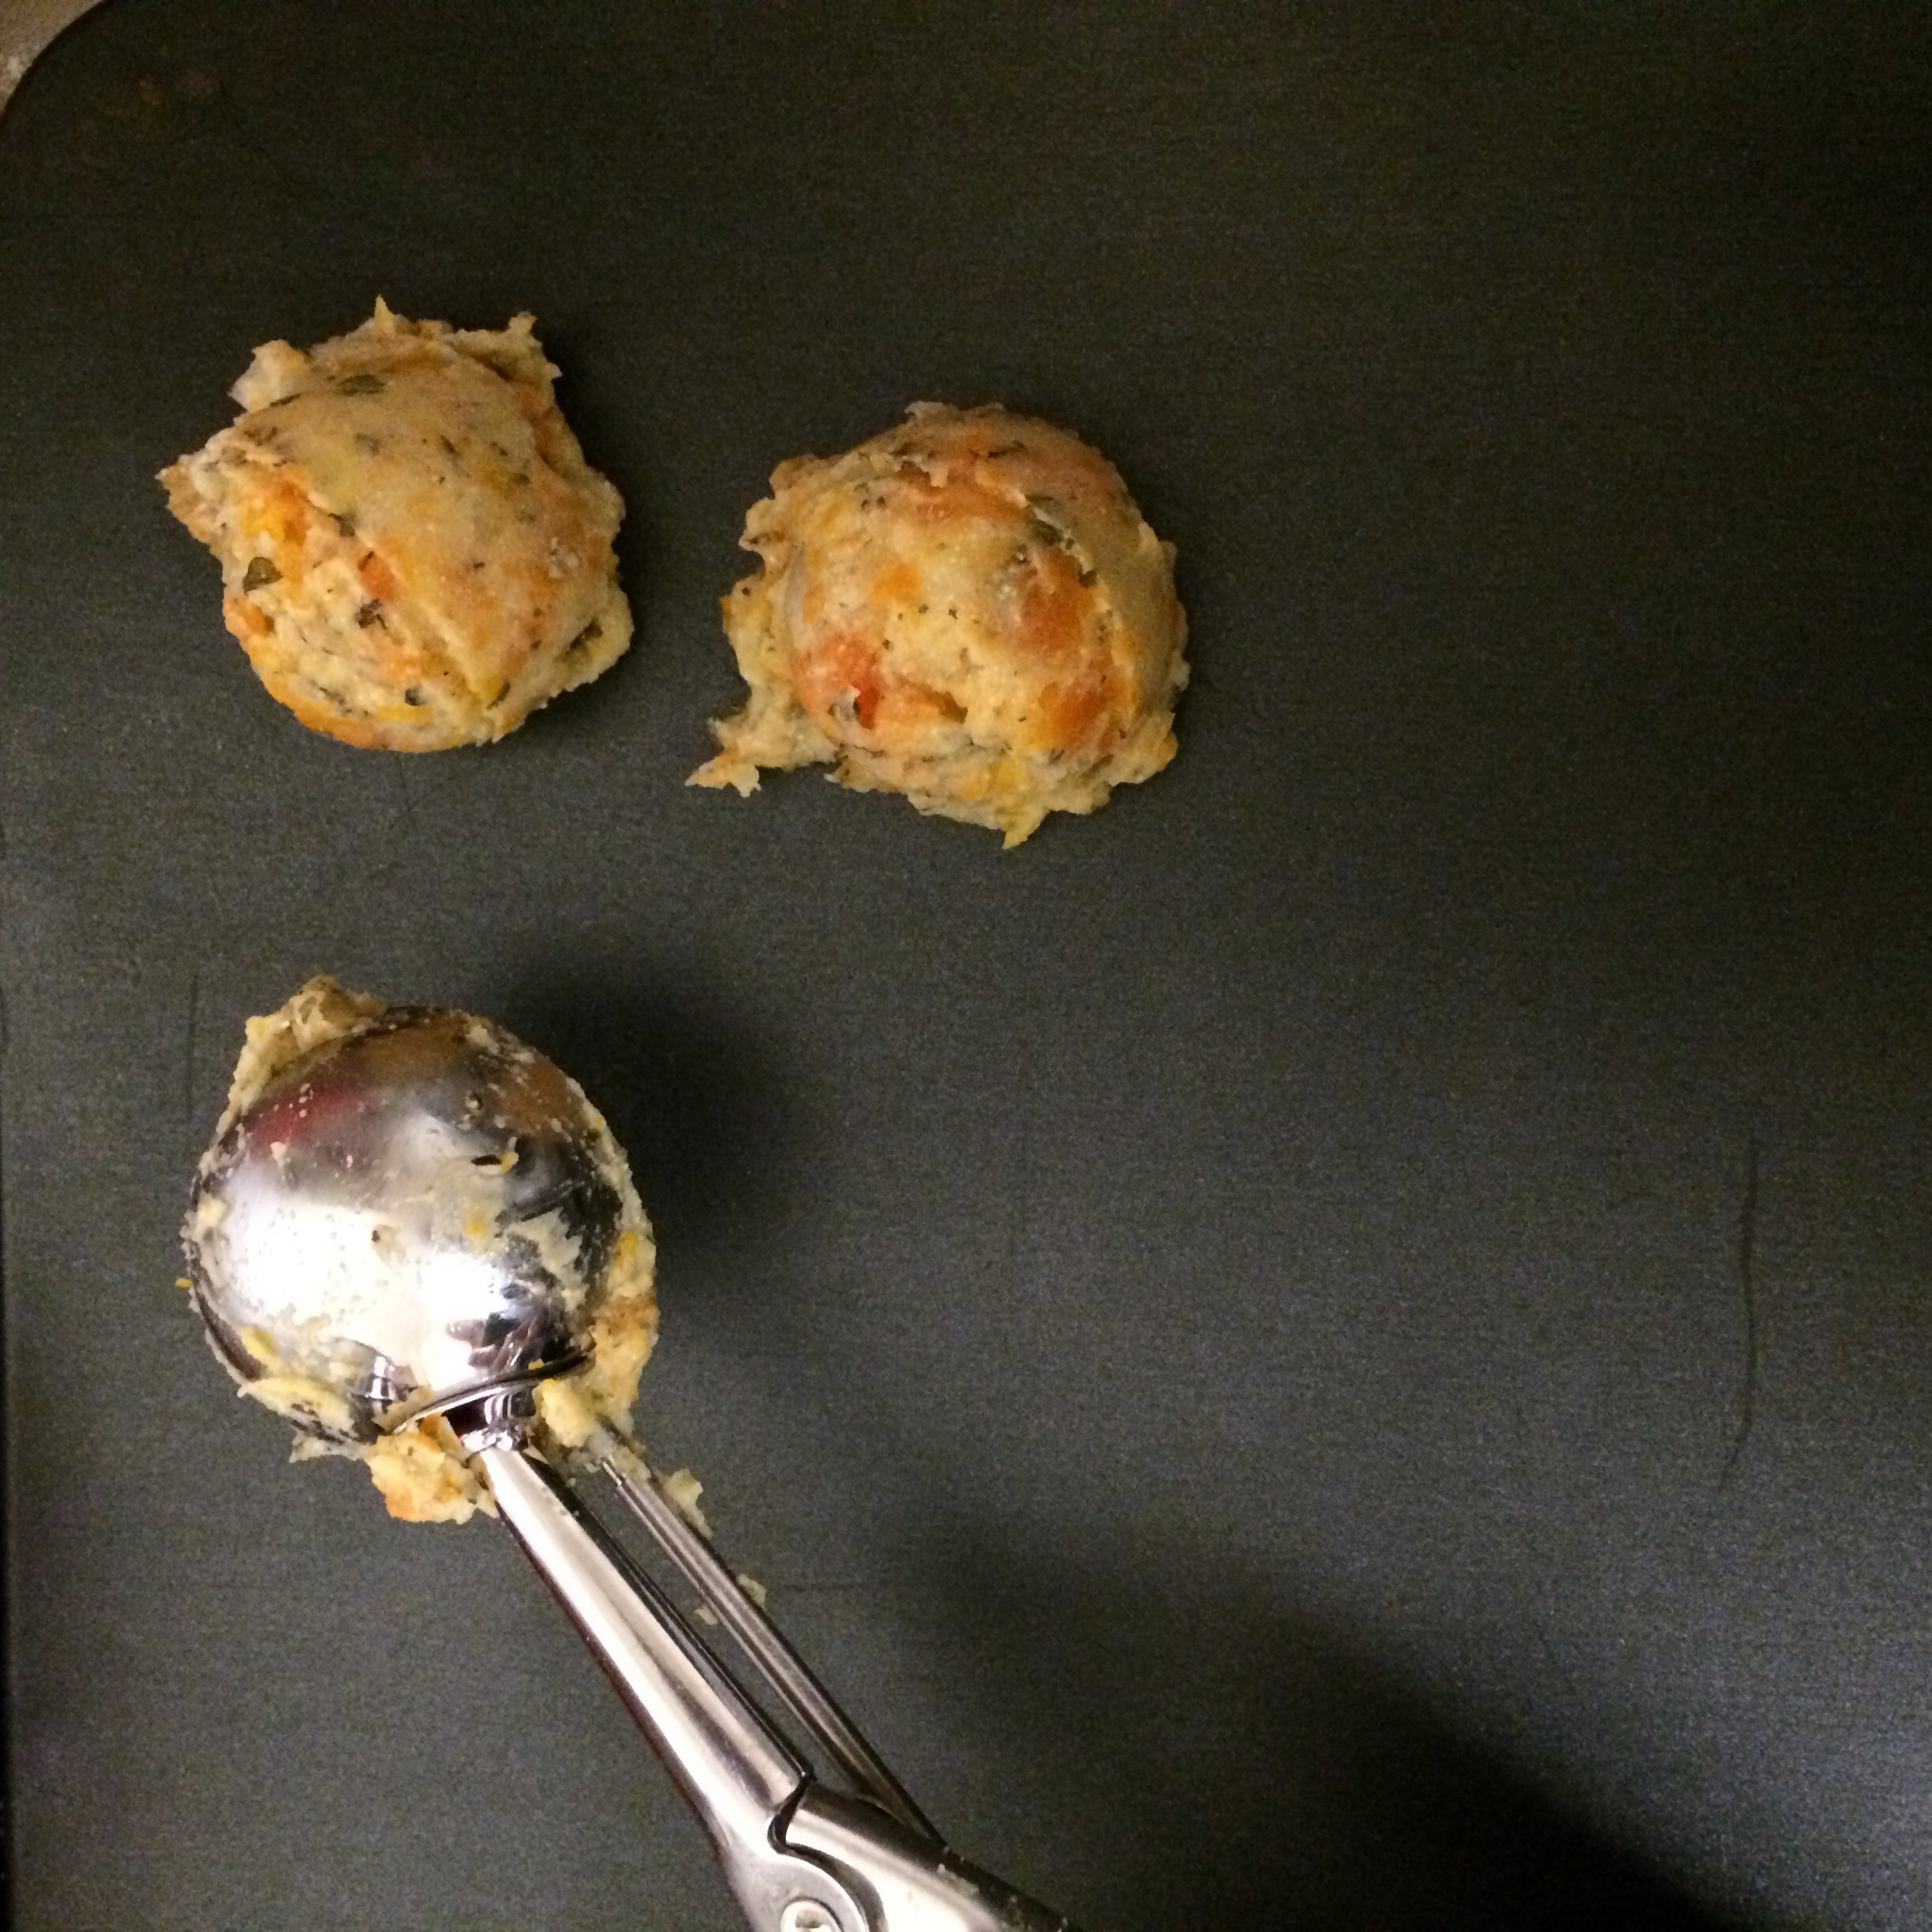
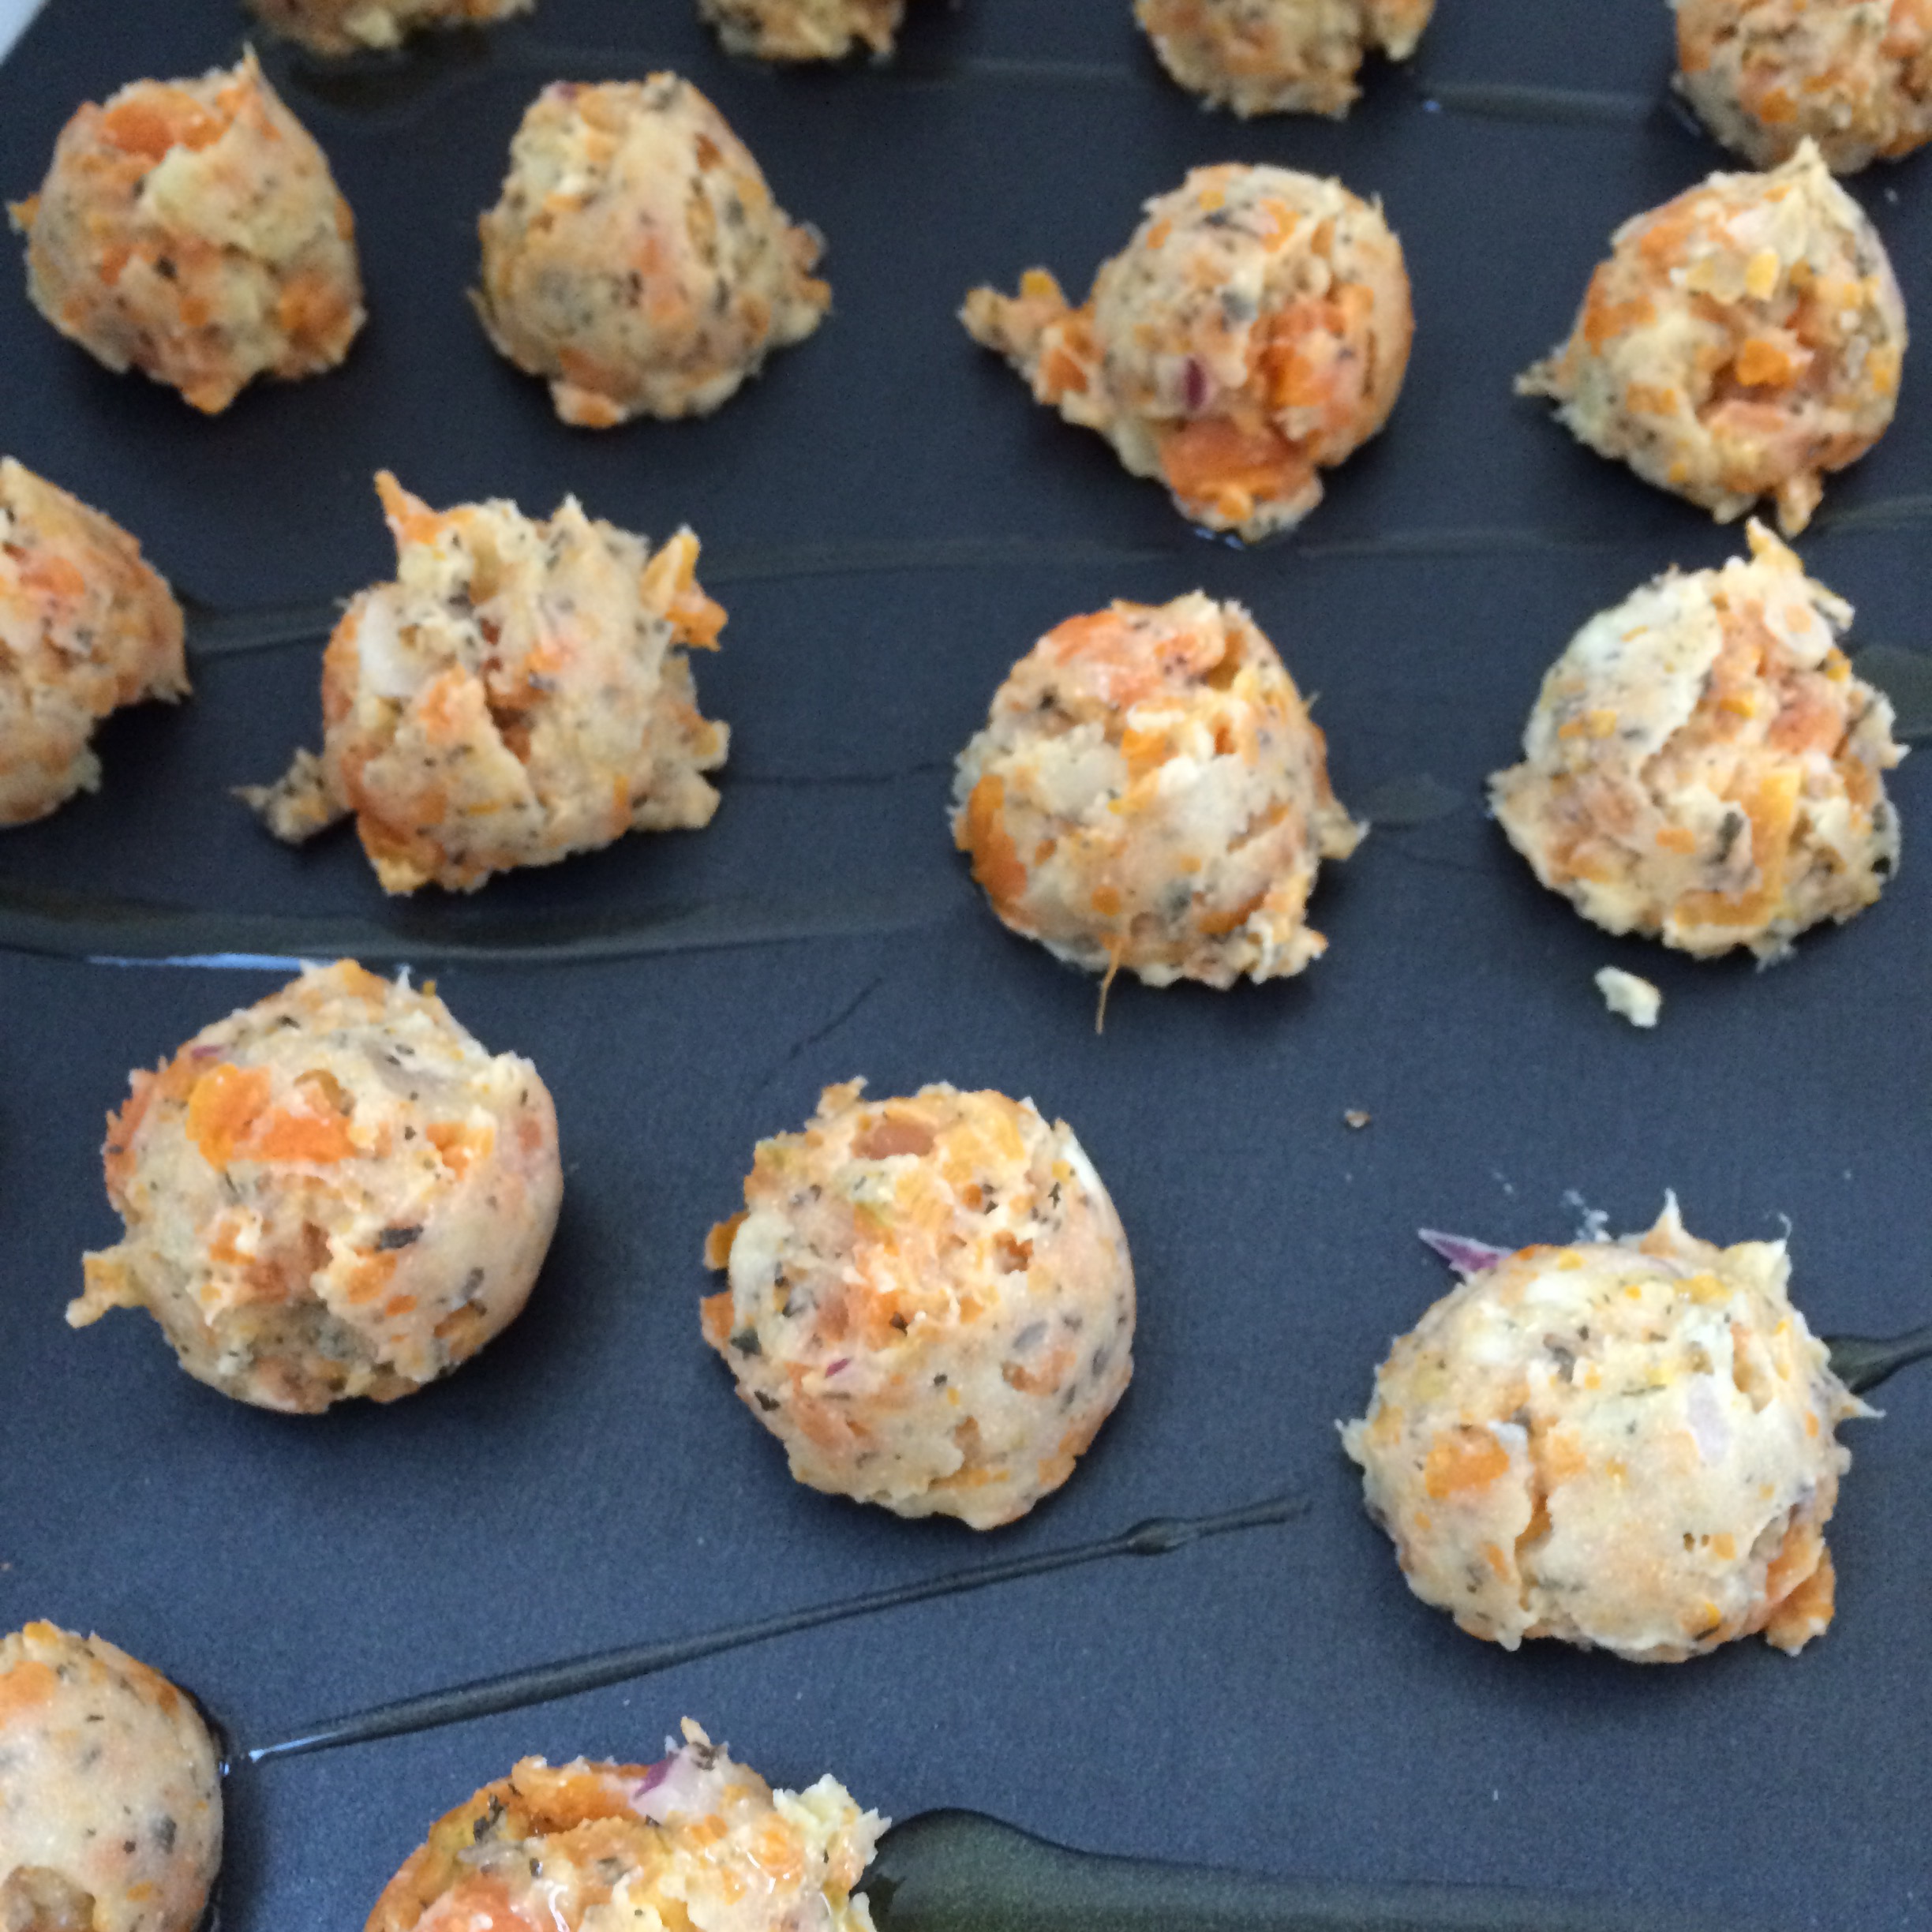
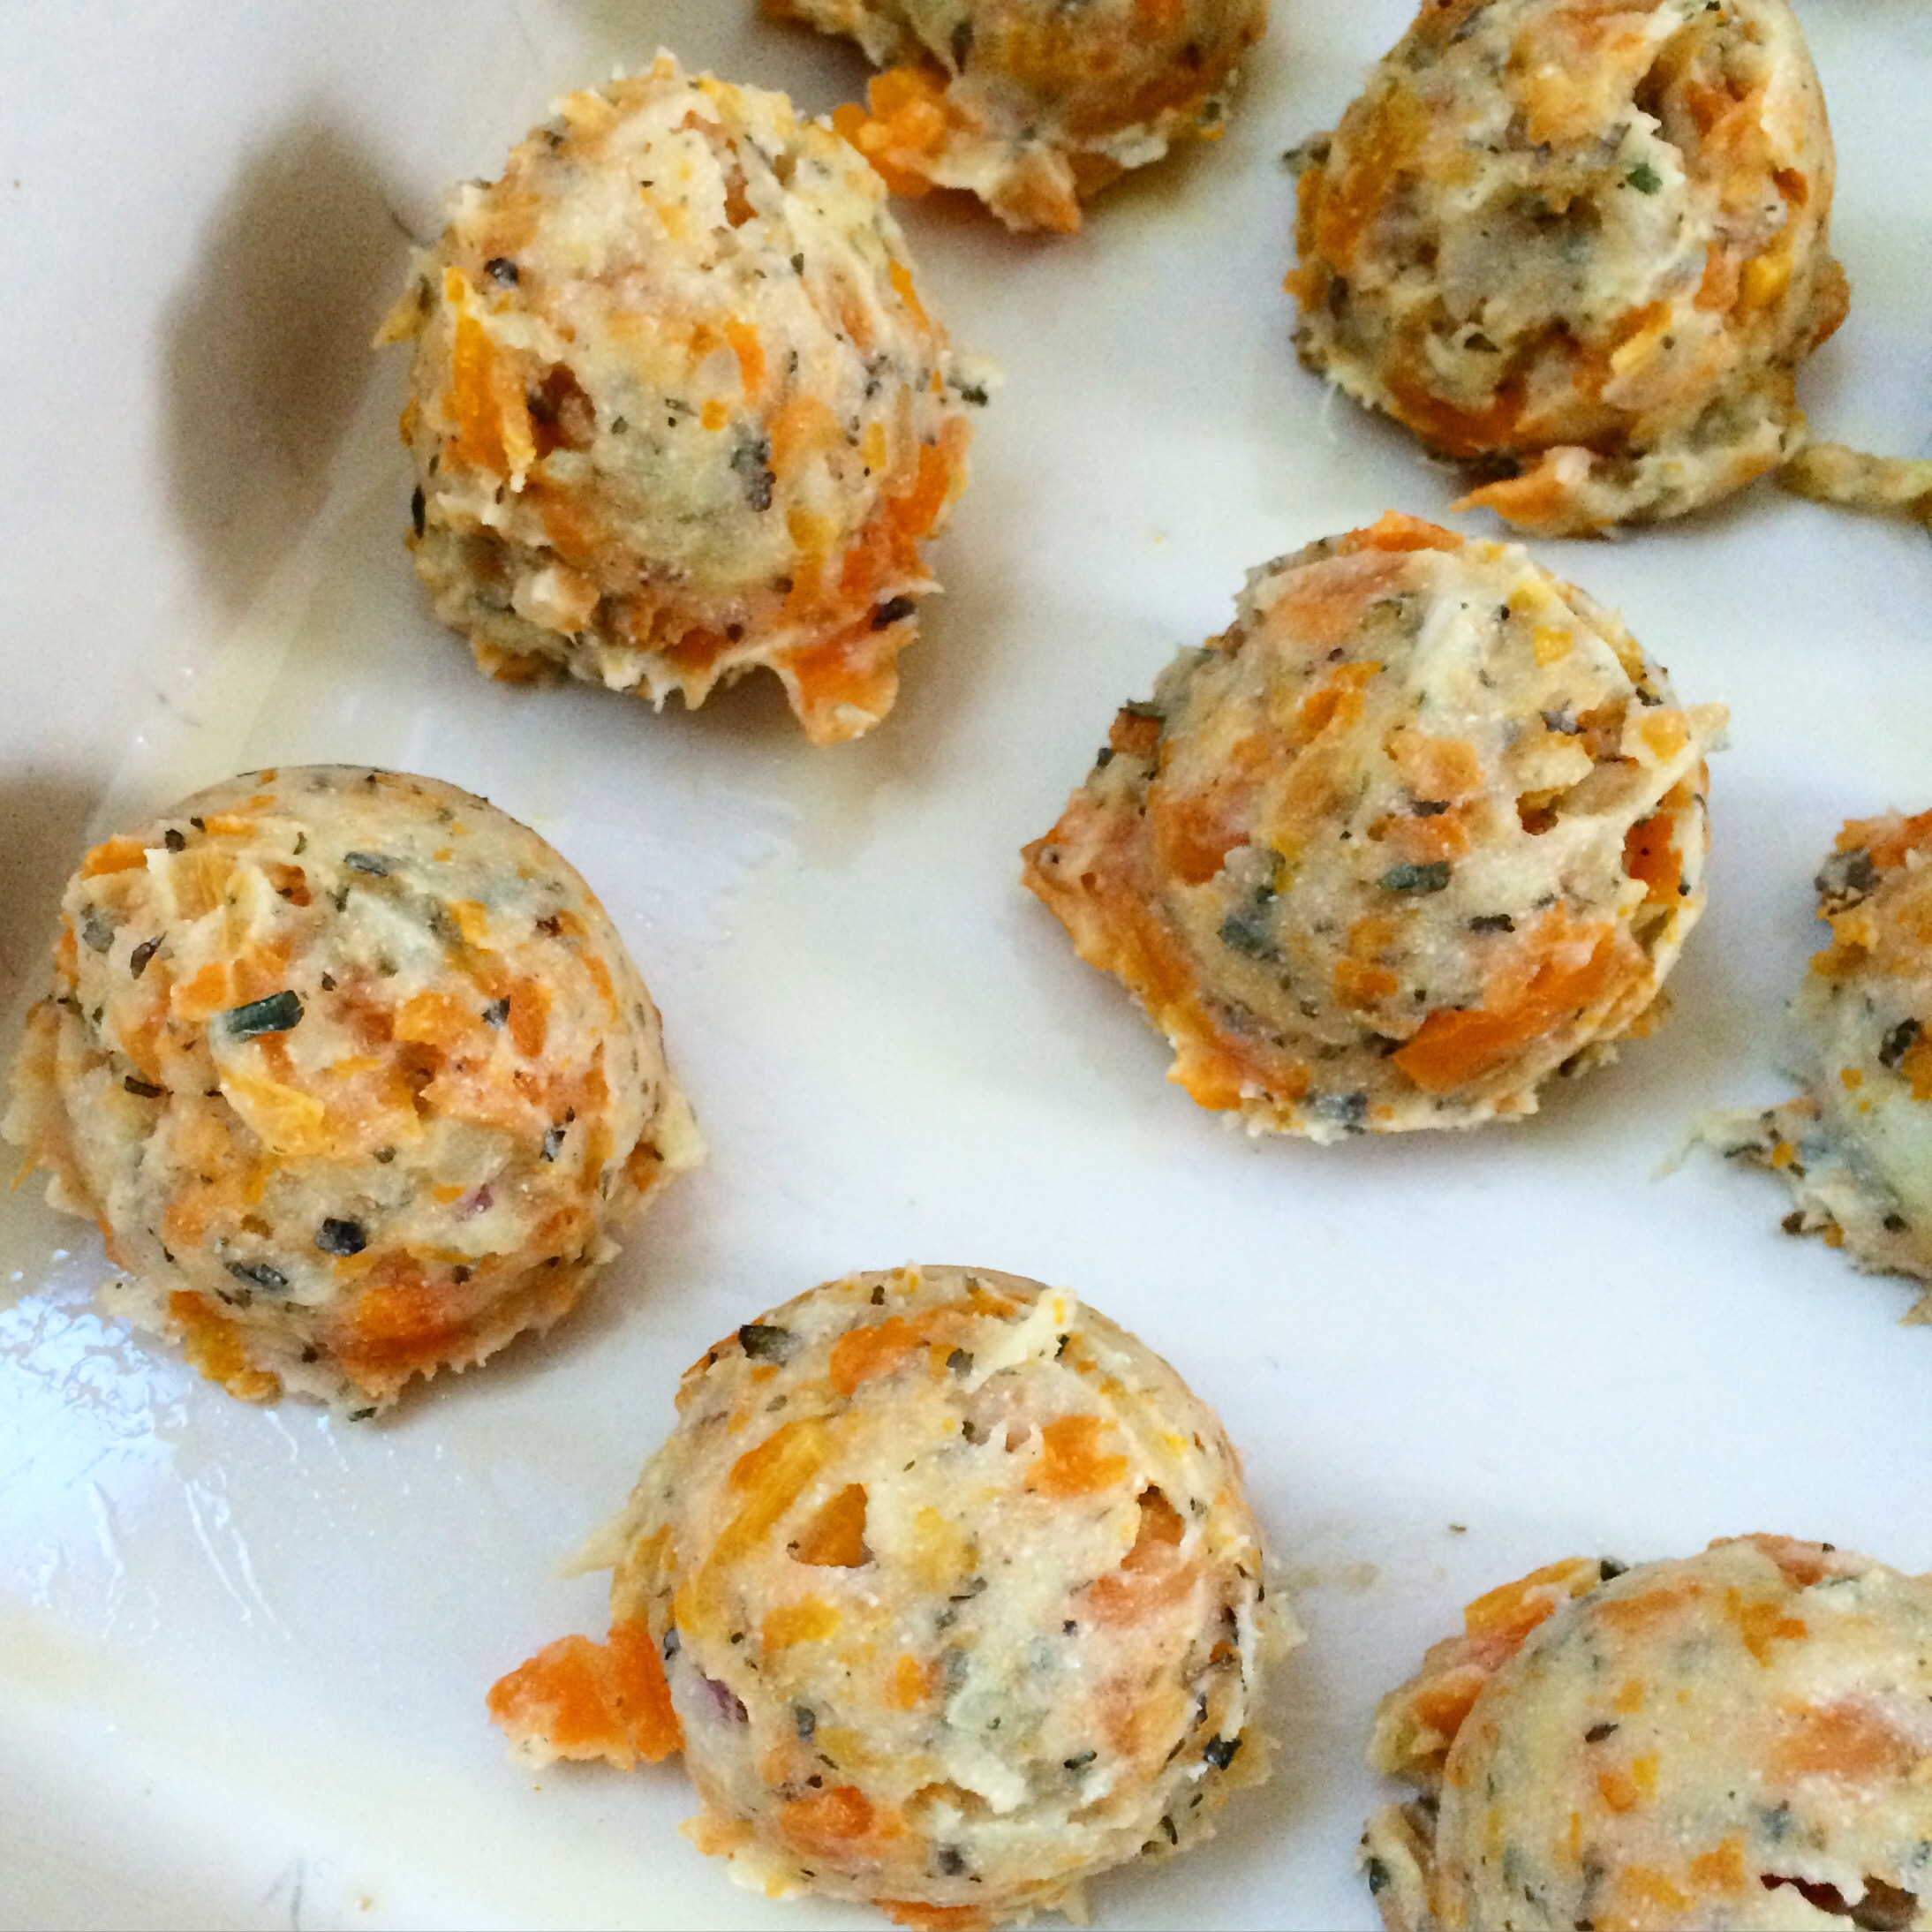
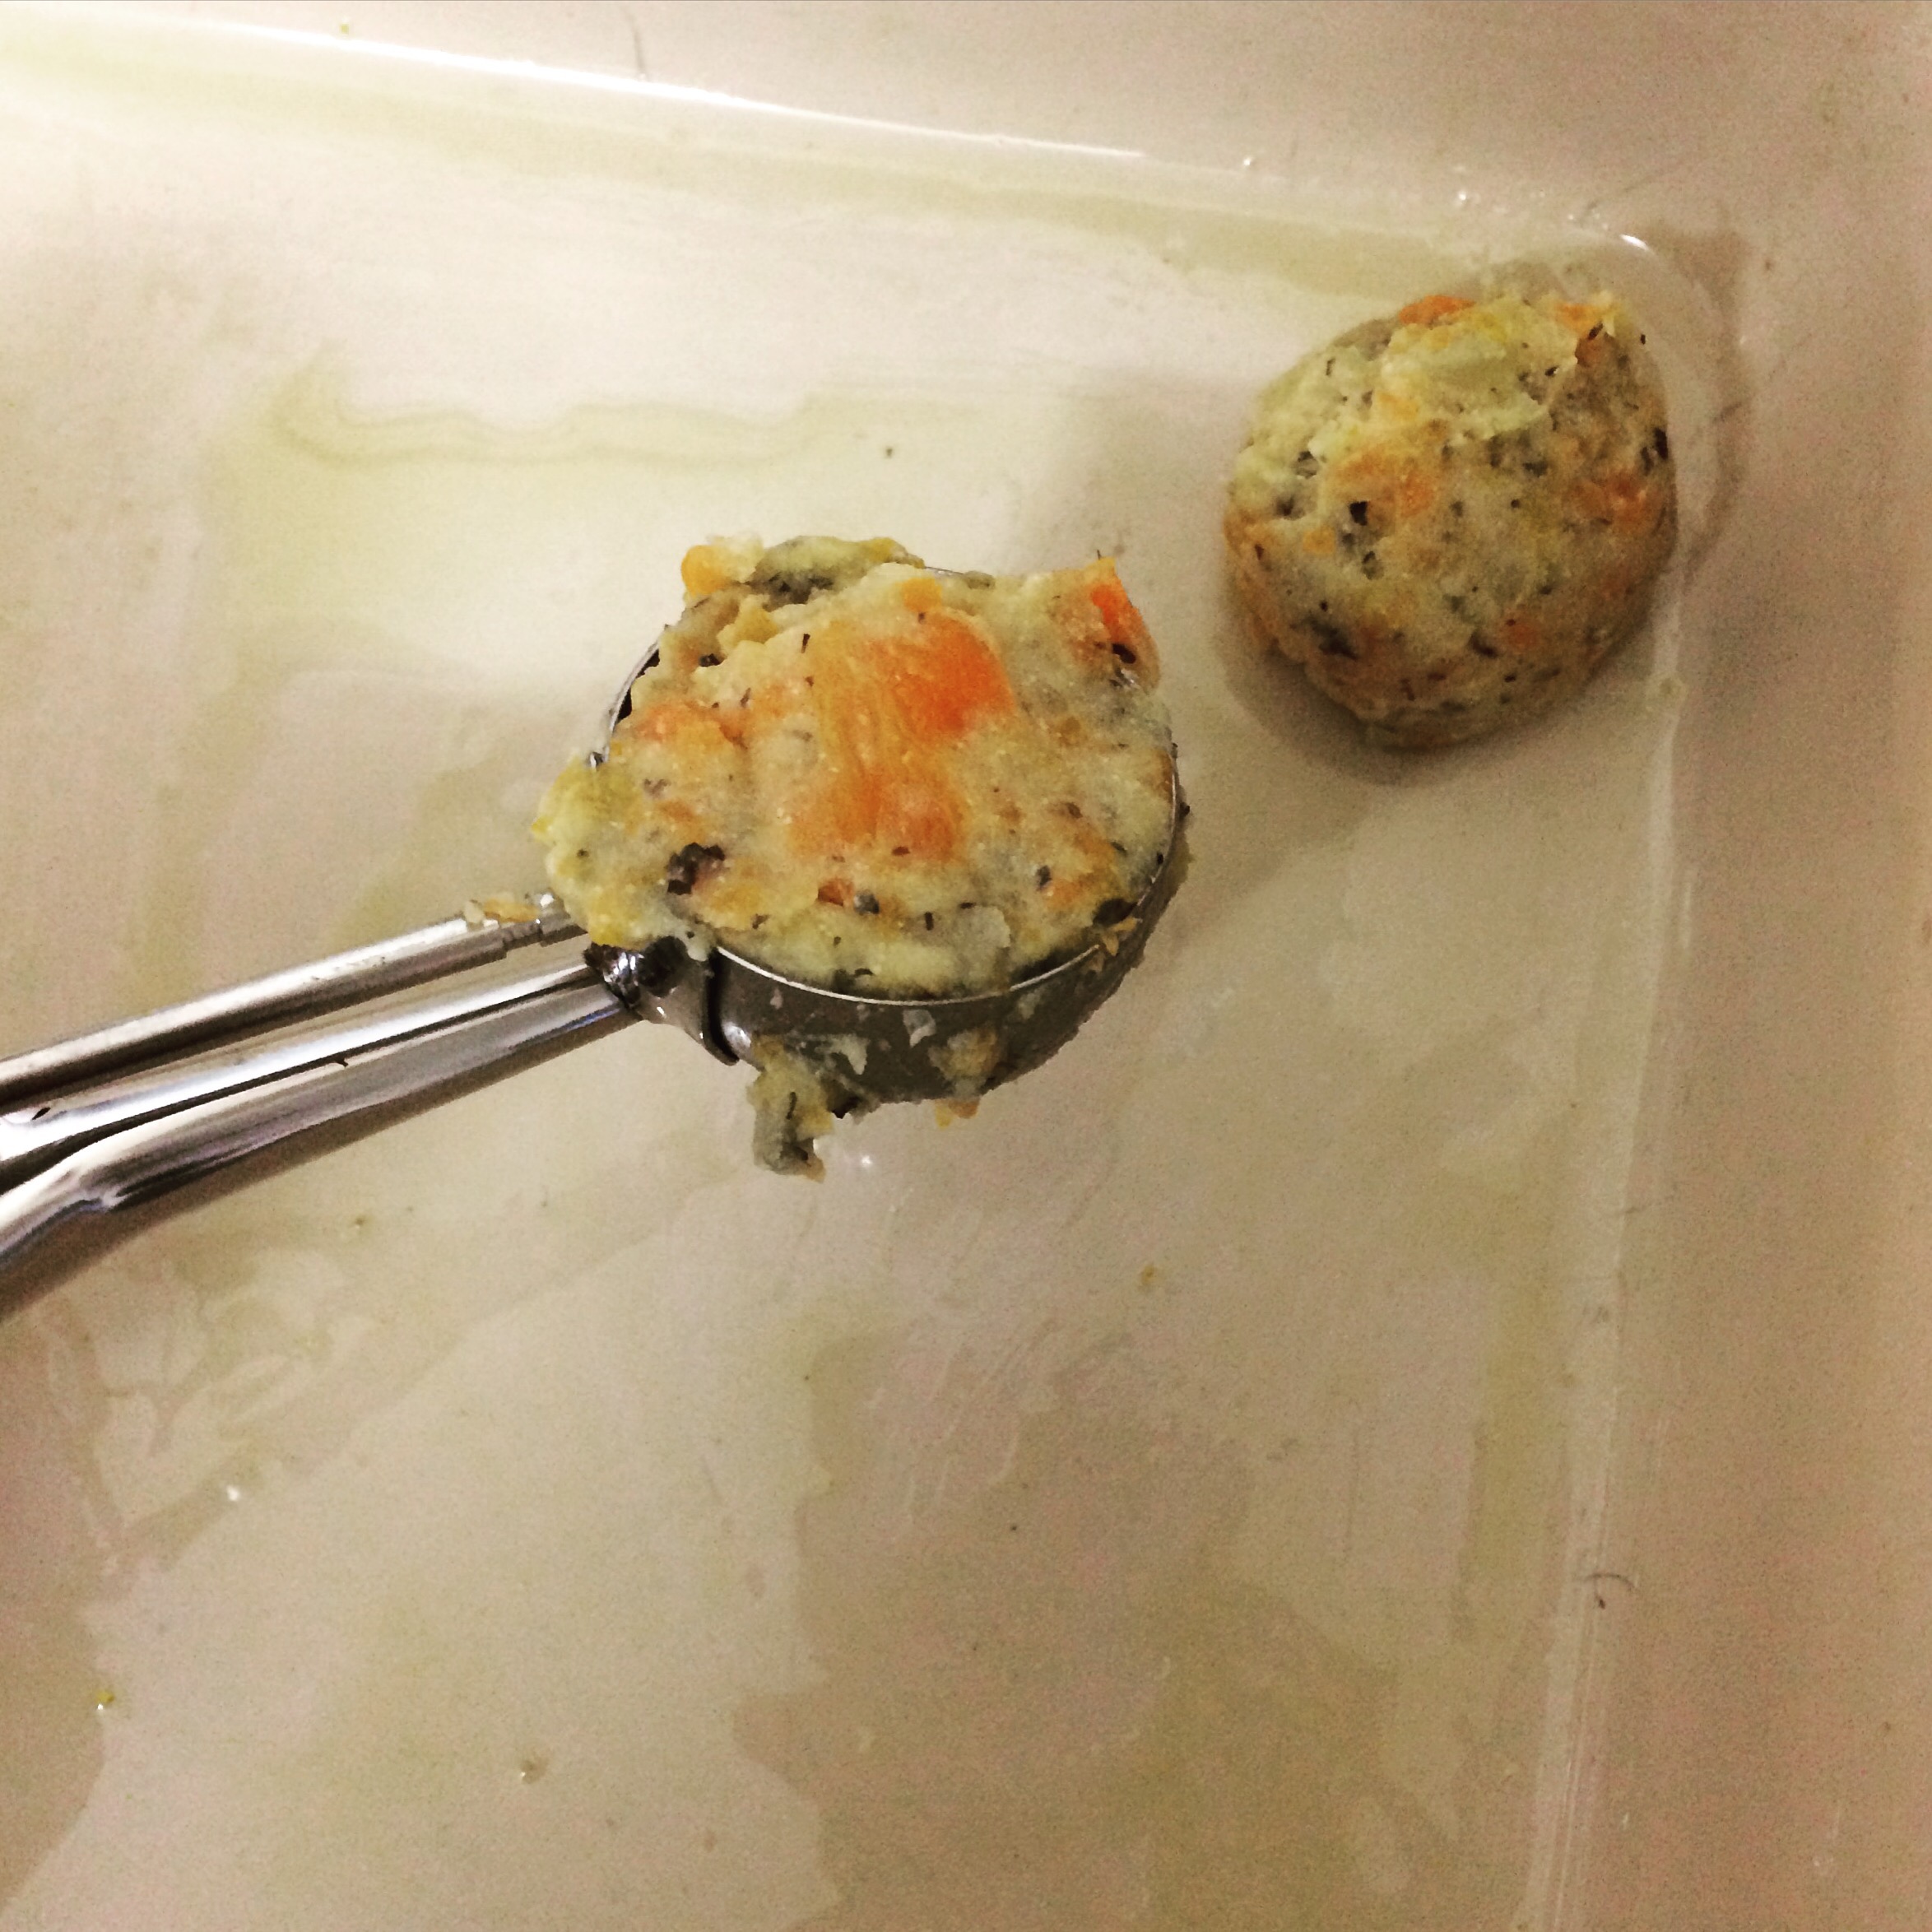
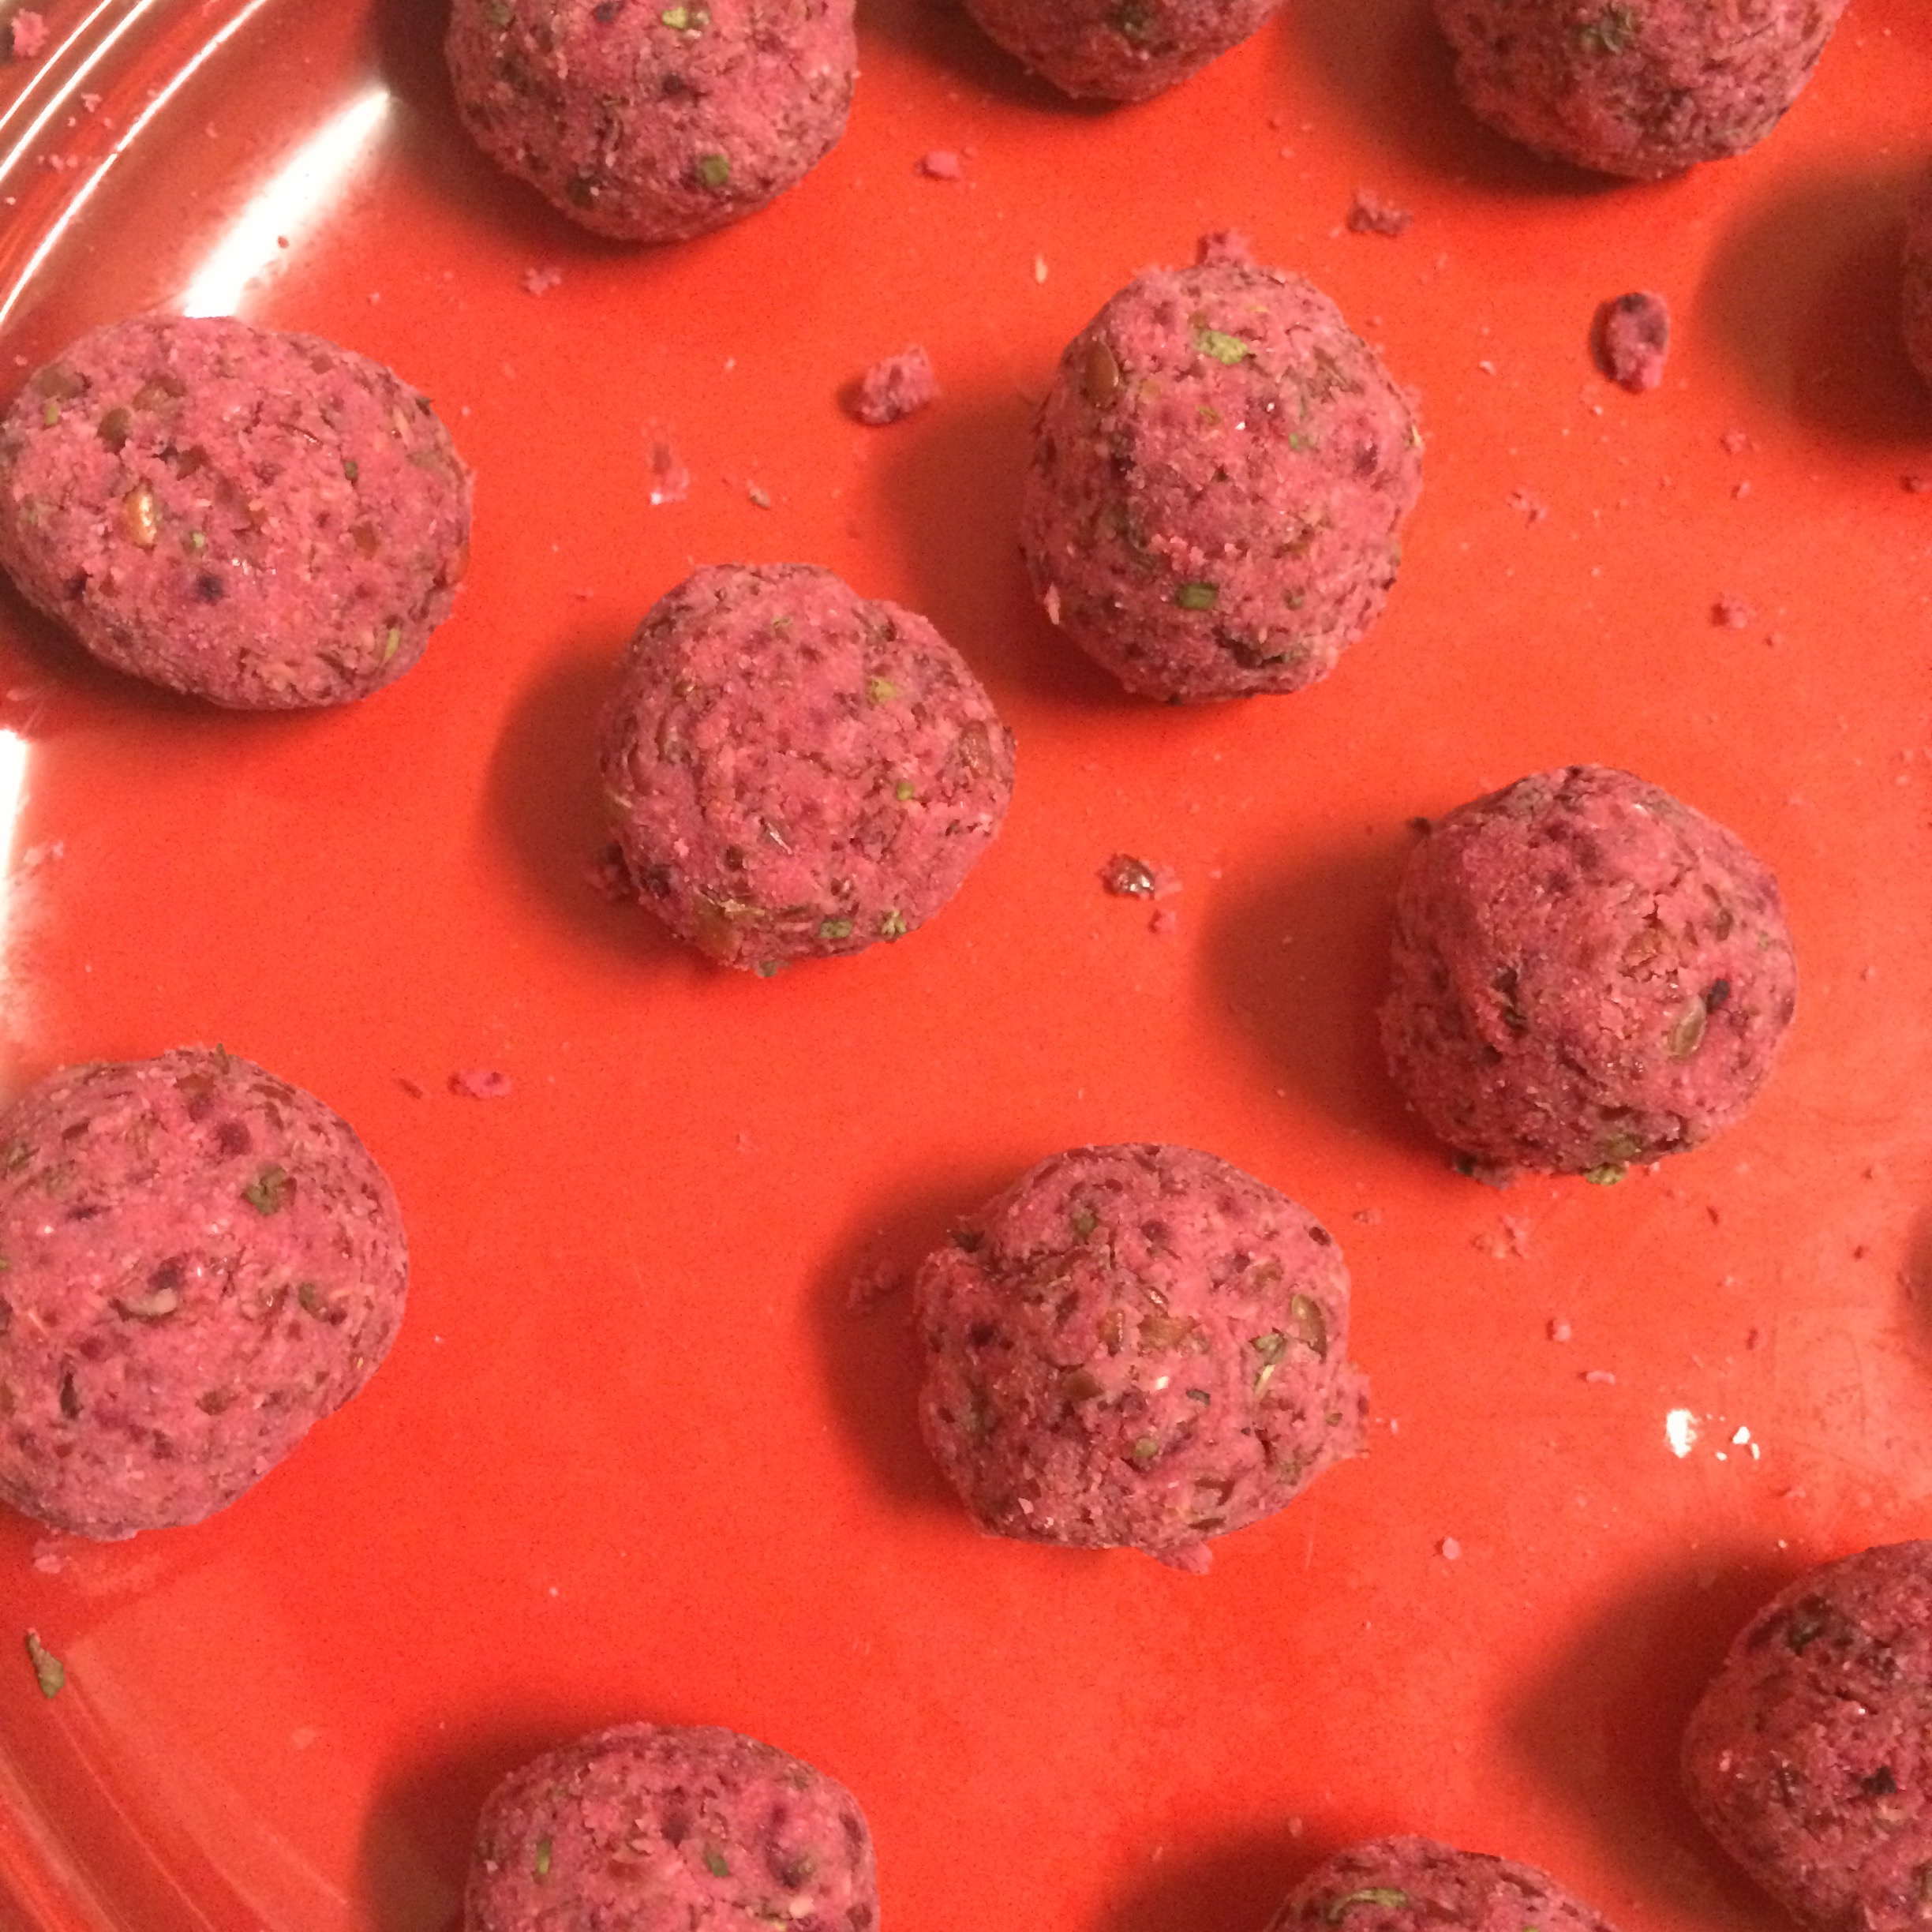
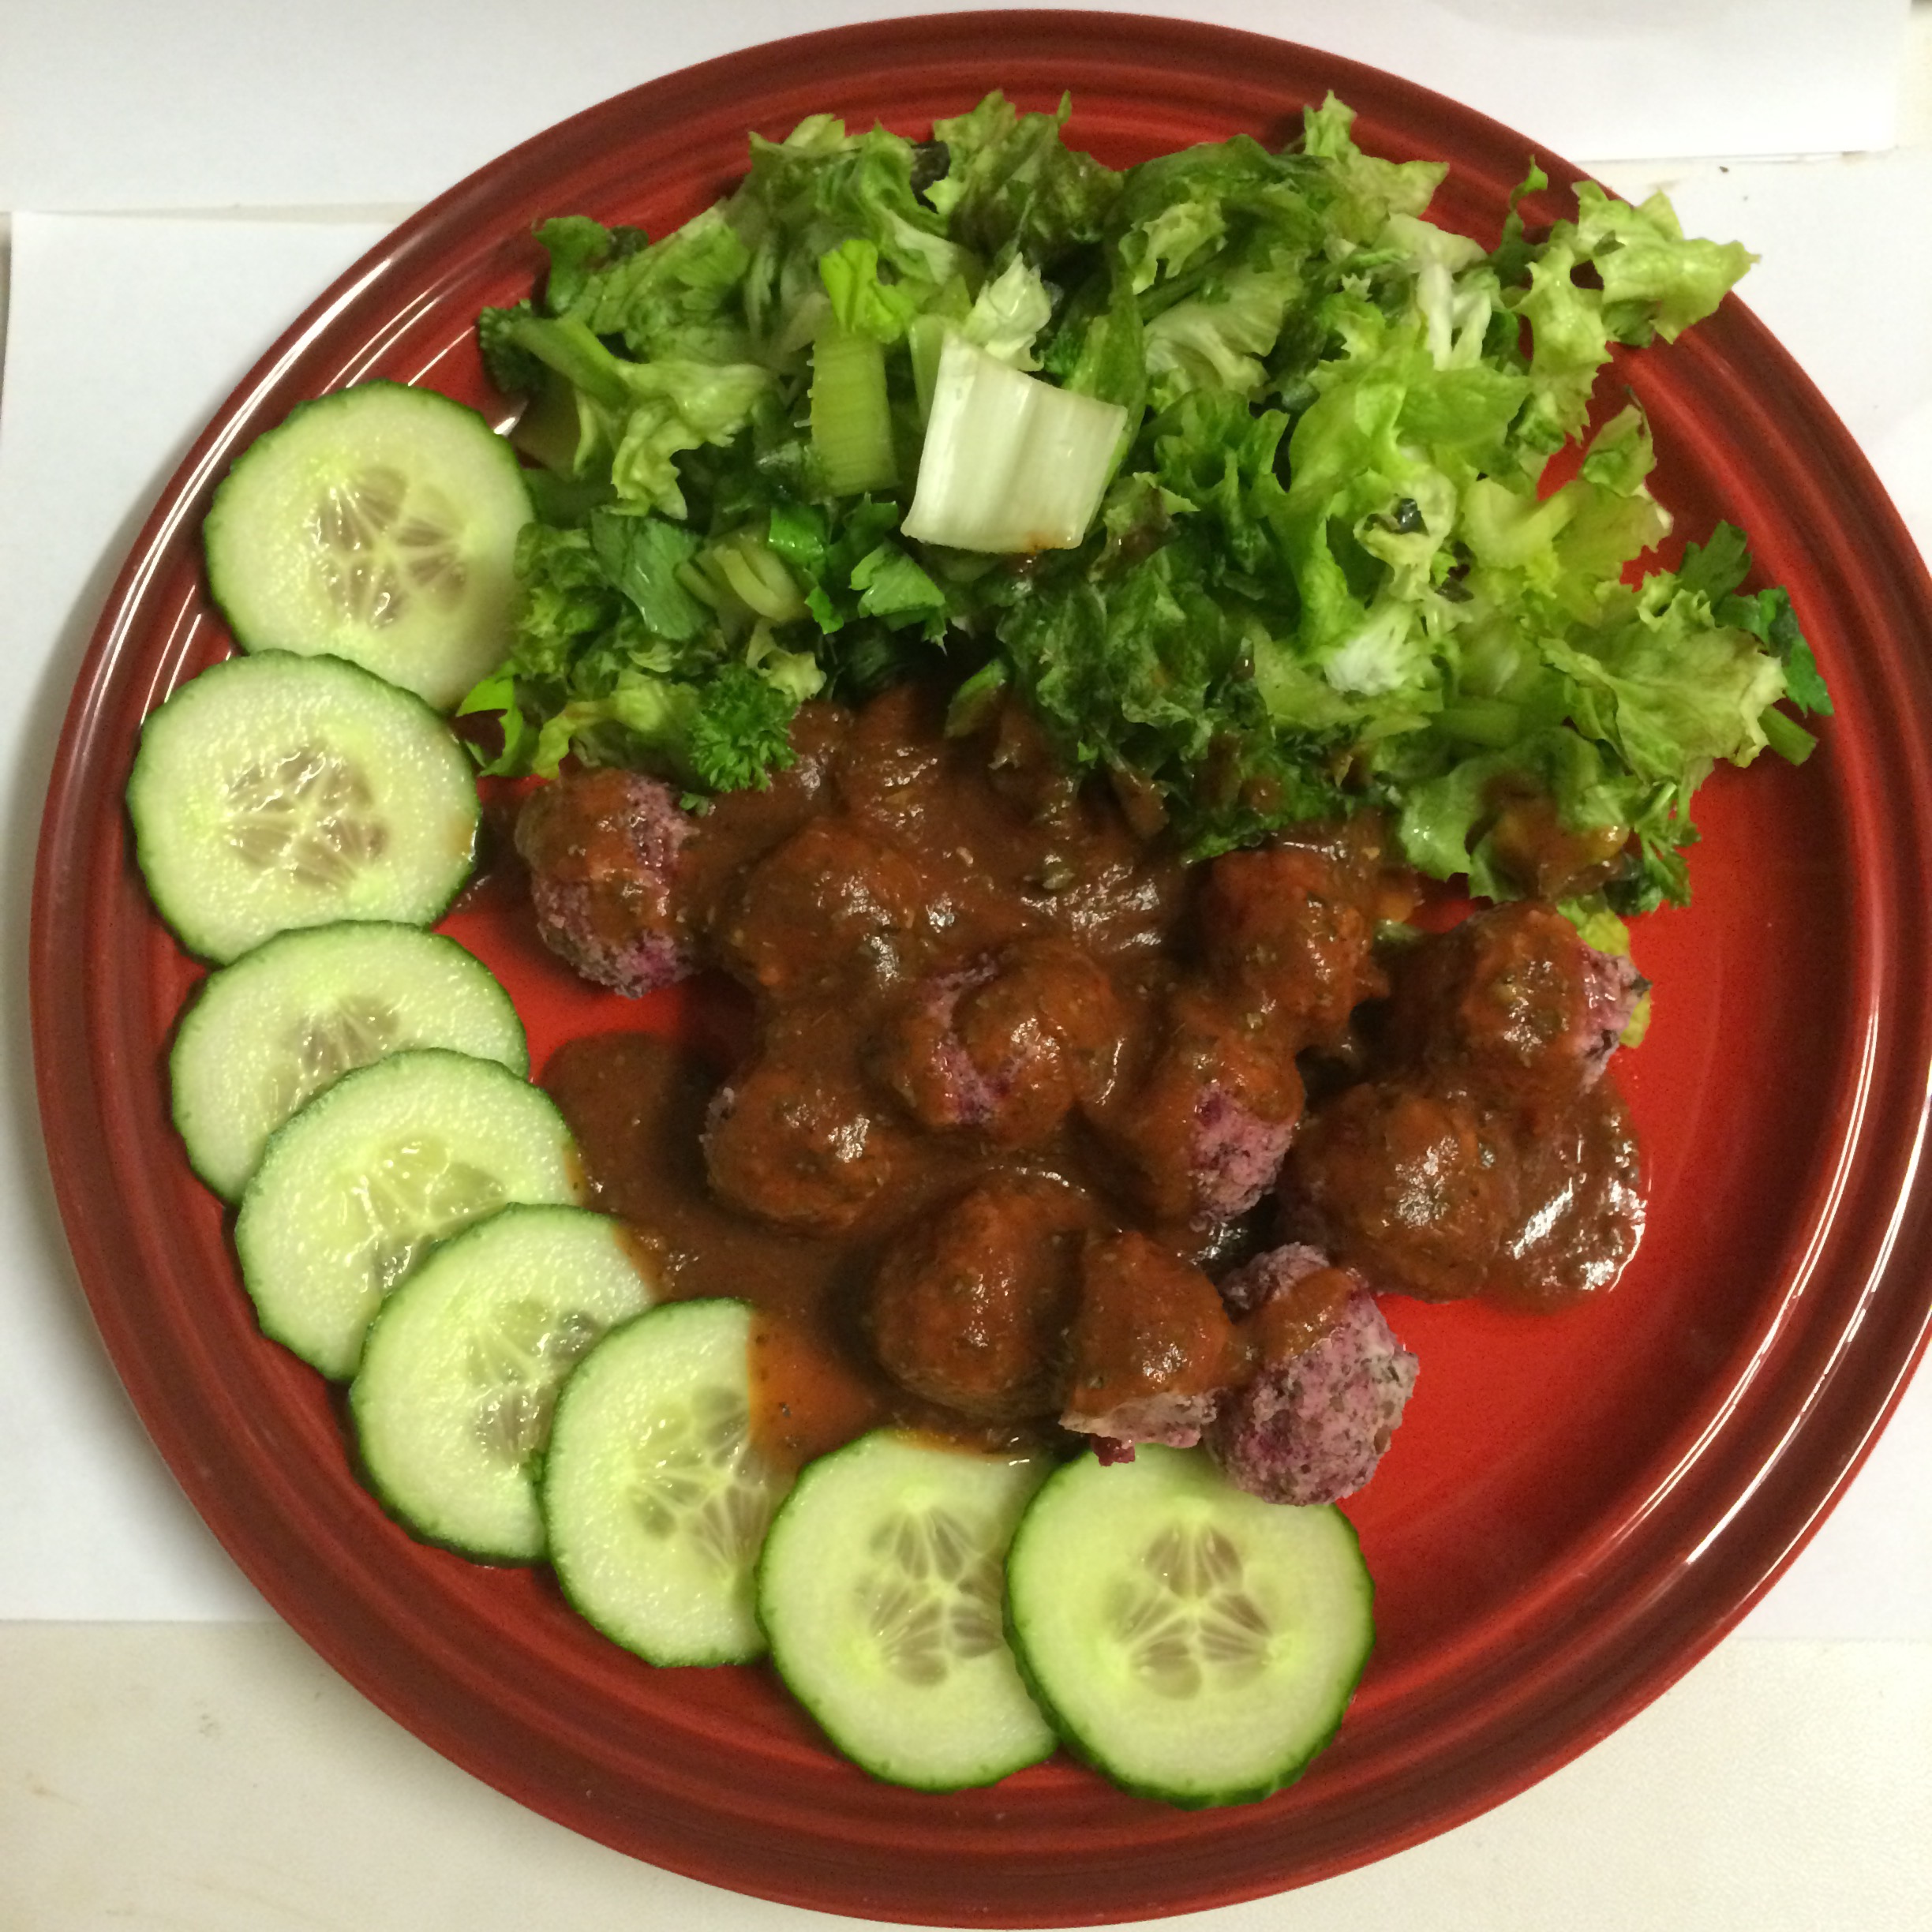
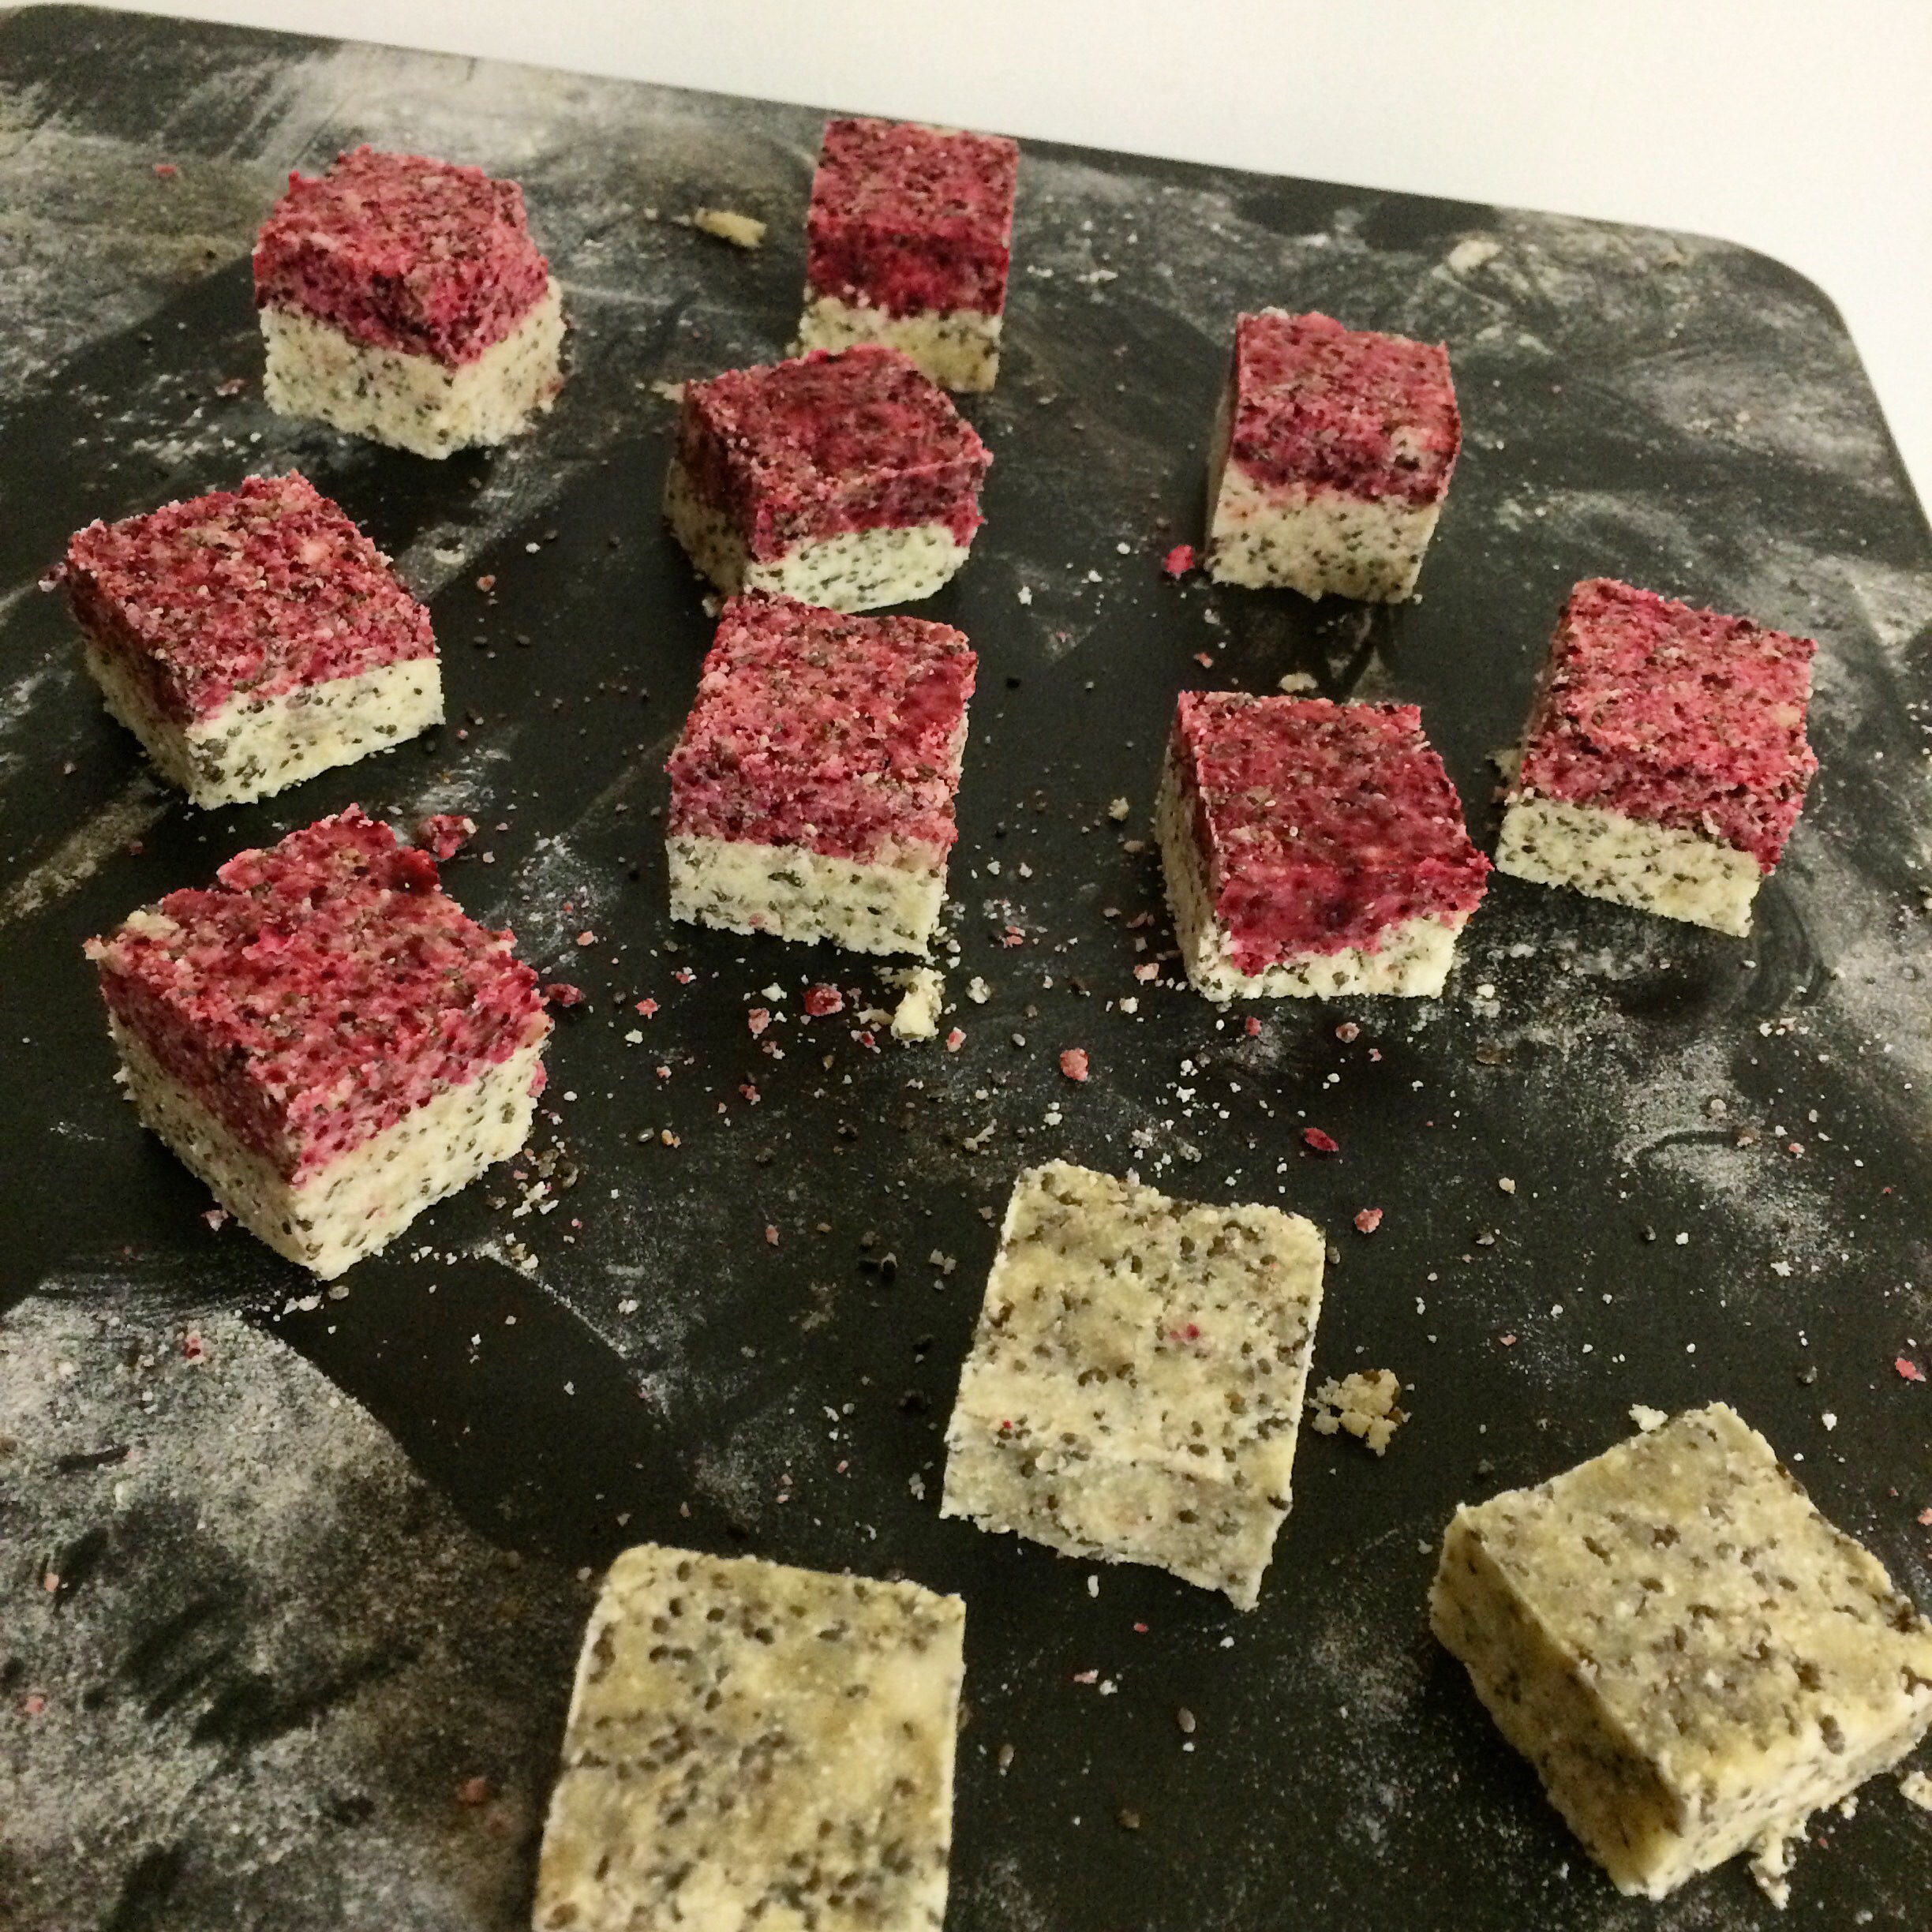
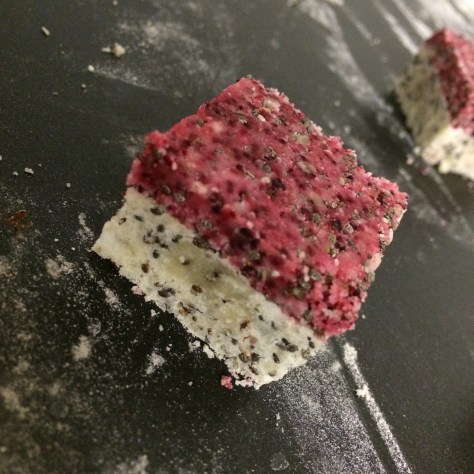
For our second experiment we were making our Chia Seed Dough Balls mixture and decided why have dough balls when we can have dough cubes!?
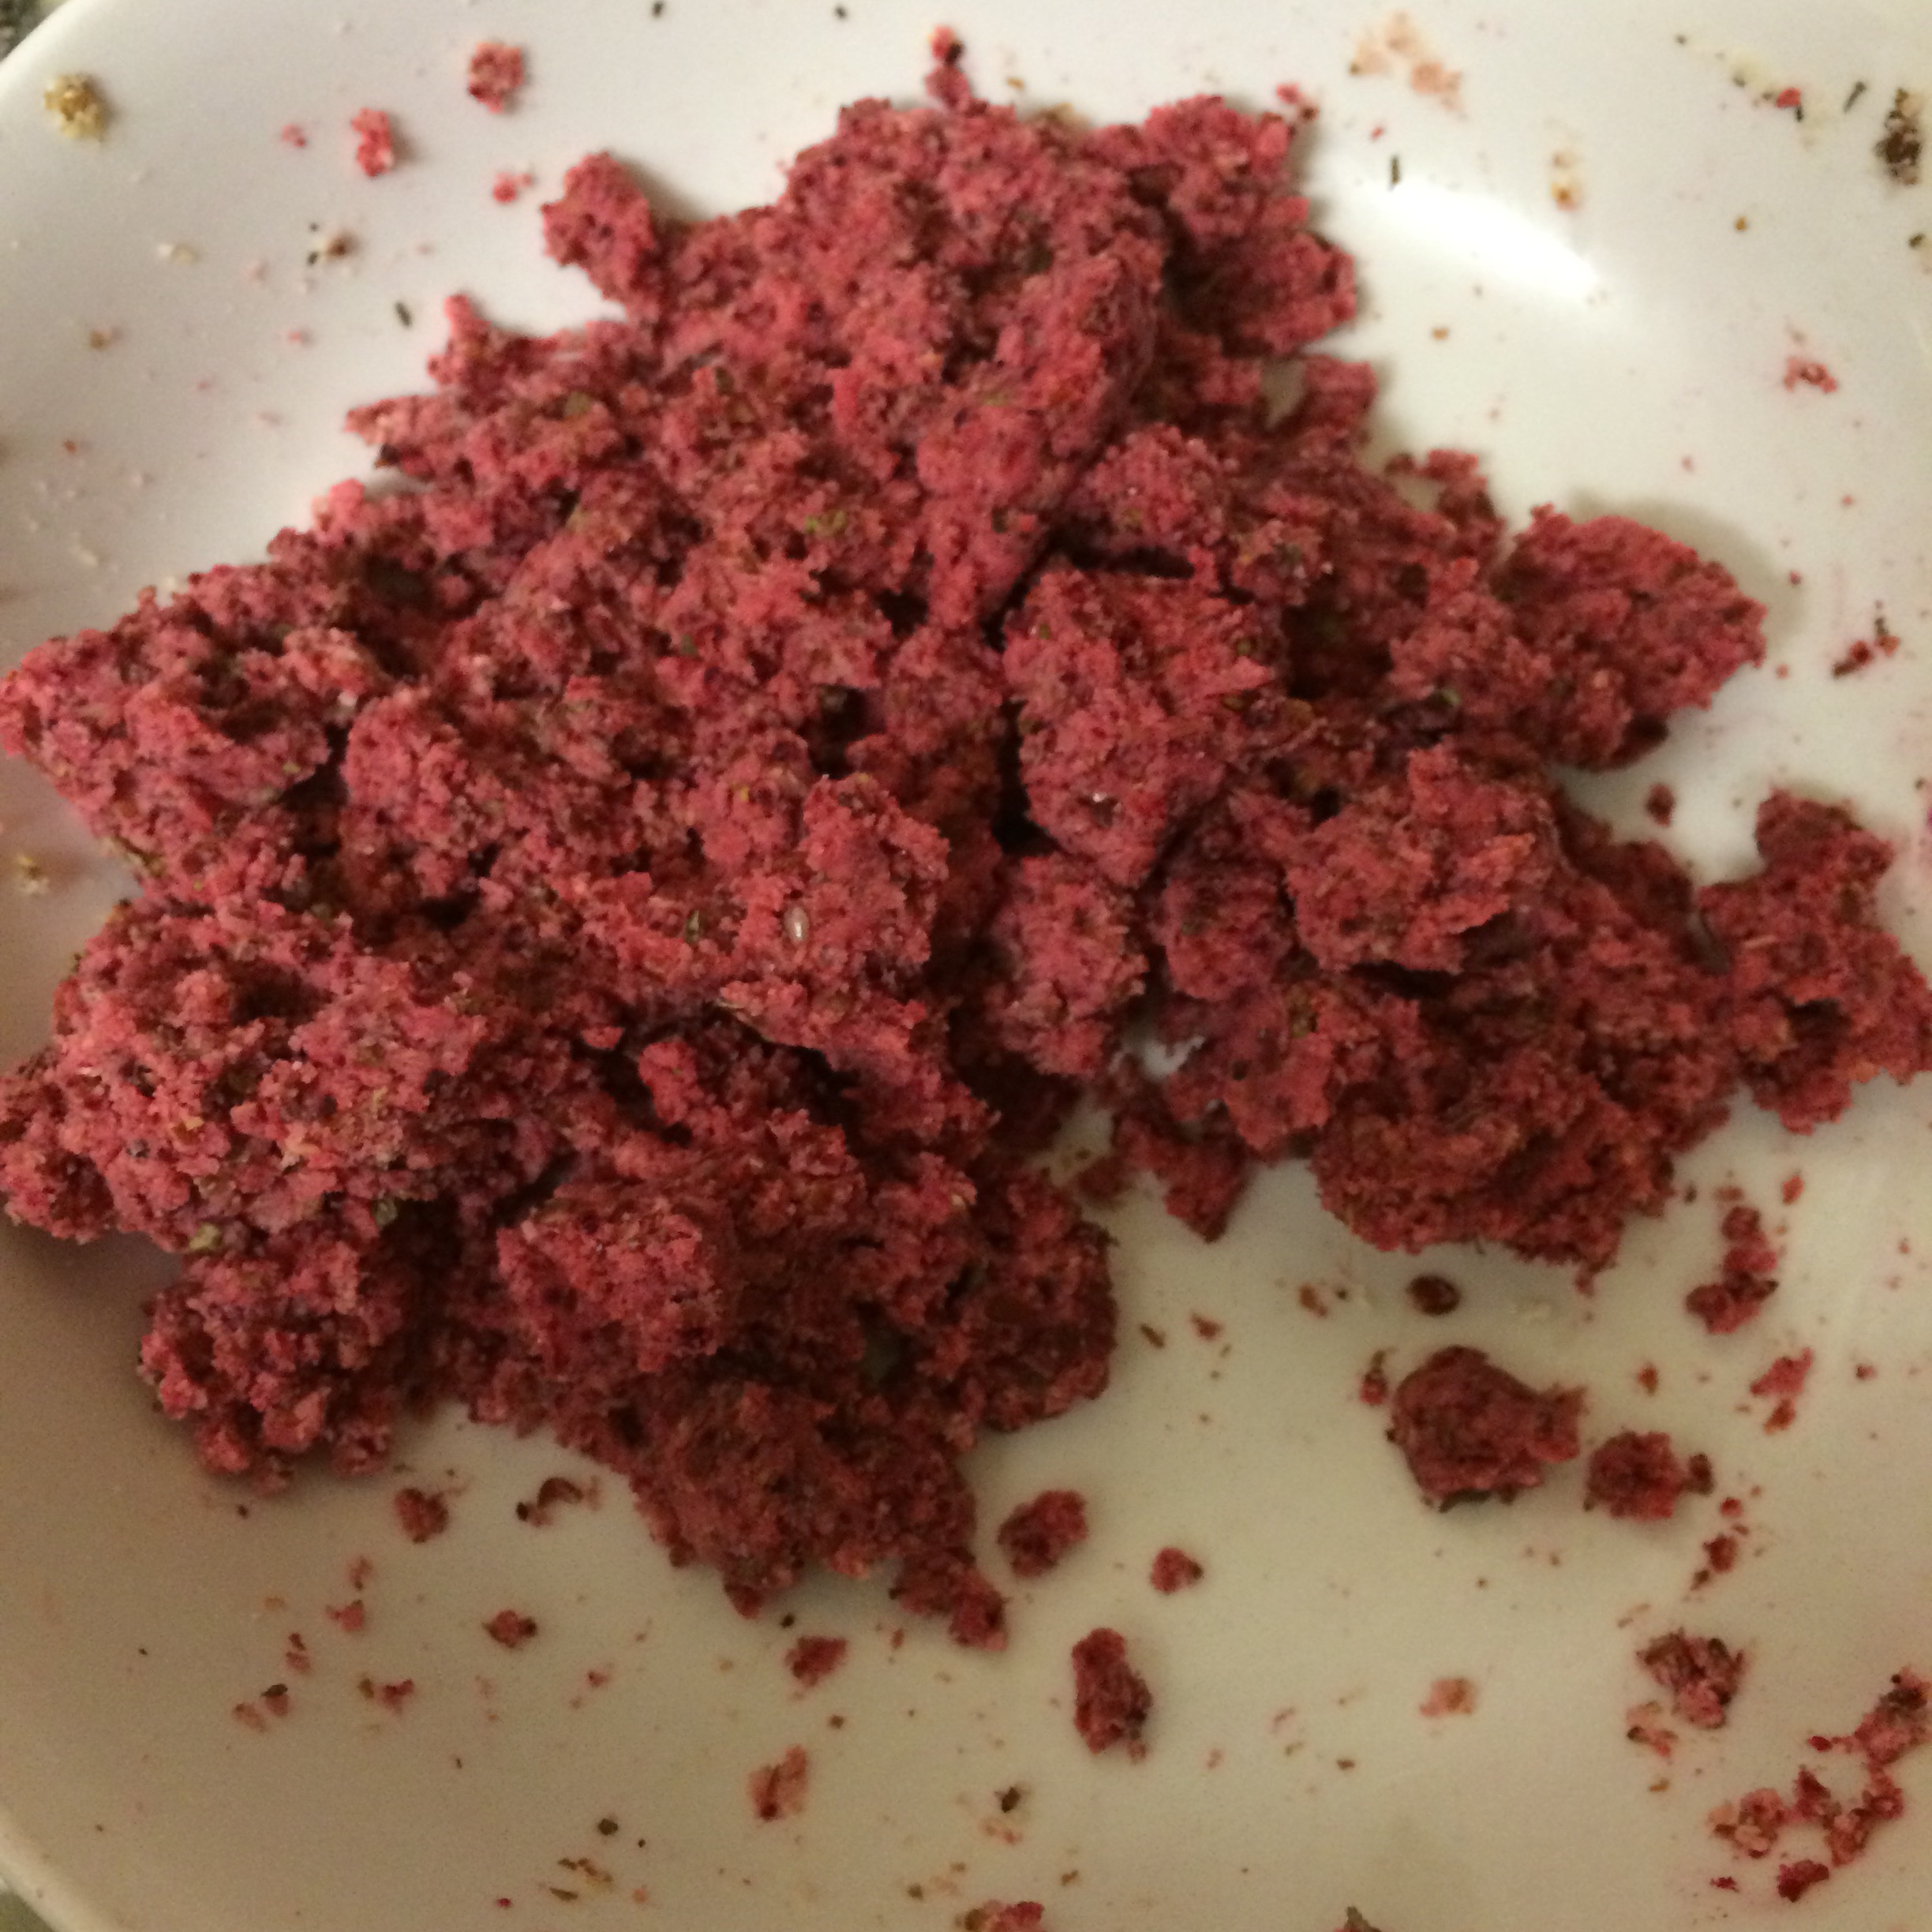
And with half the mixture we added some beetroot juice because why have dough cubes when you can have half PINK dough cubes!?

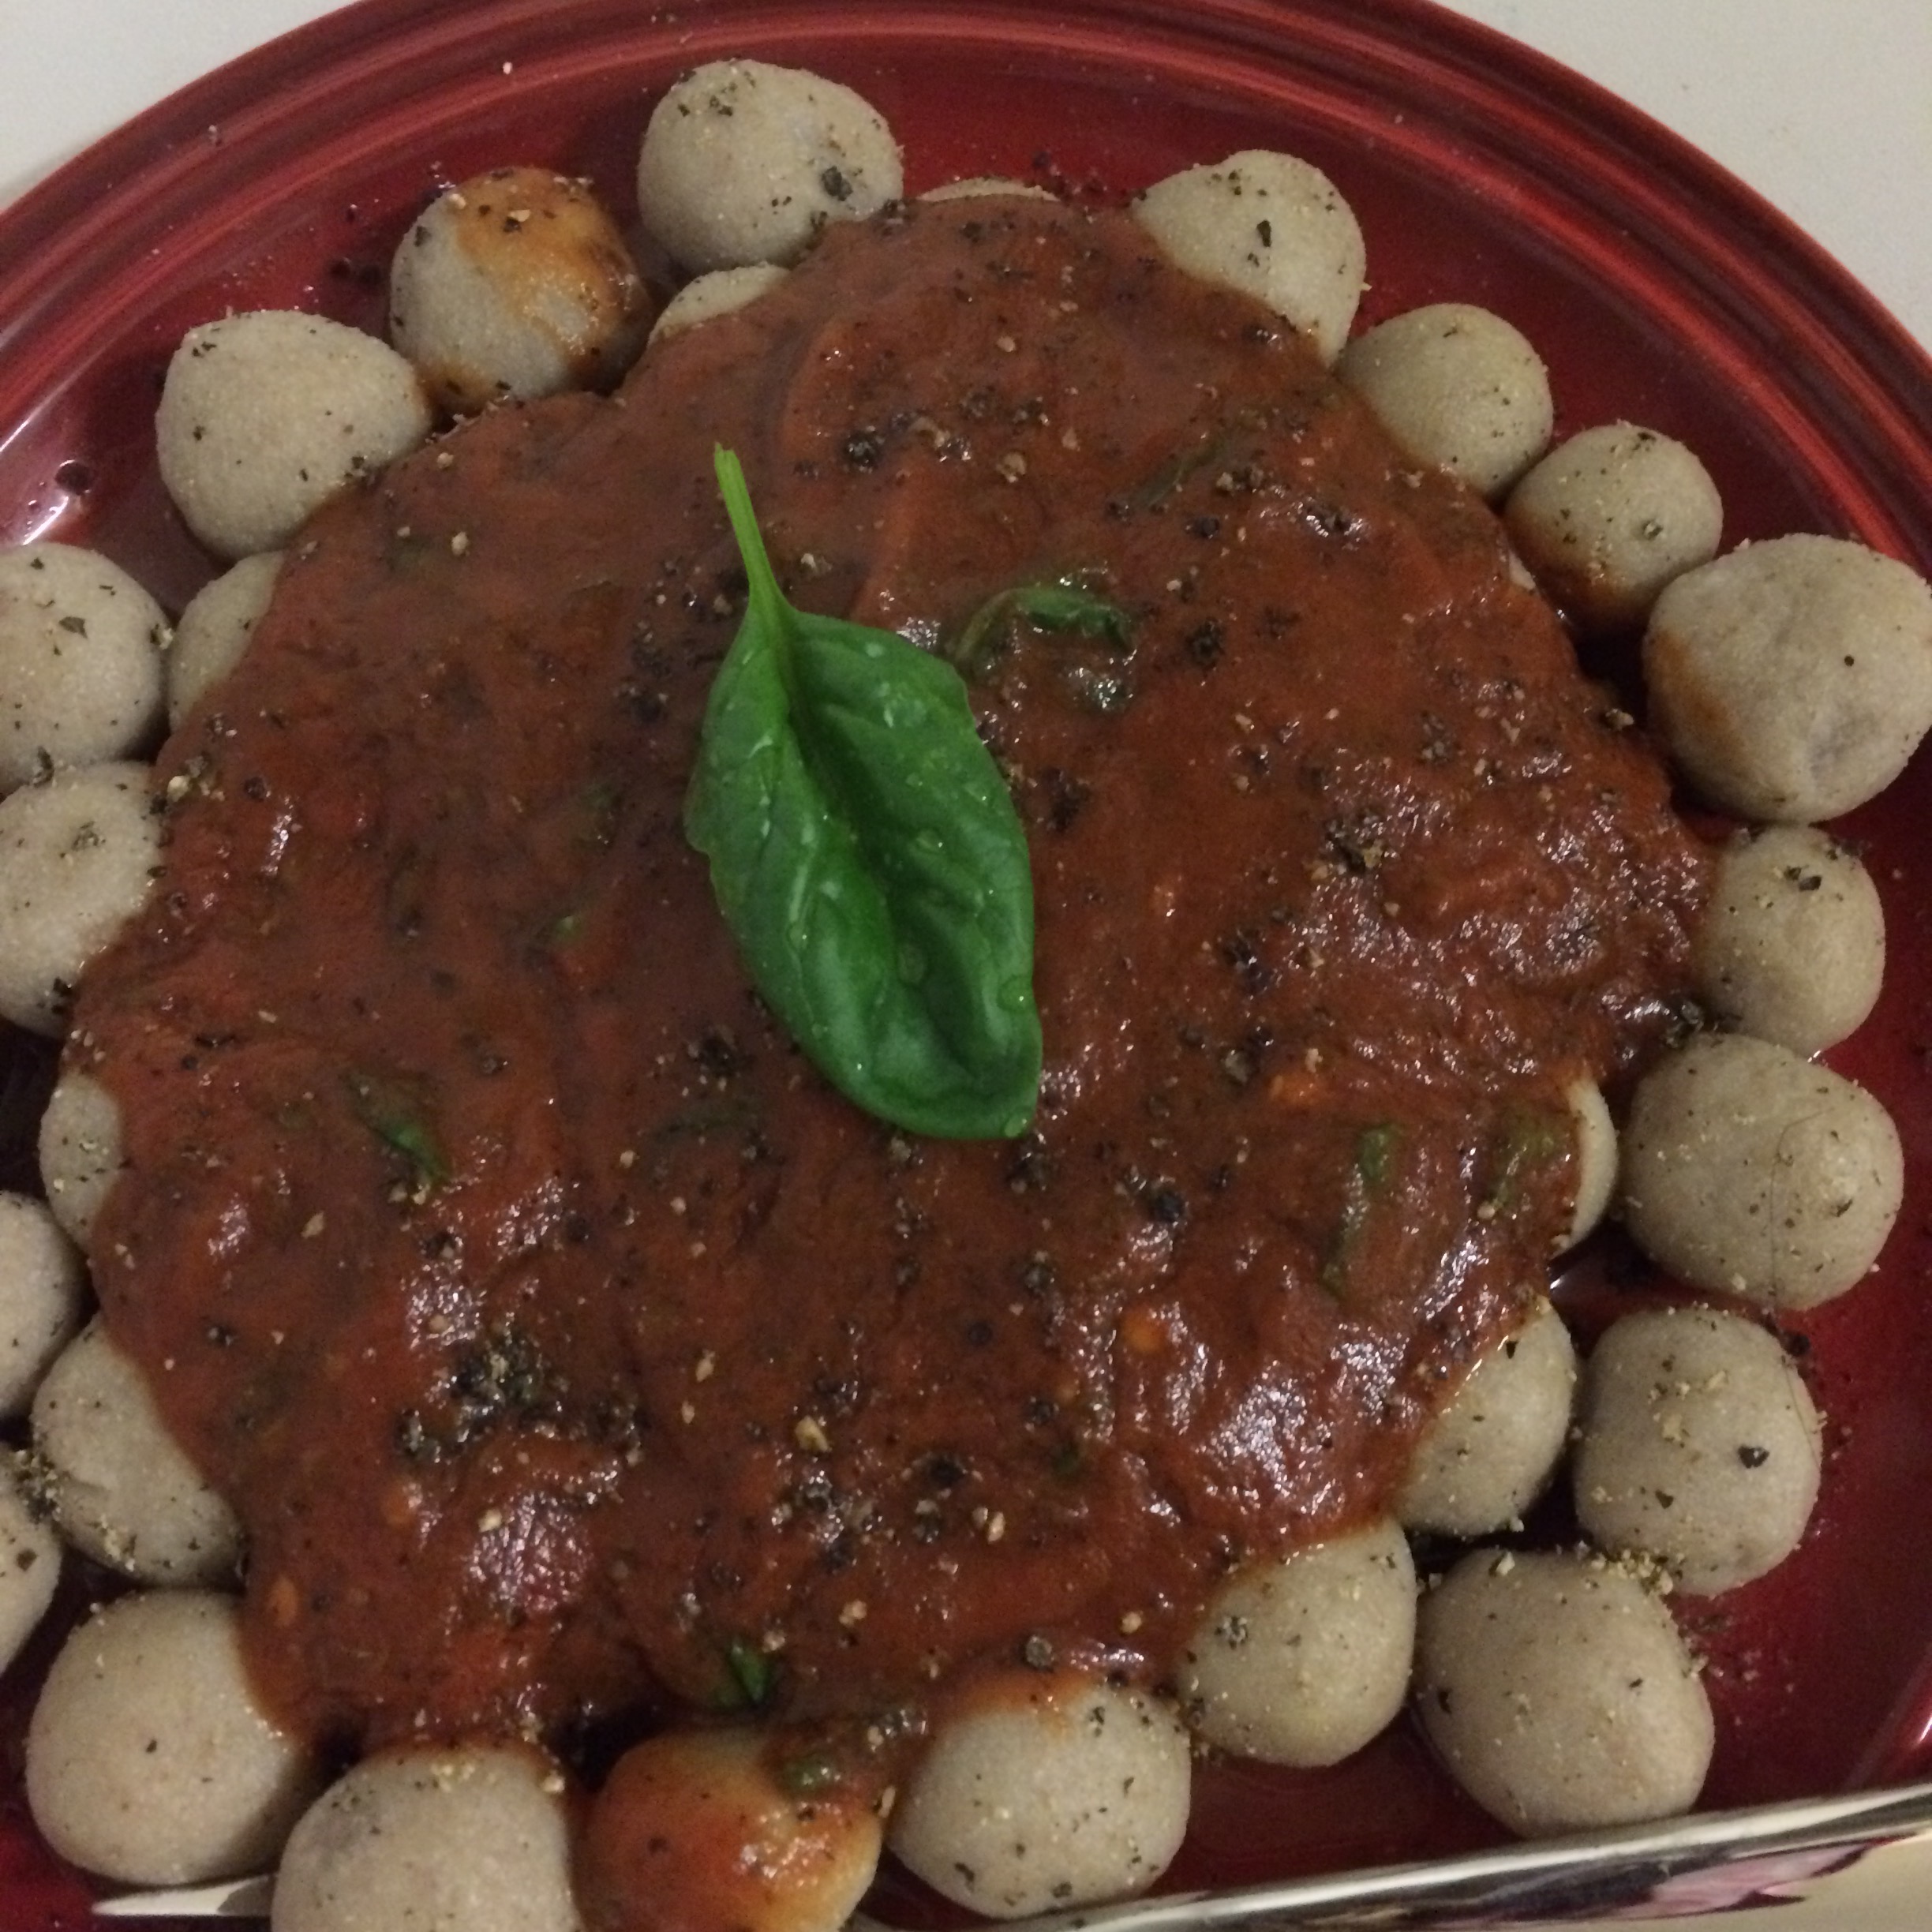
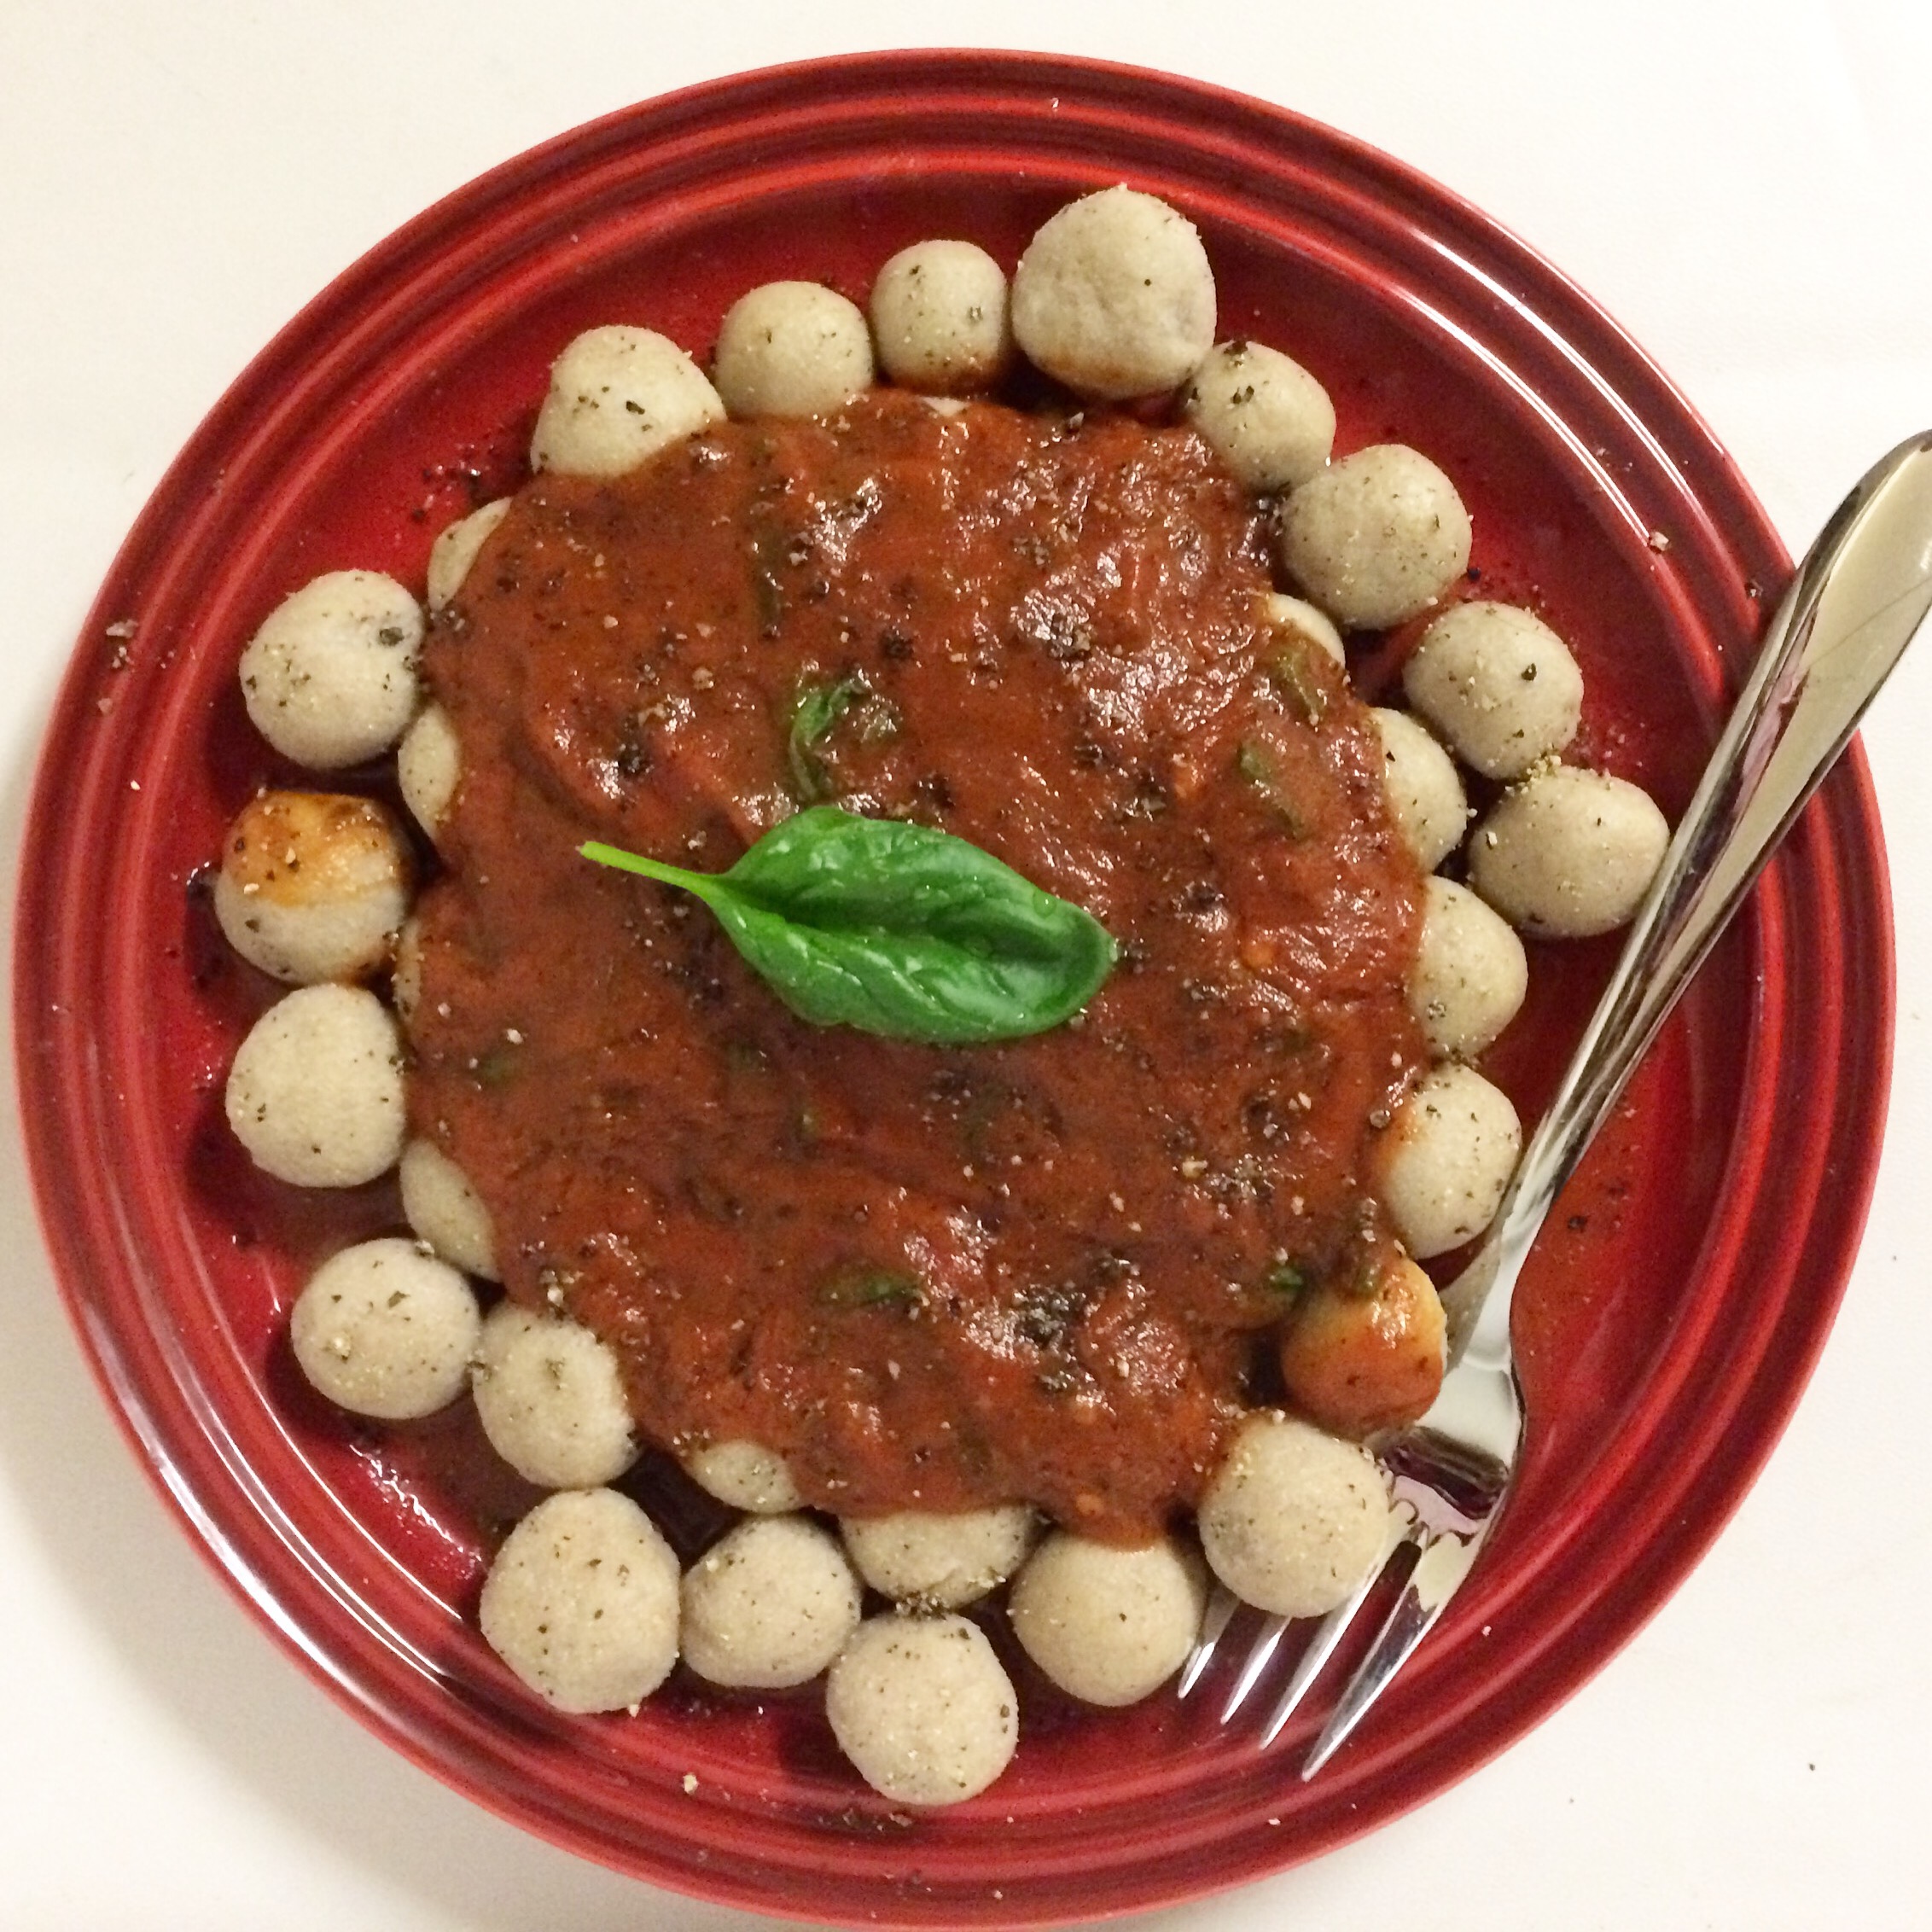
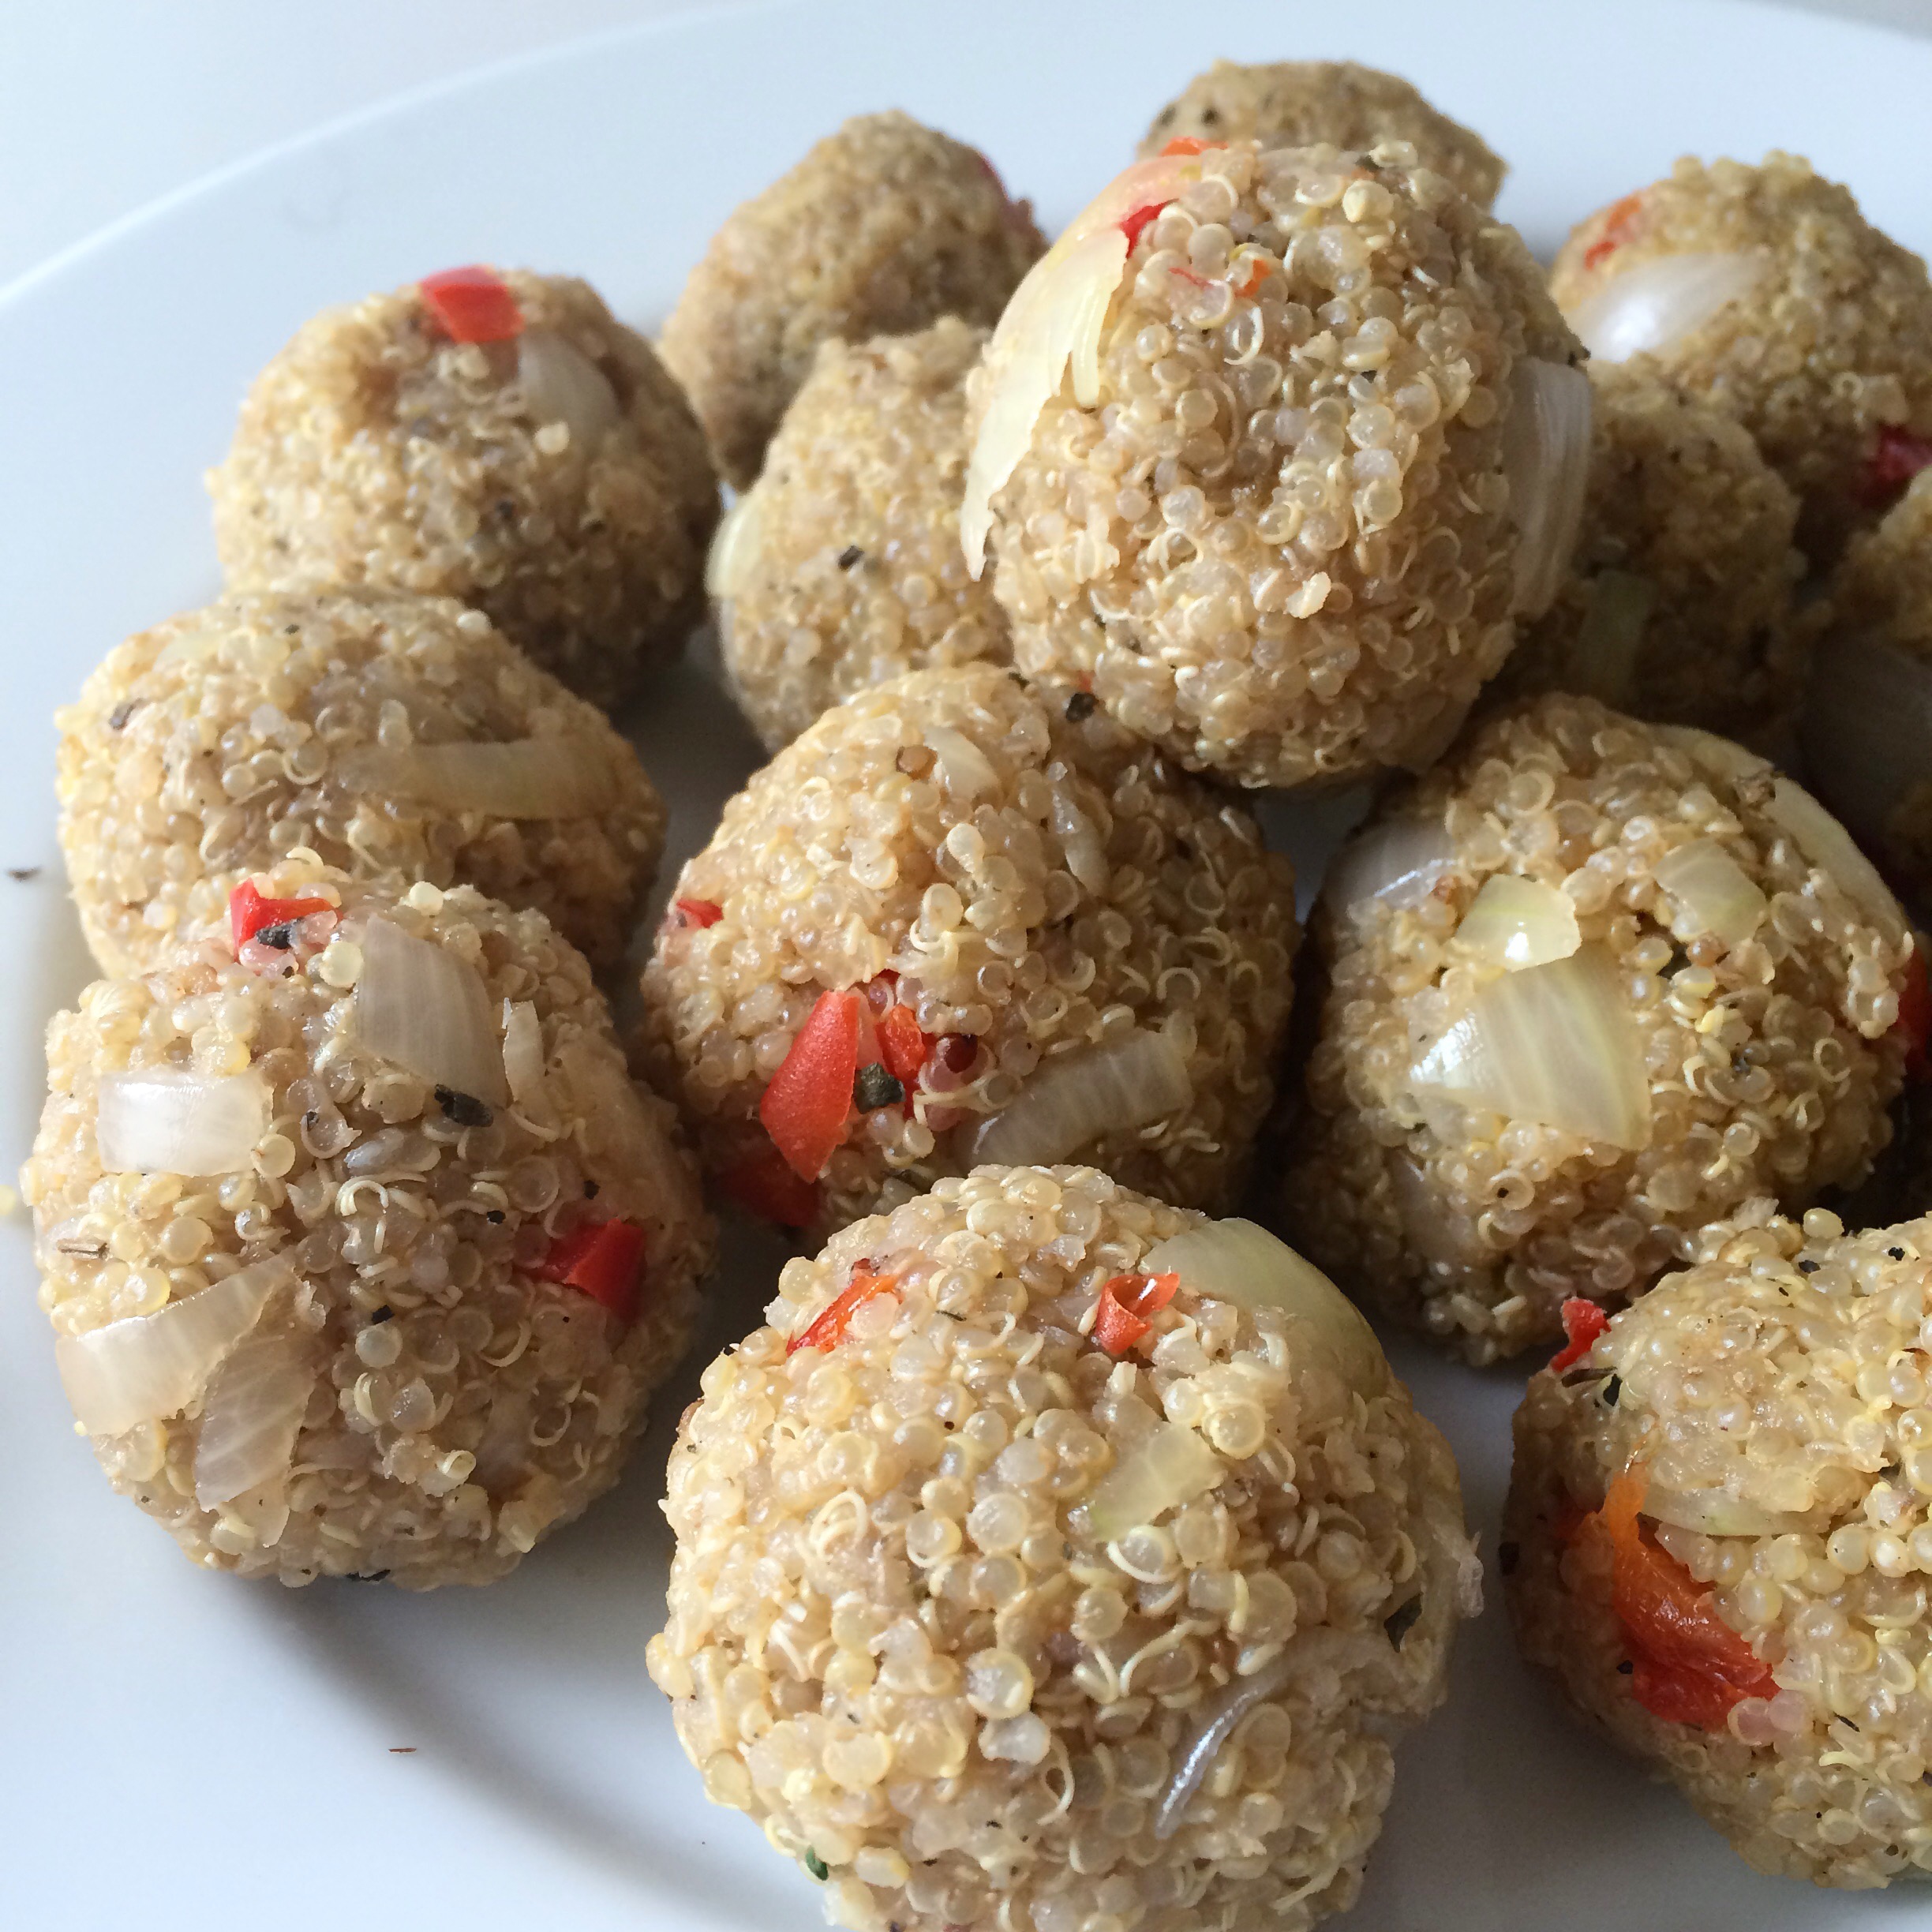
Now look how awfully artistic dough balls can be 😉
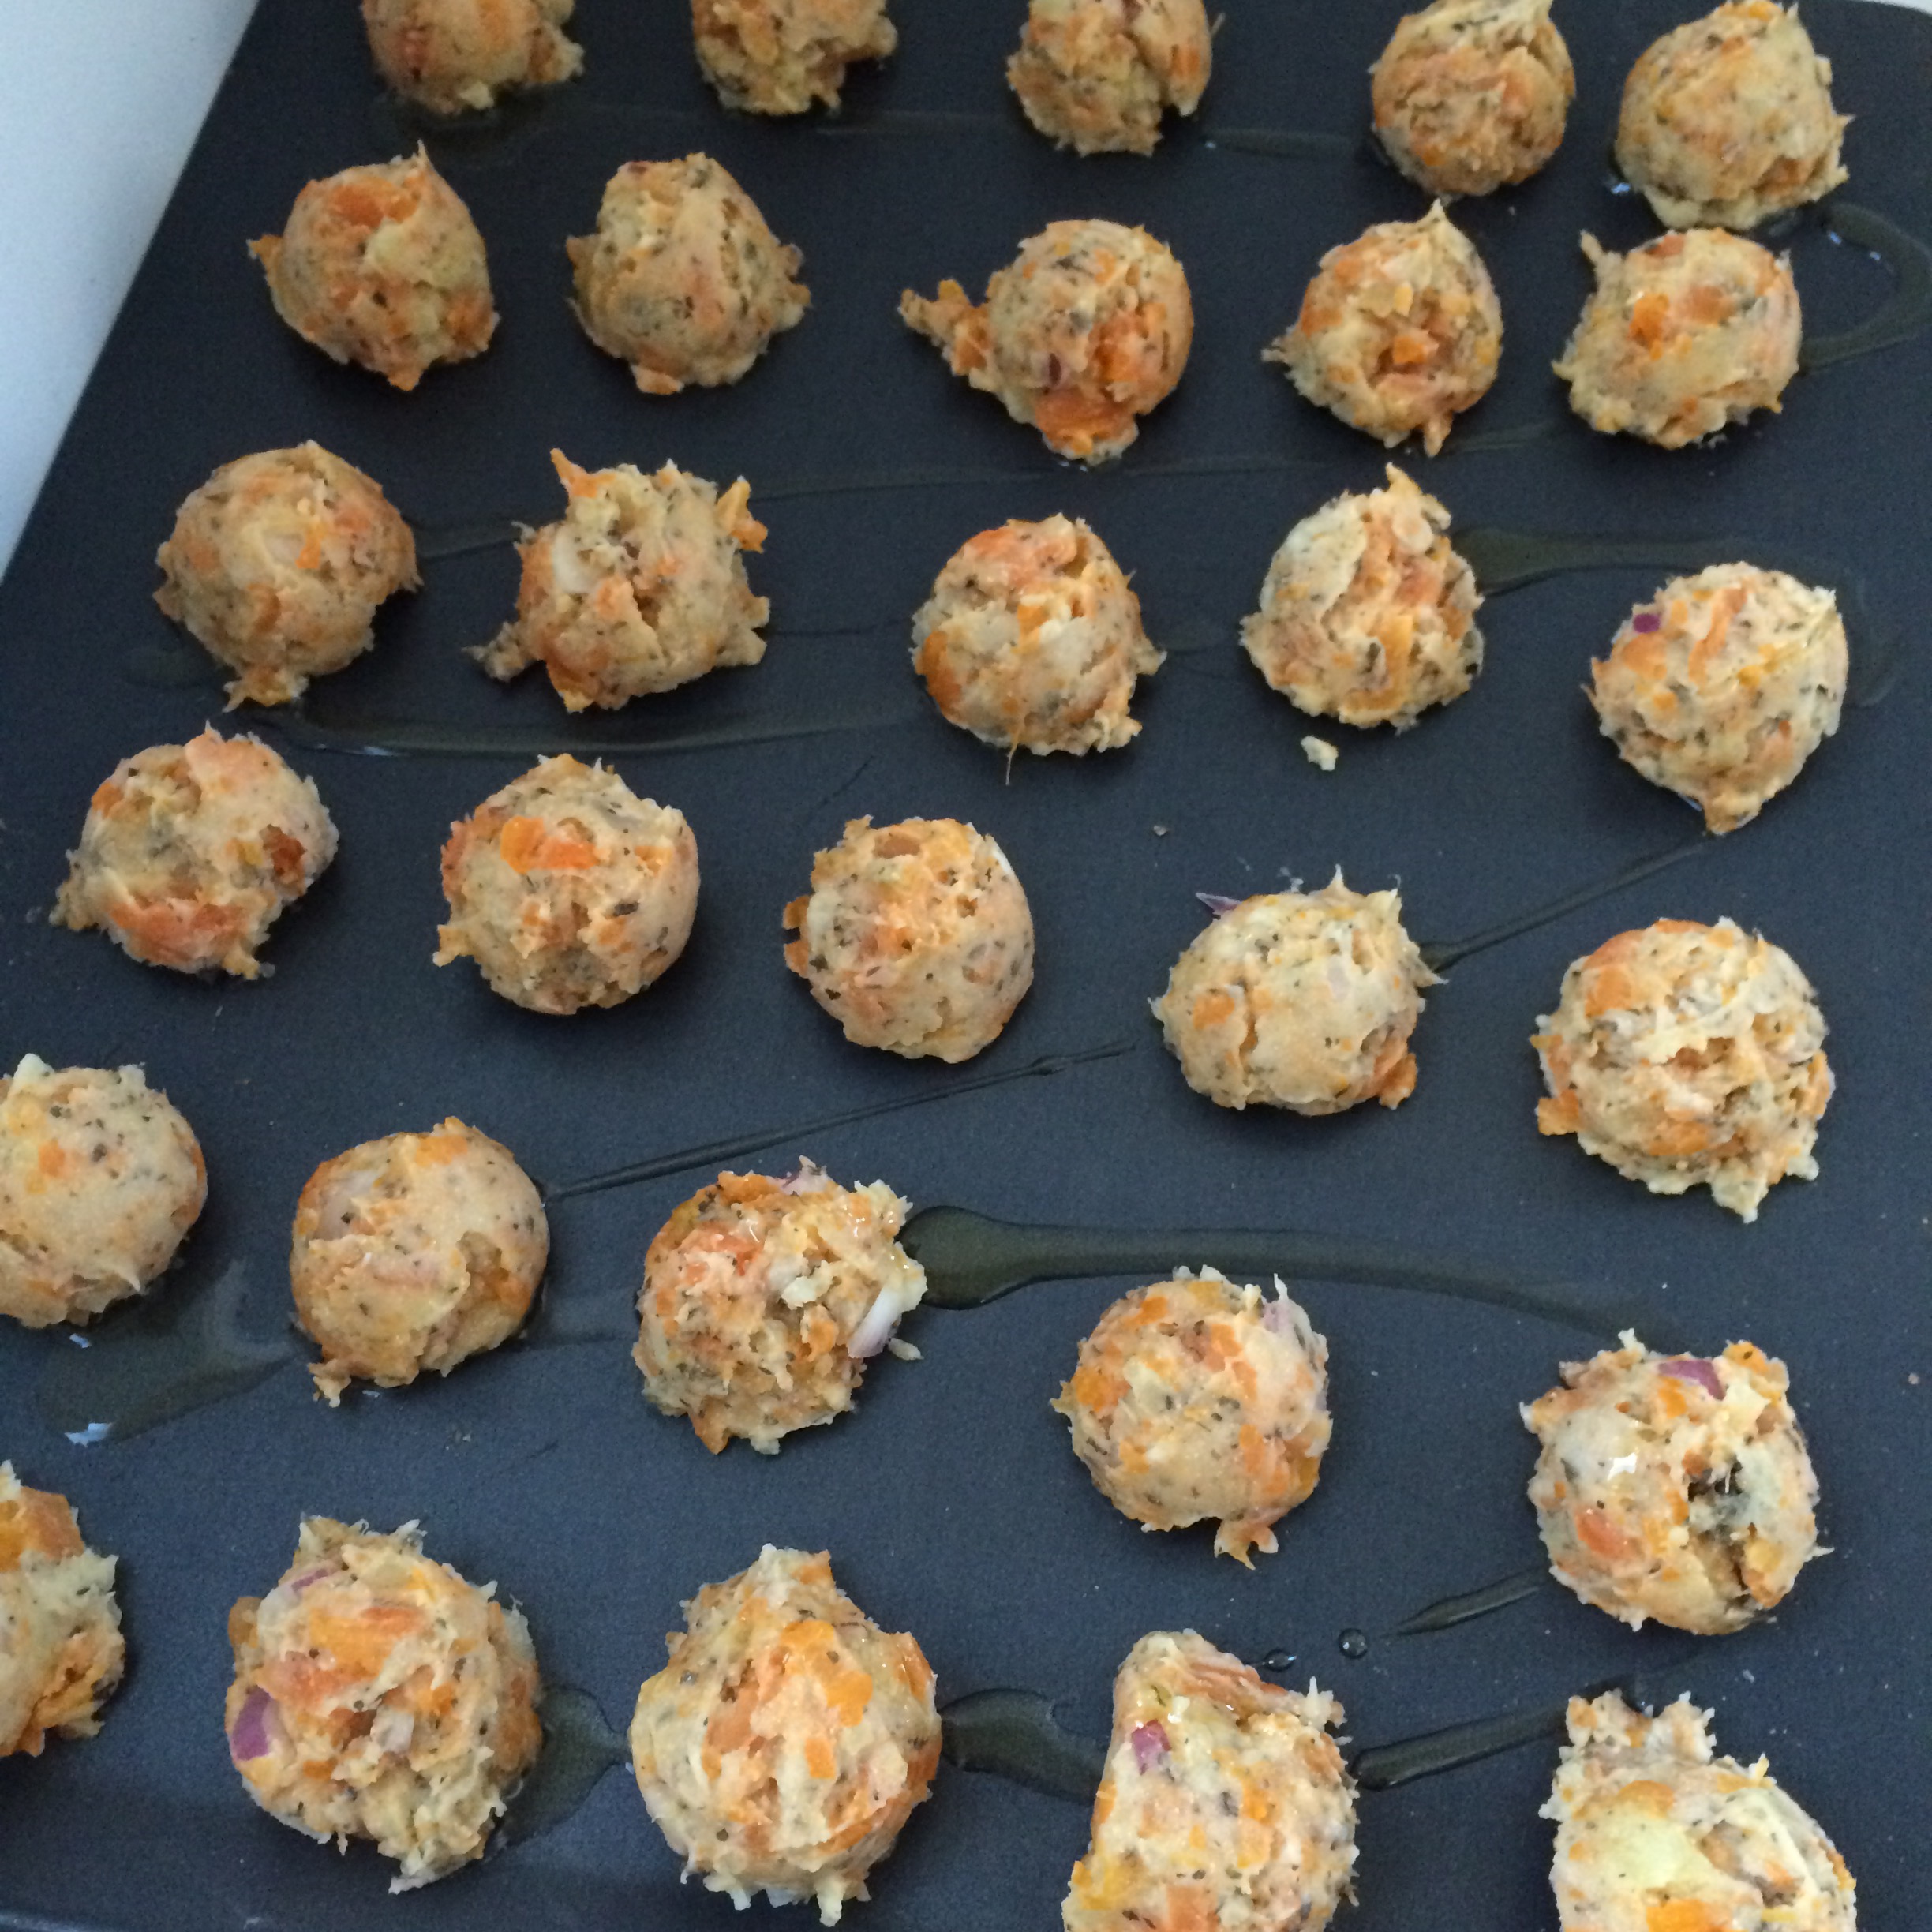
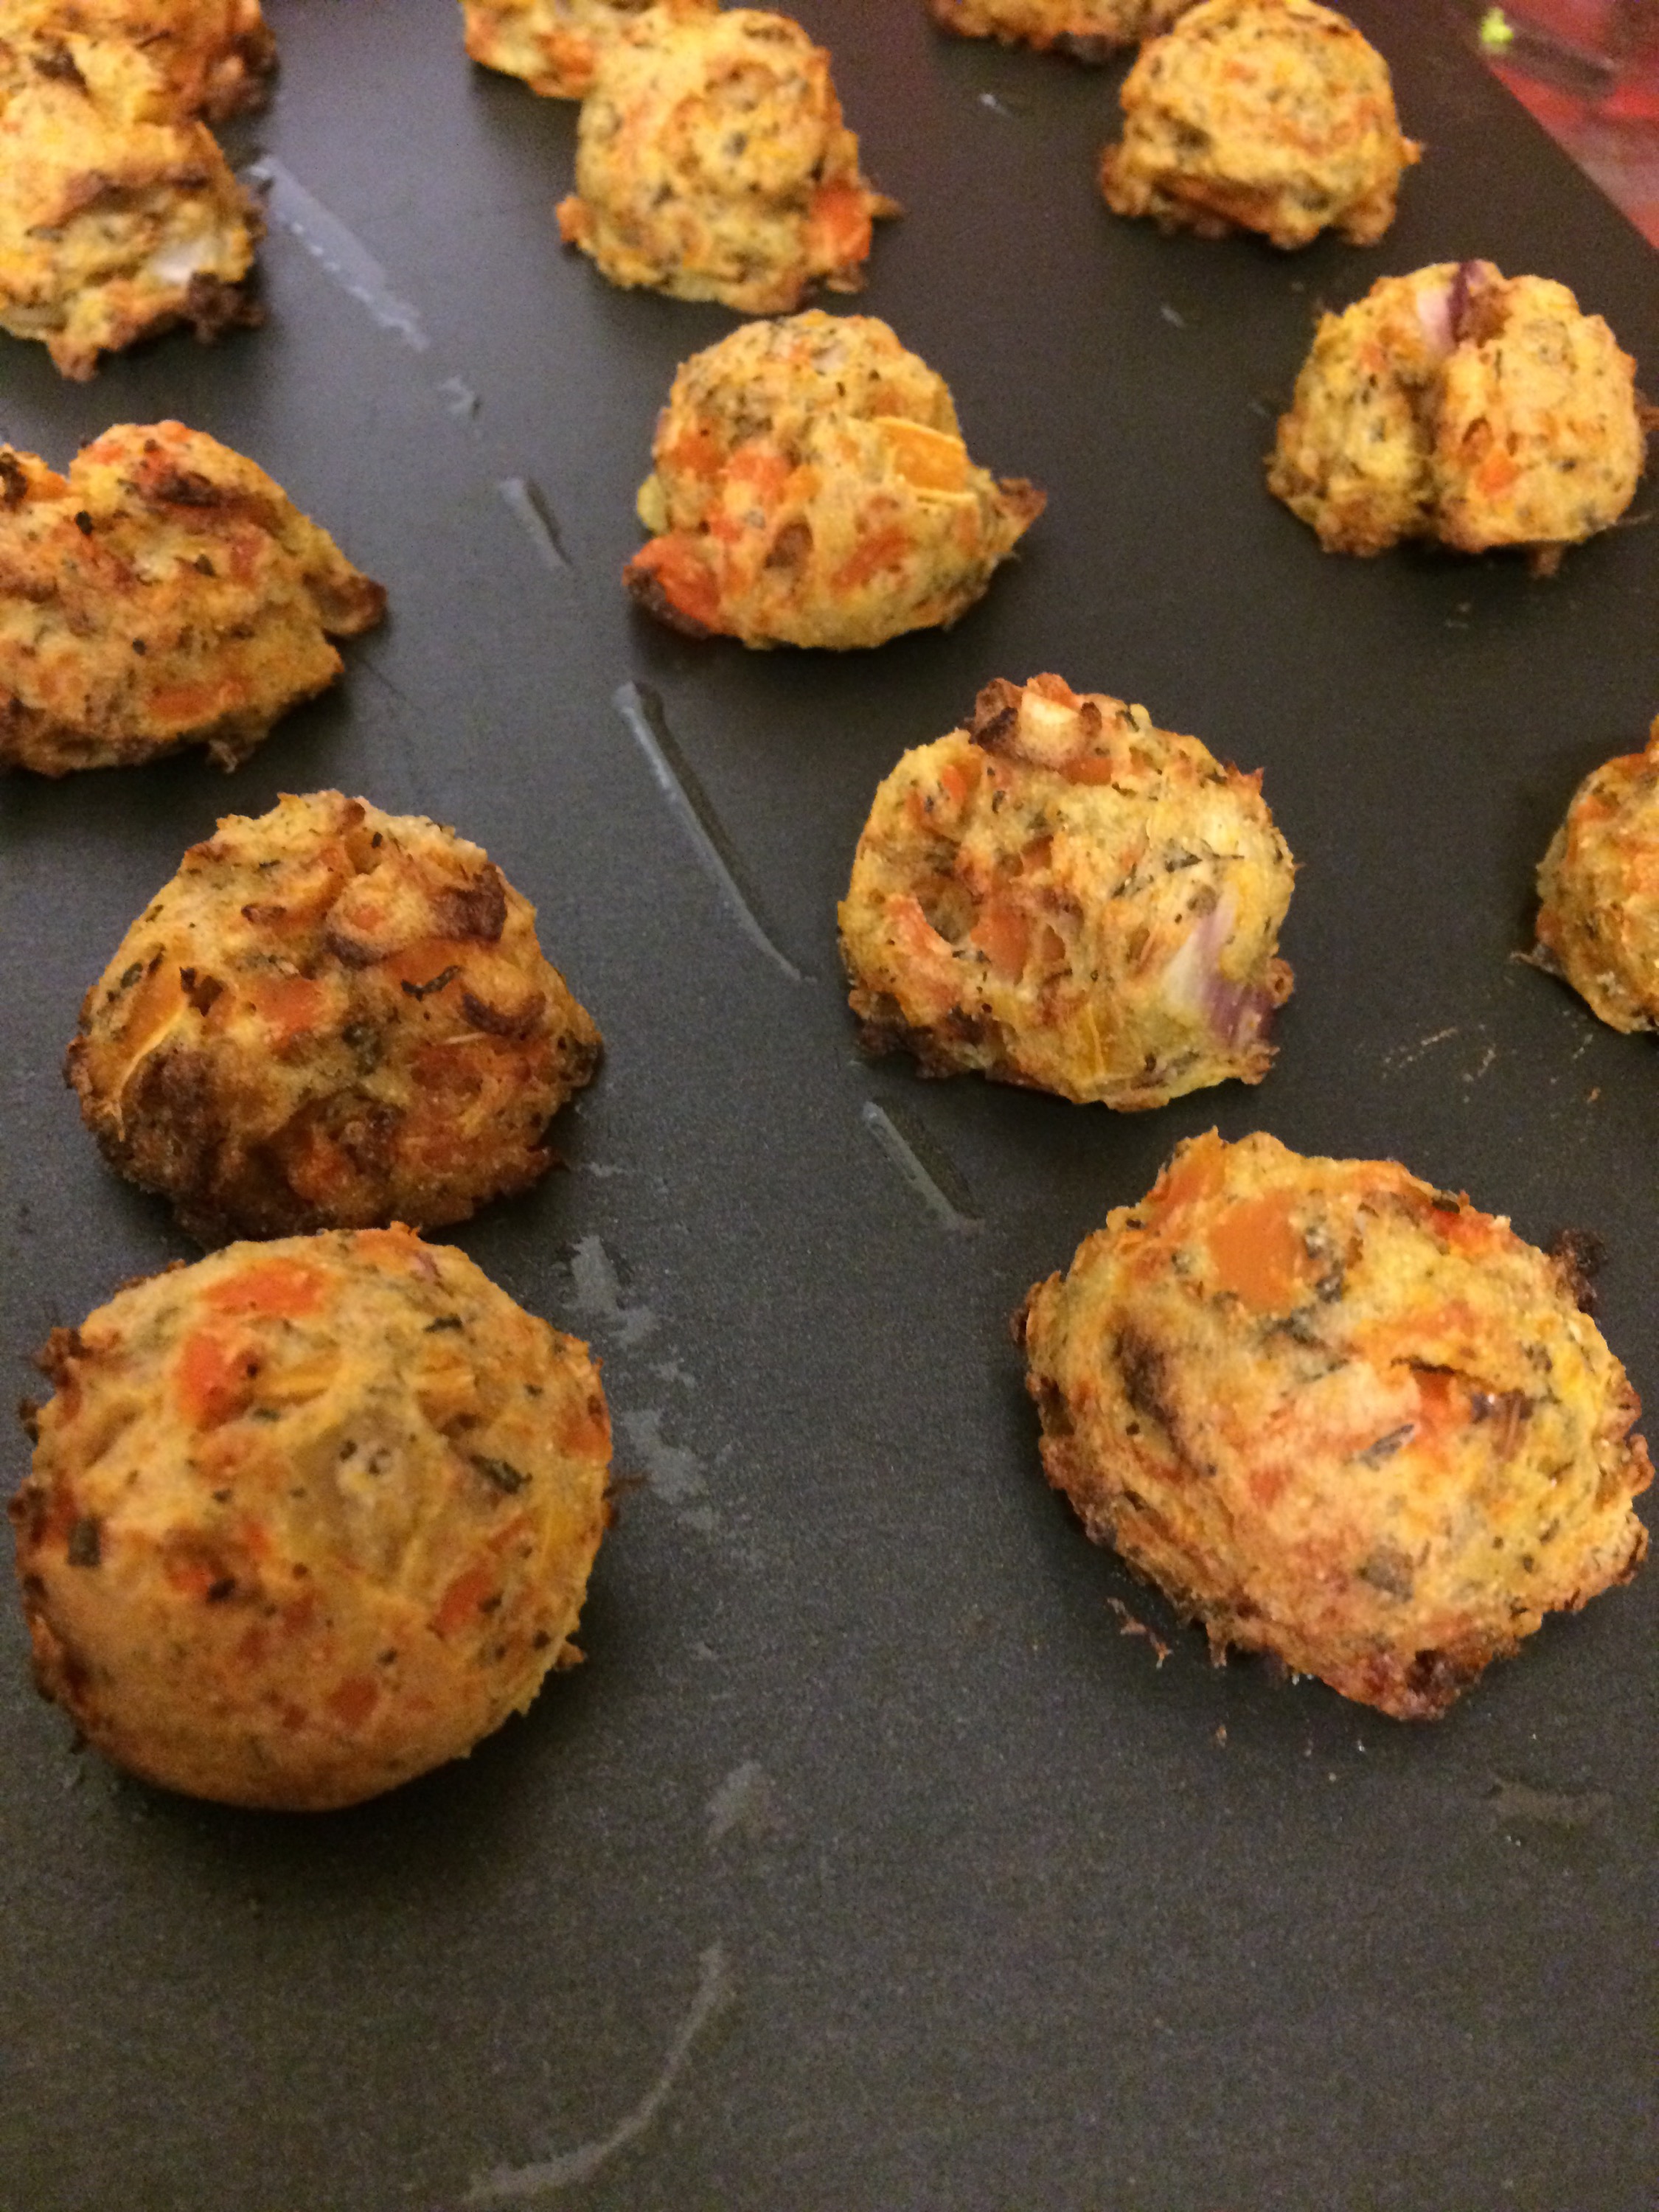
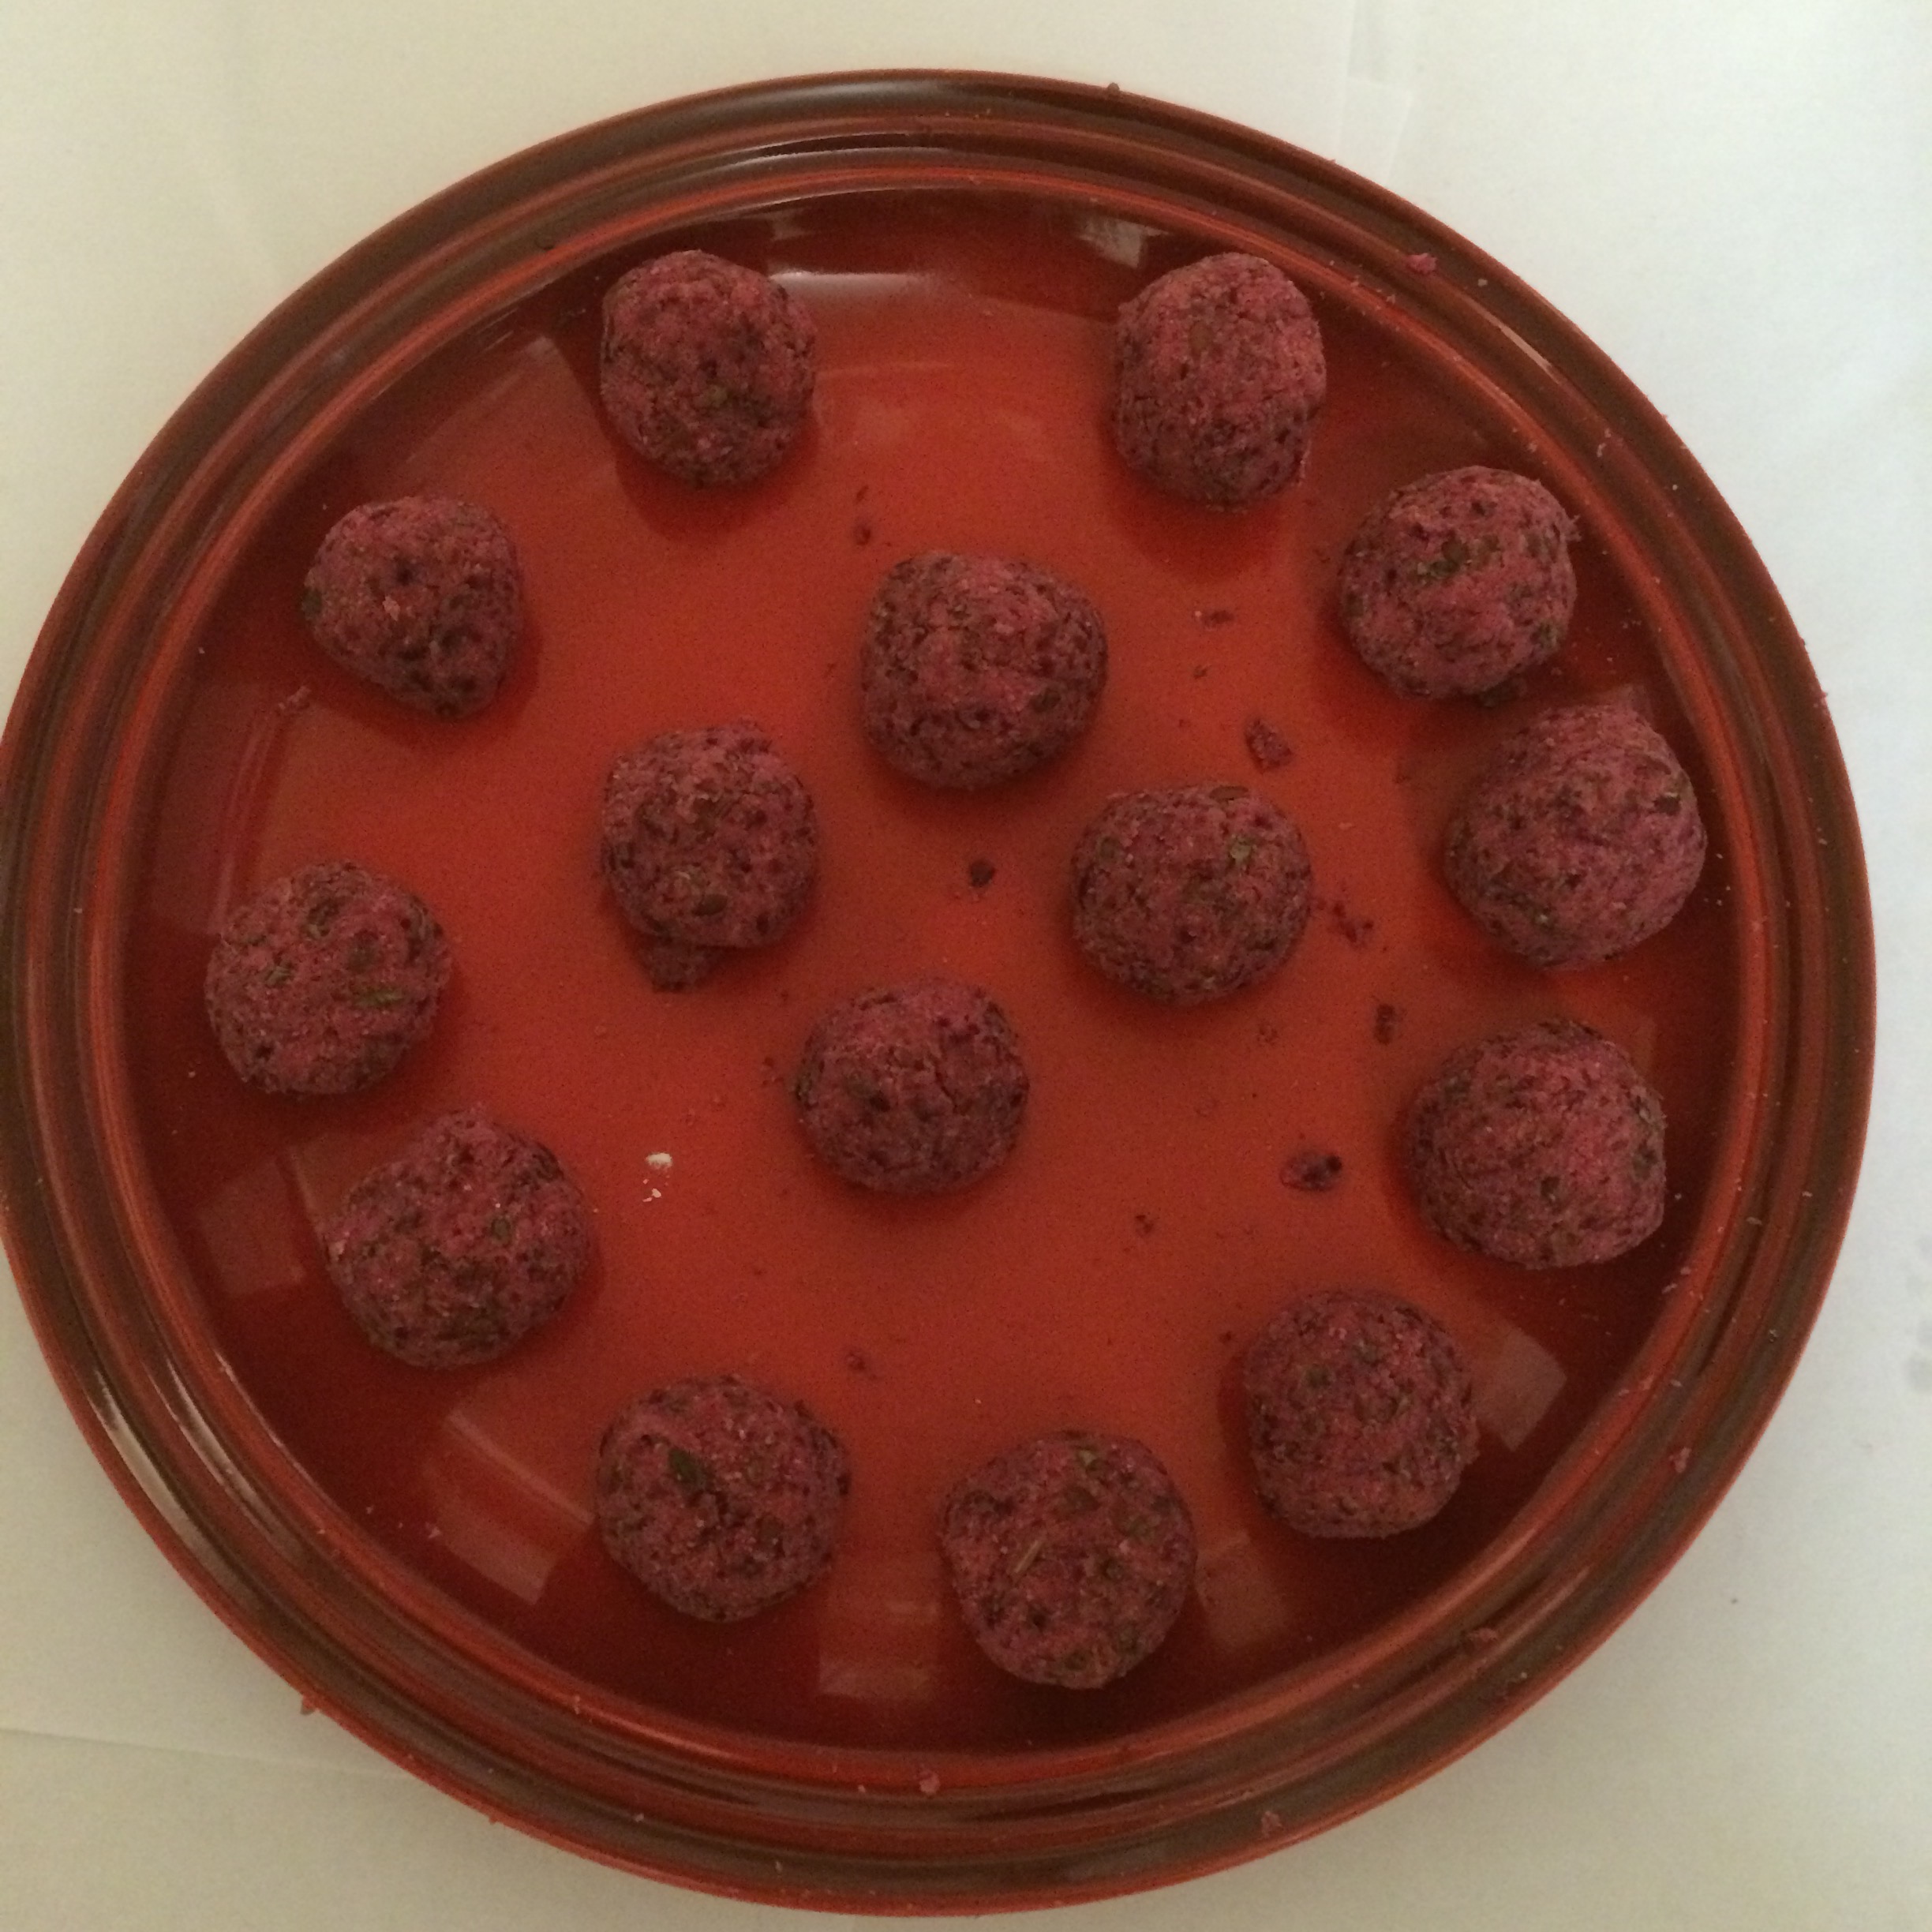
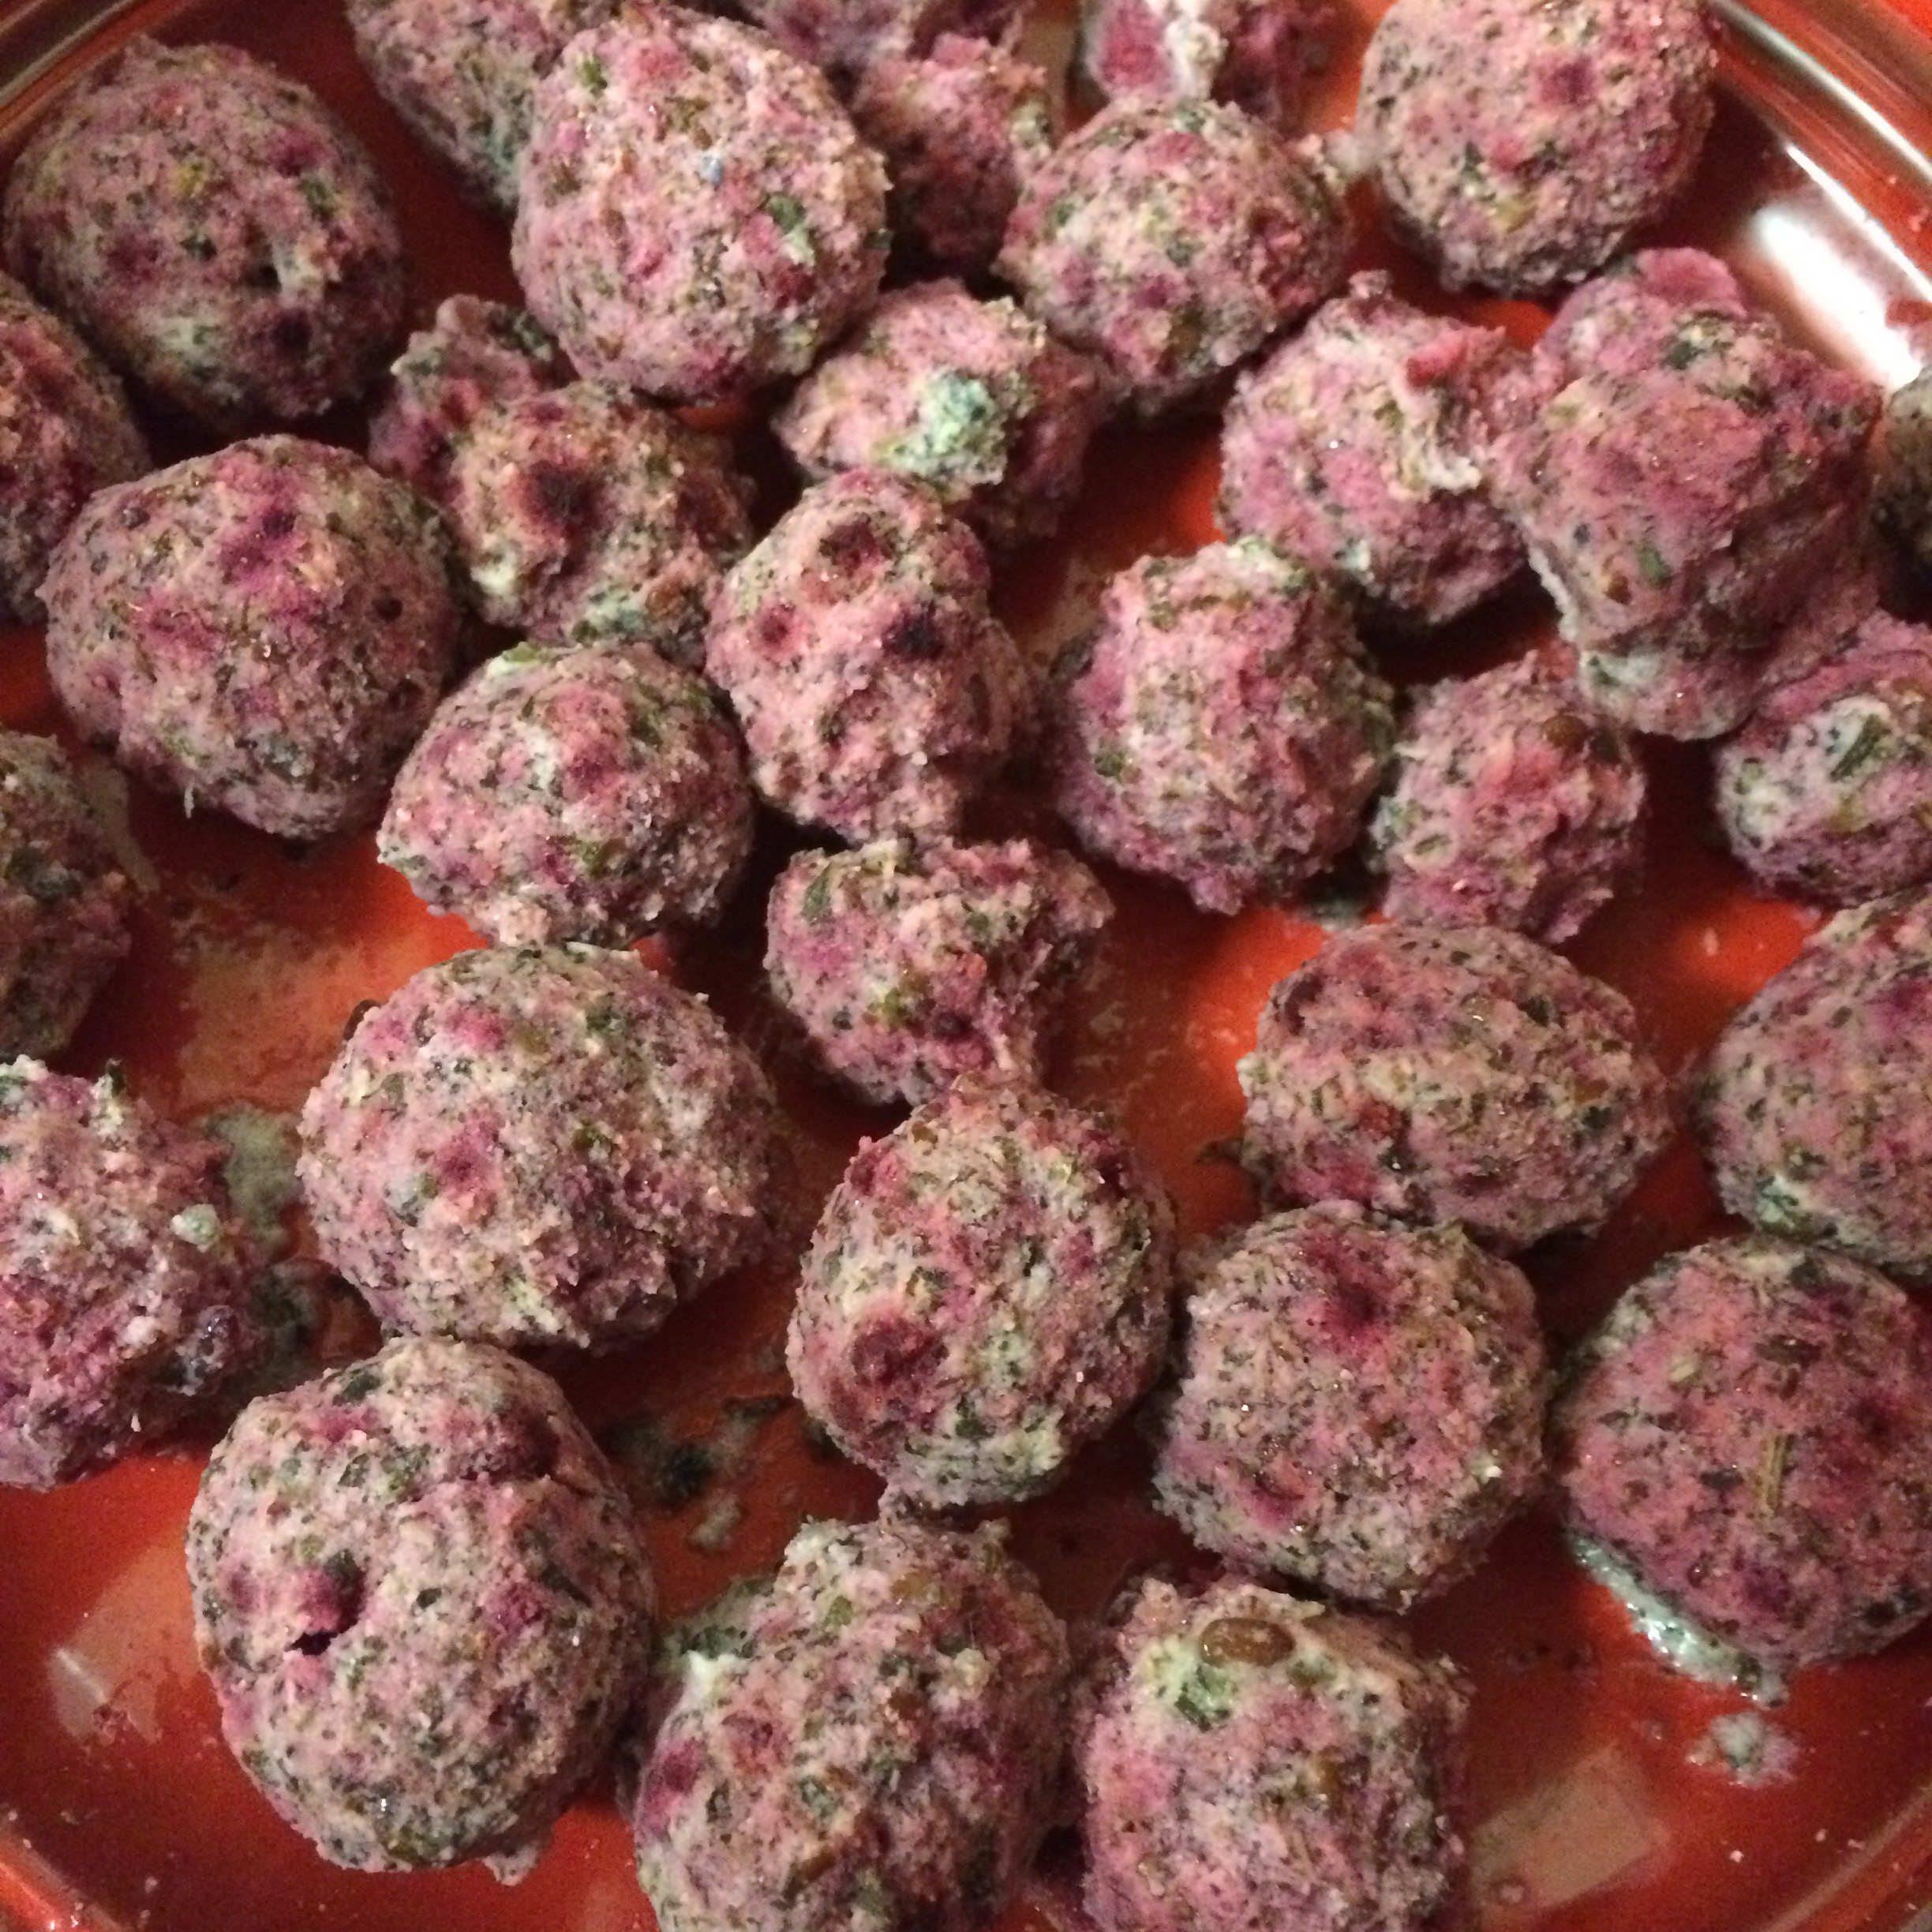
We made a whole tray ready to bake! 
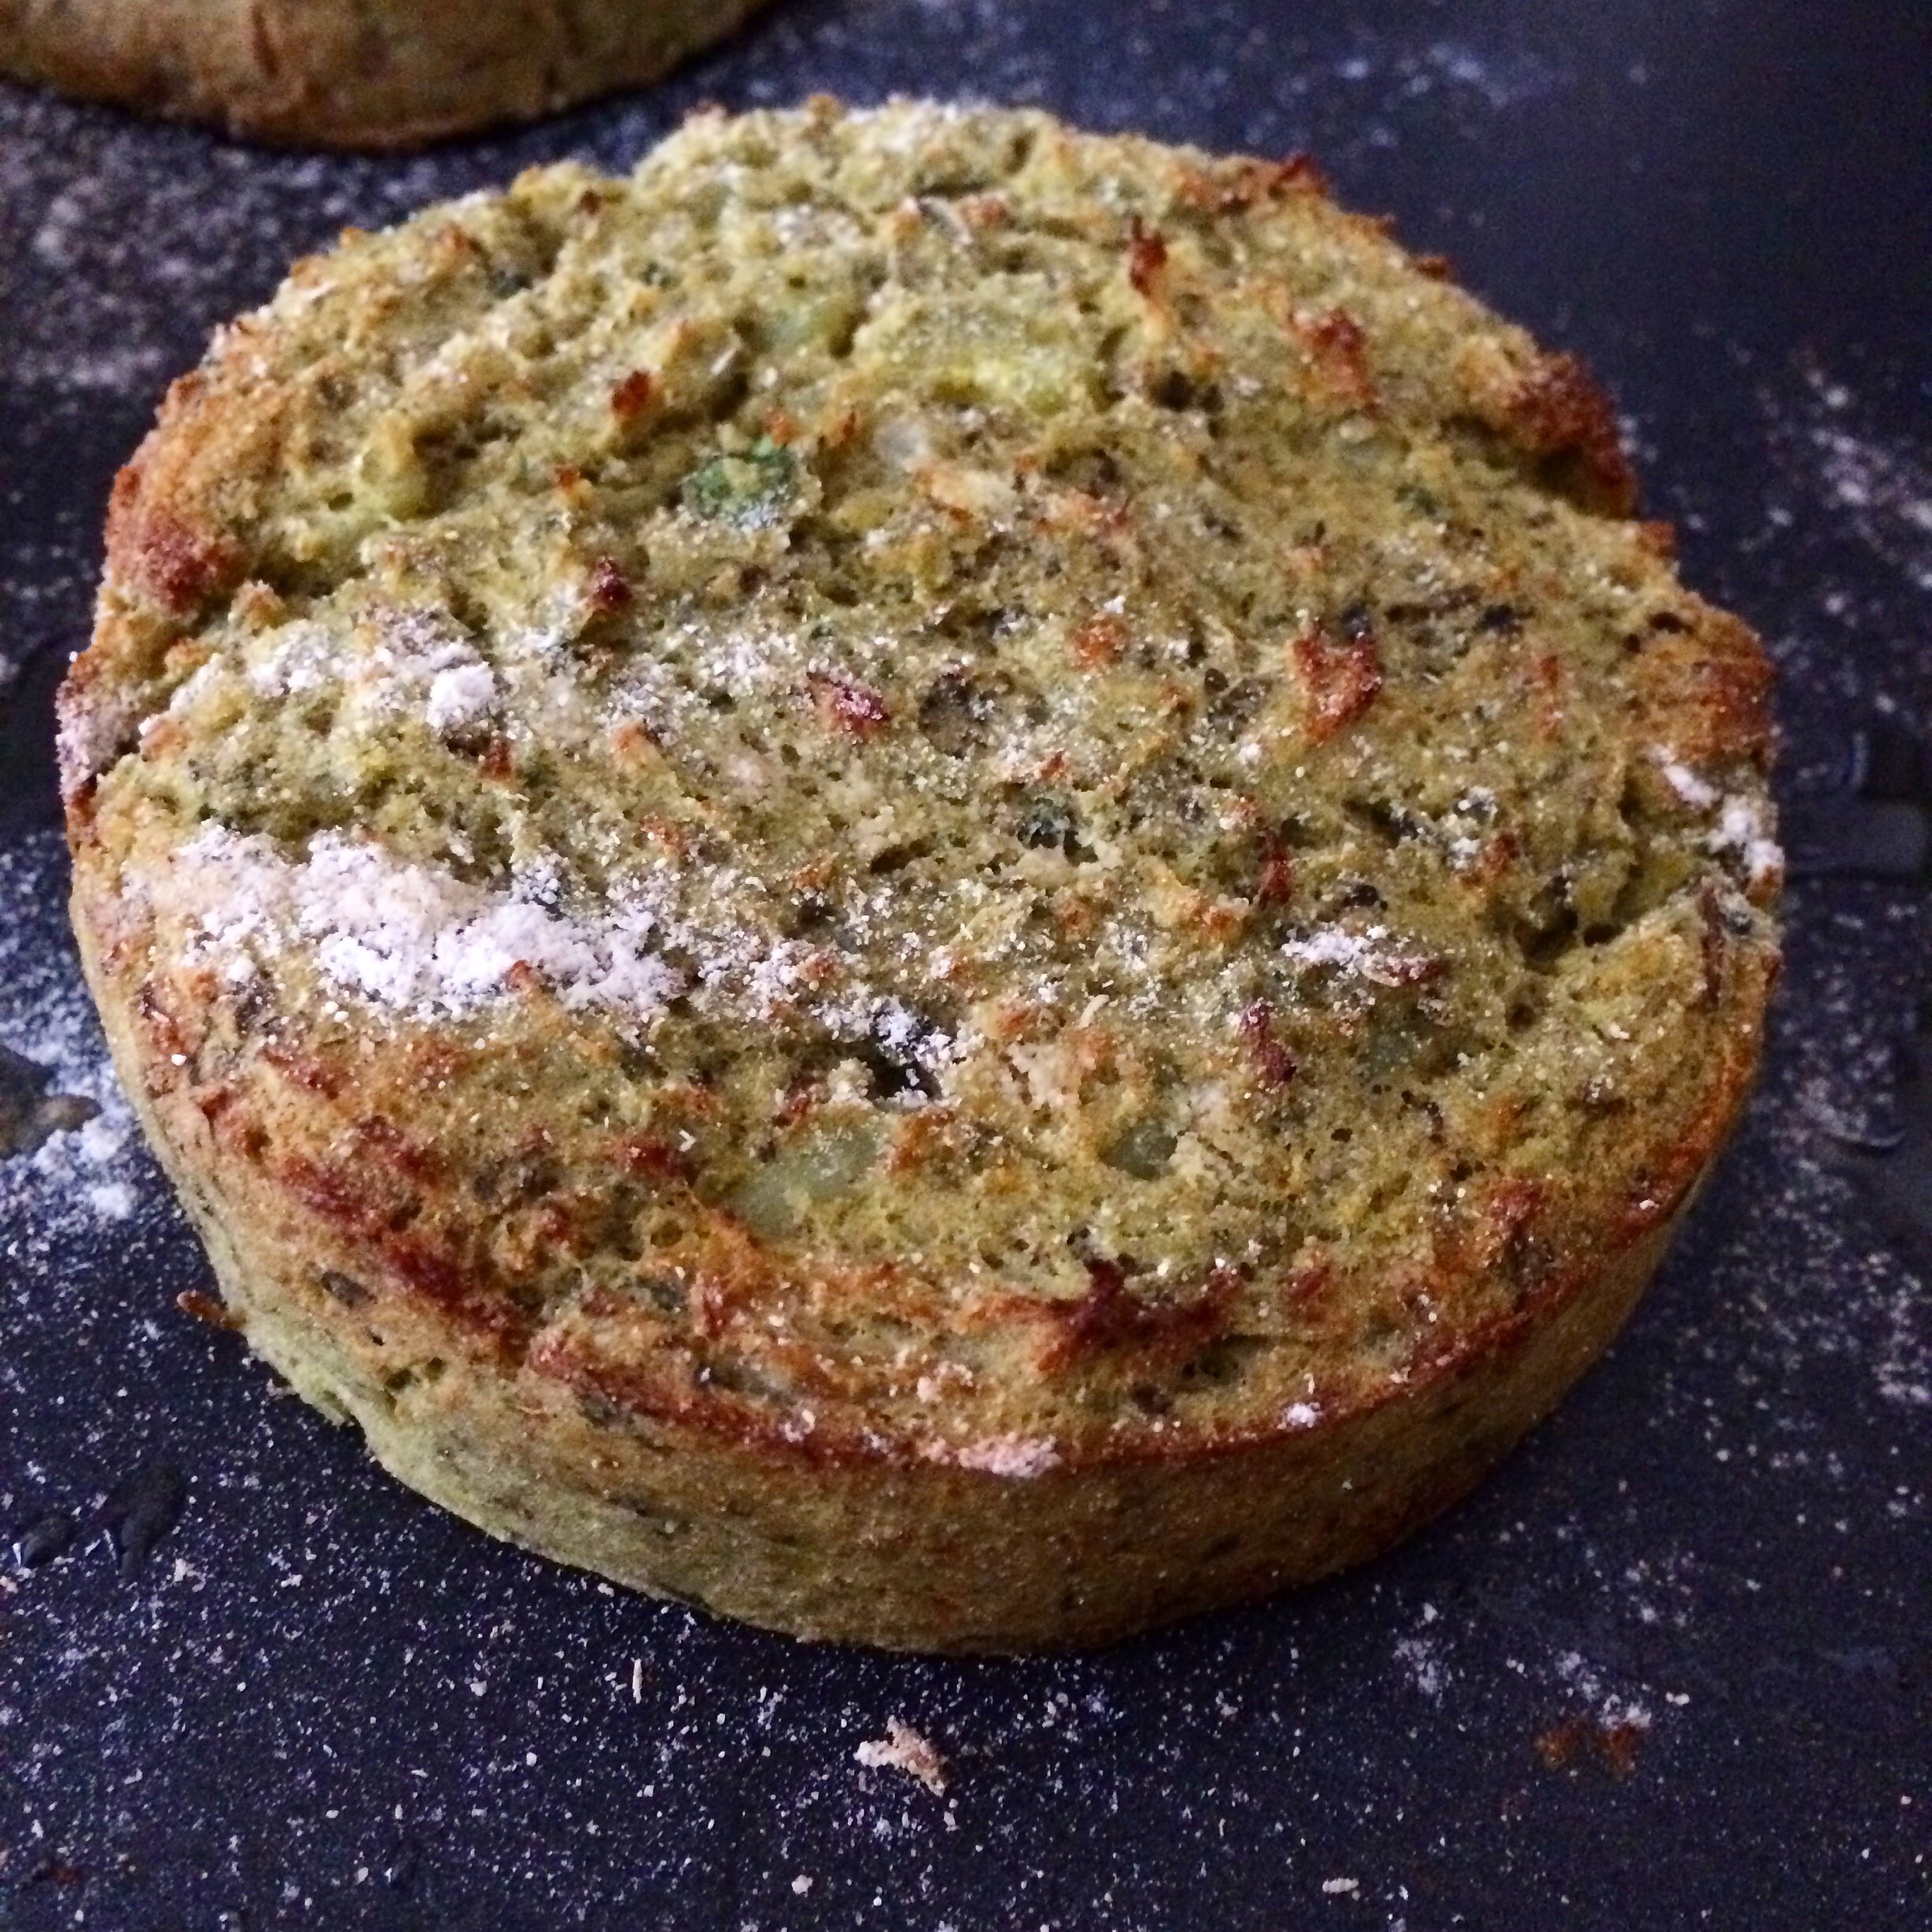
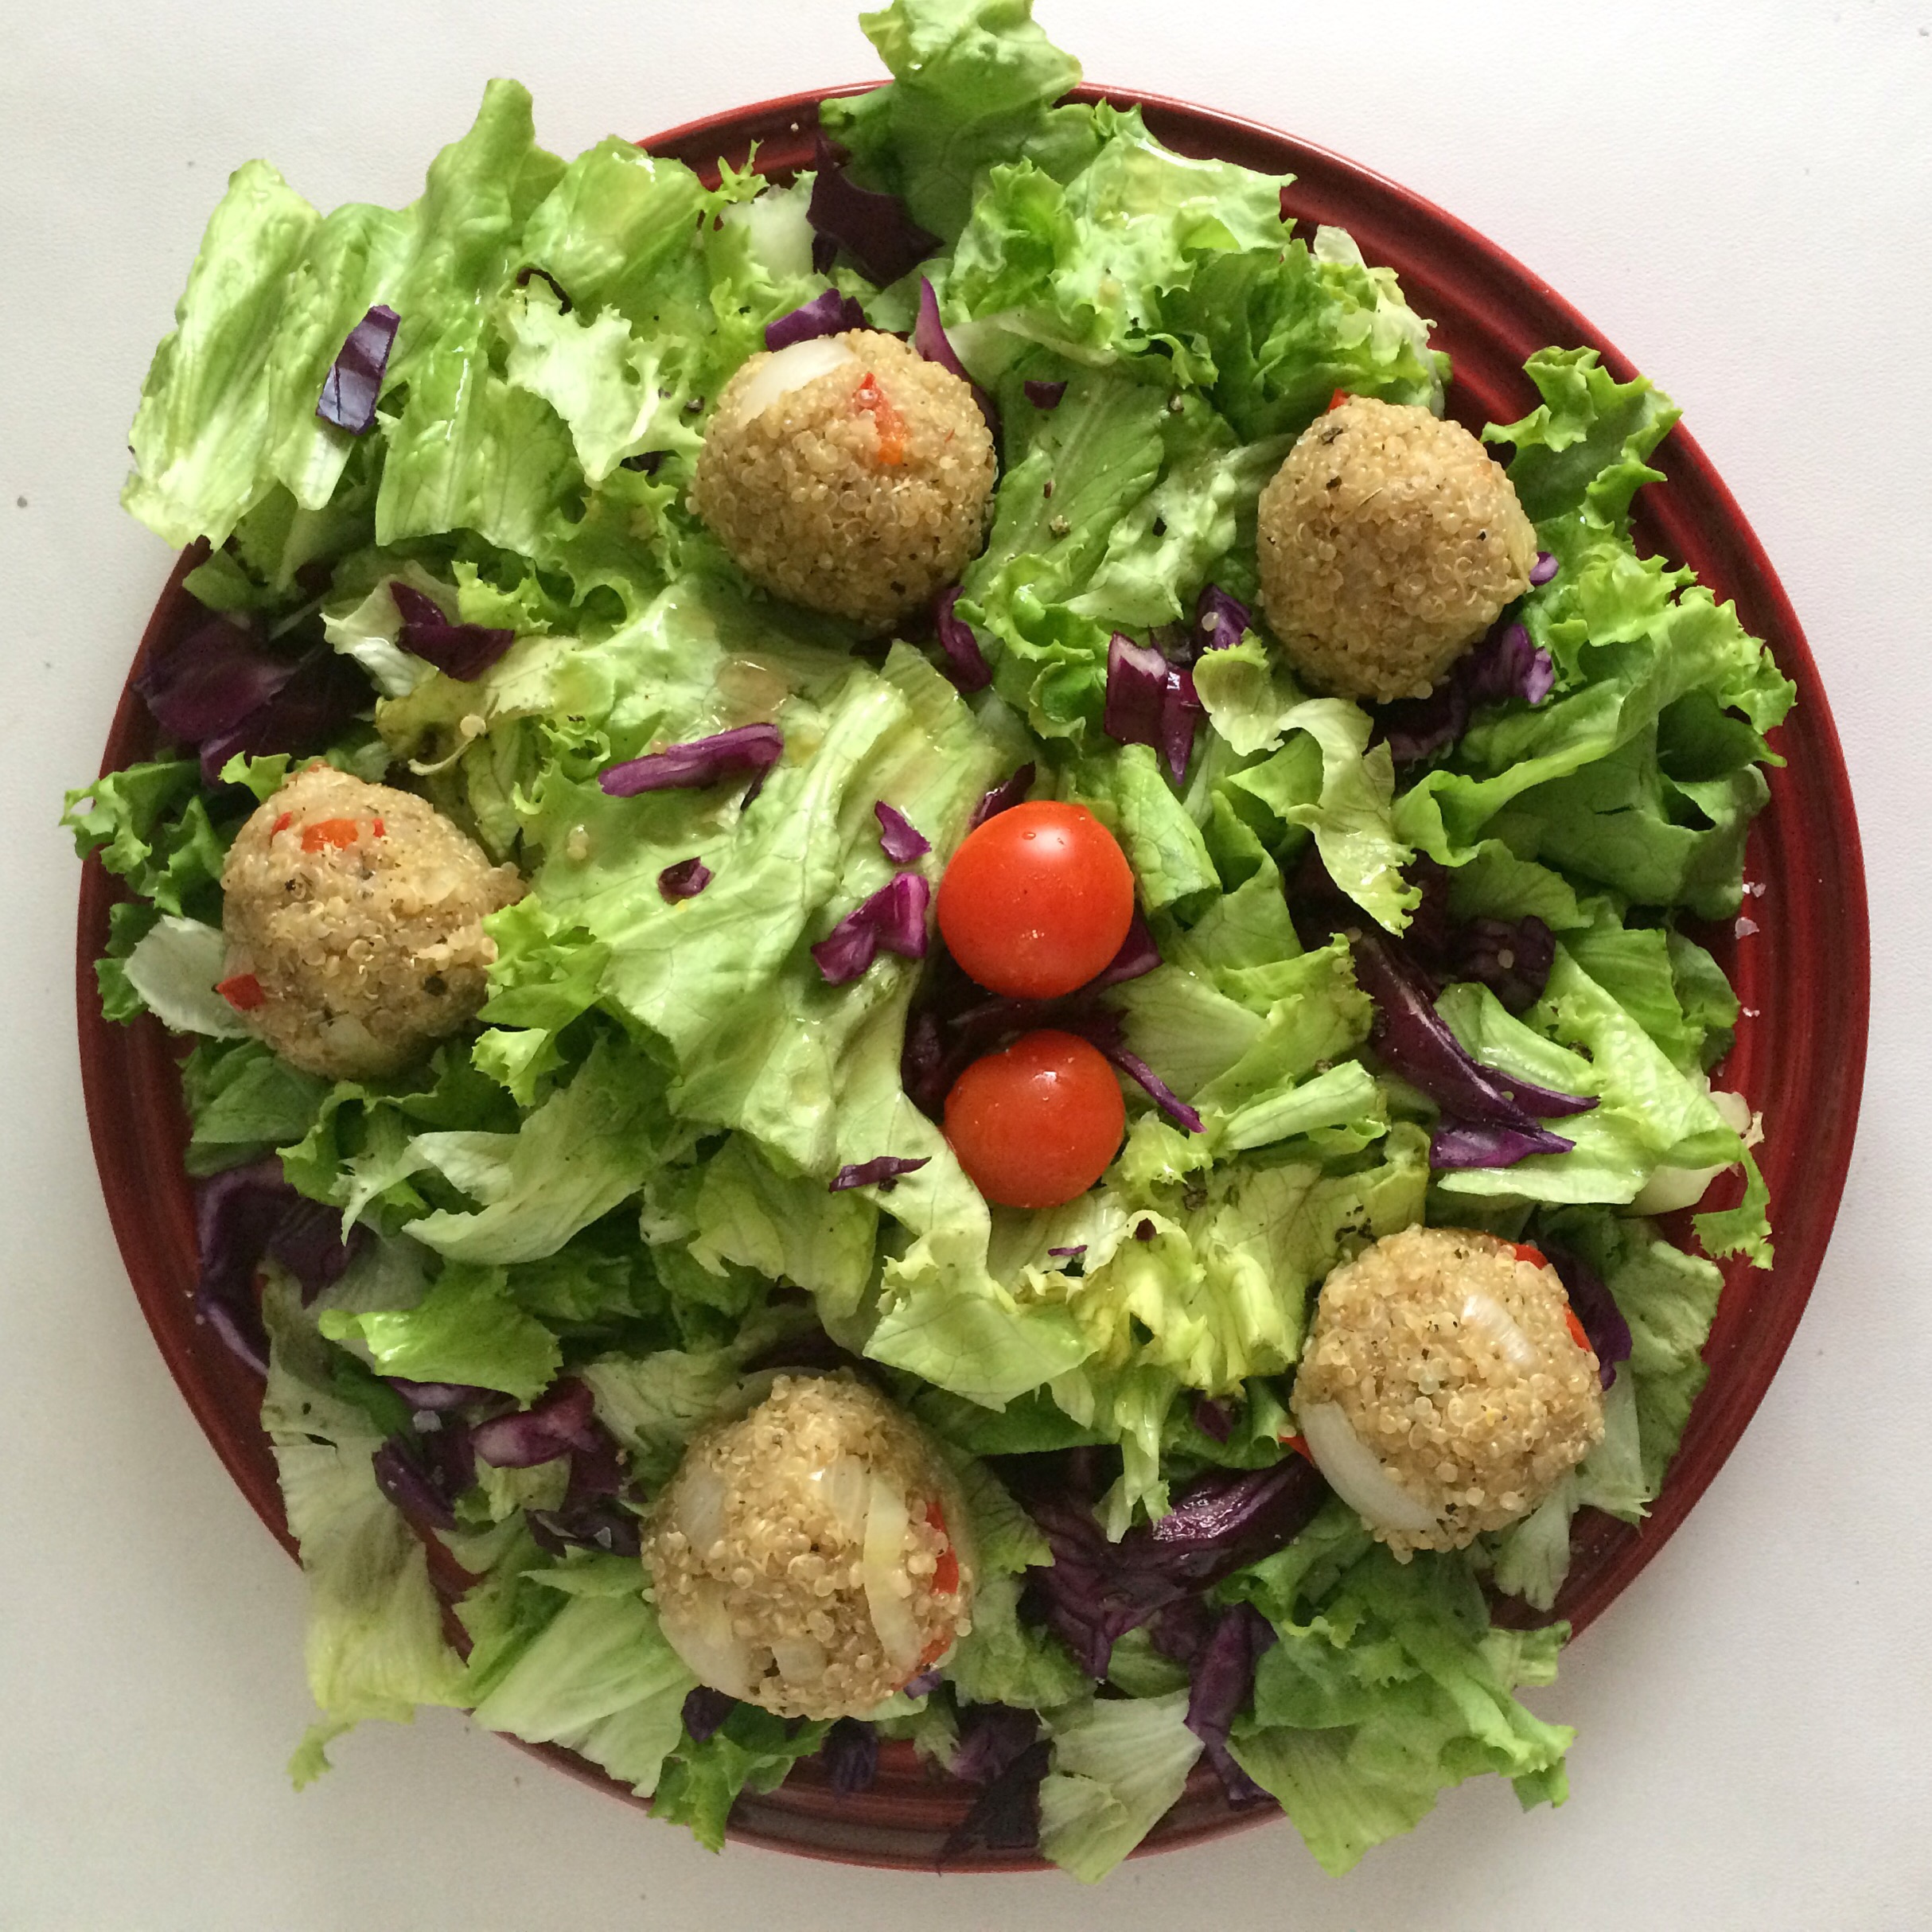
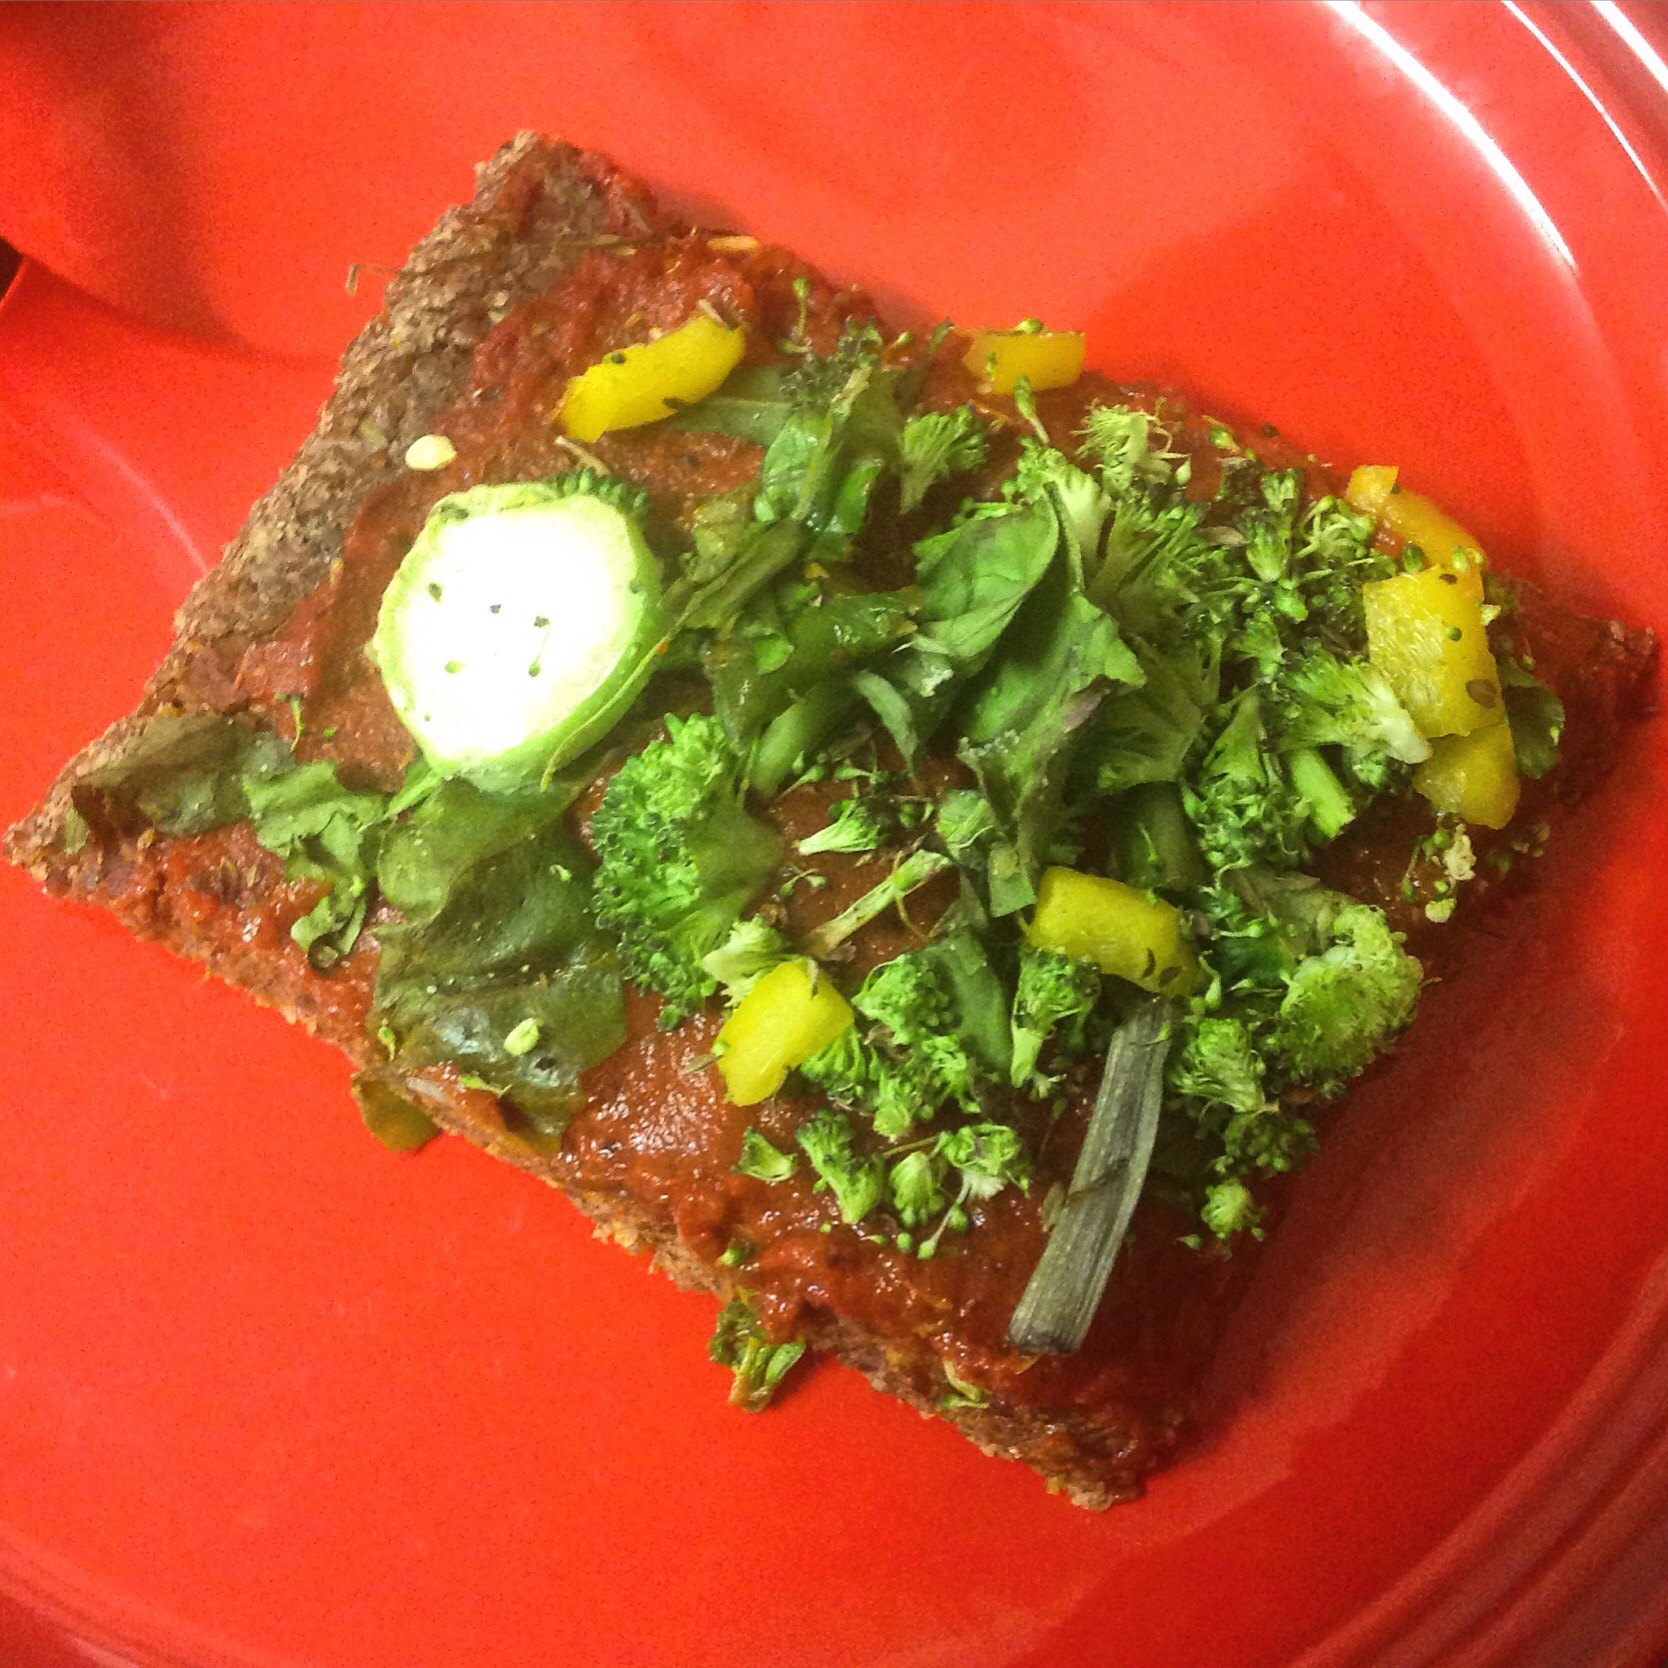
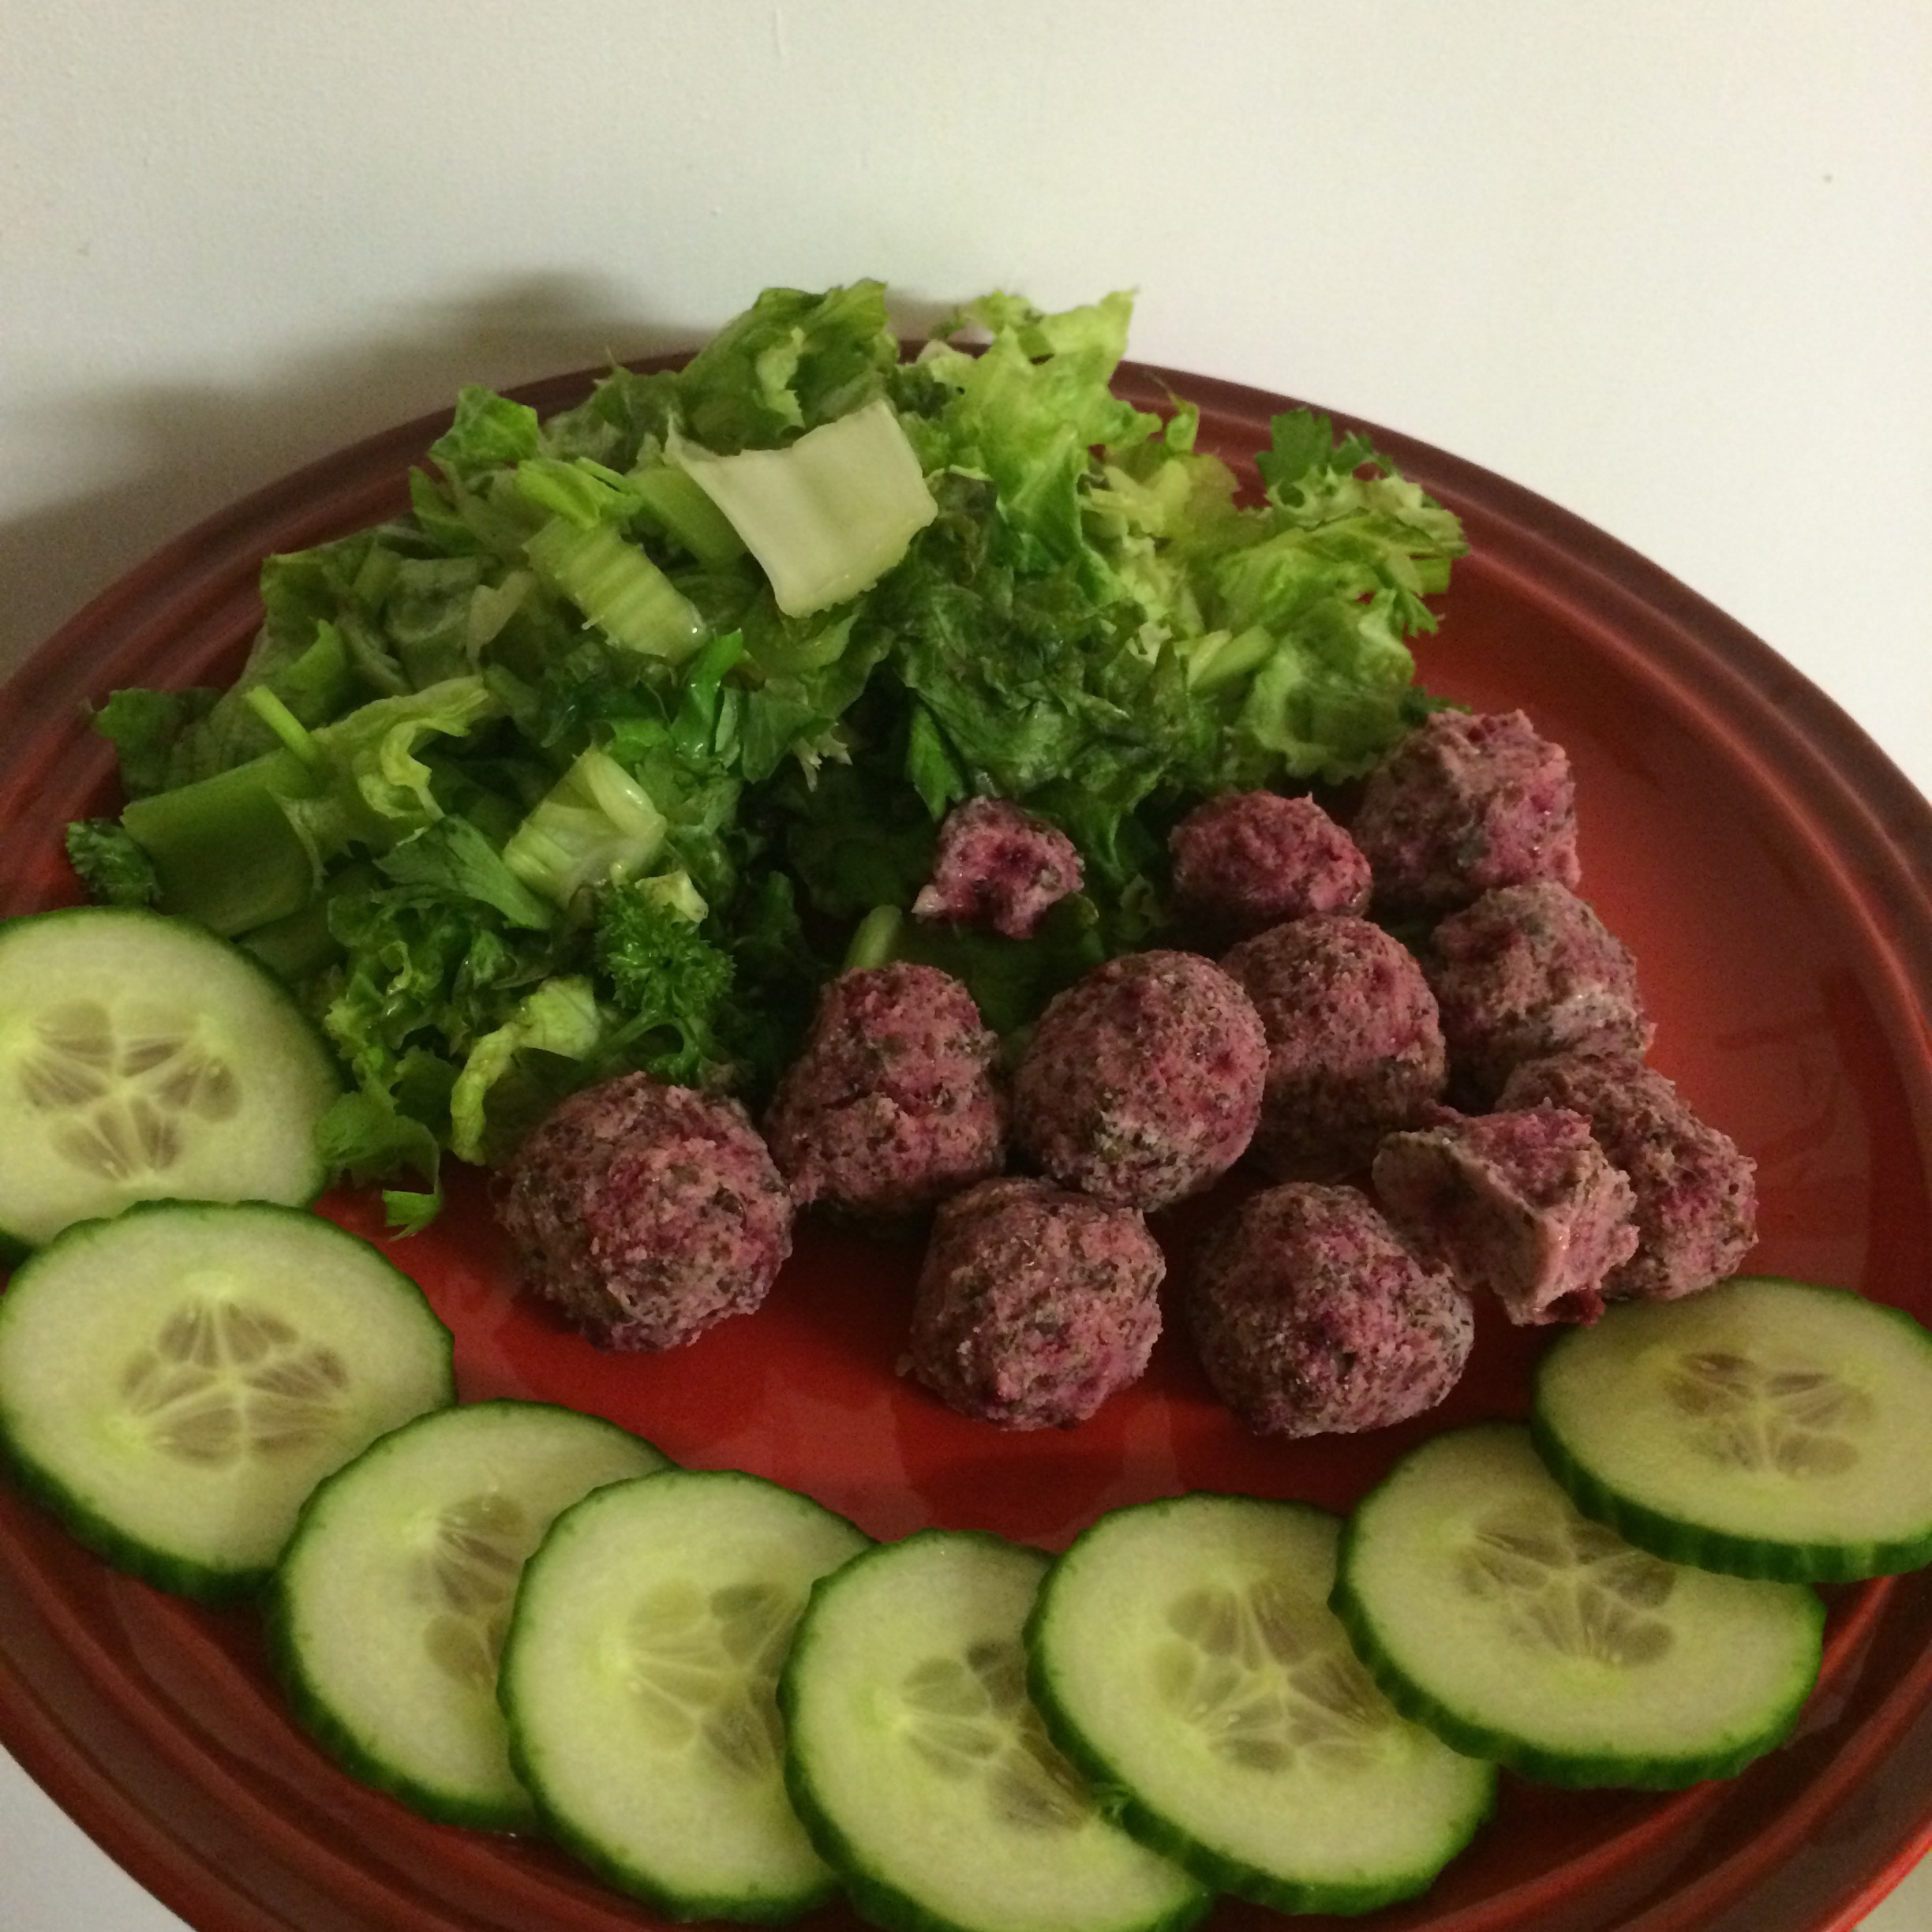
And when they were served they tasted perfect!

So ladies and gentlemen – moral of the story? You need to get yourselves A DICE we mean ‘rice’ cube 😉! And keep an eye (or two 👀) on our Just Ate Vegan Instagram Feed and we’ll post lots more ideas as we create them!
We hope you enjoyed reading this review as much as we did creating it – if you’ve got any questions leave a comment or email us and in the meantime – TOP product ‘Rice’ Cube Folks!
JA Ladies x

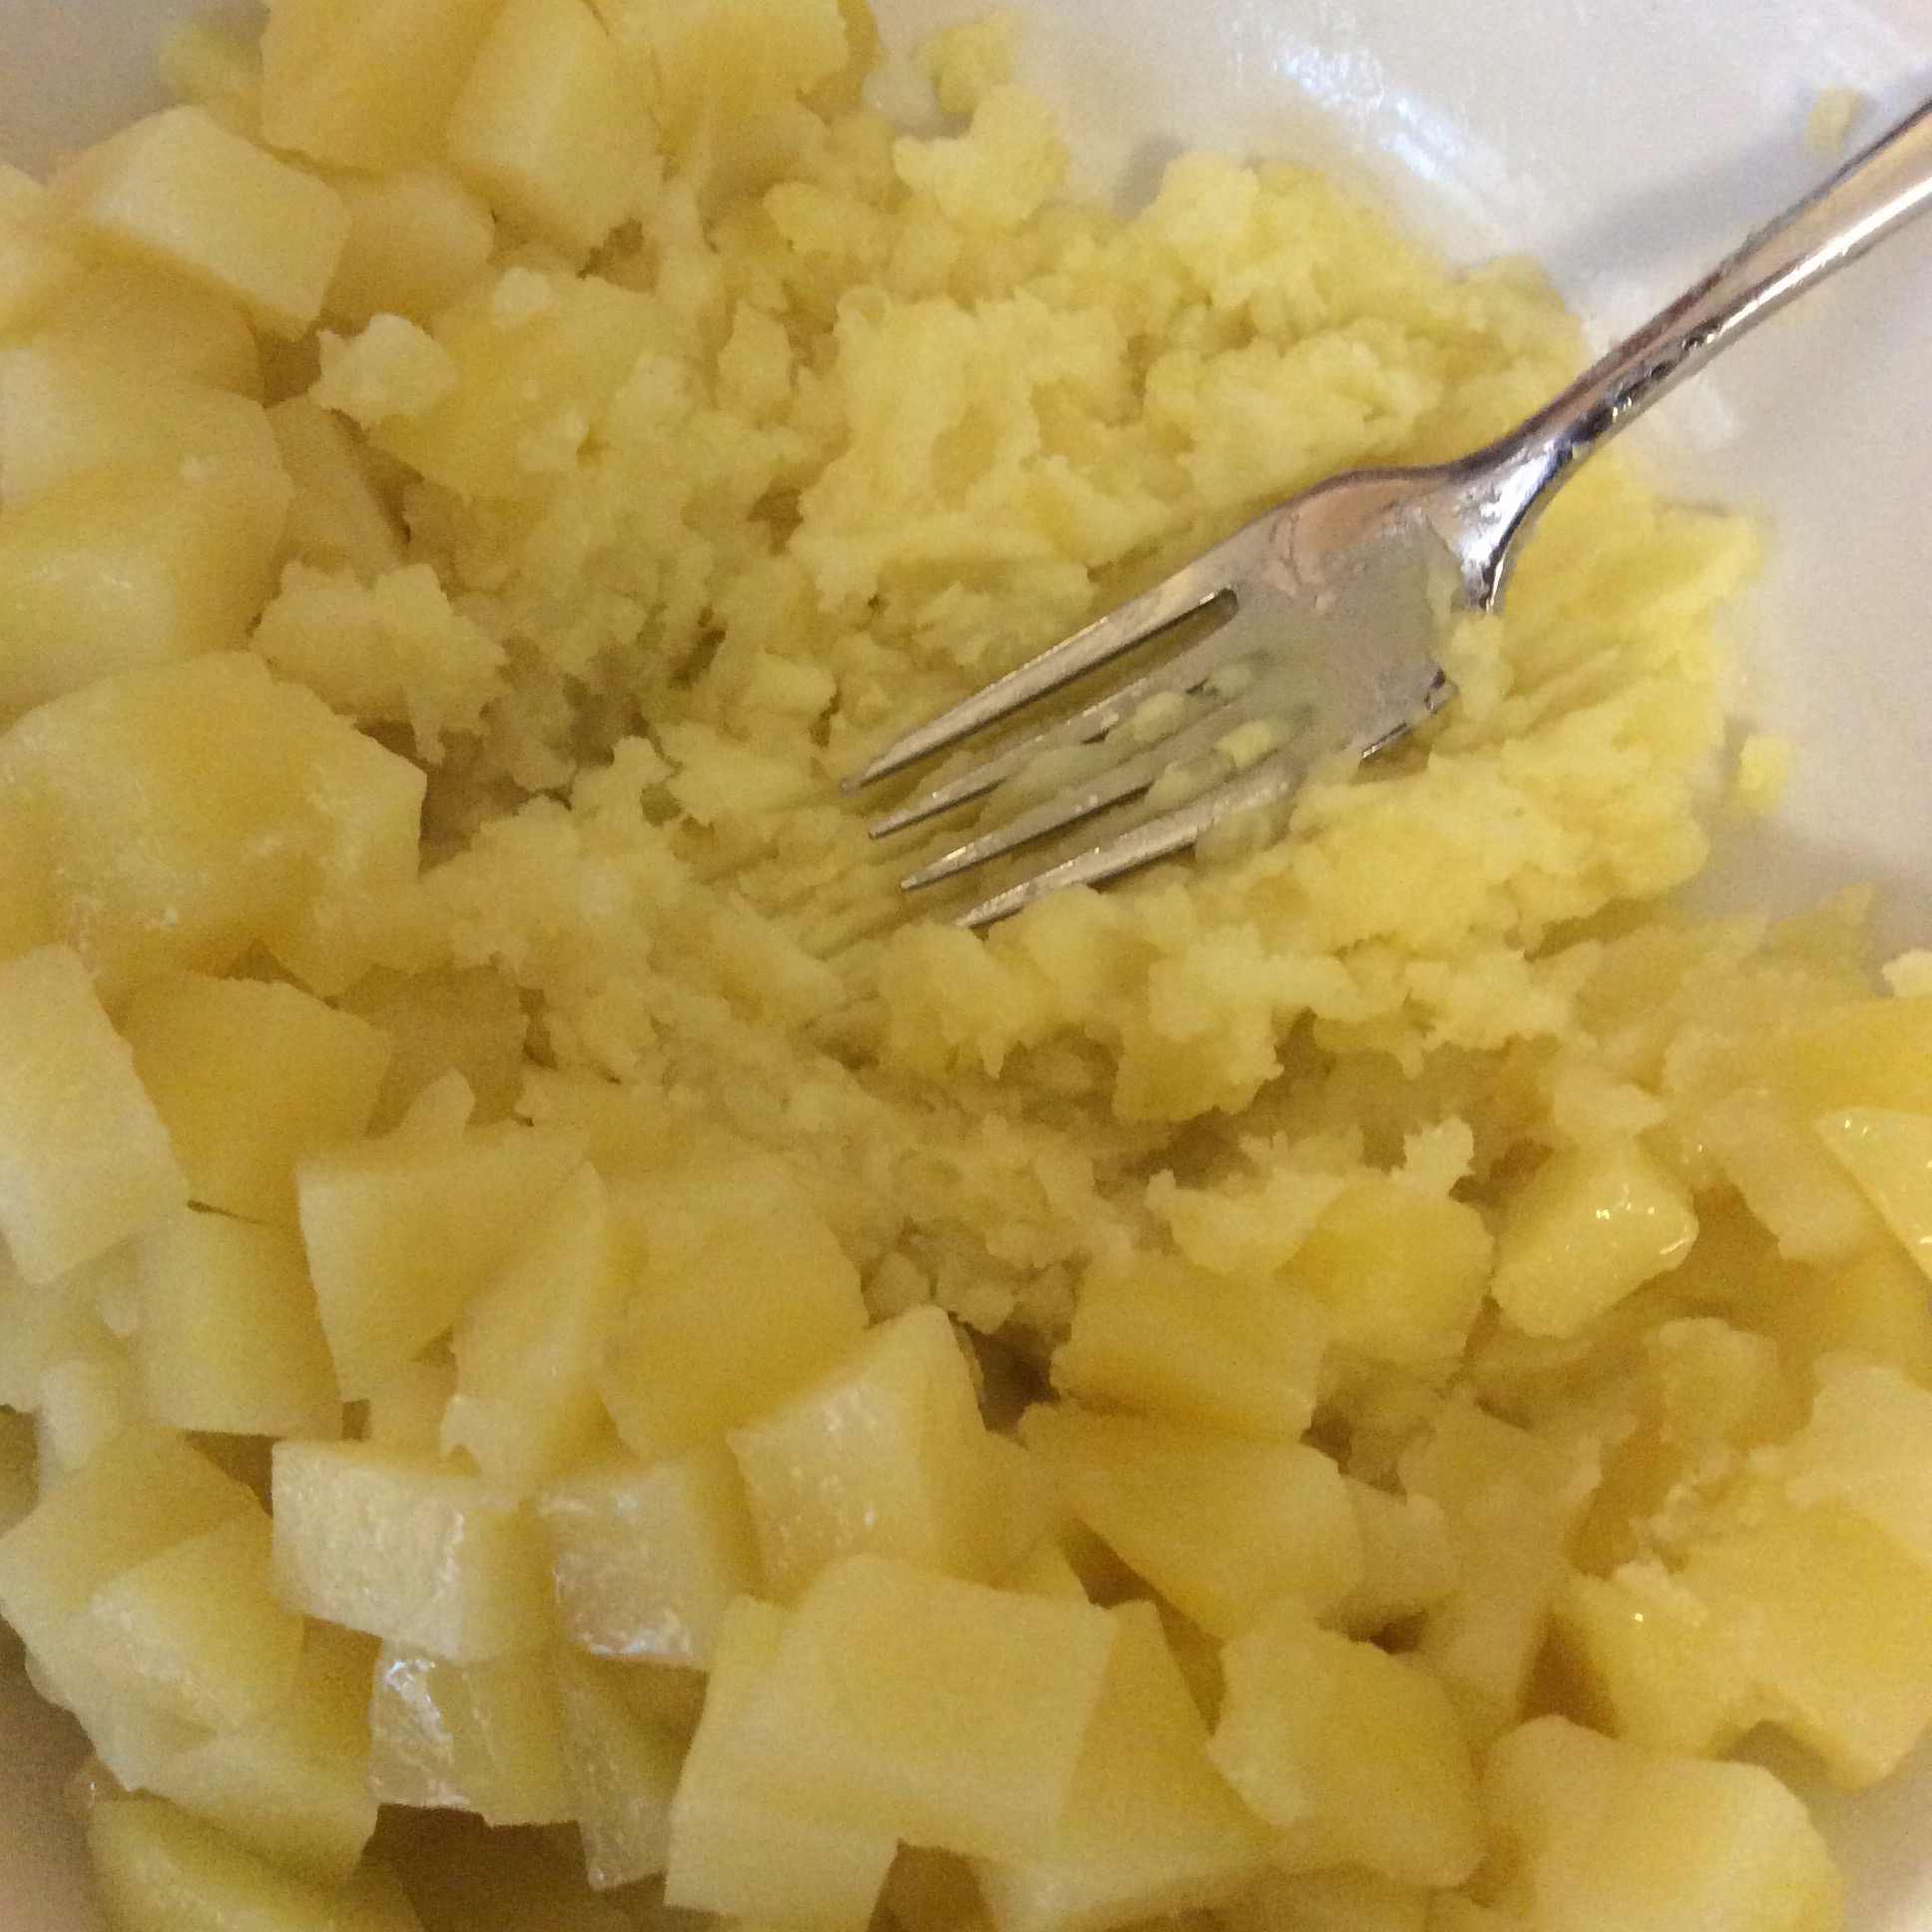
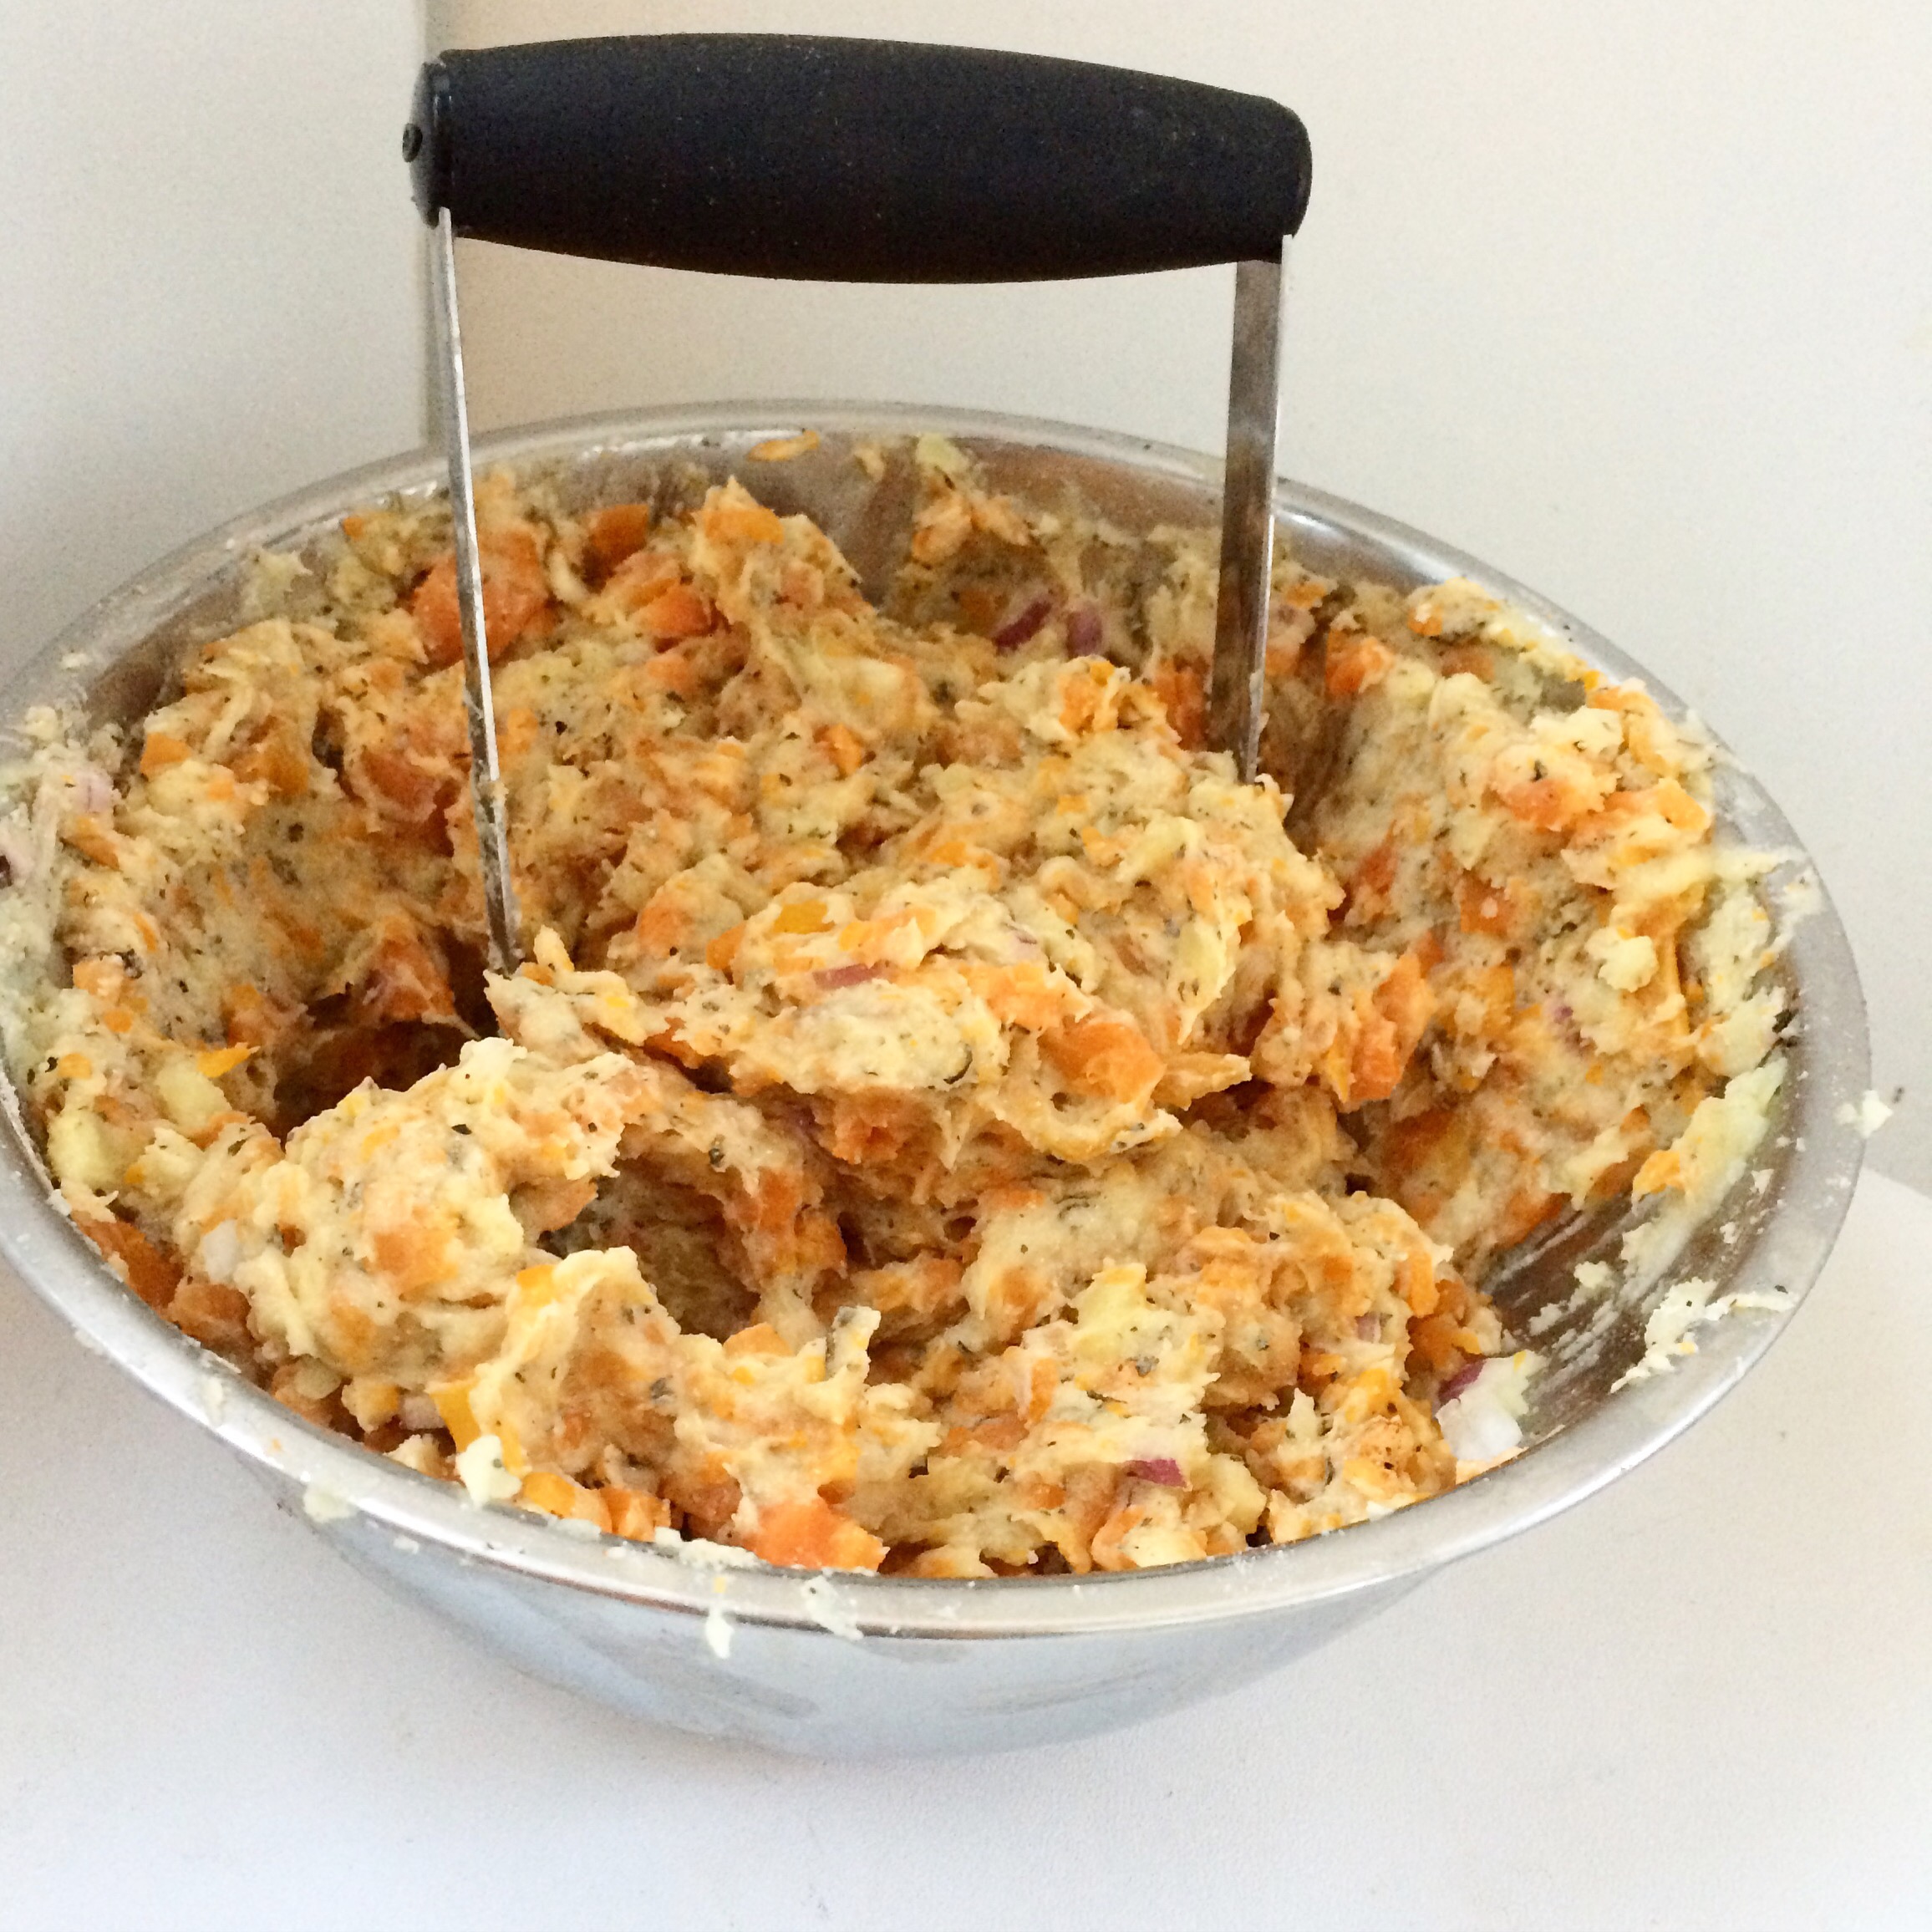
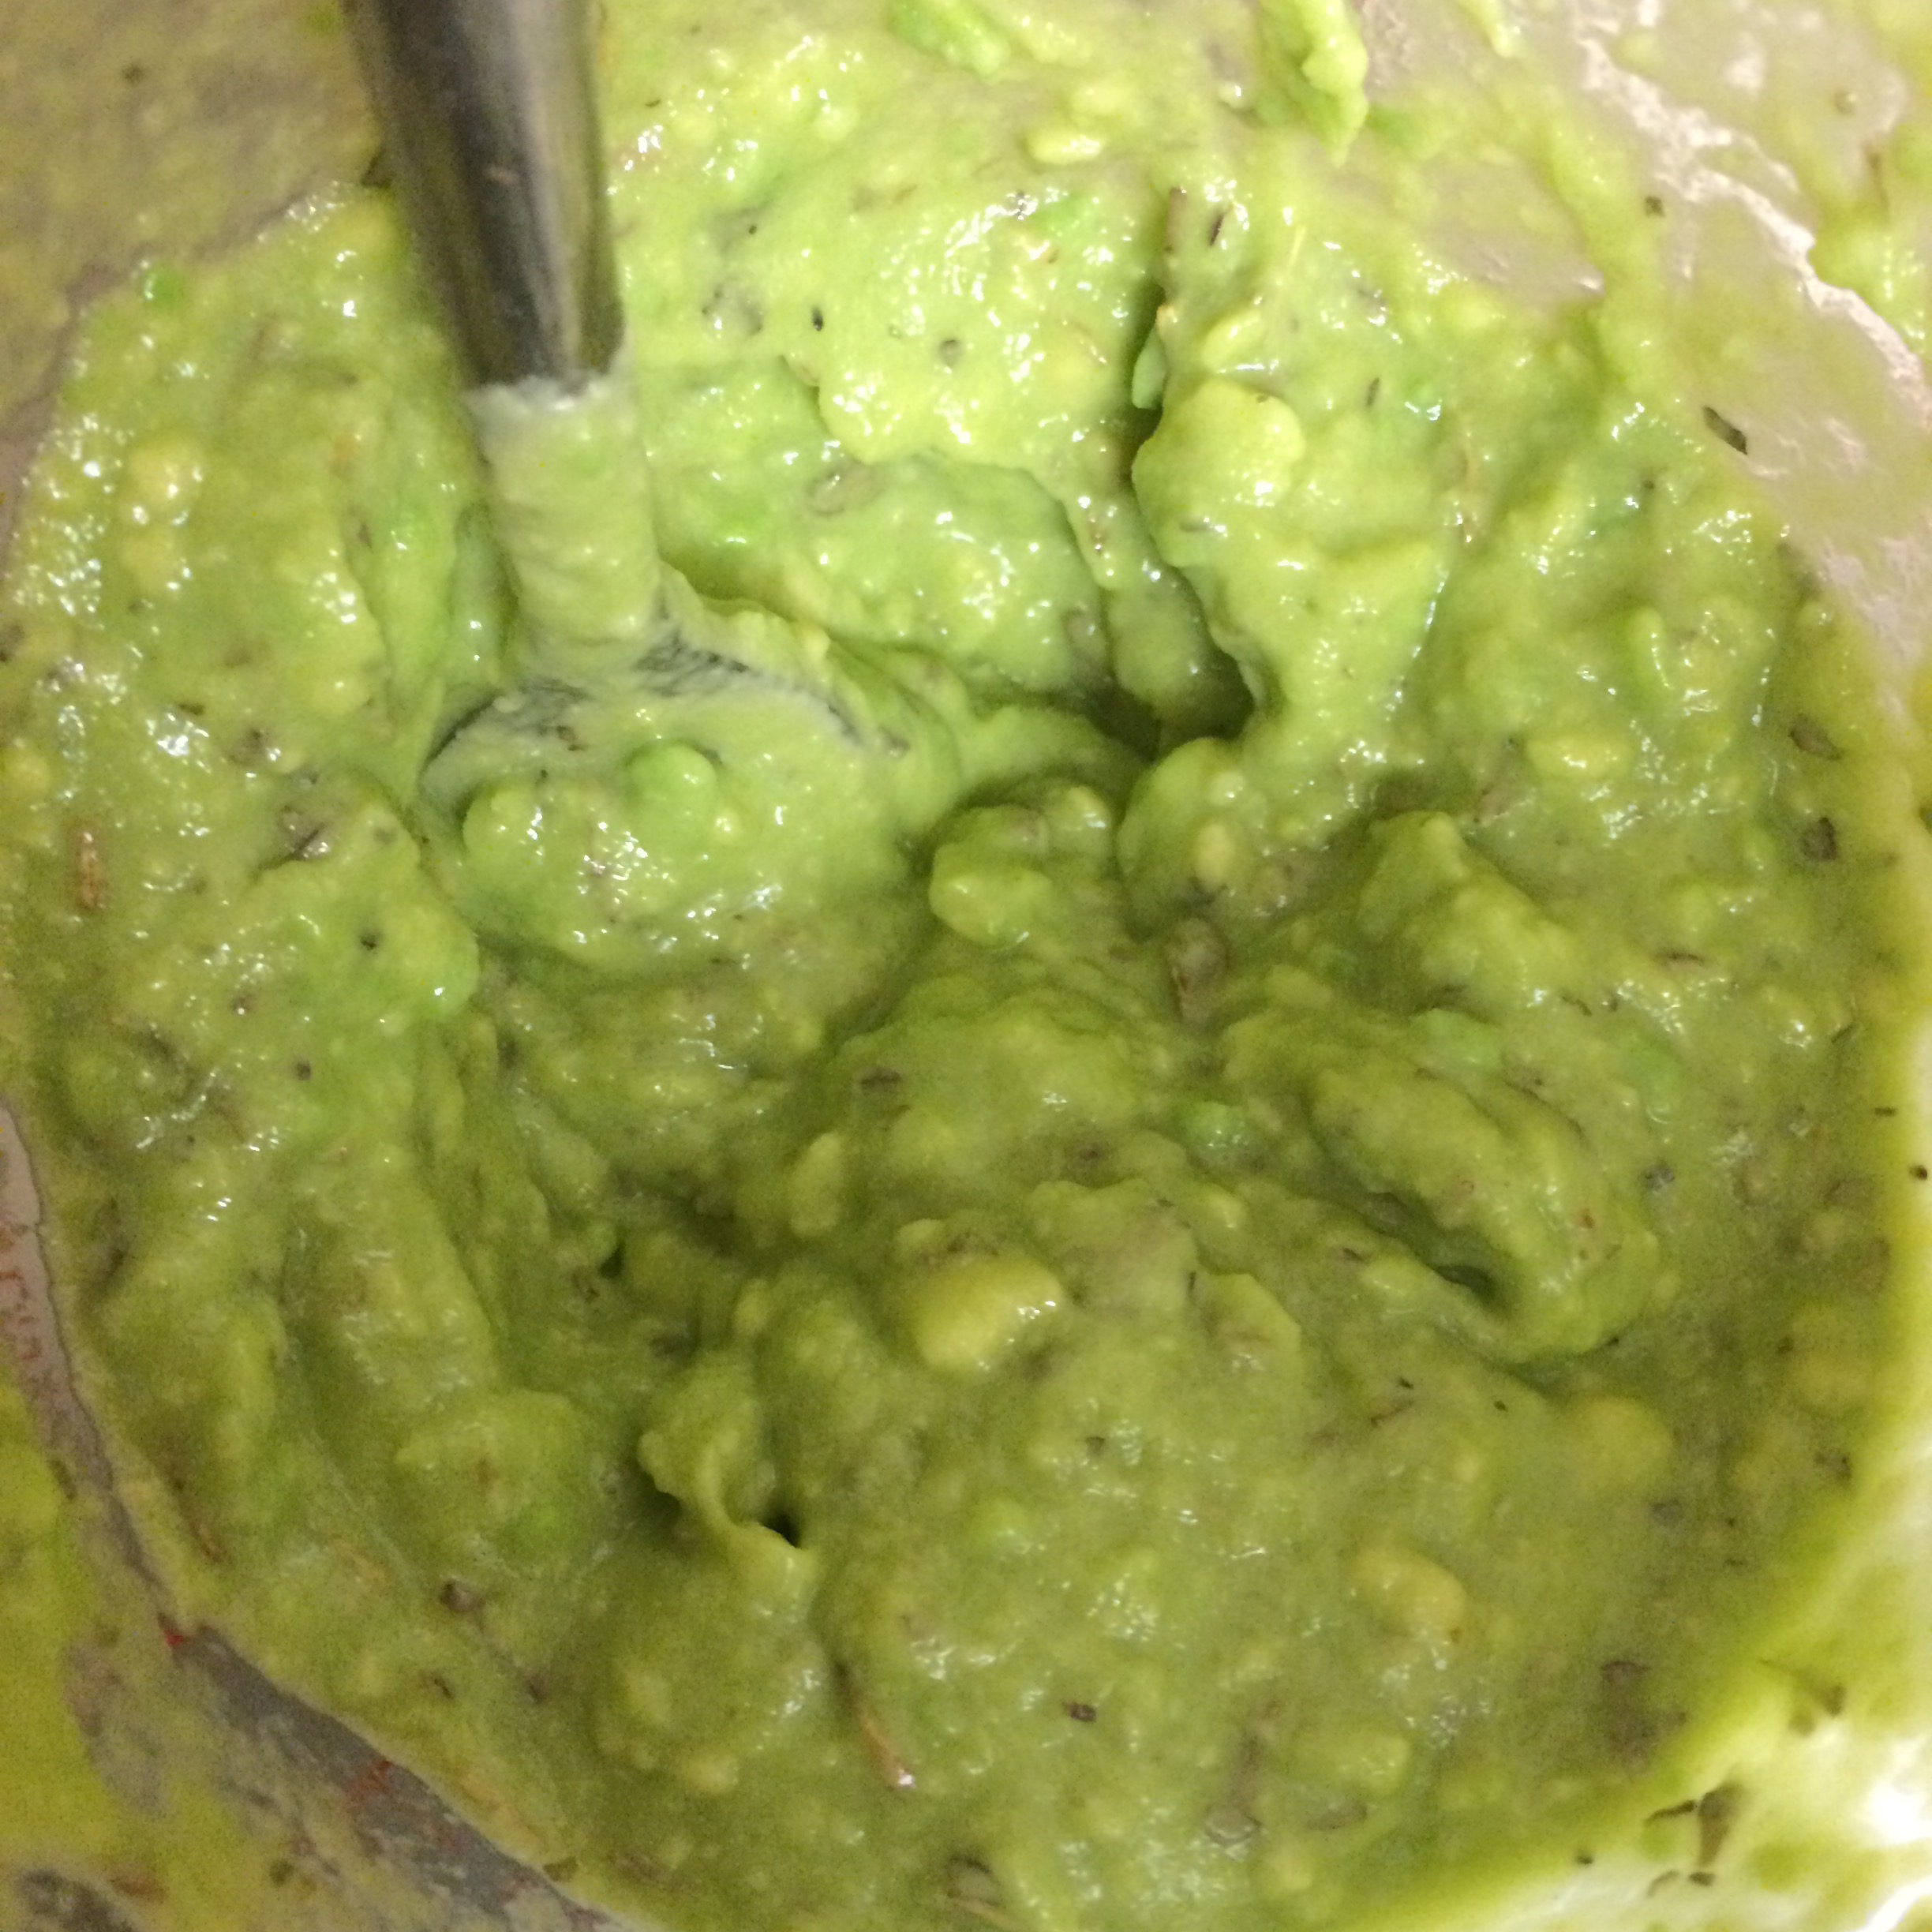
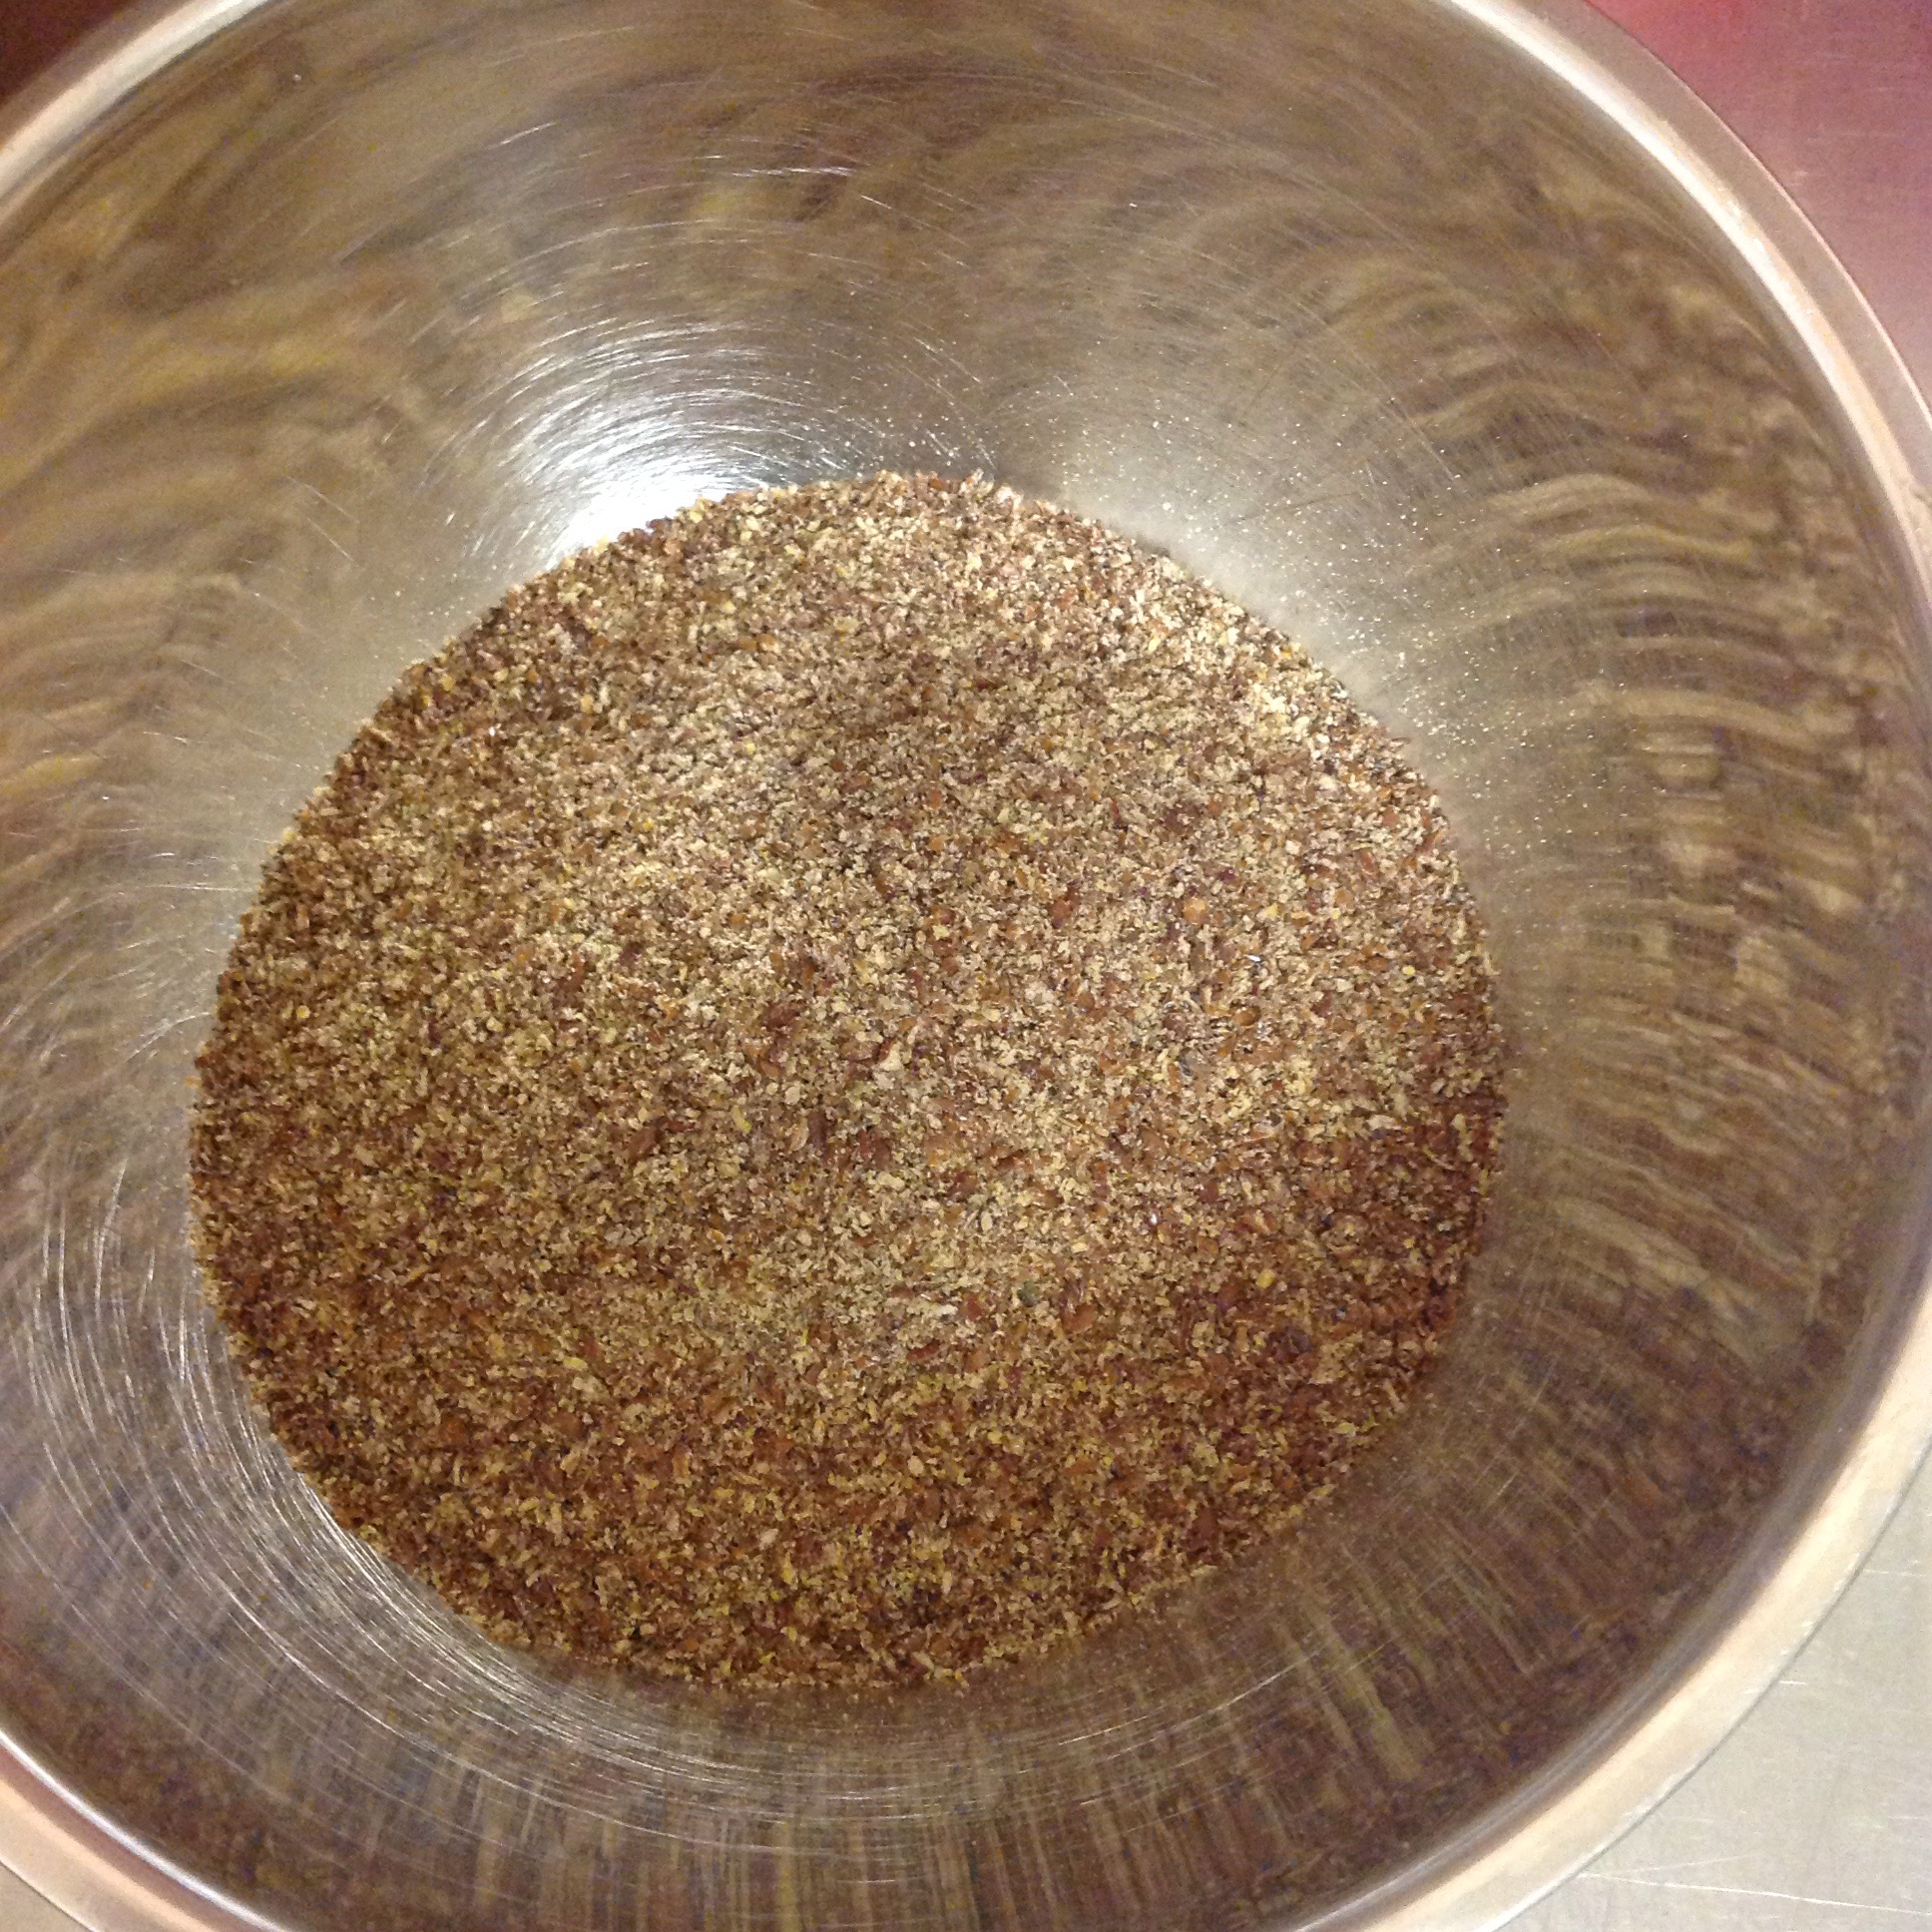
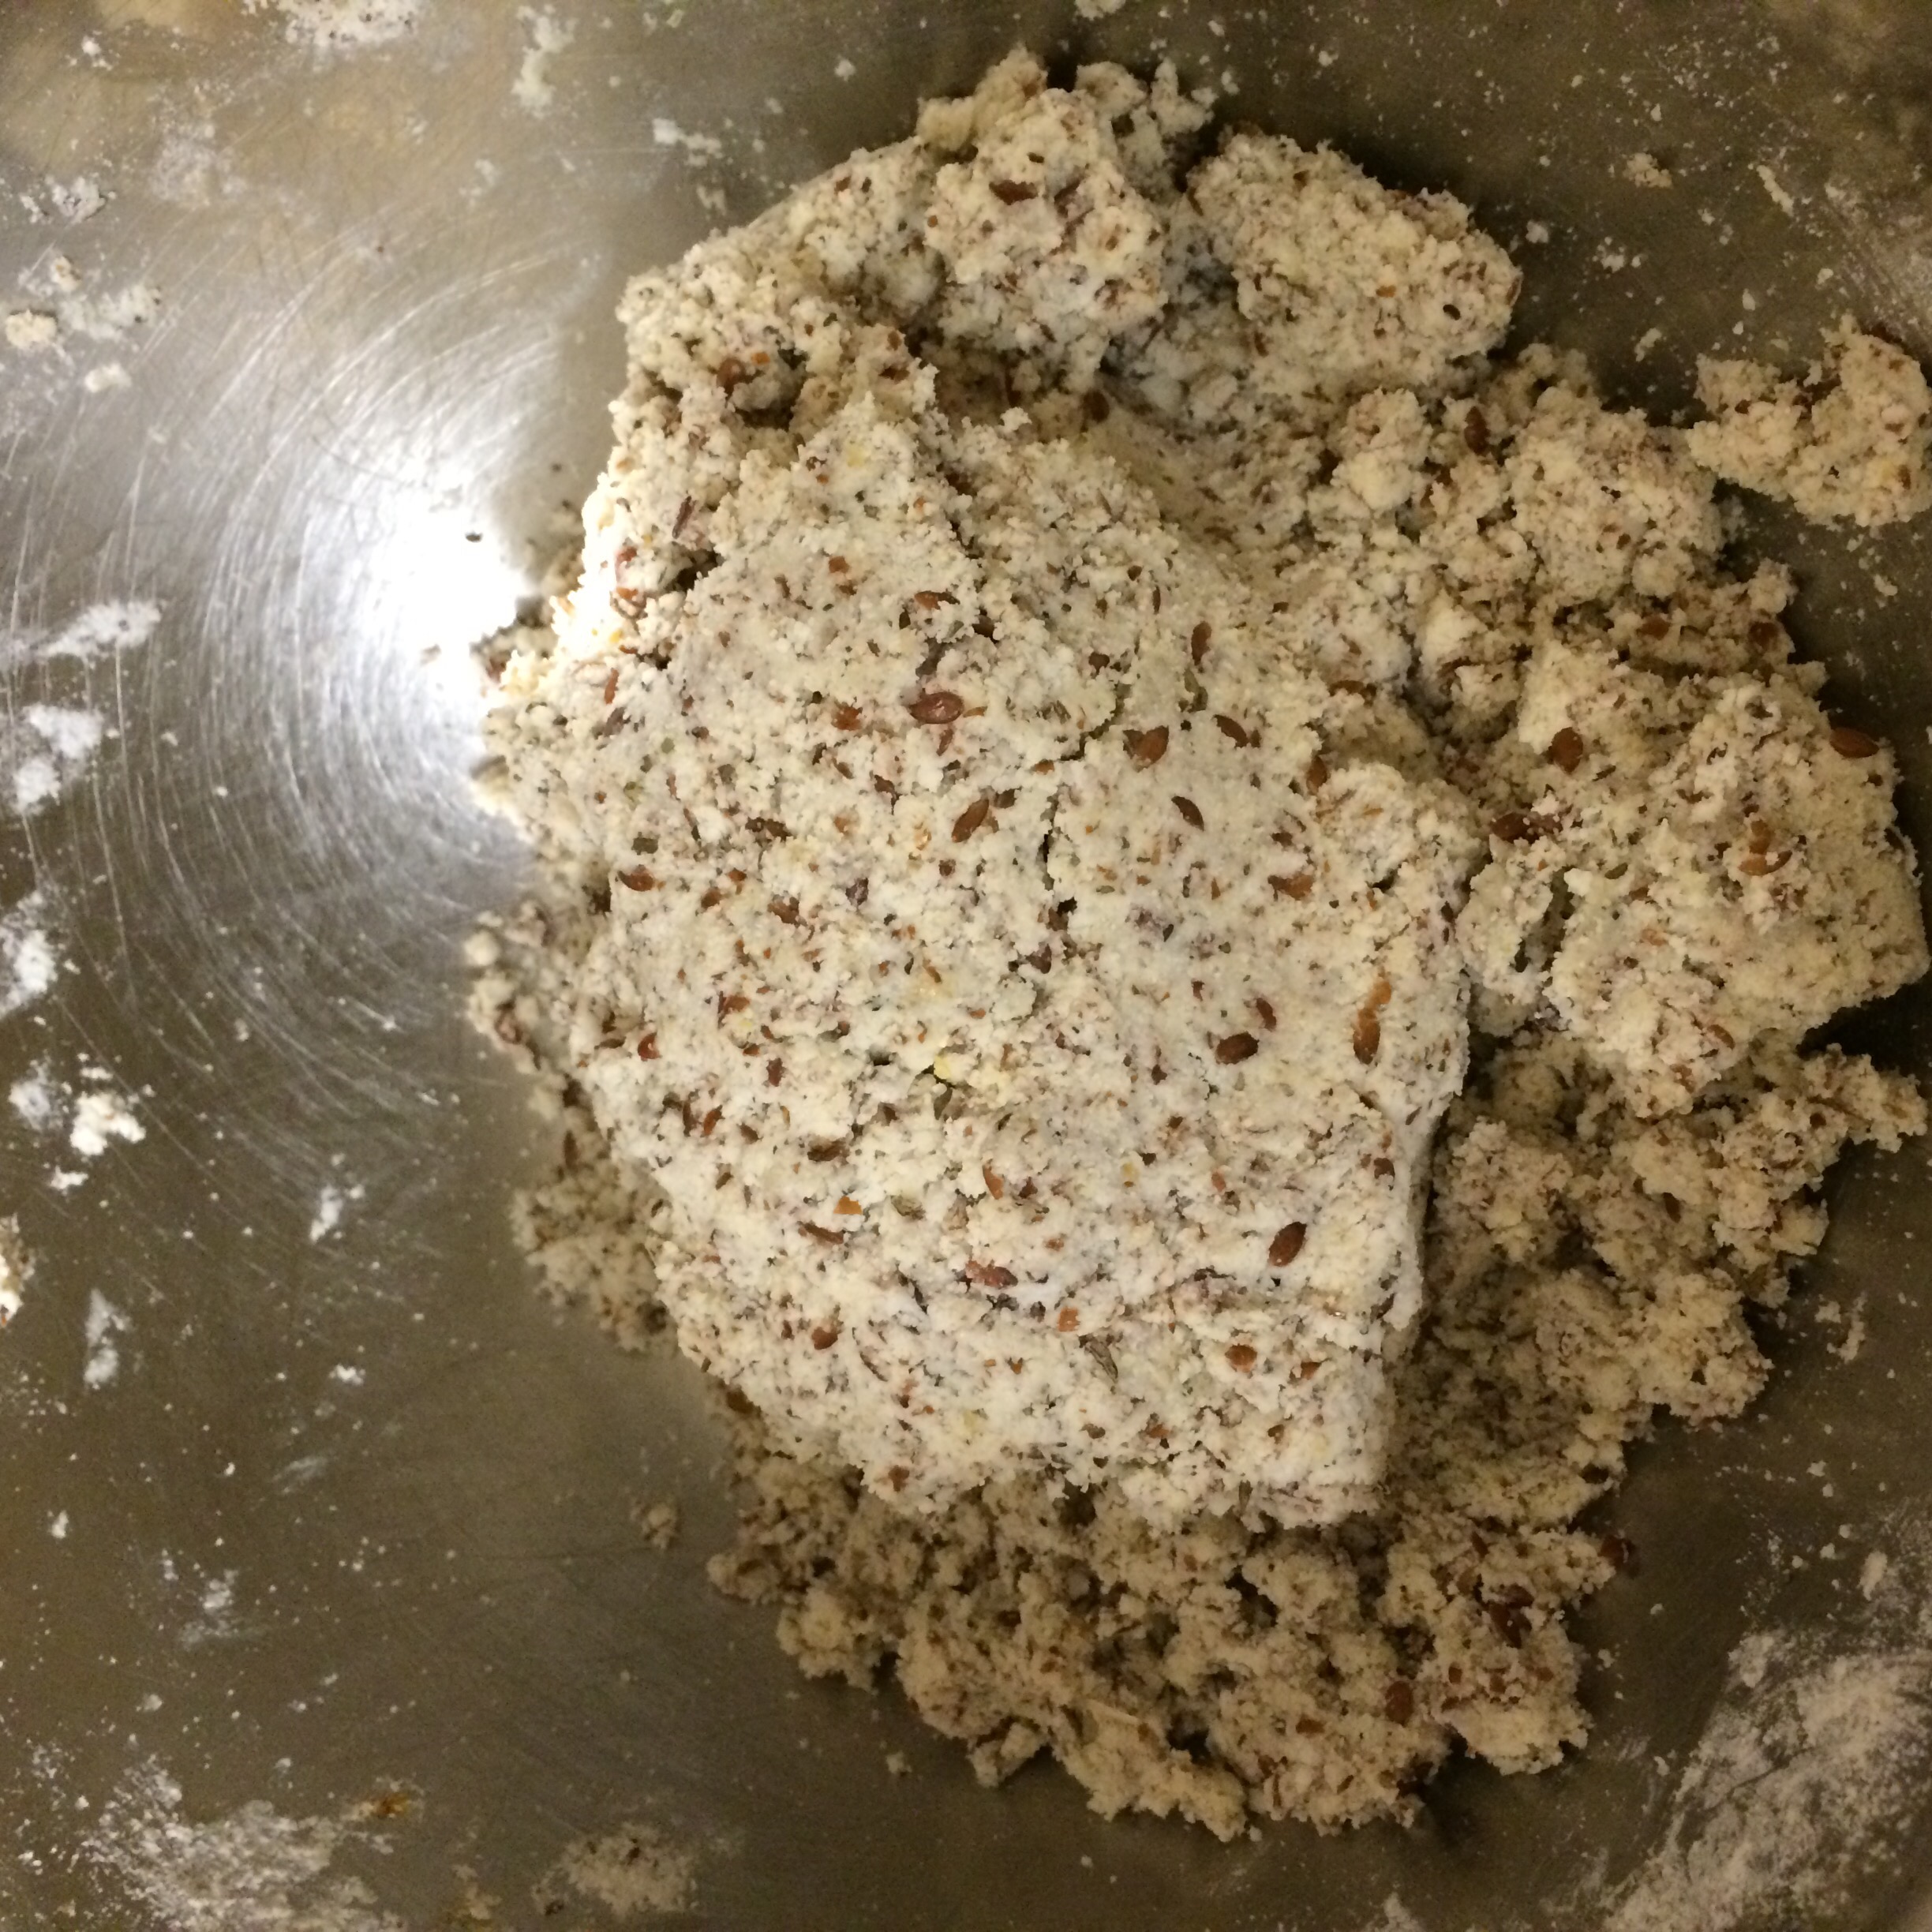
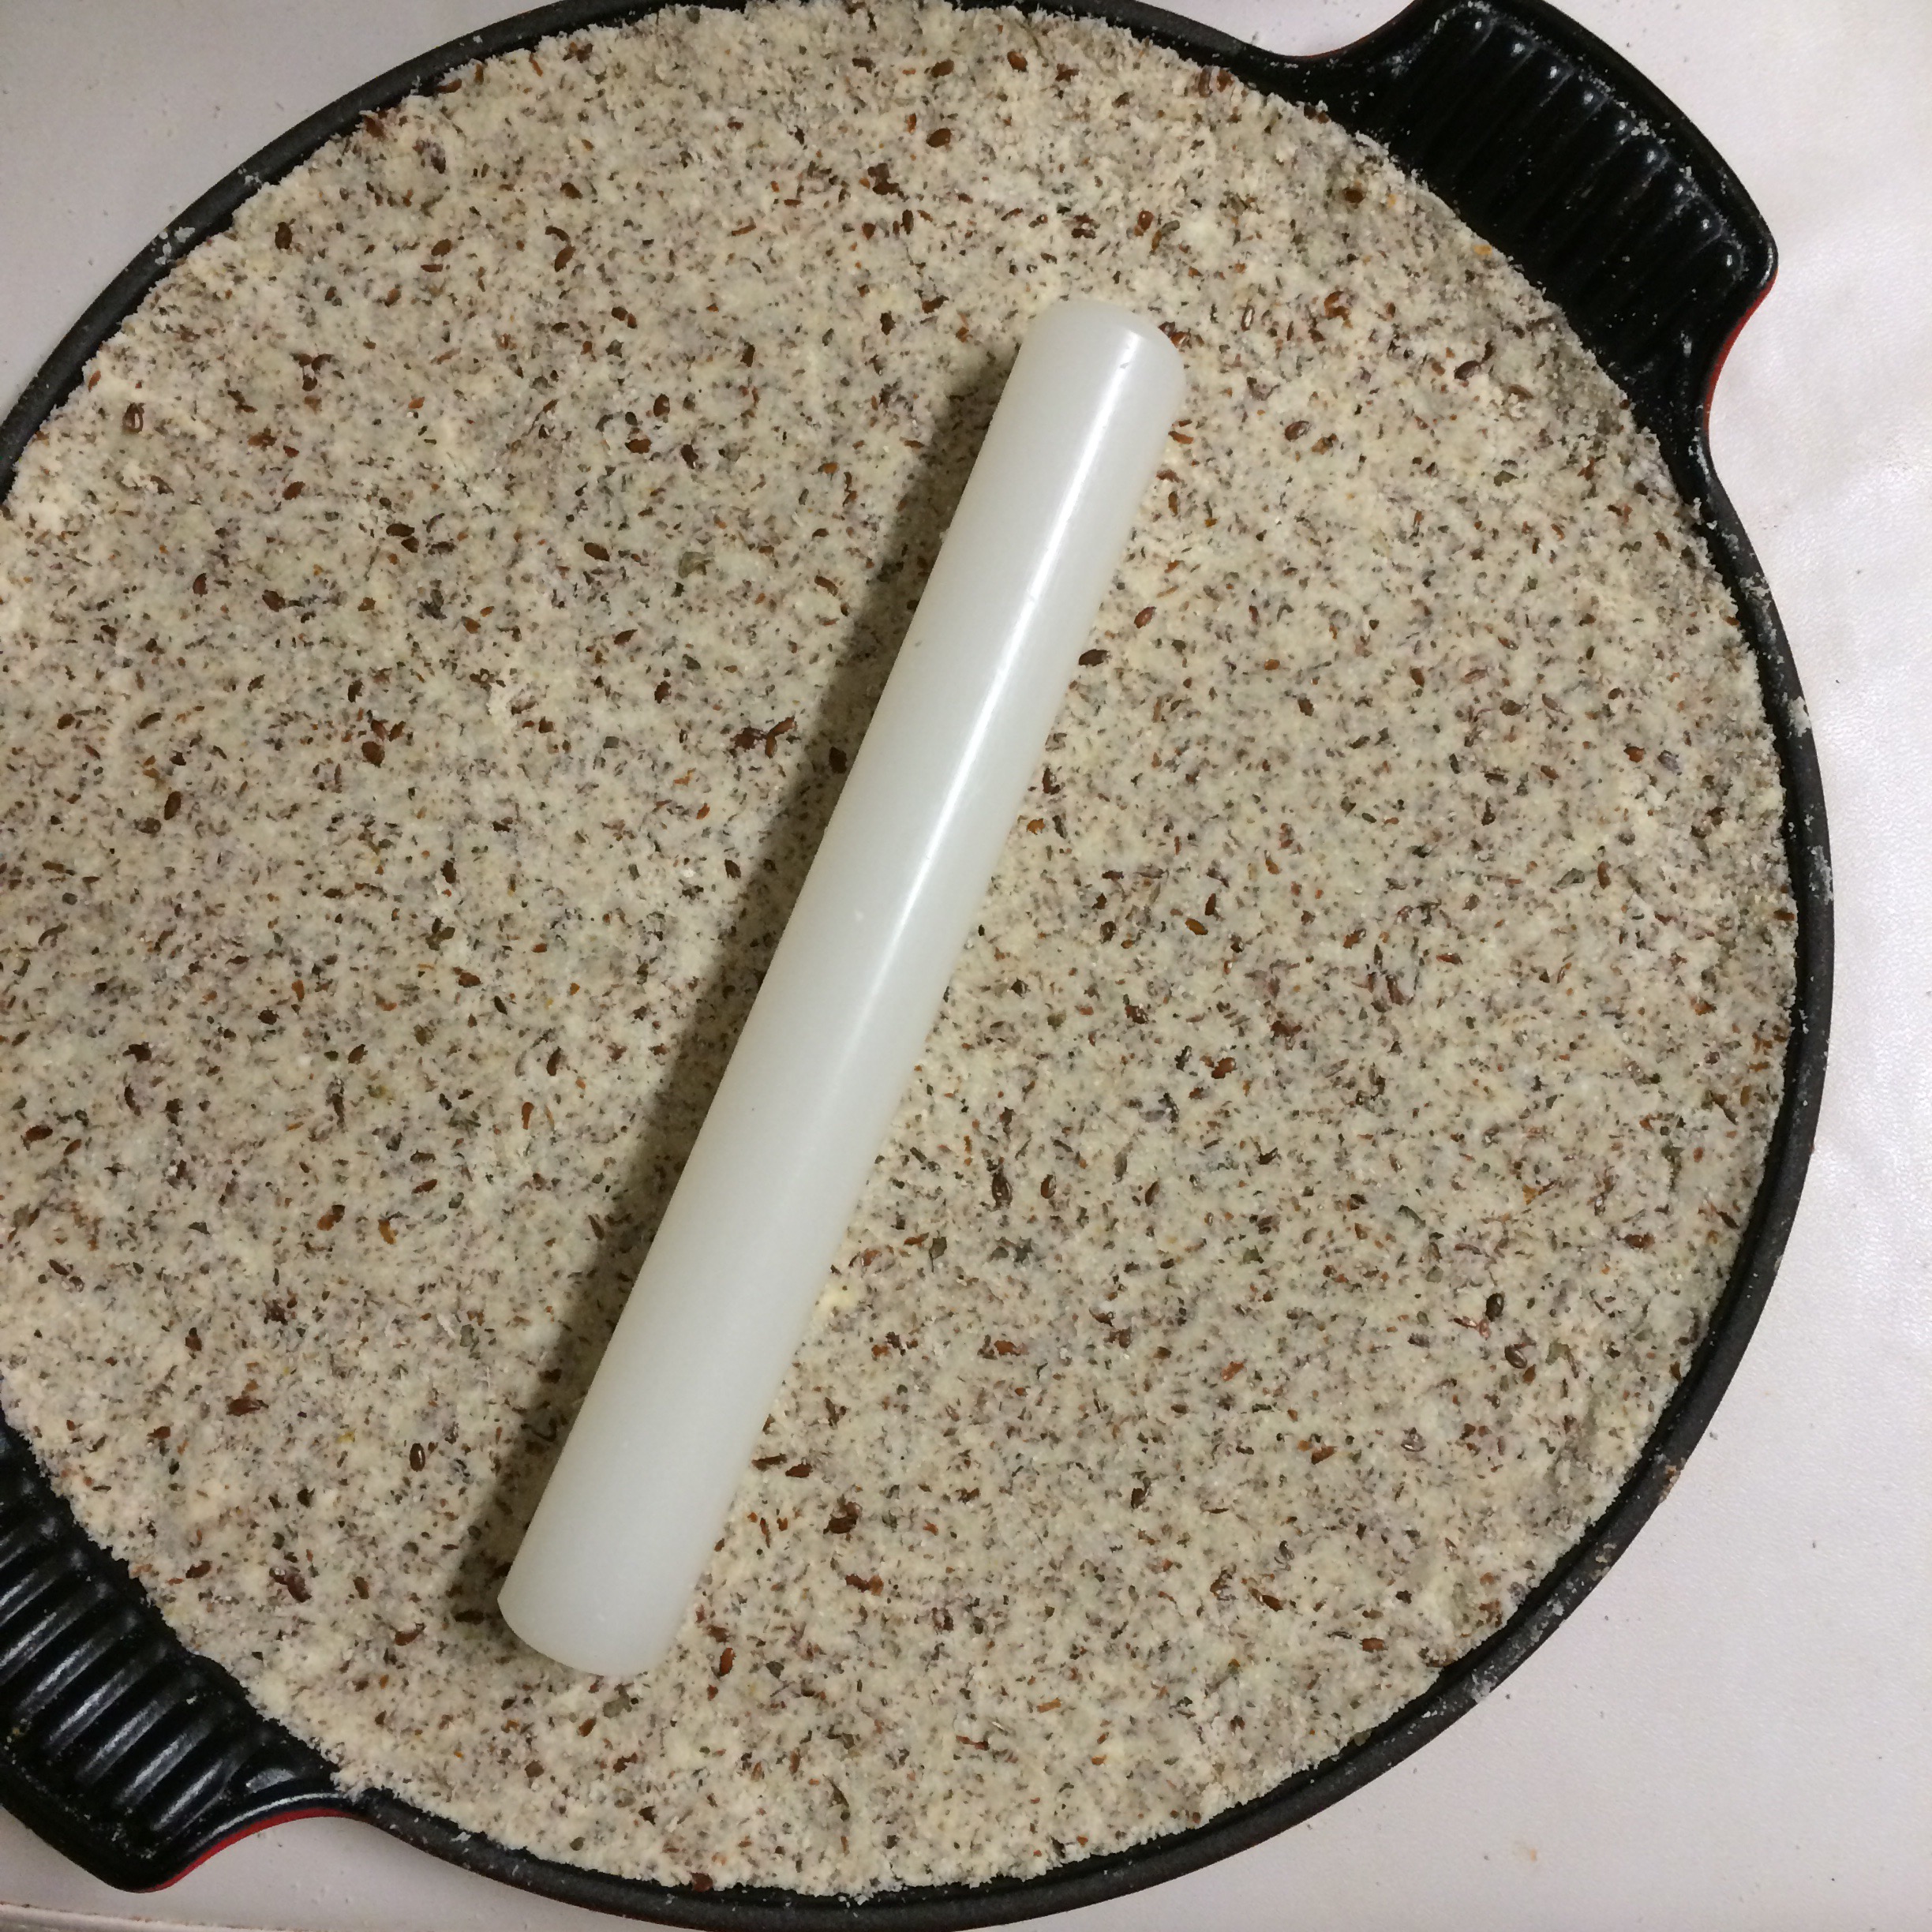
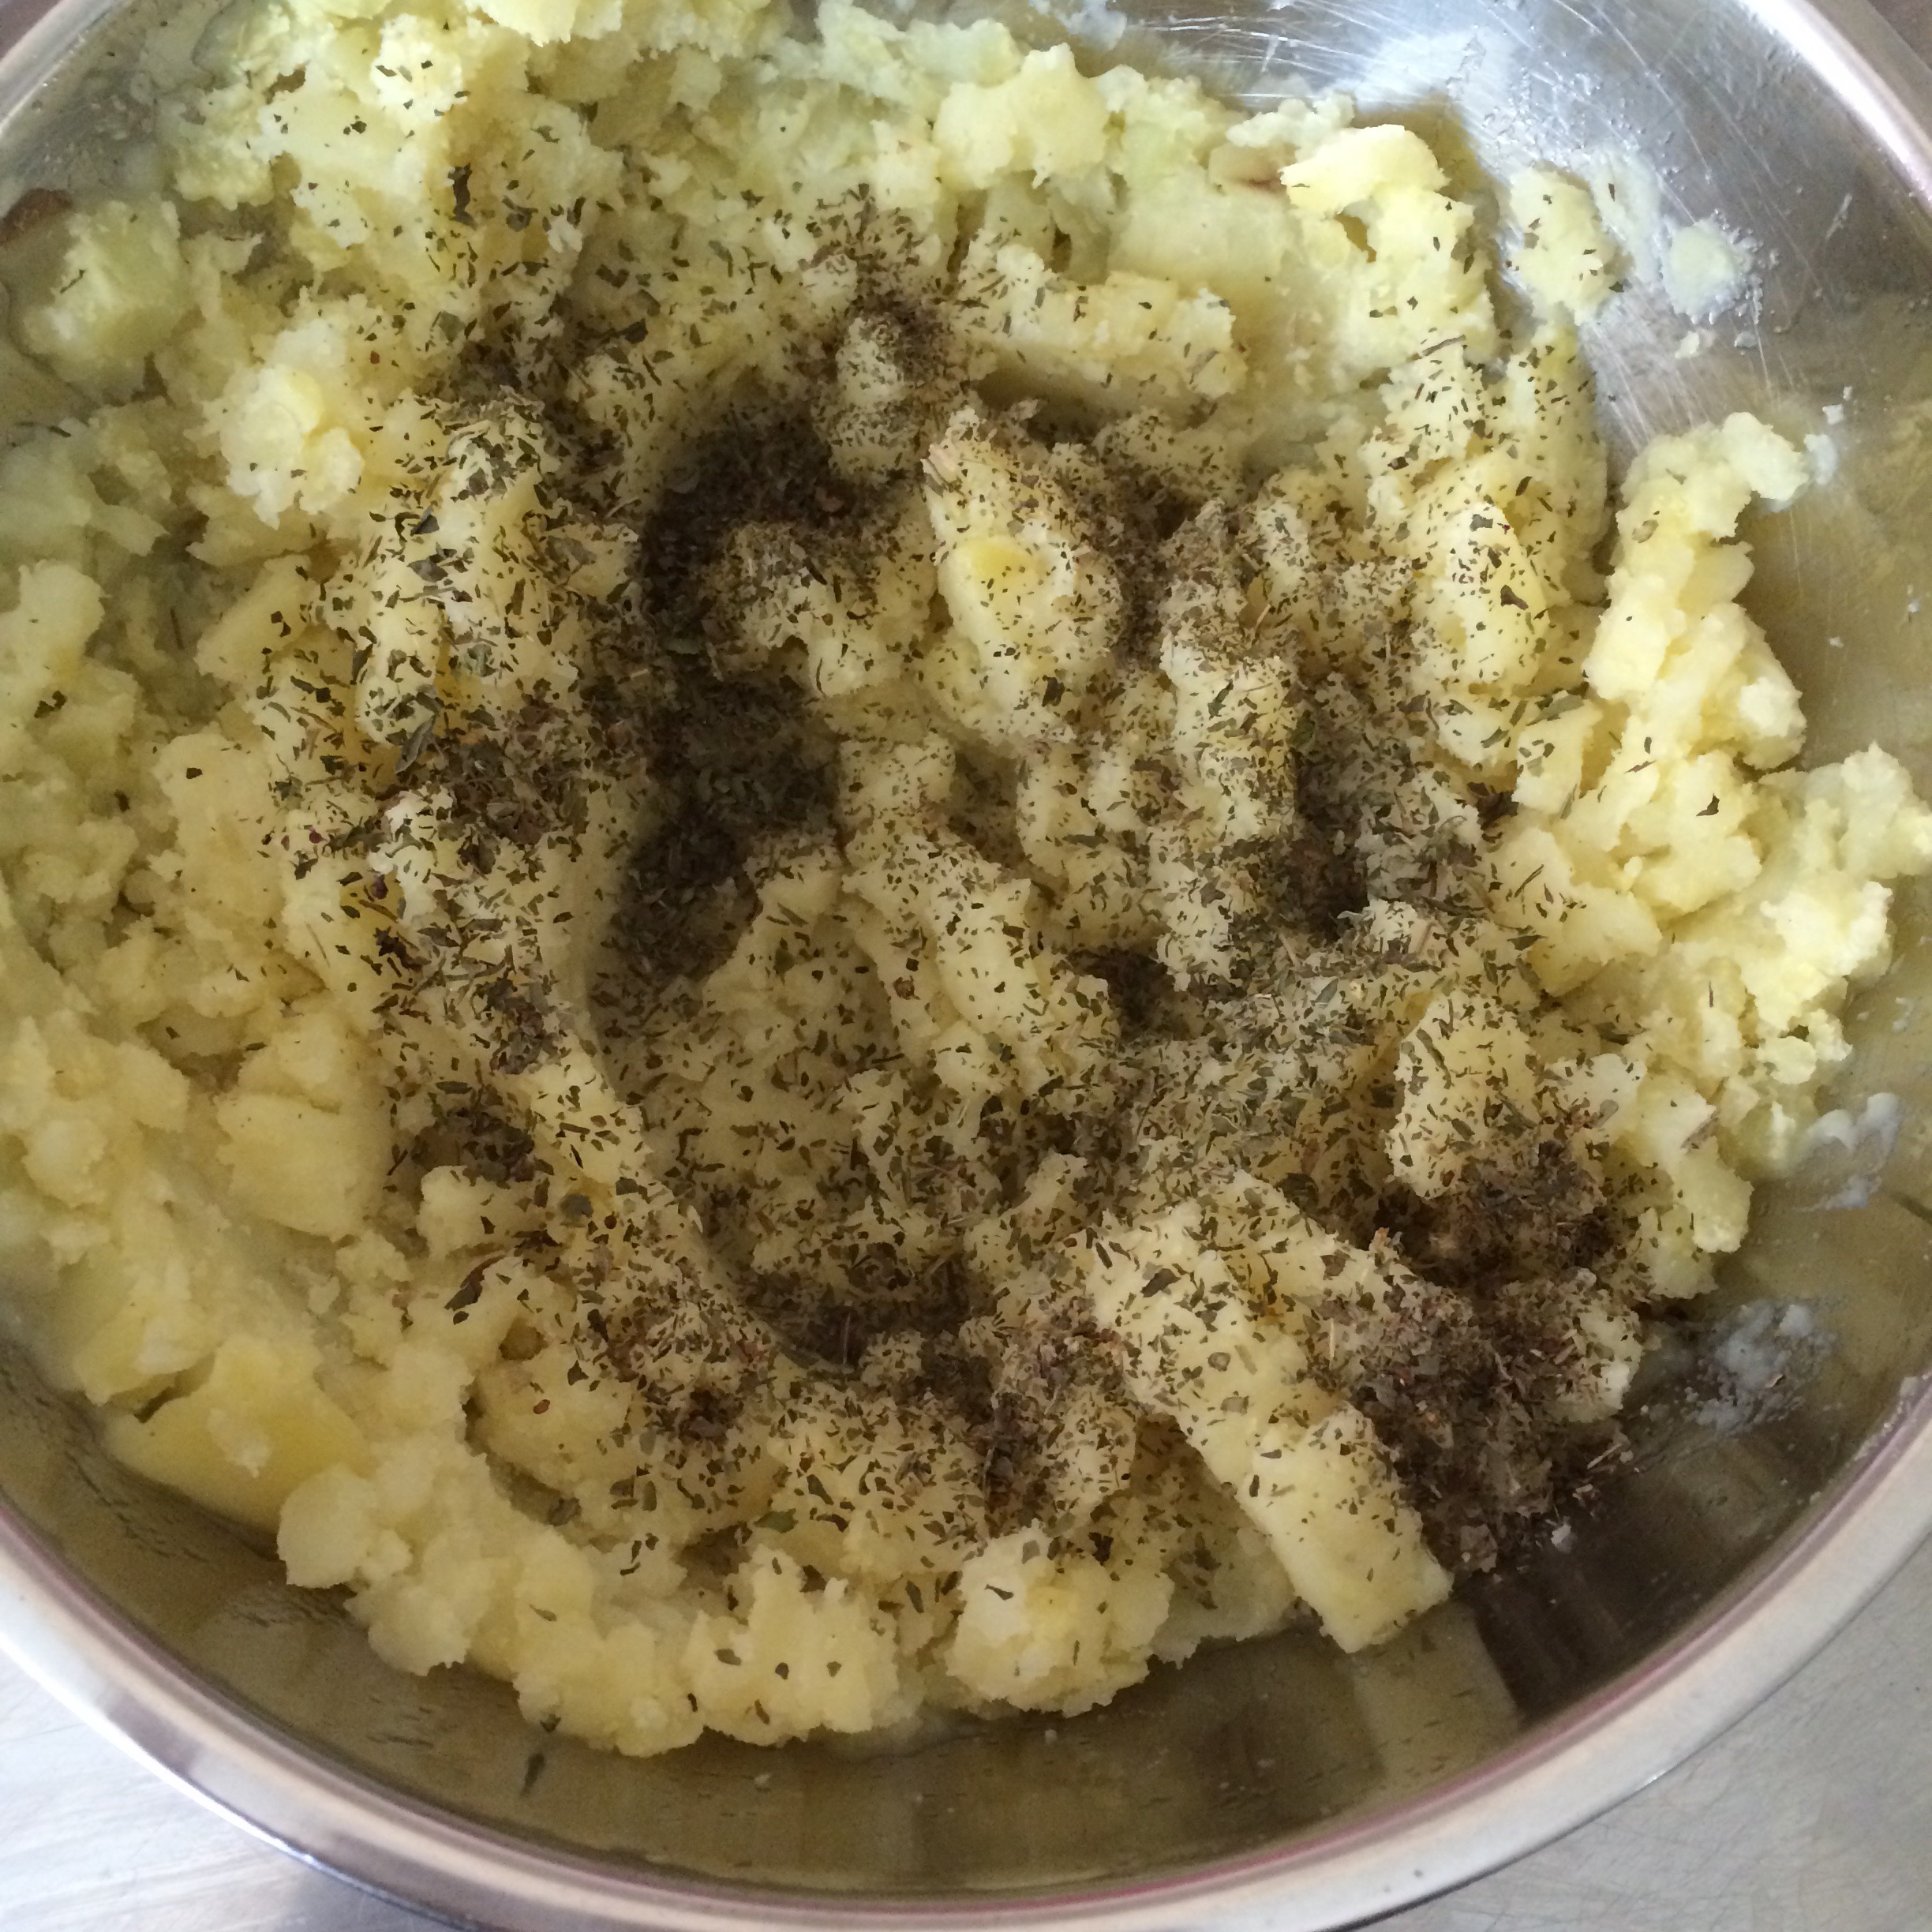
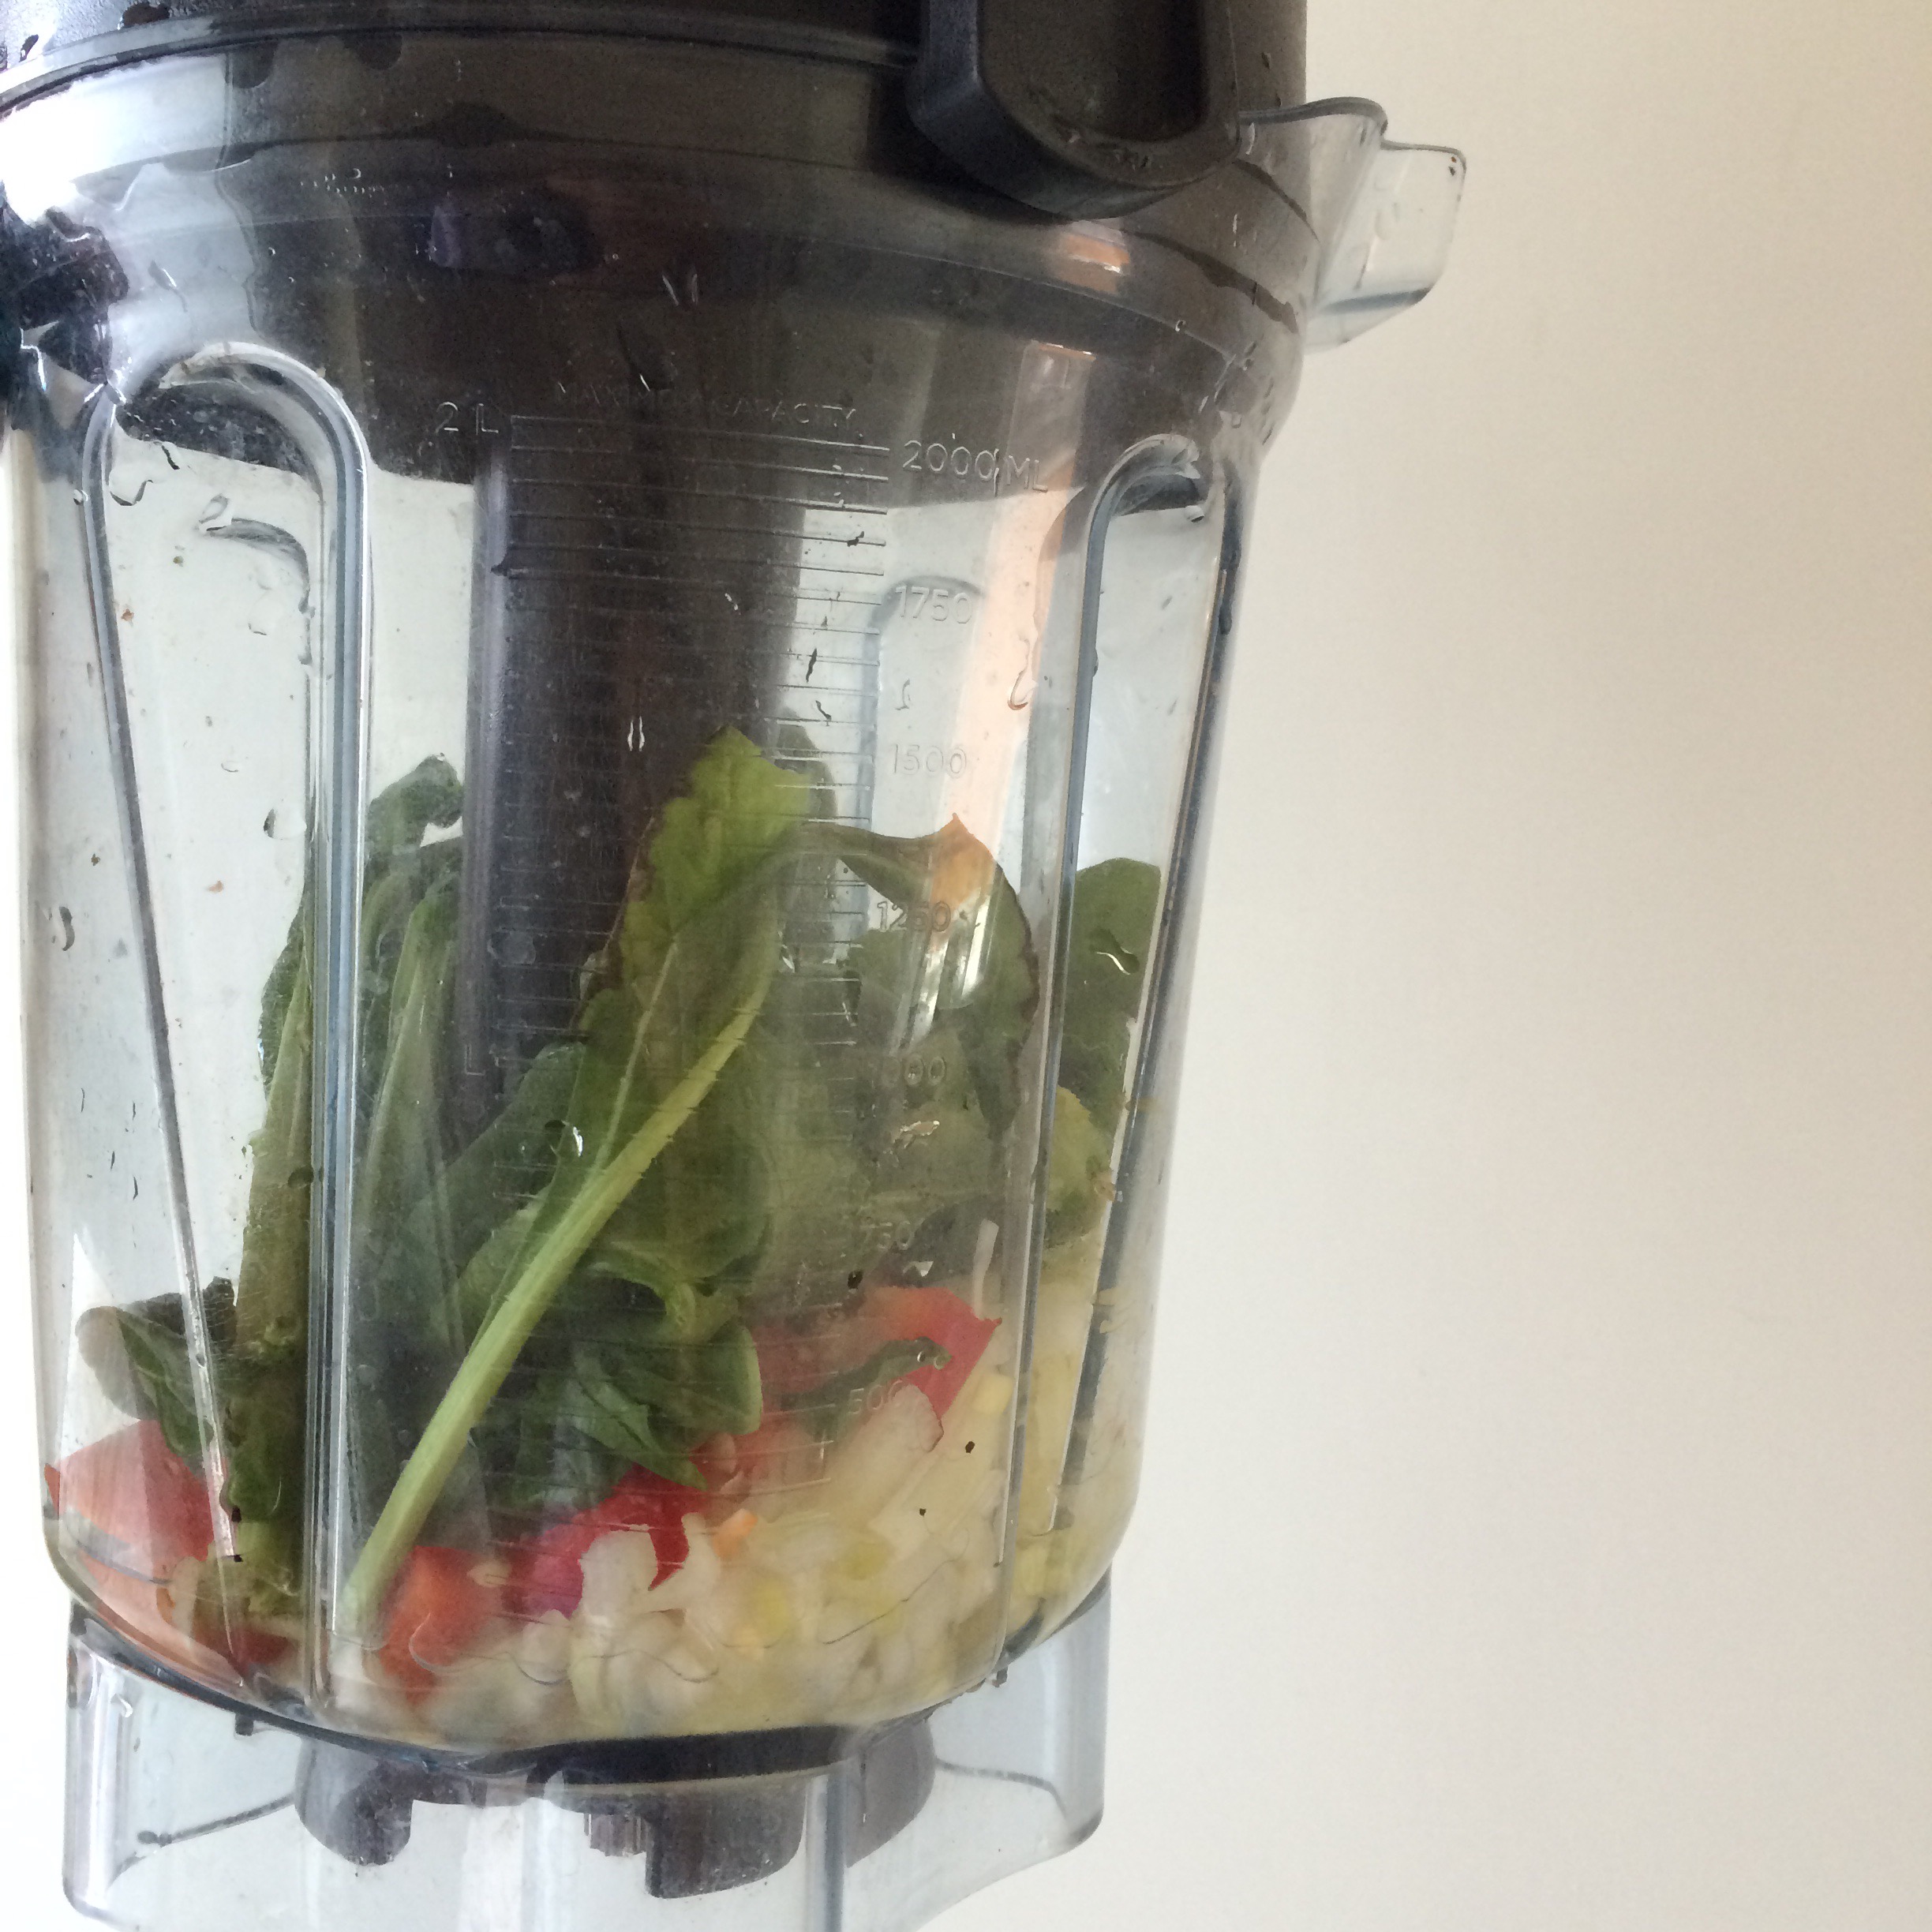 Pulse for a few seconds, this is the kind of mixture your aiming for in the end…
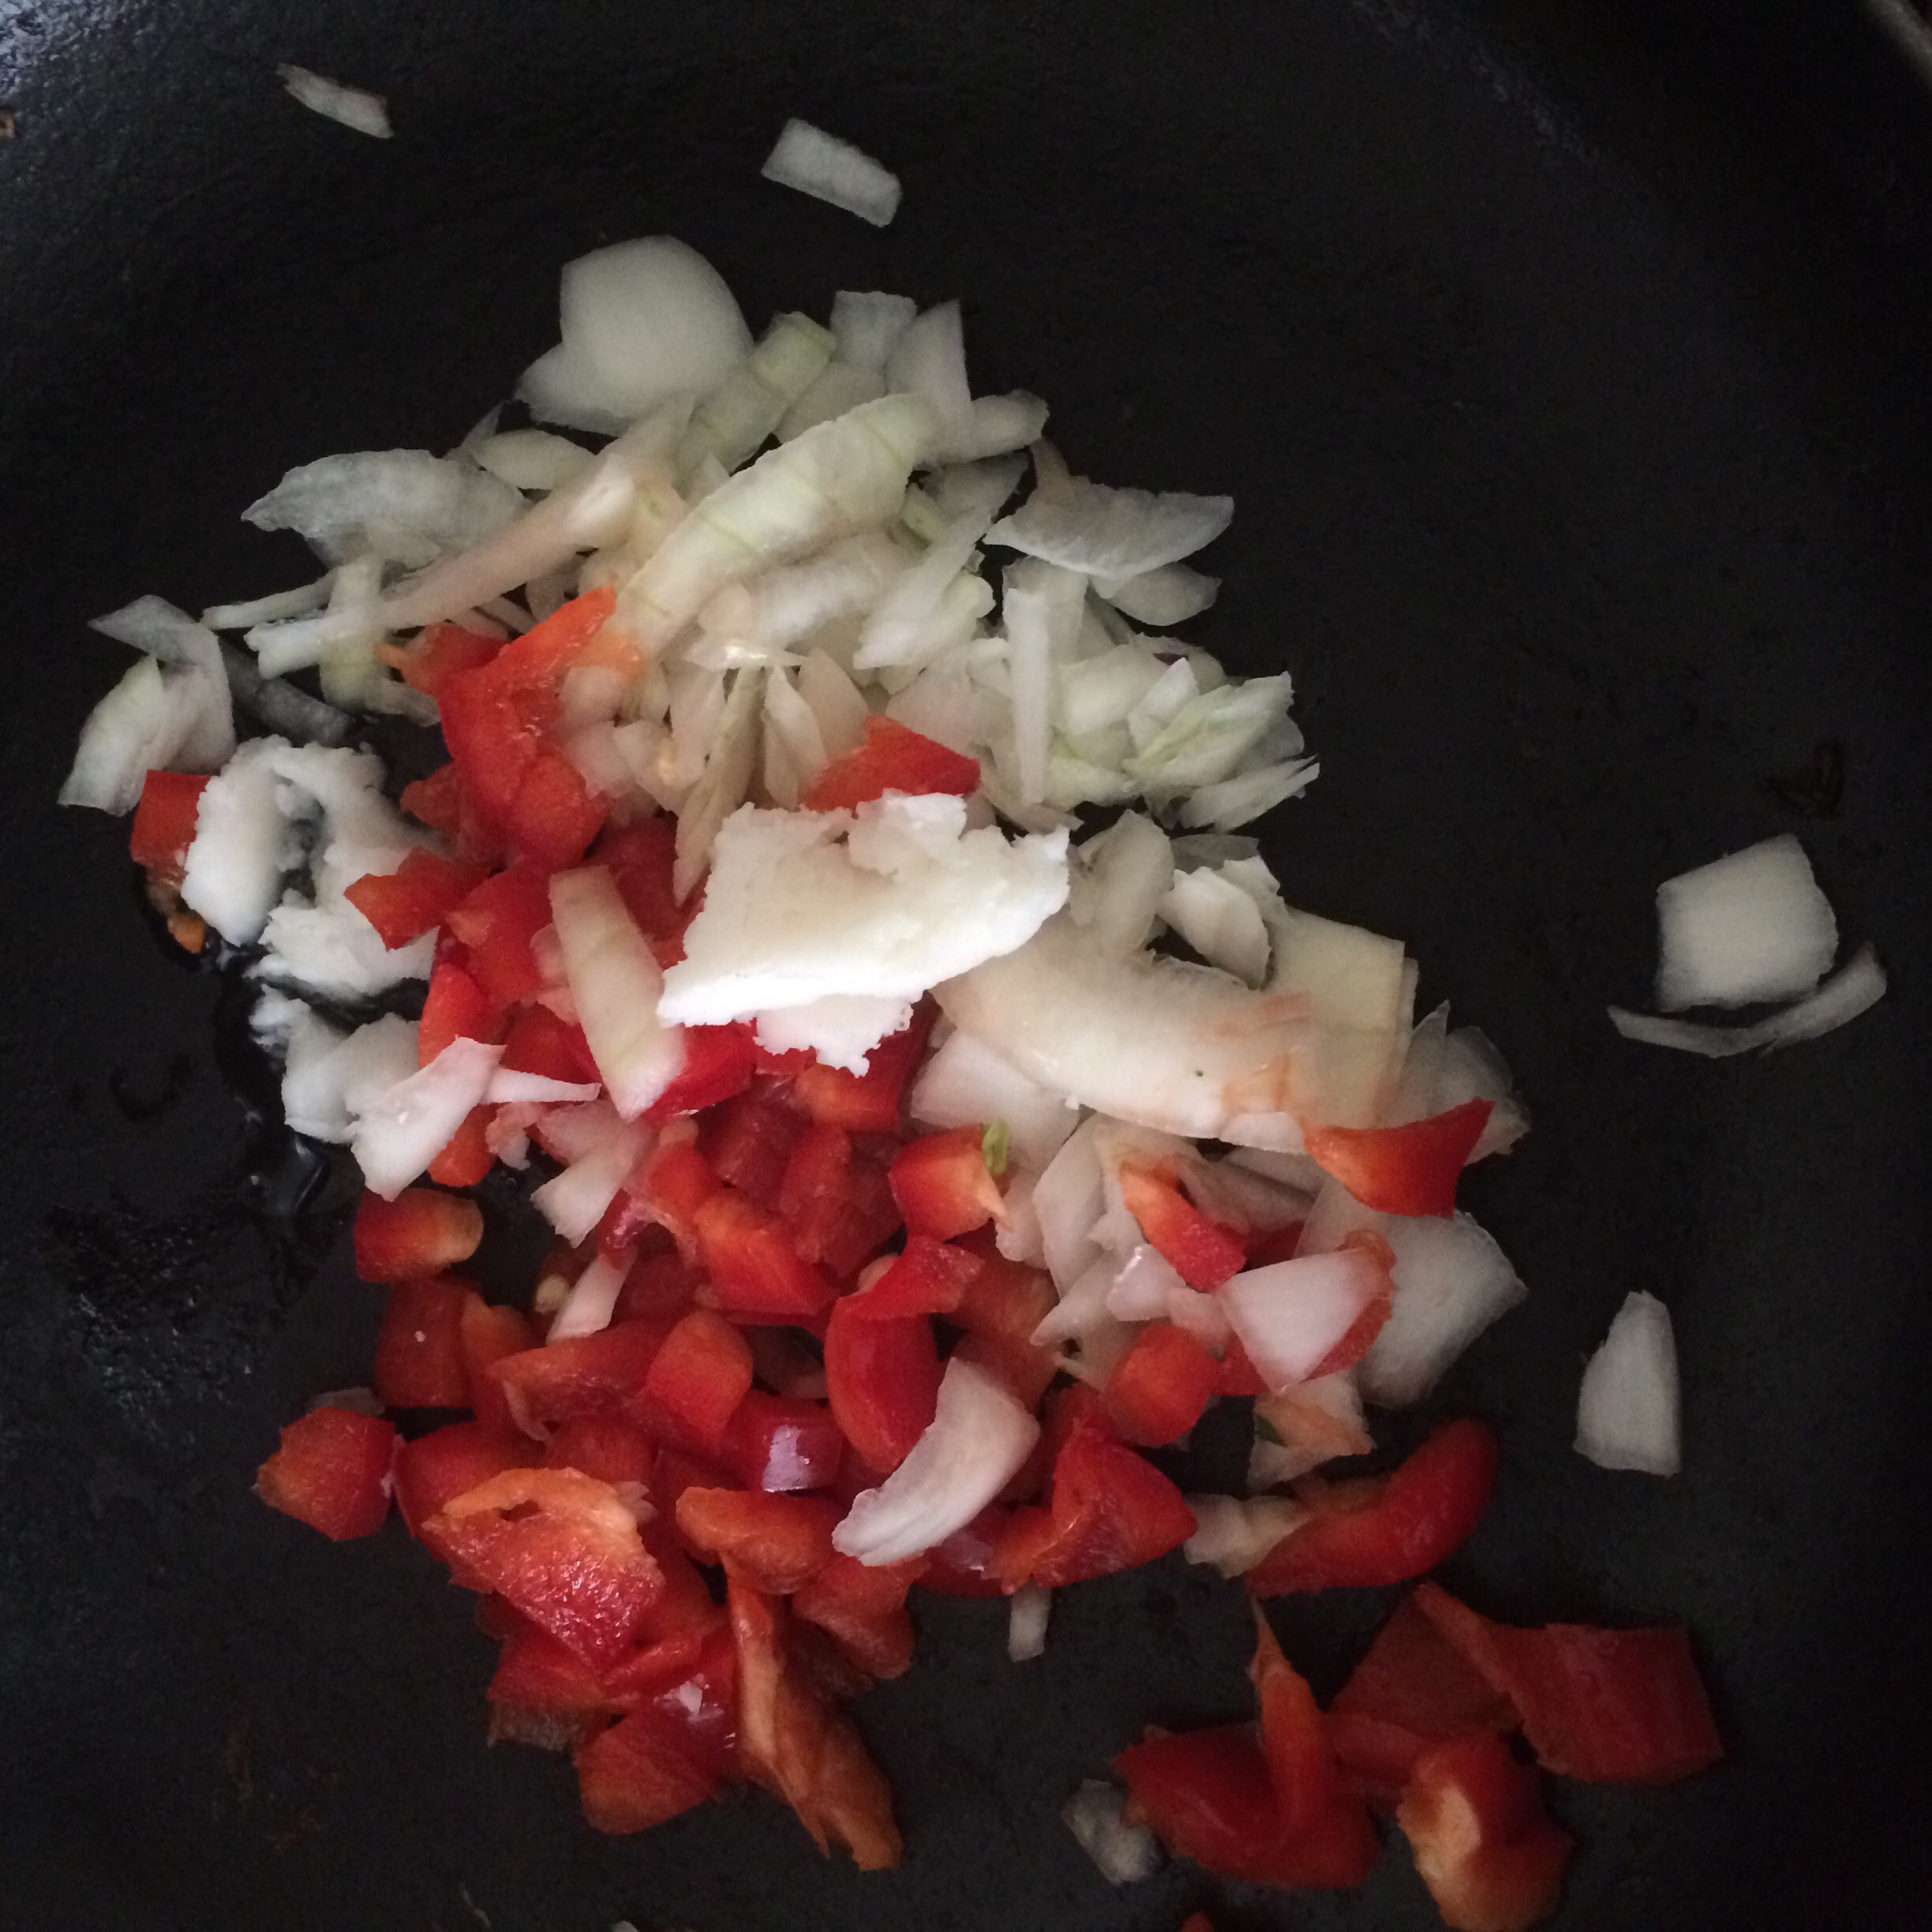
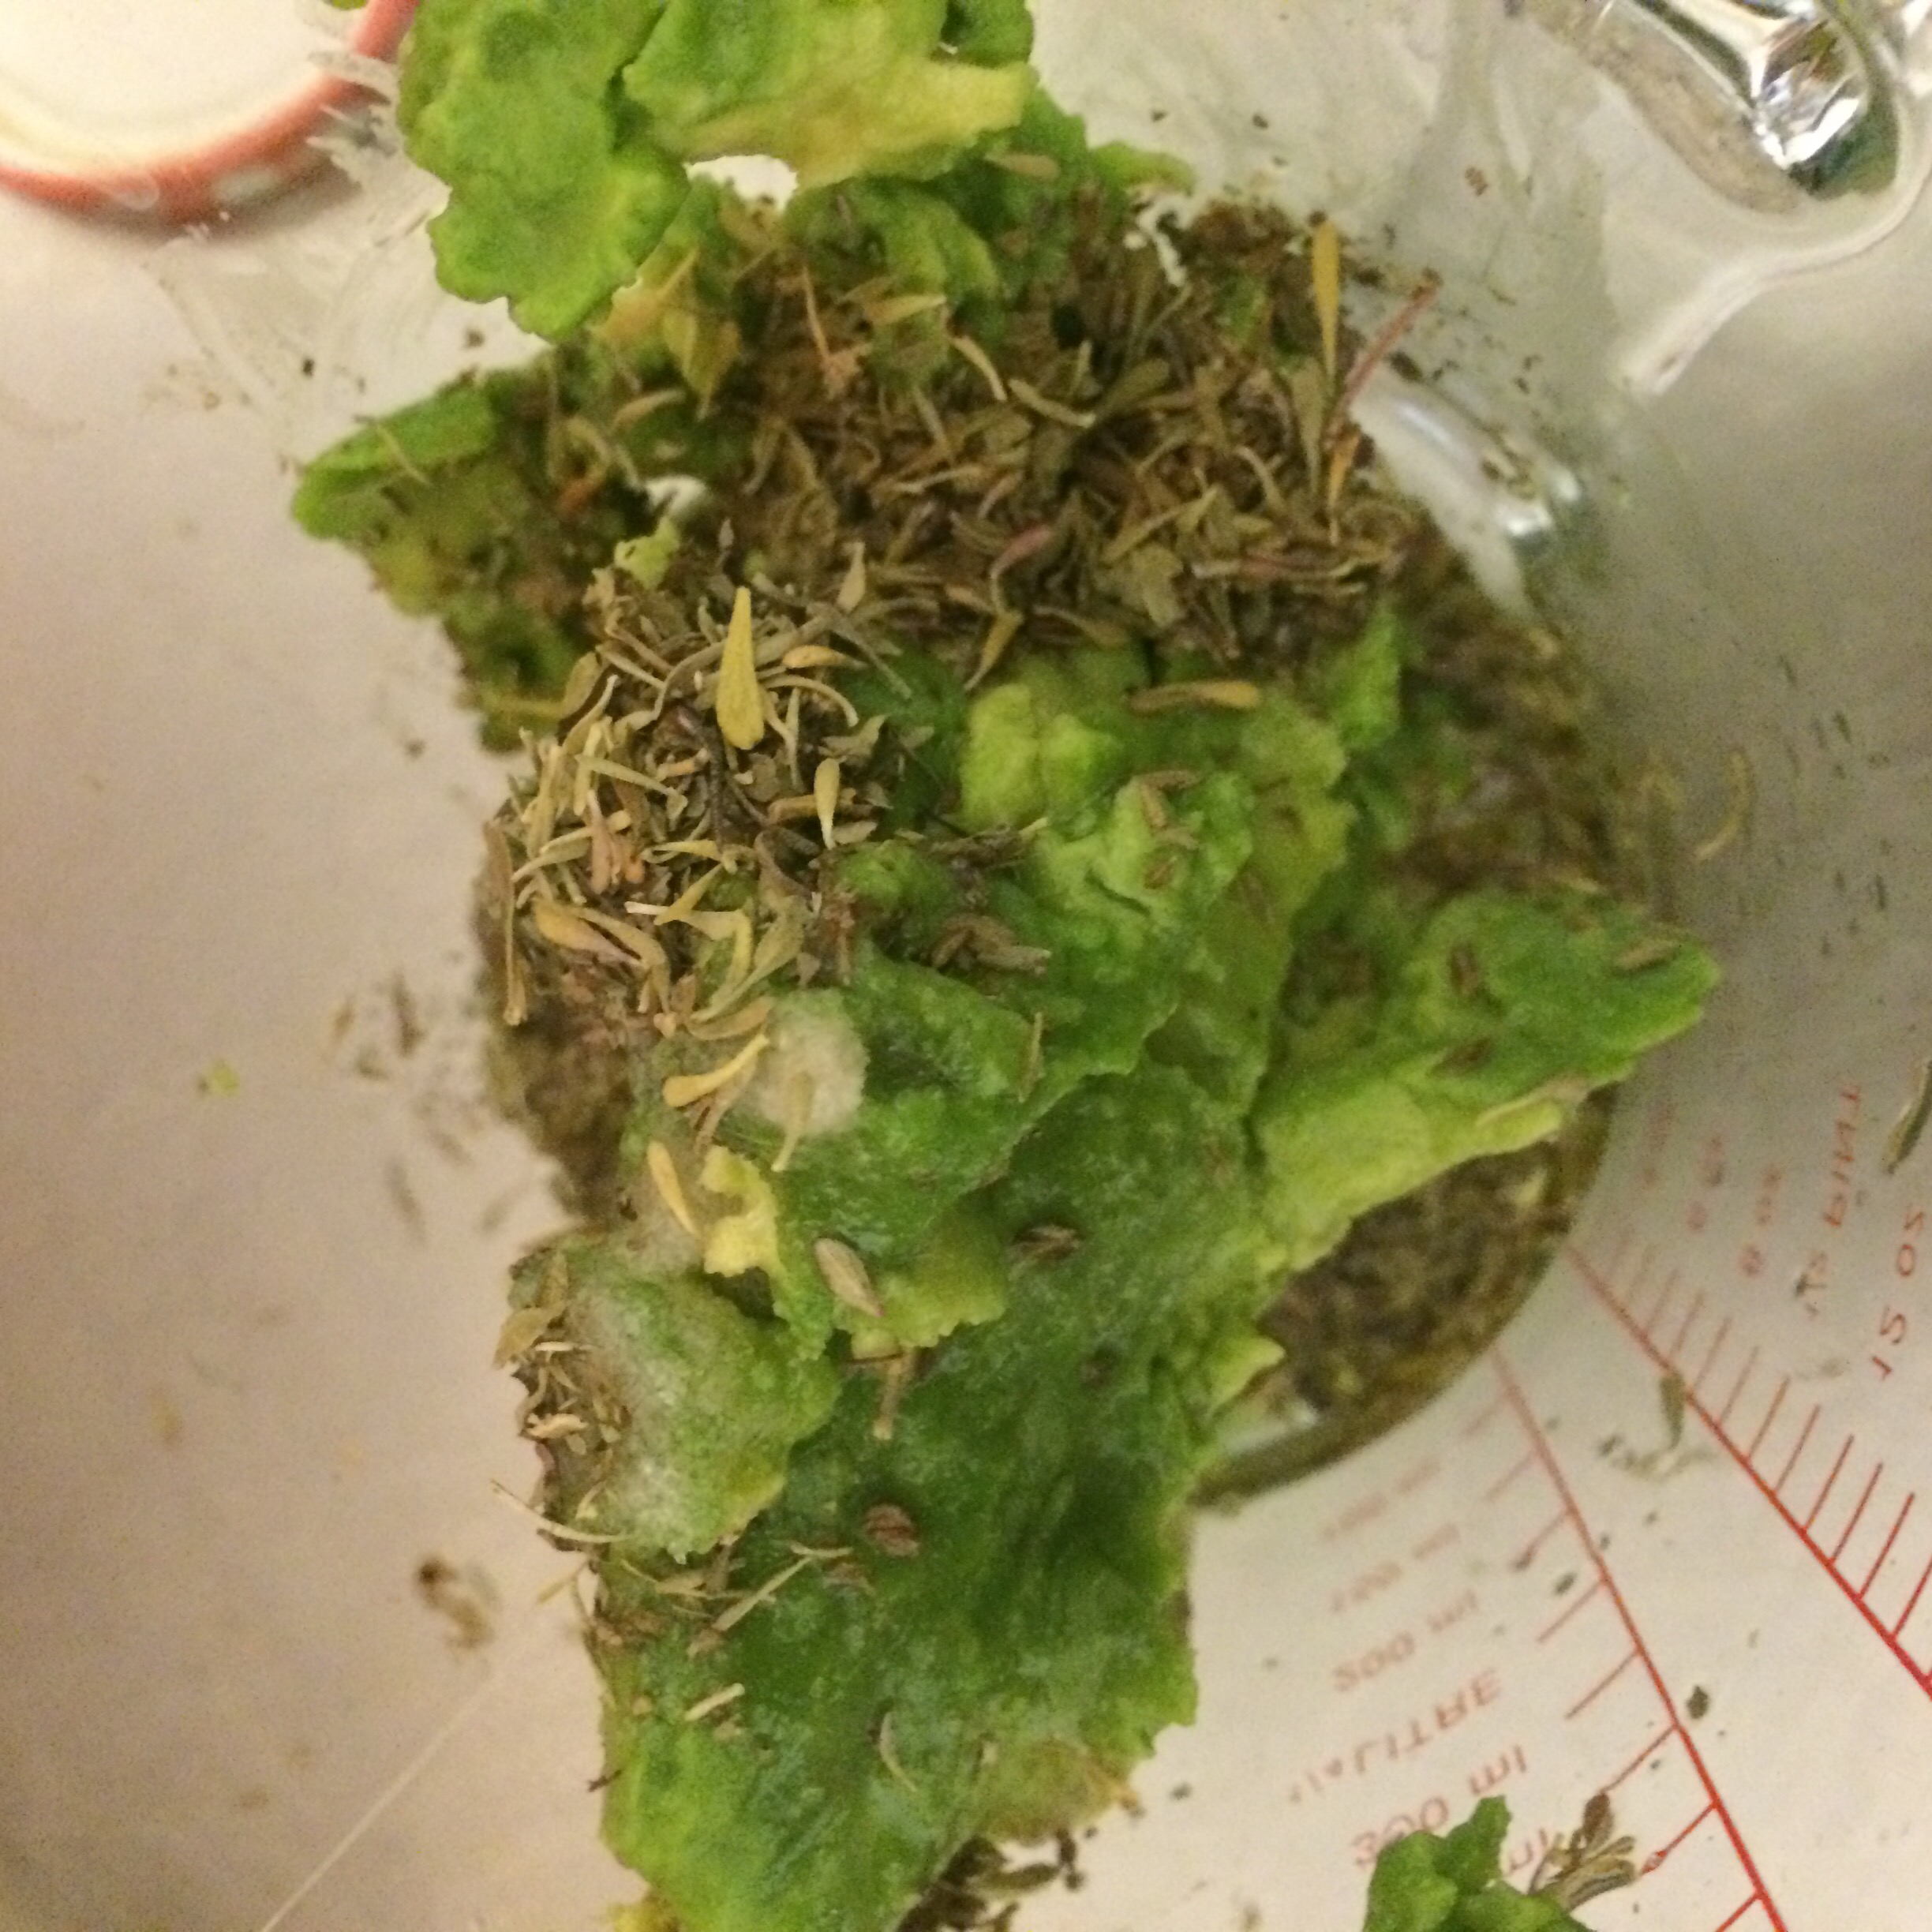
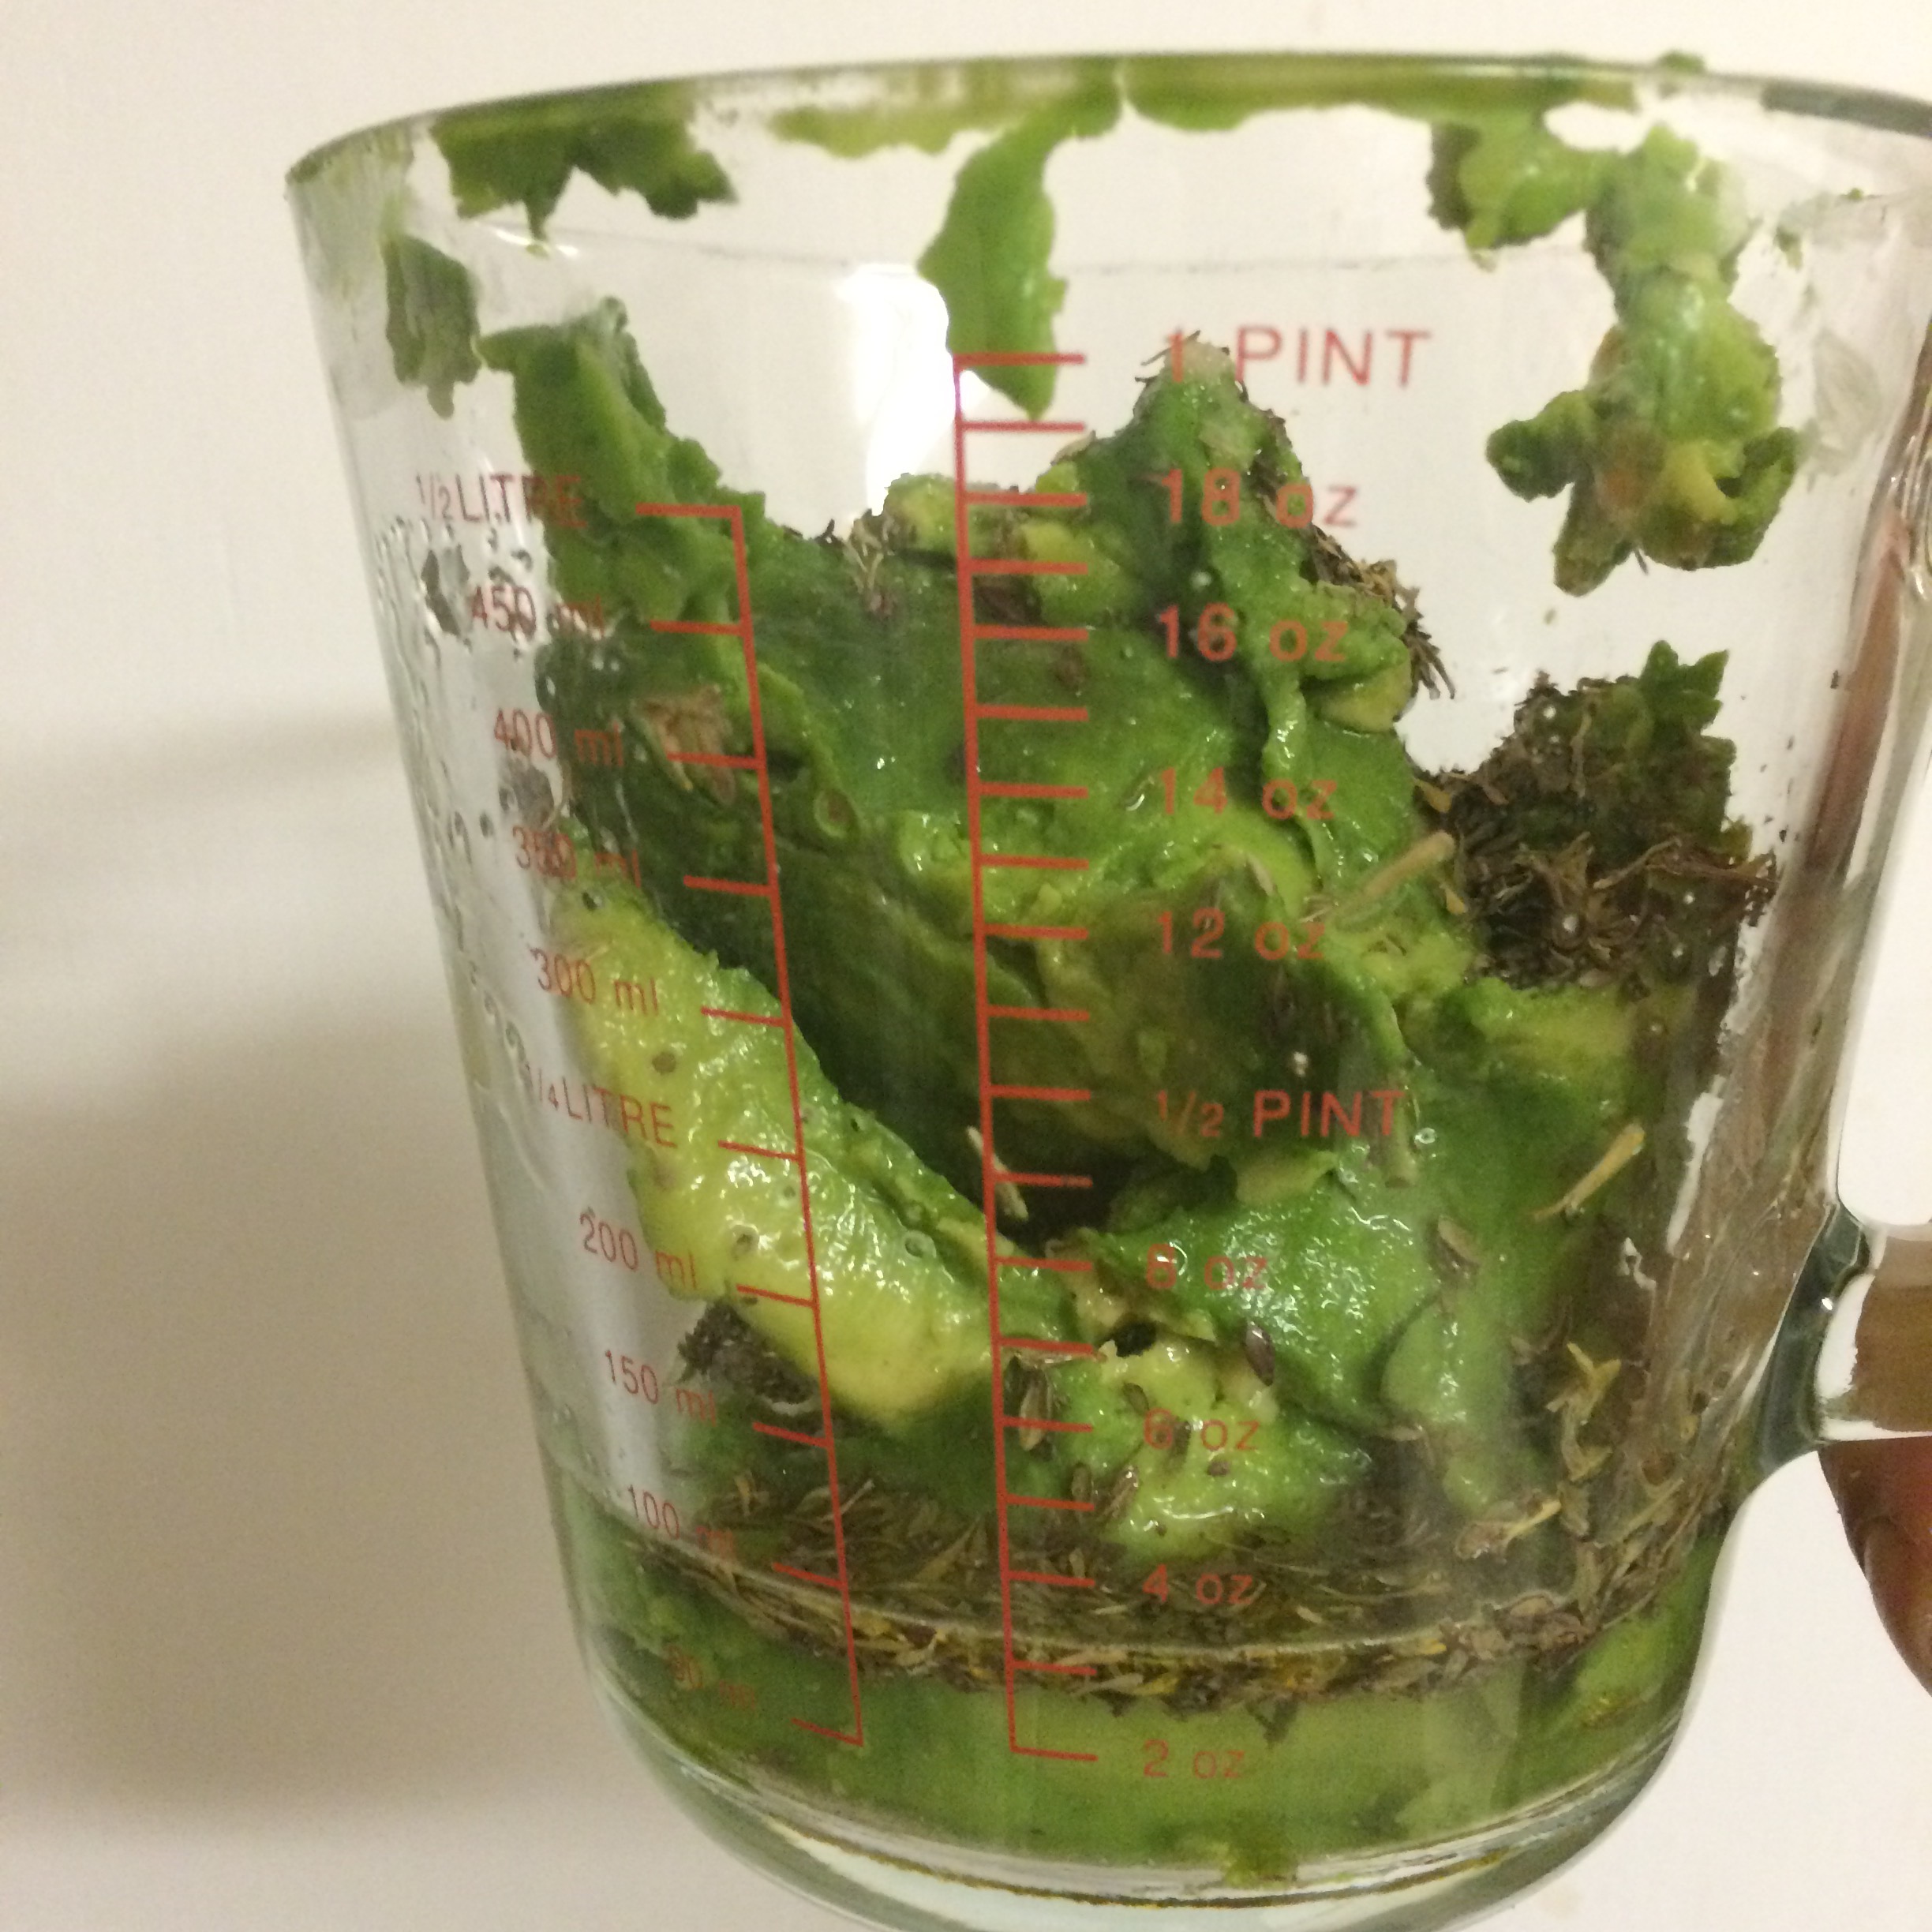
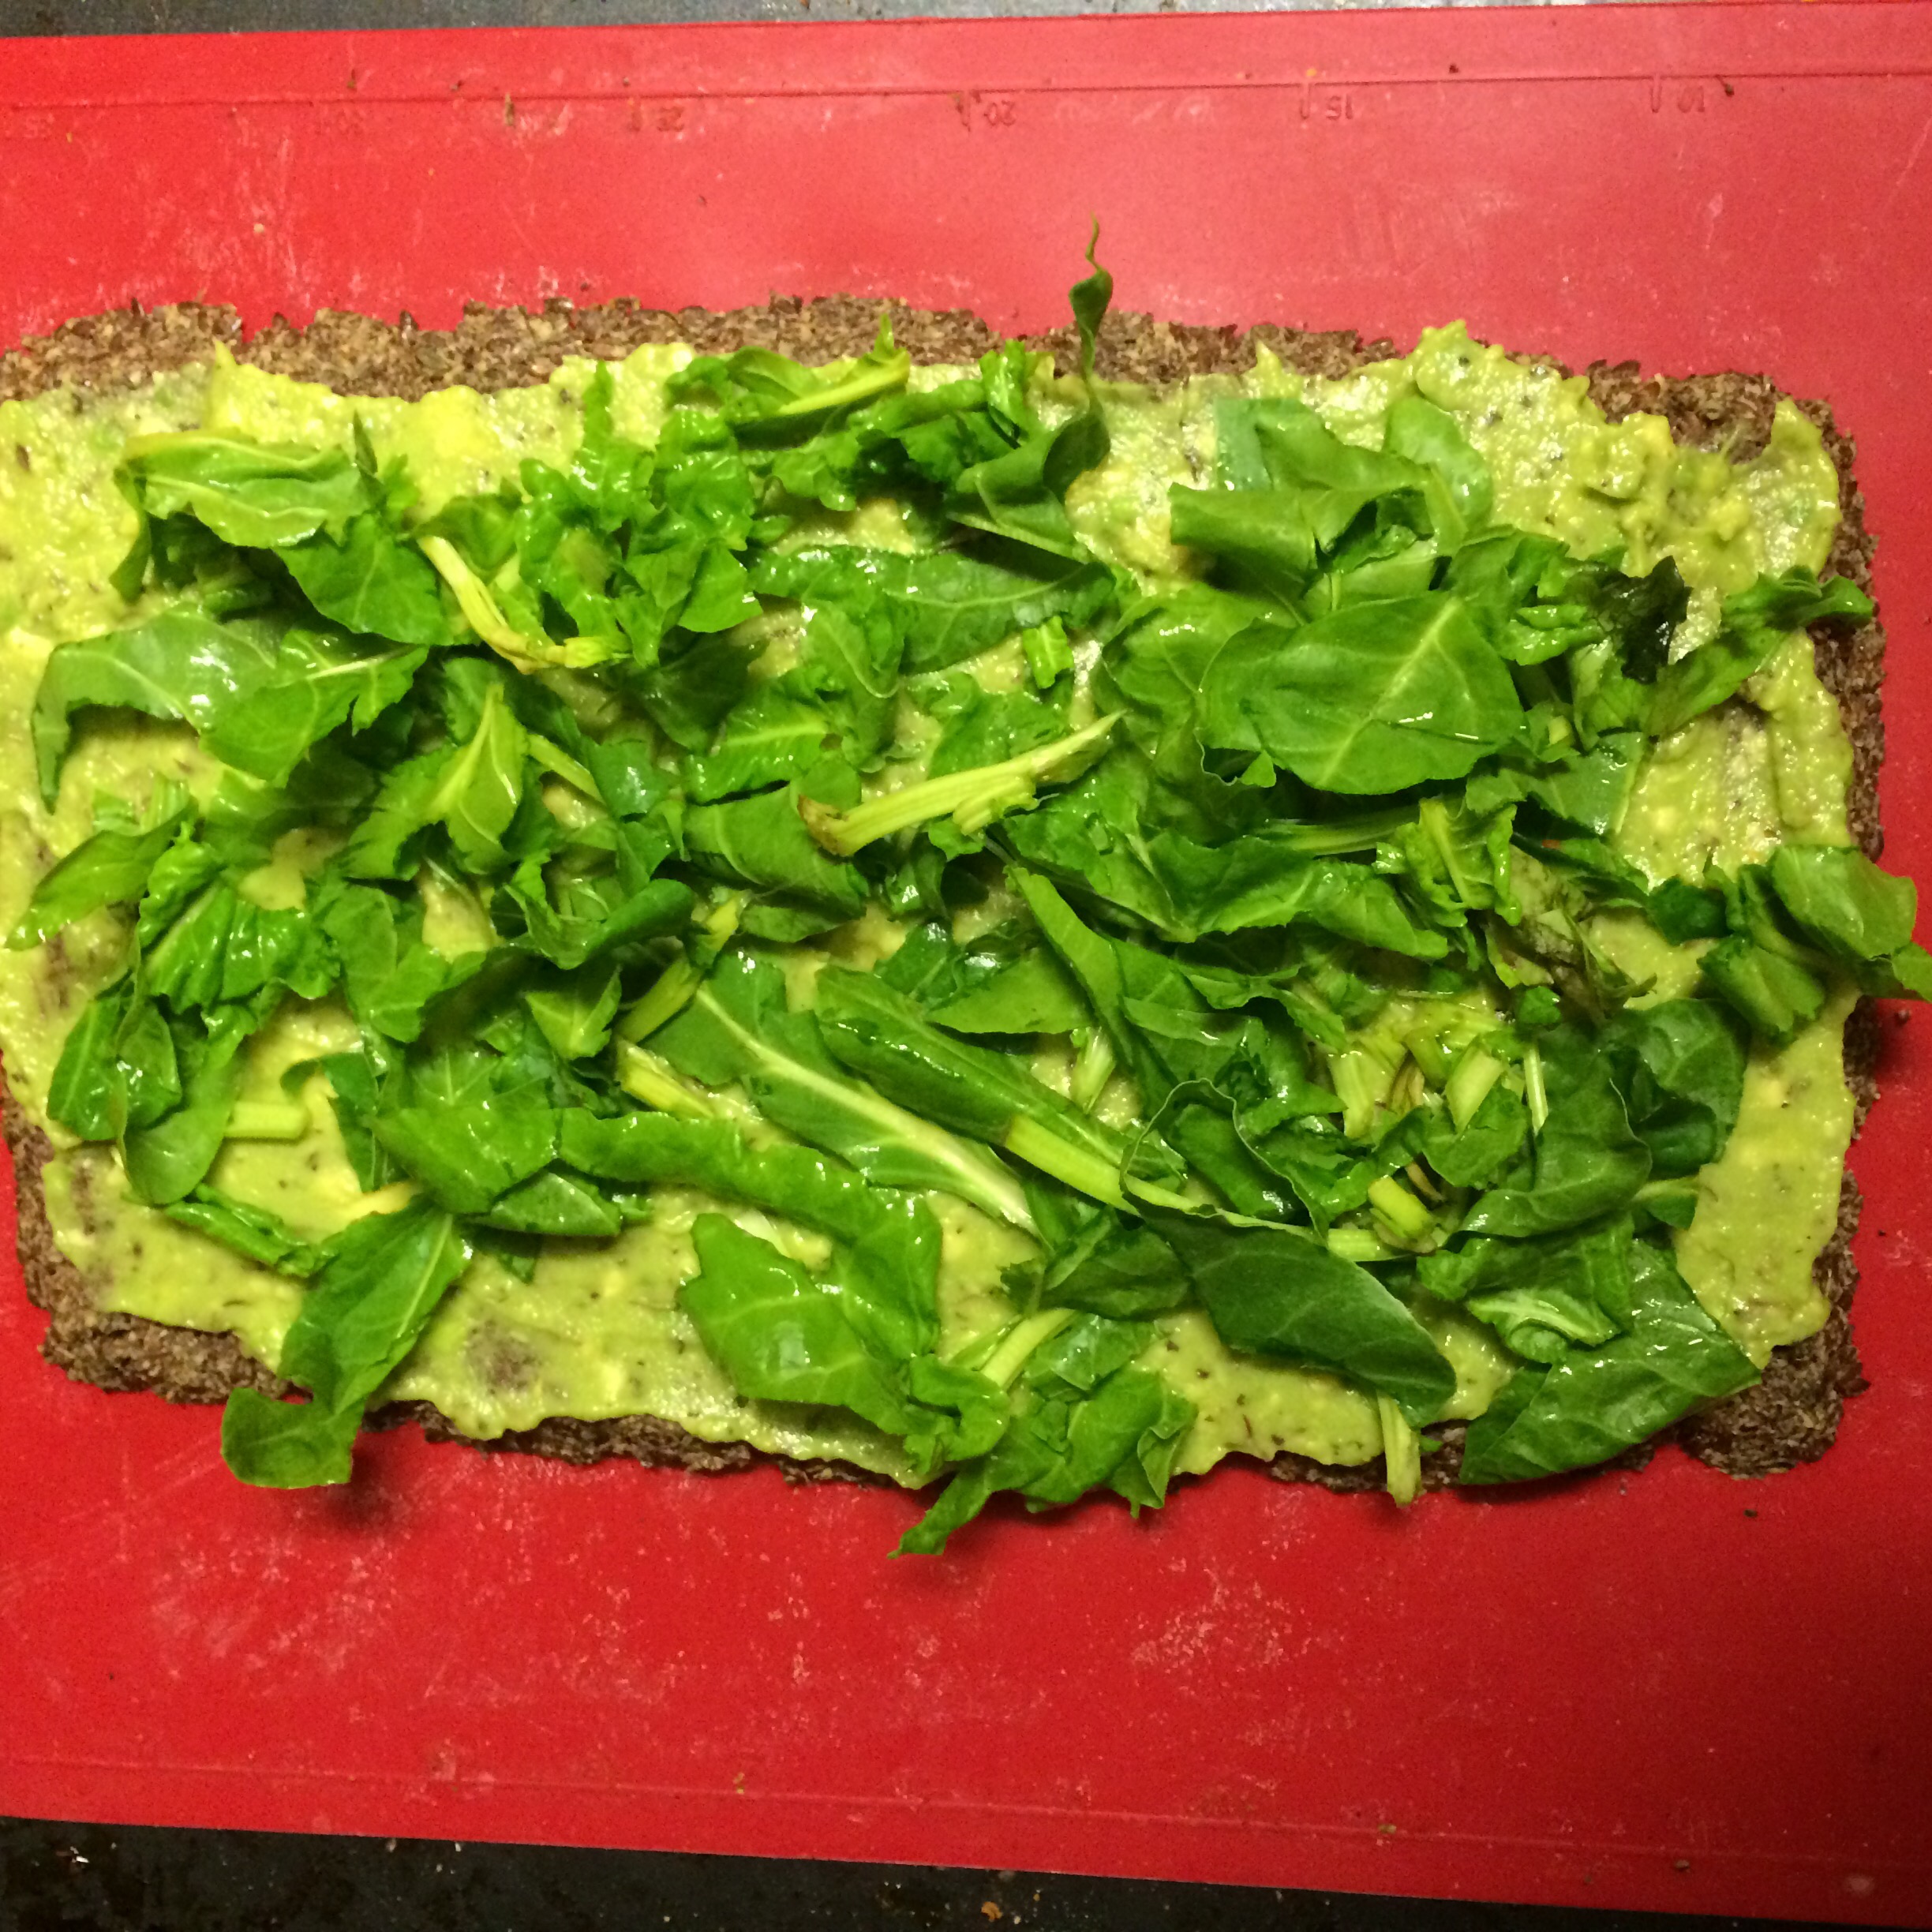
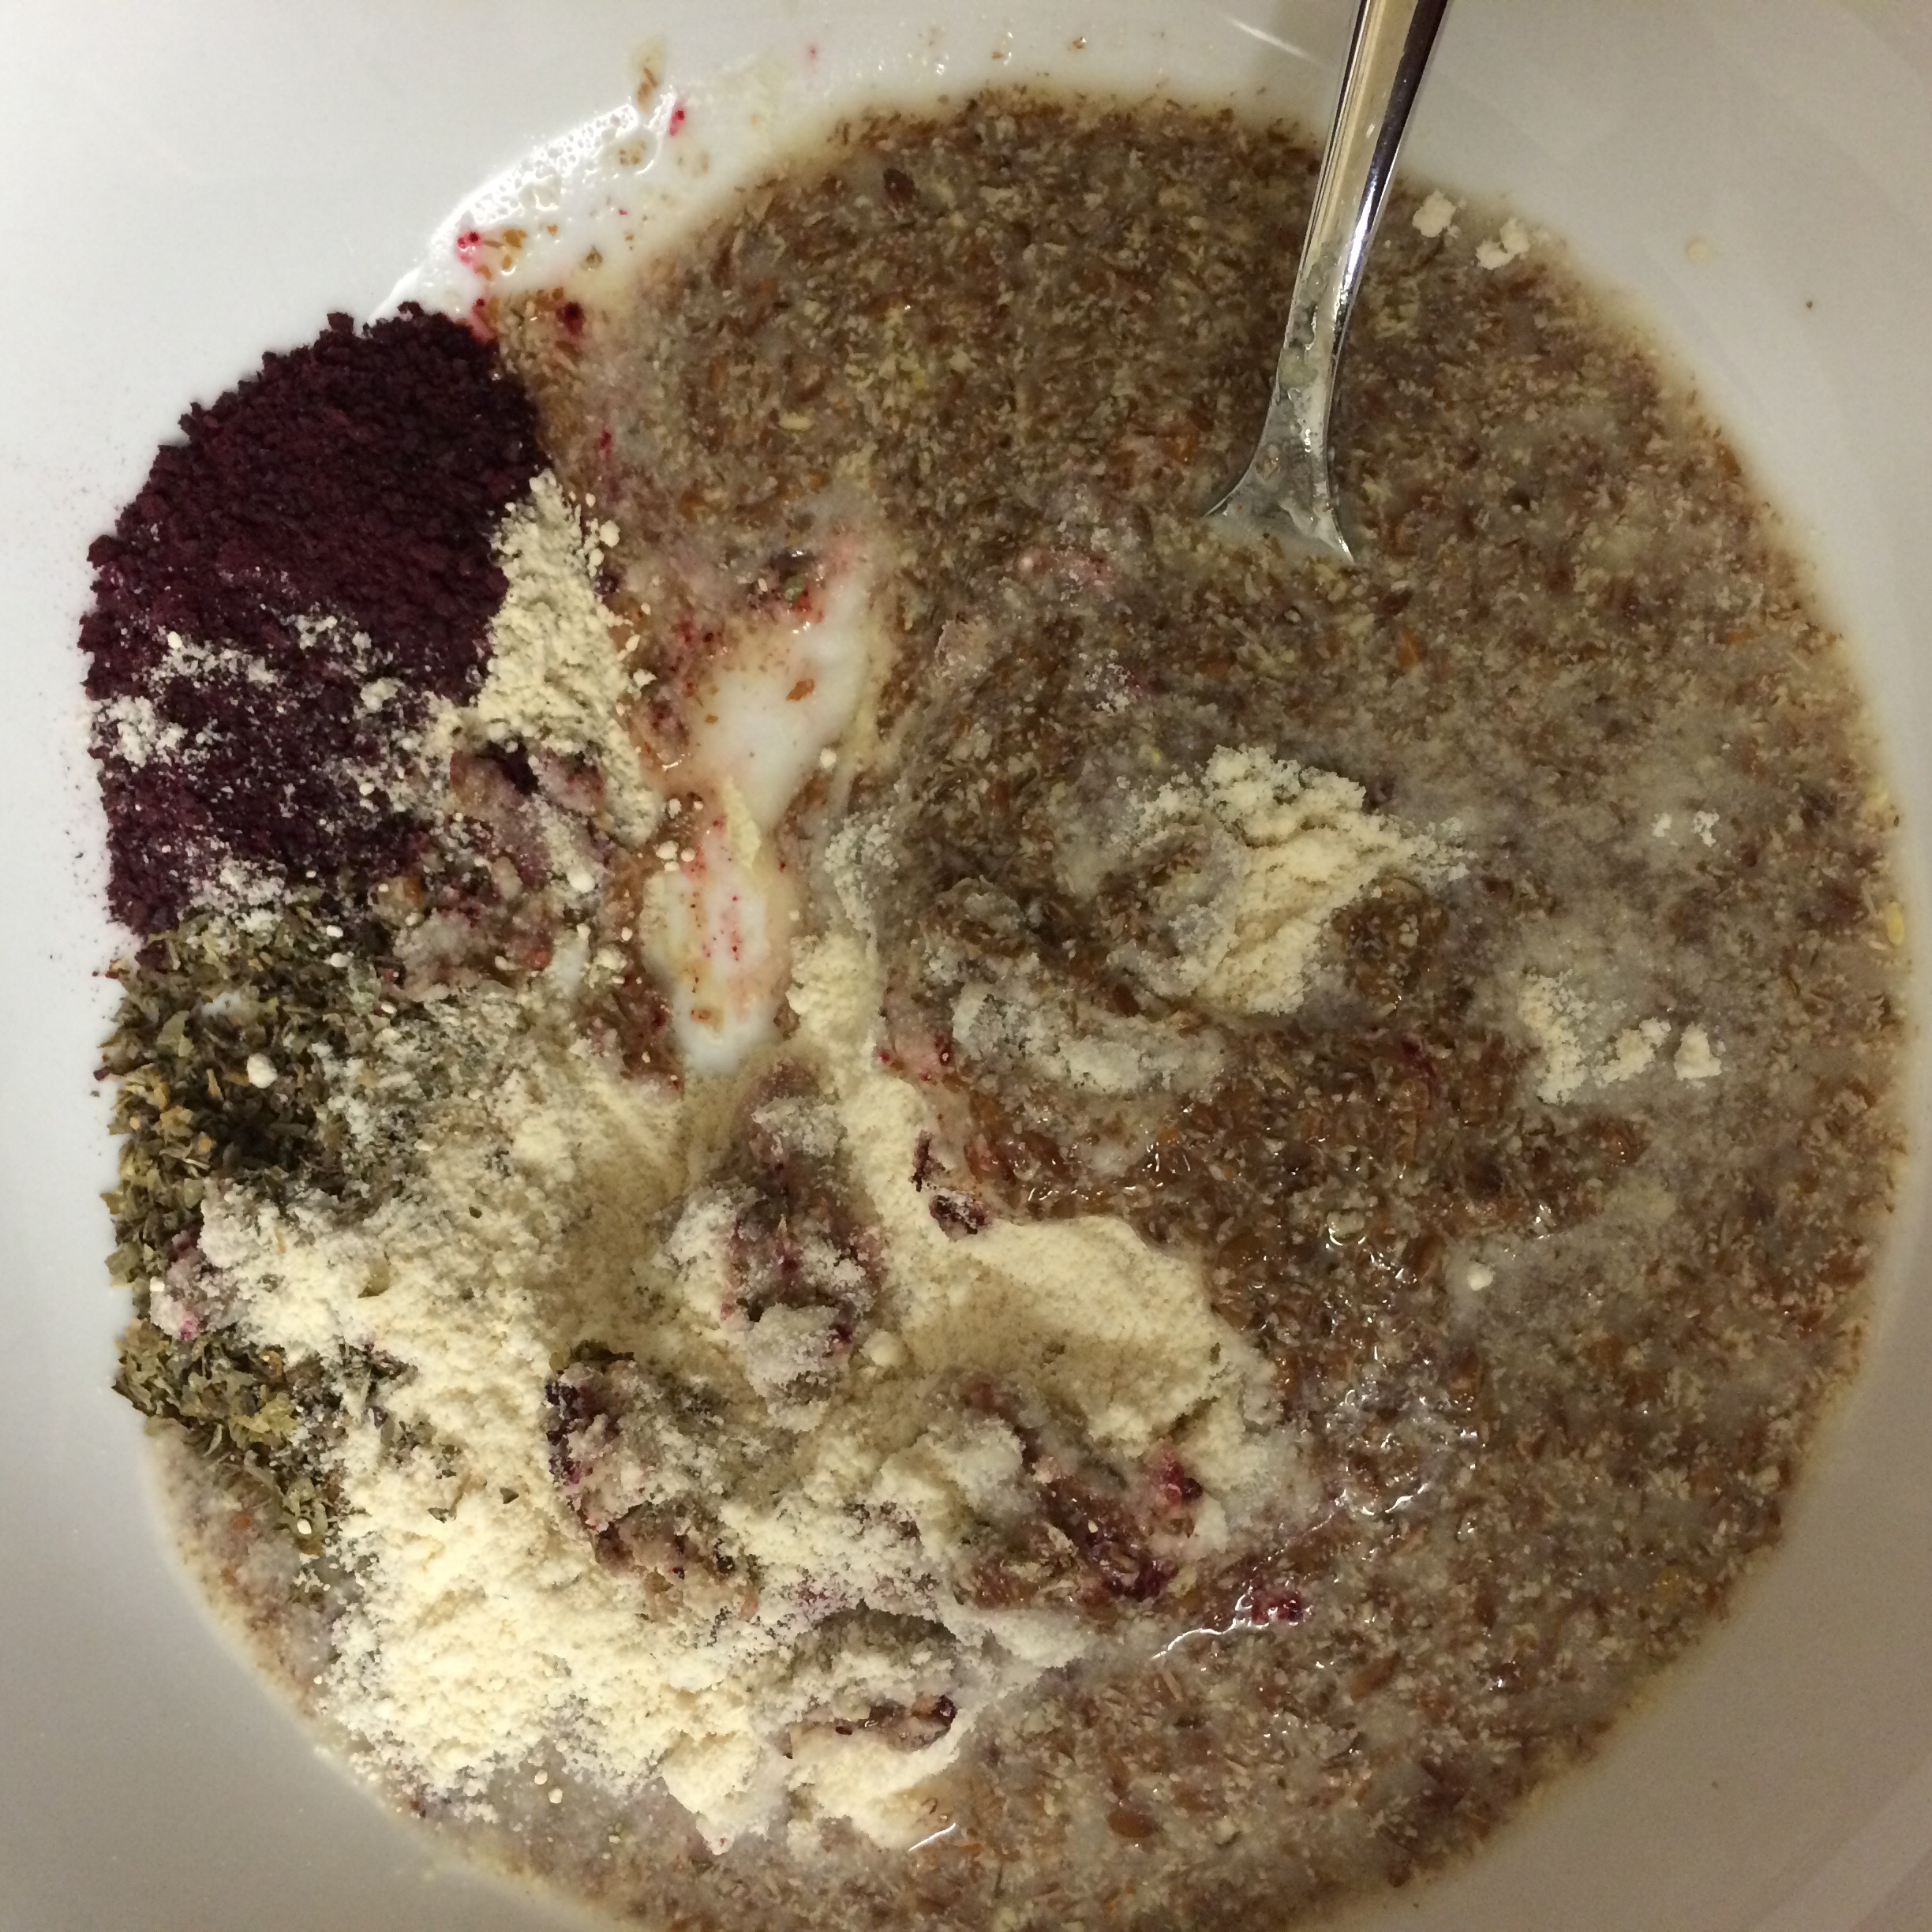
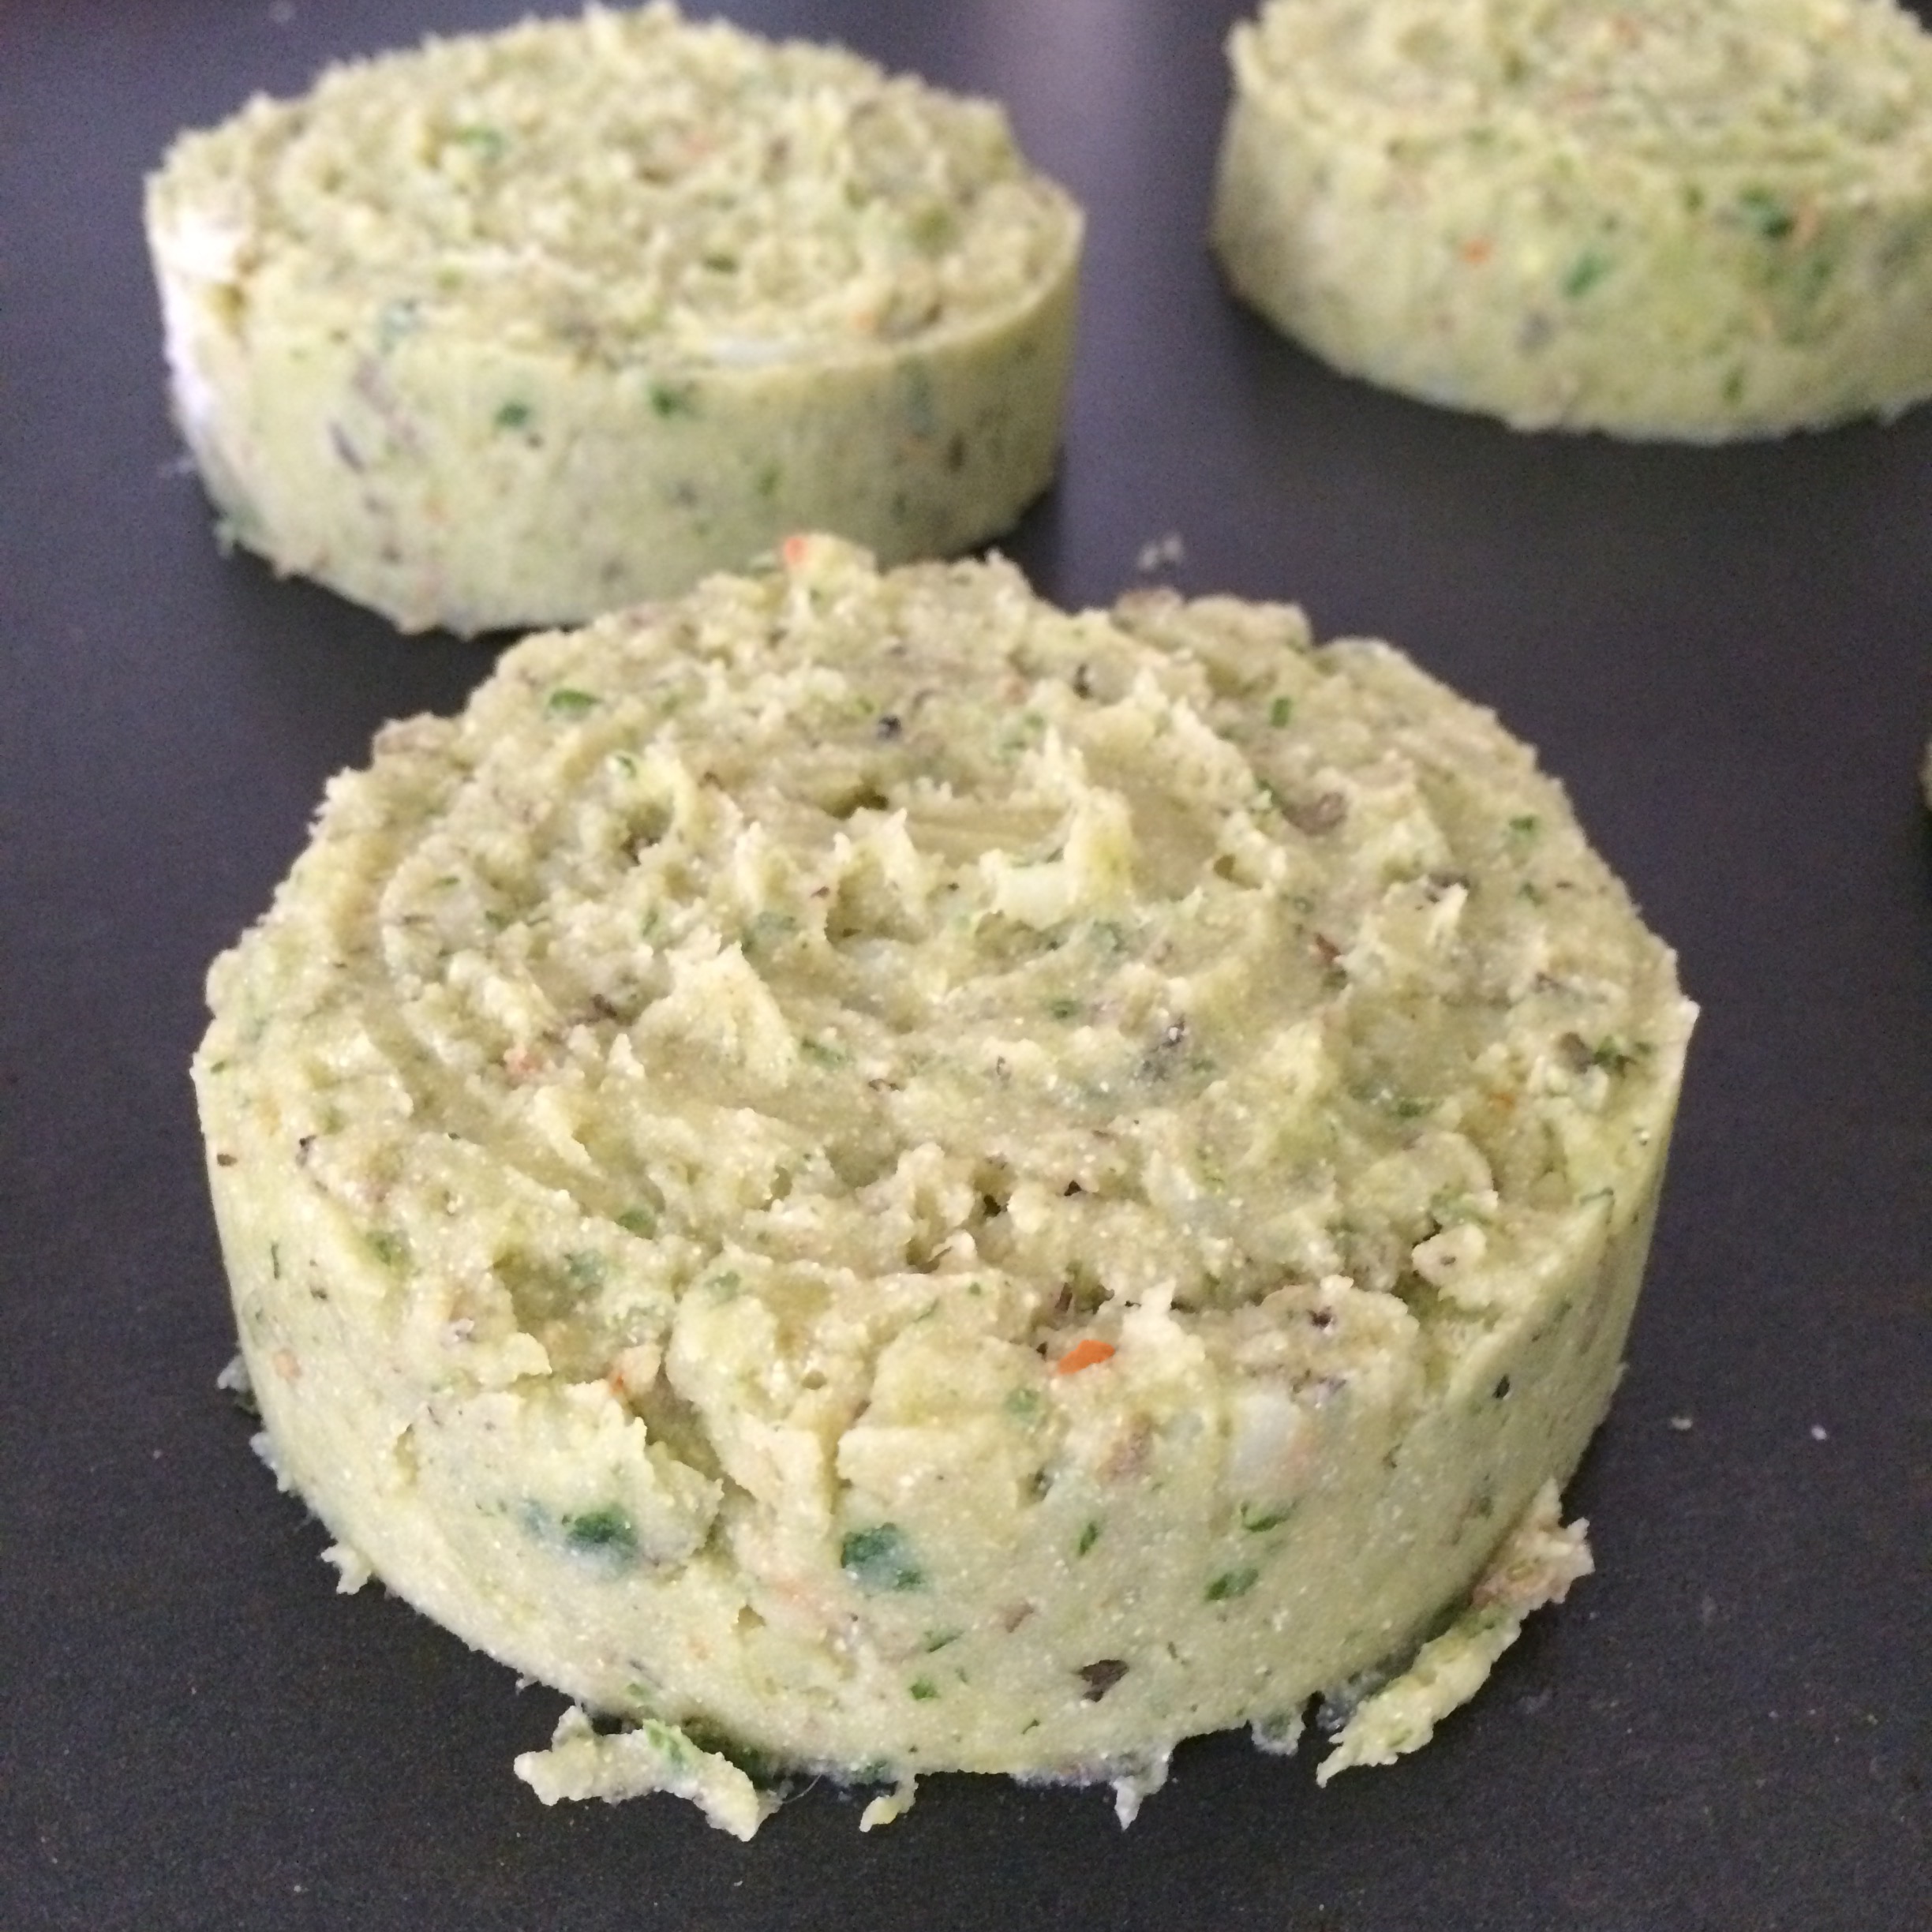
 Pour in now, the spinach, pepper, onion and garlic mixture too;
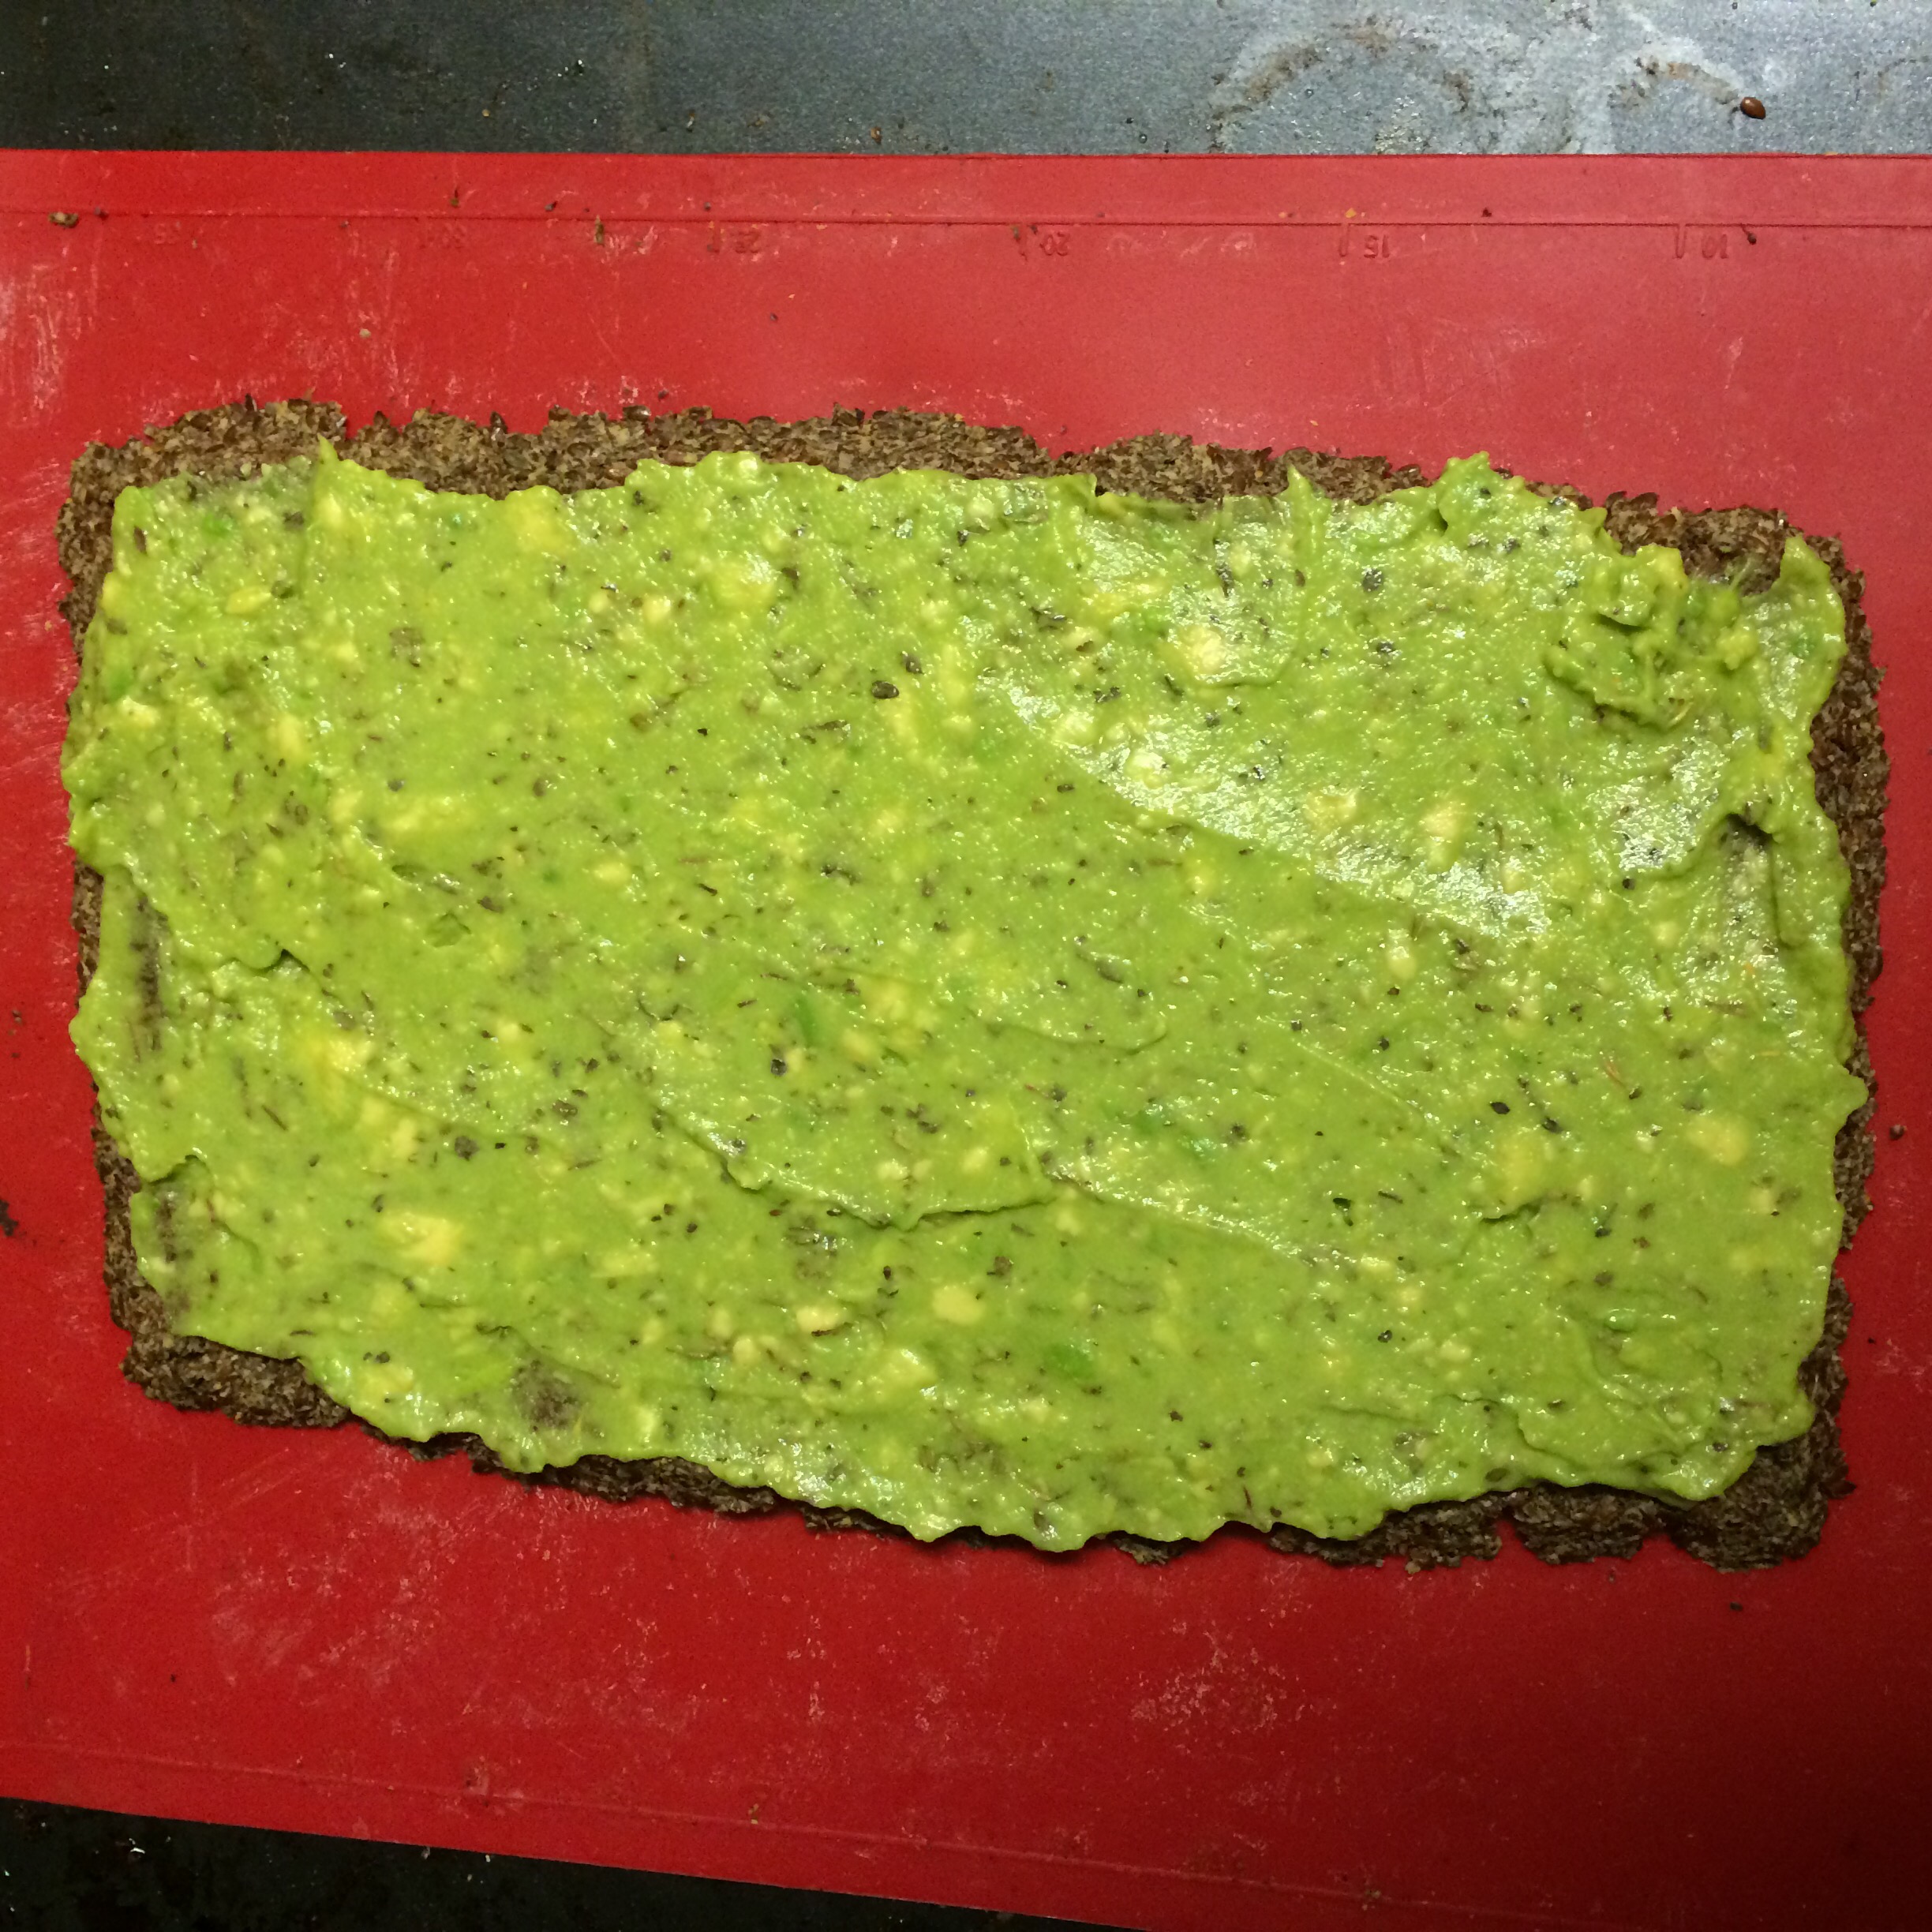
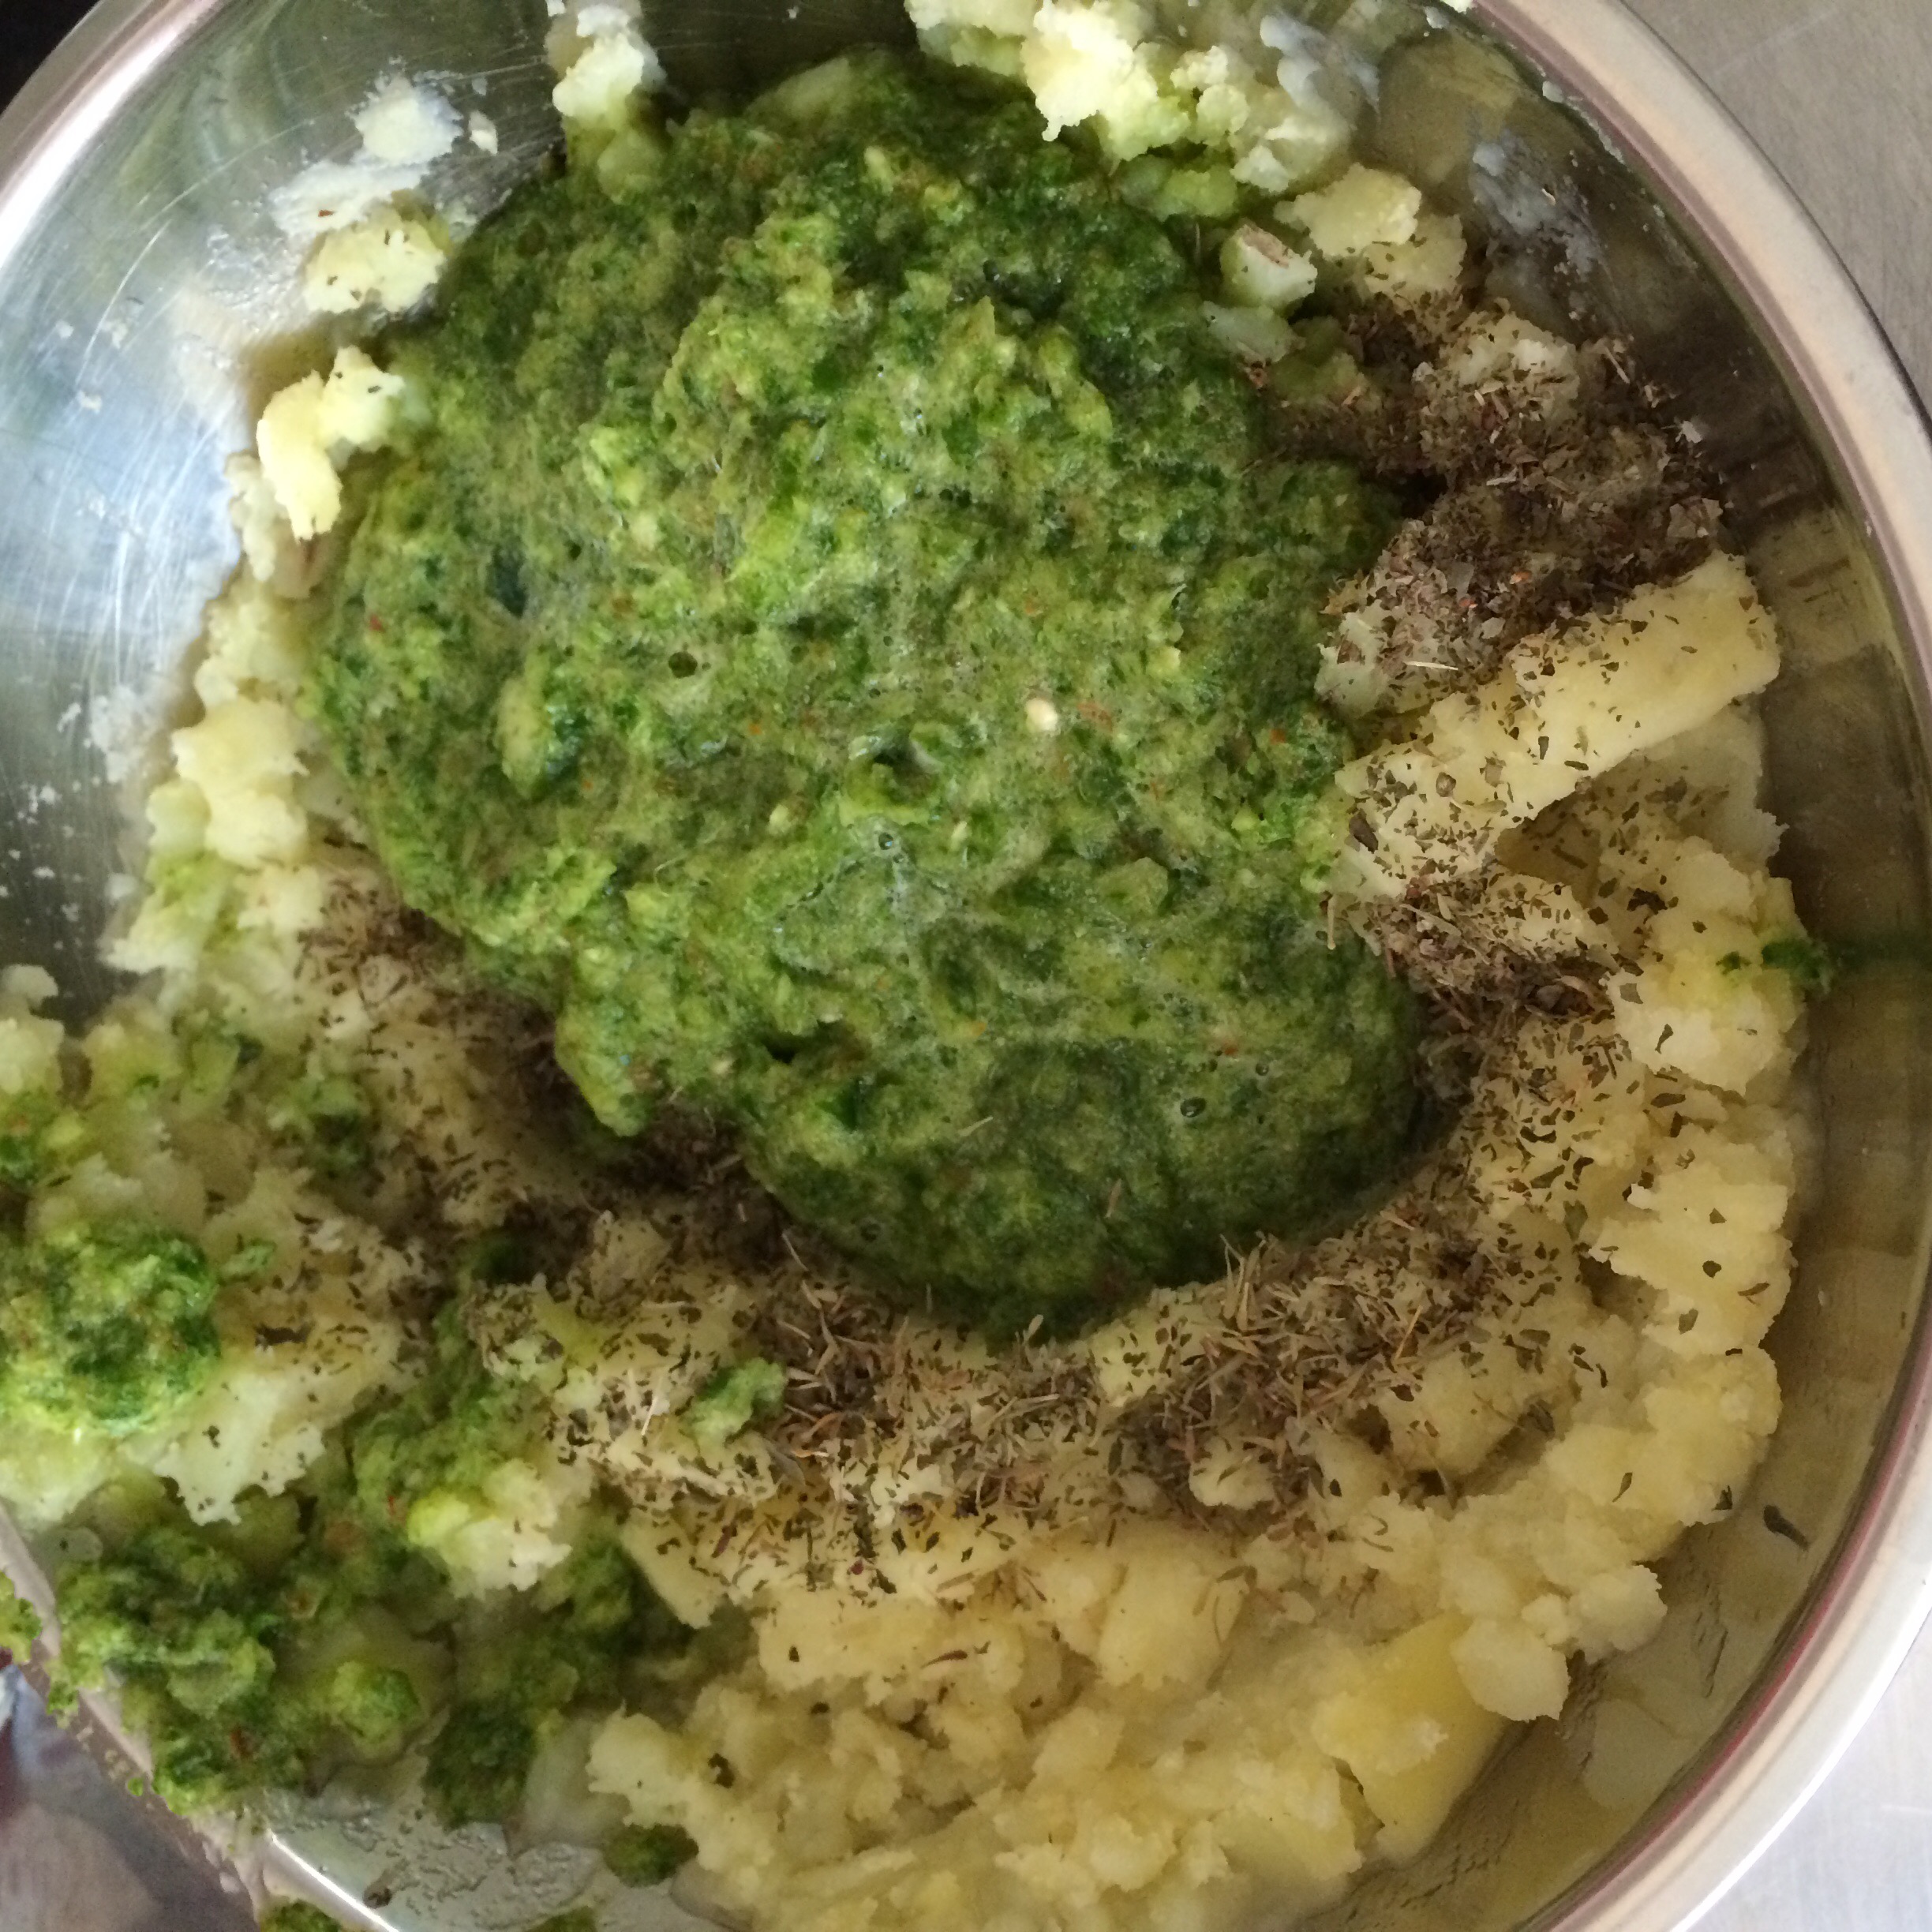 And stir and mash again until the mix is completely green right through!
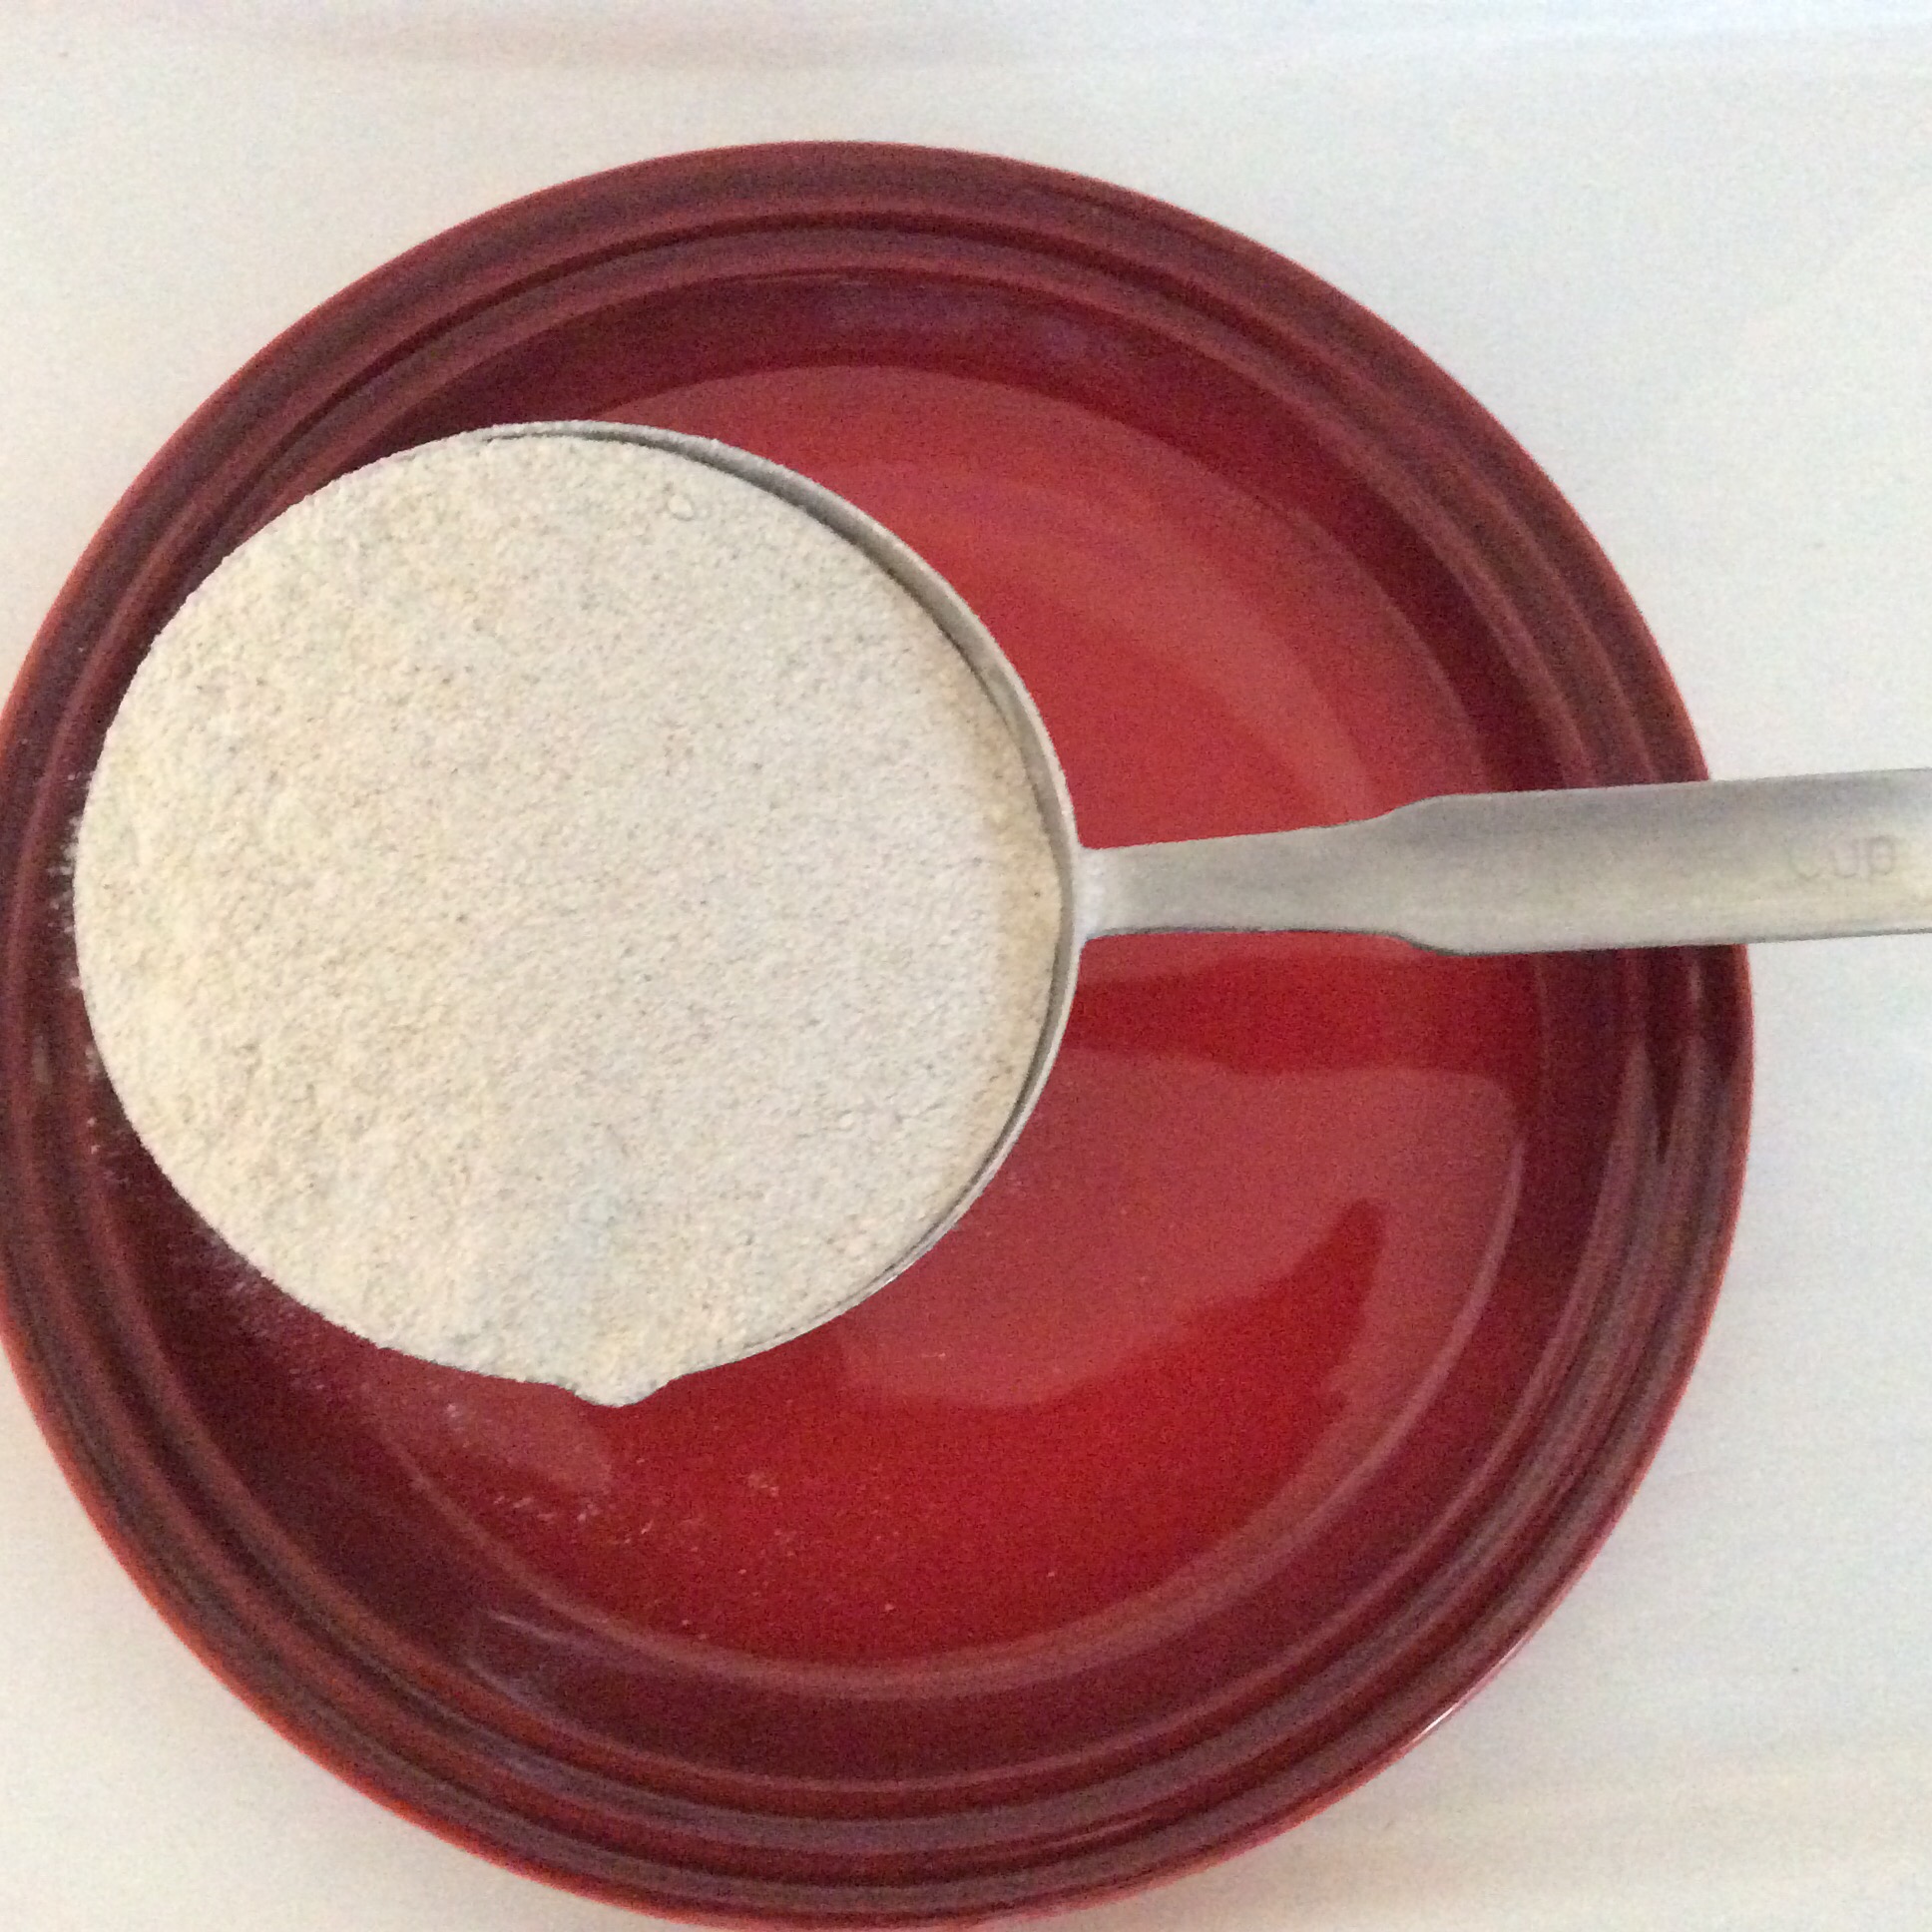
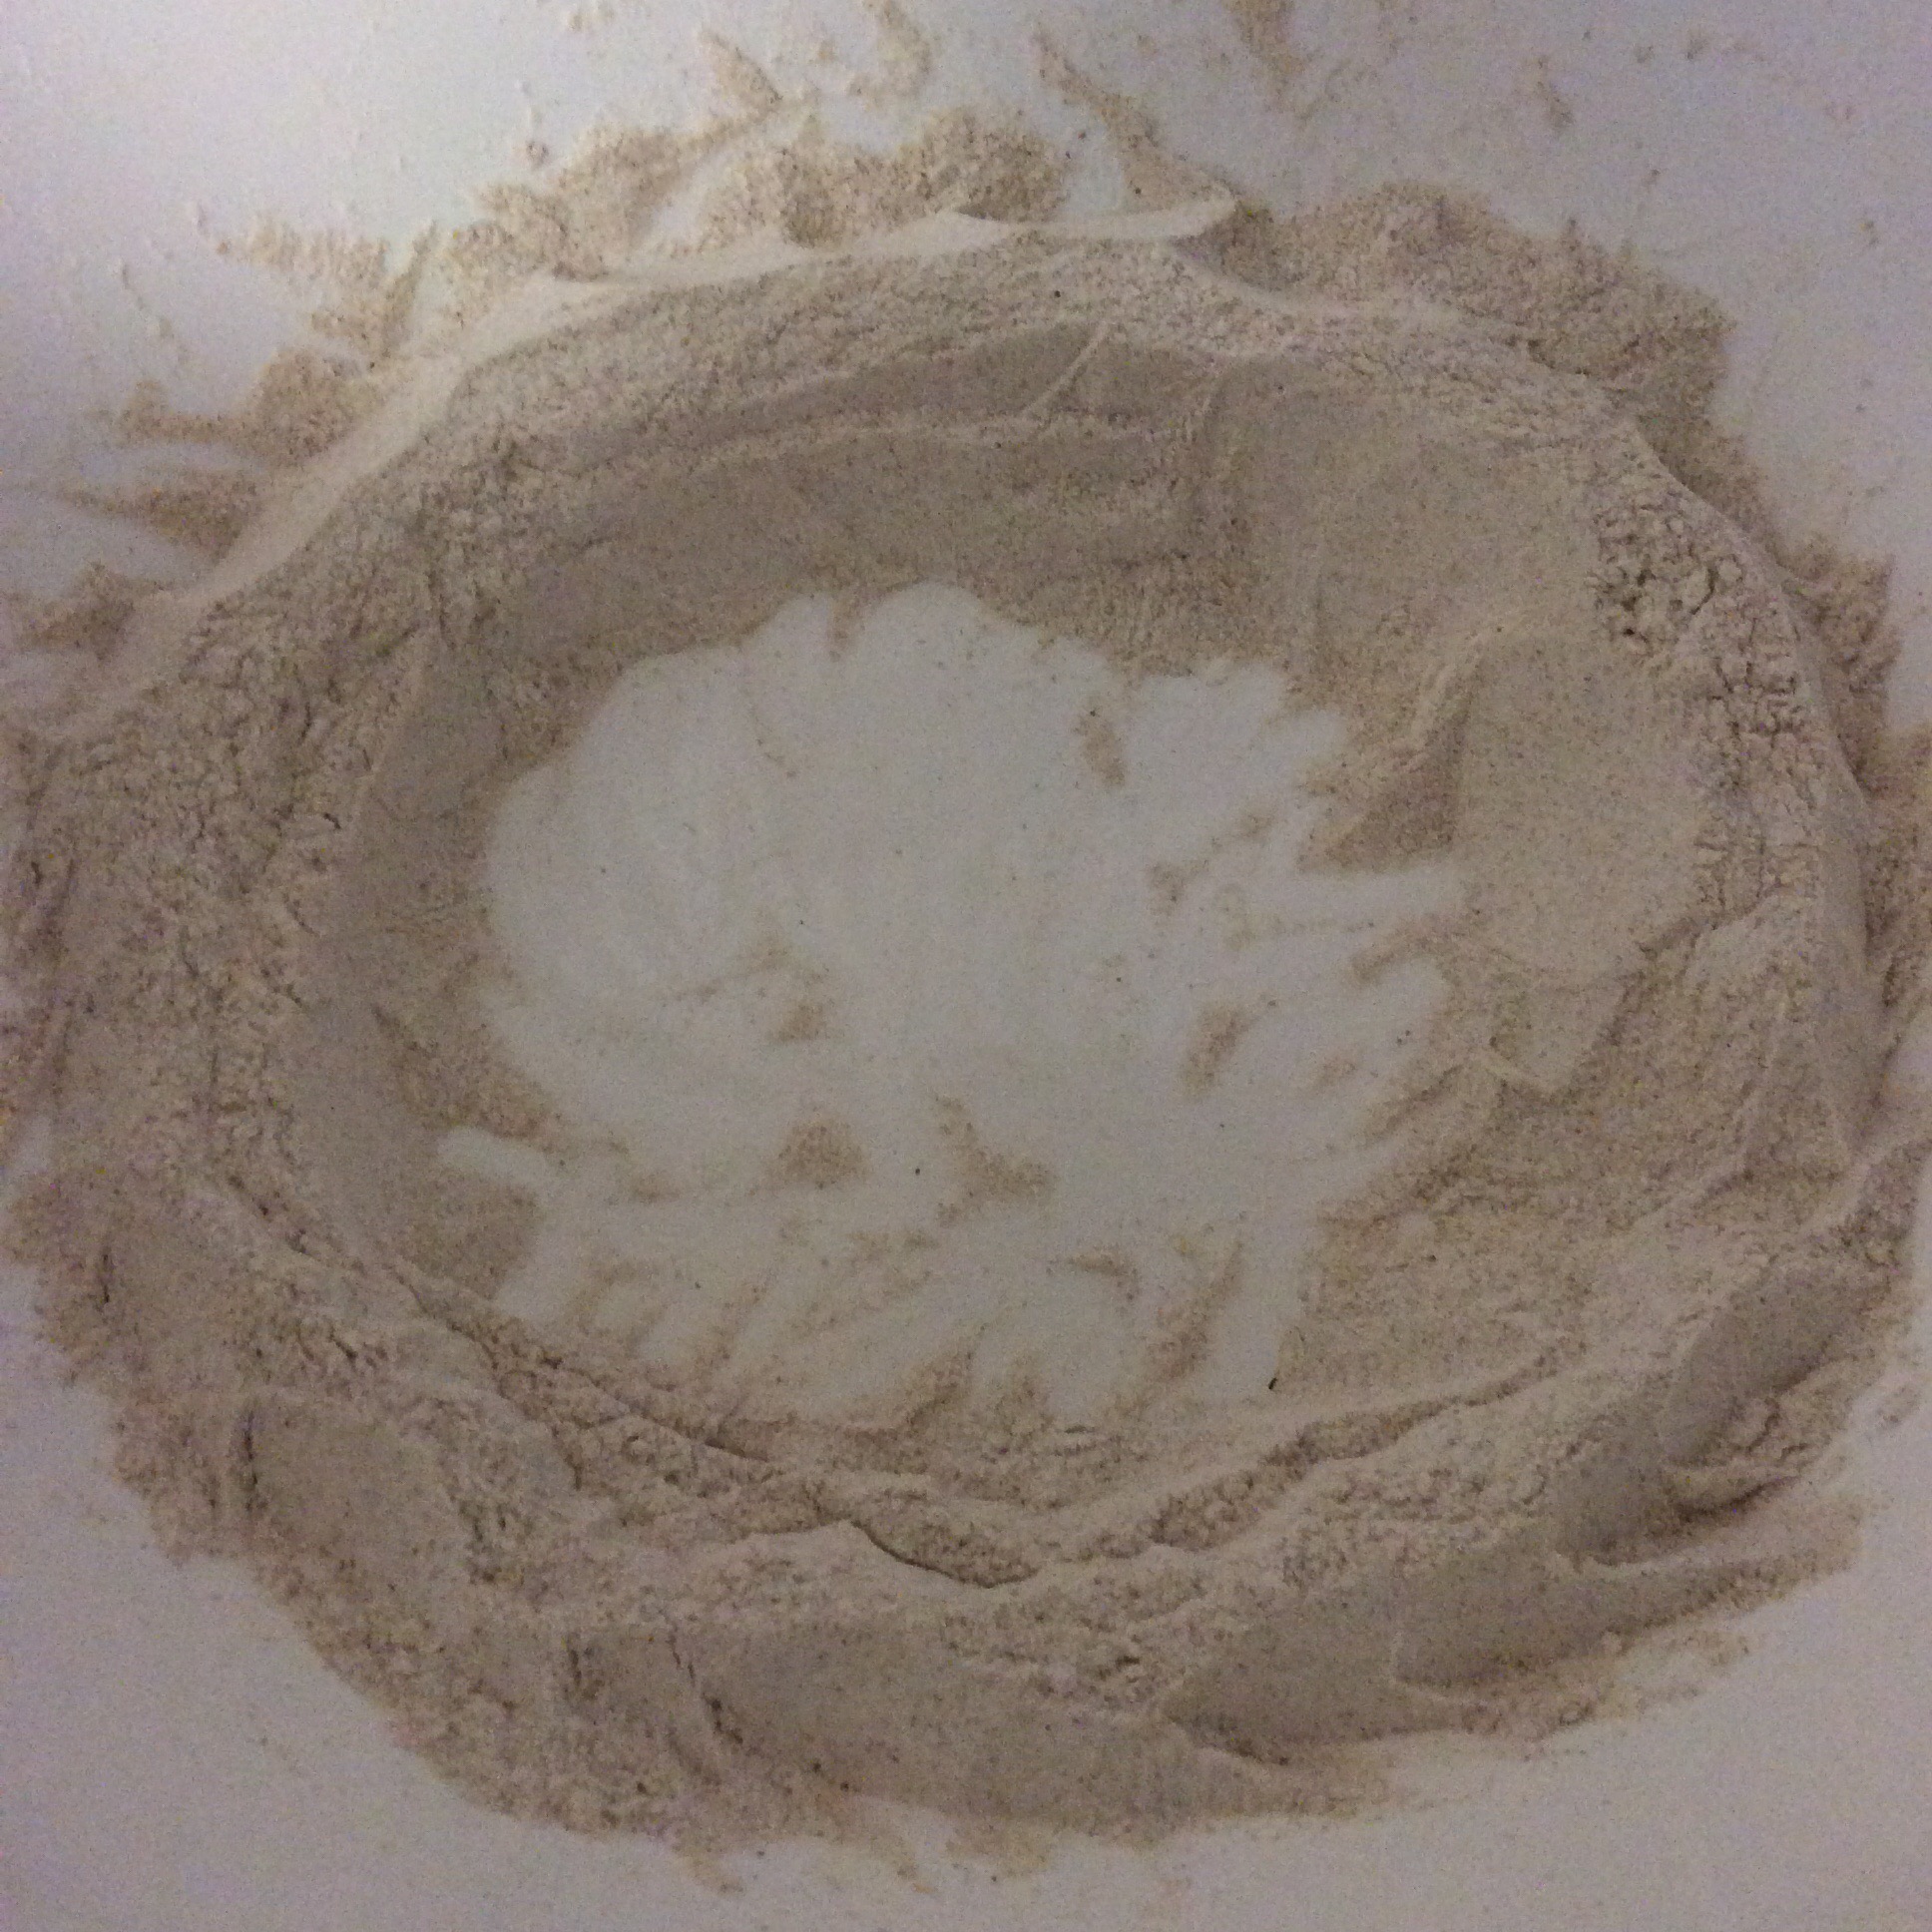
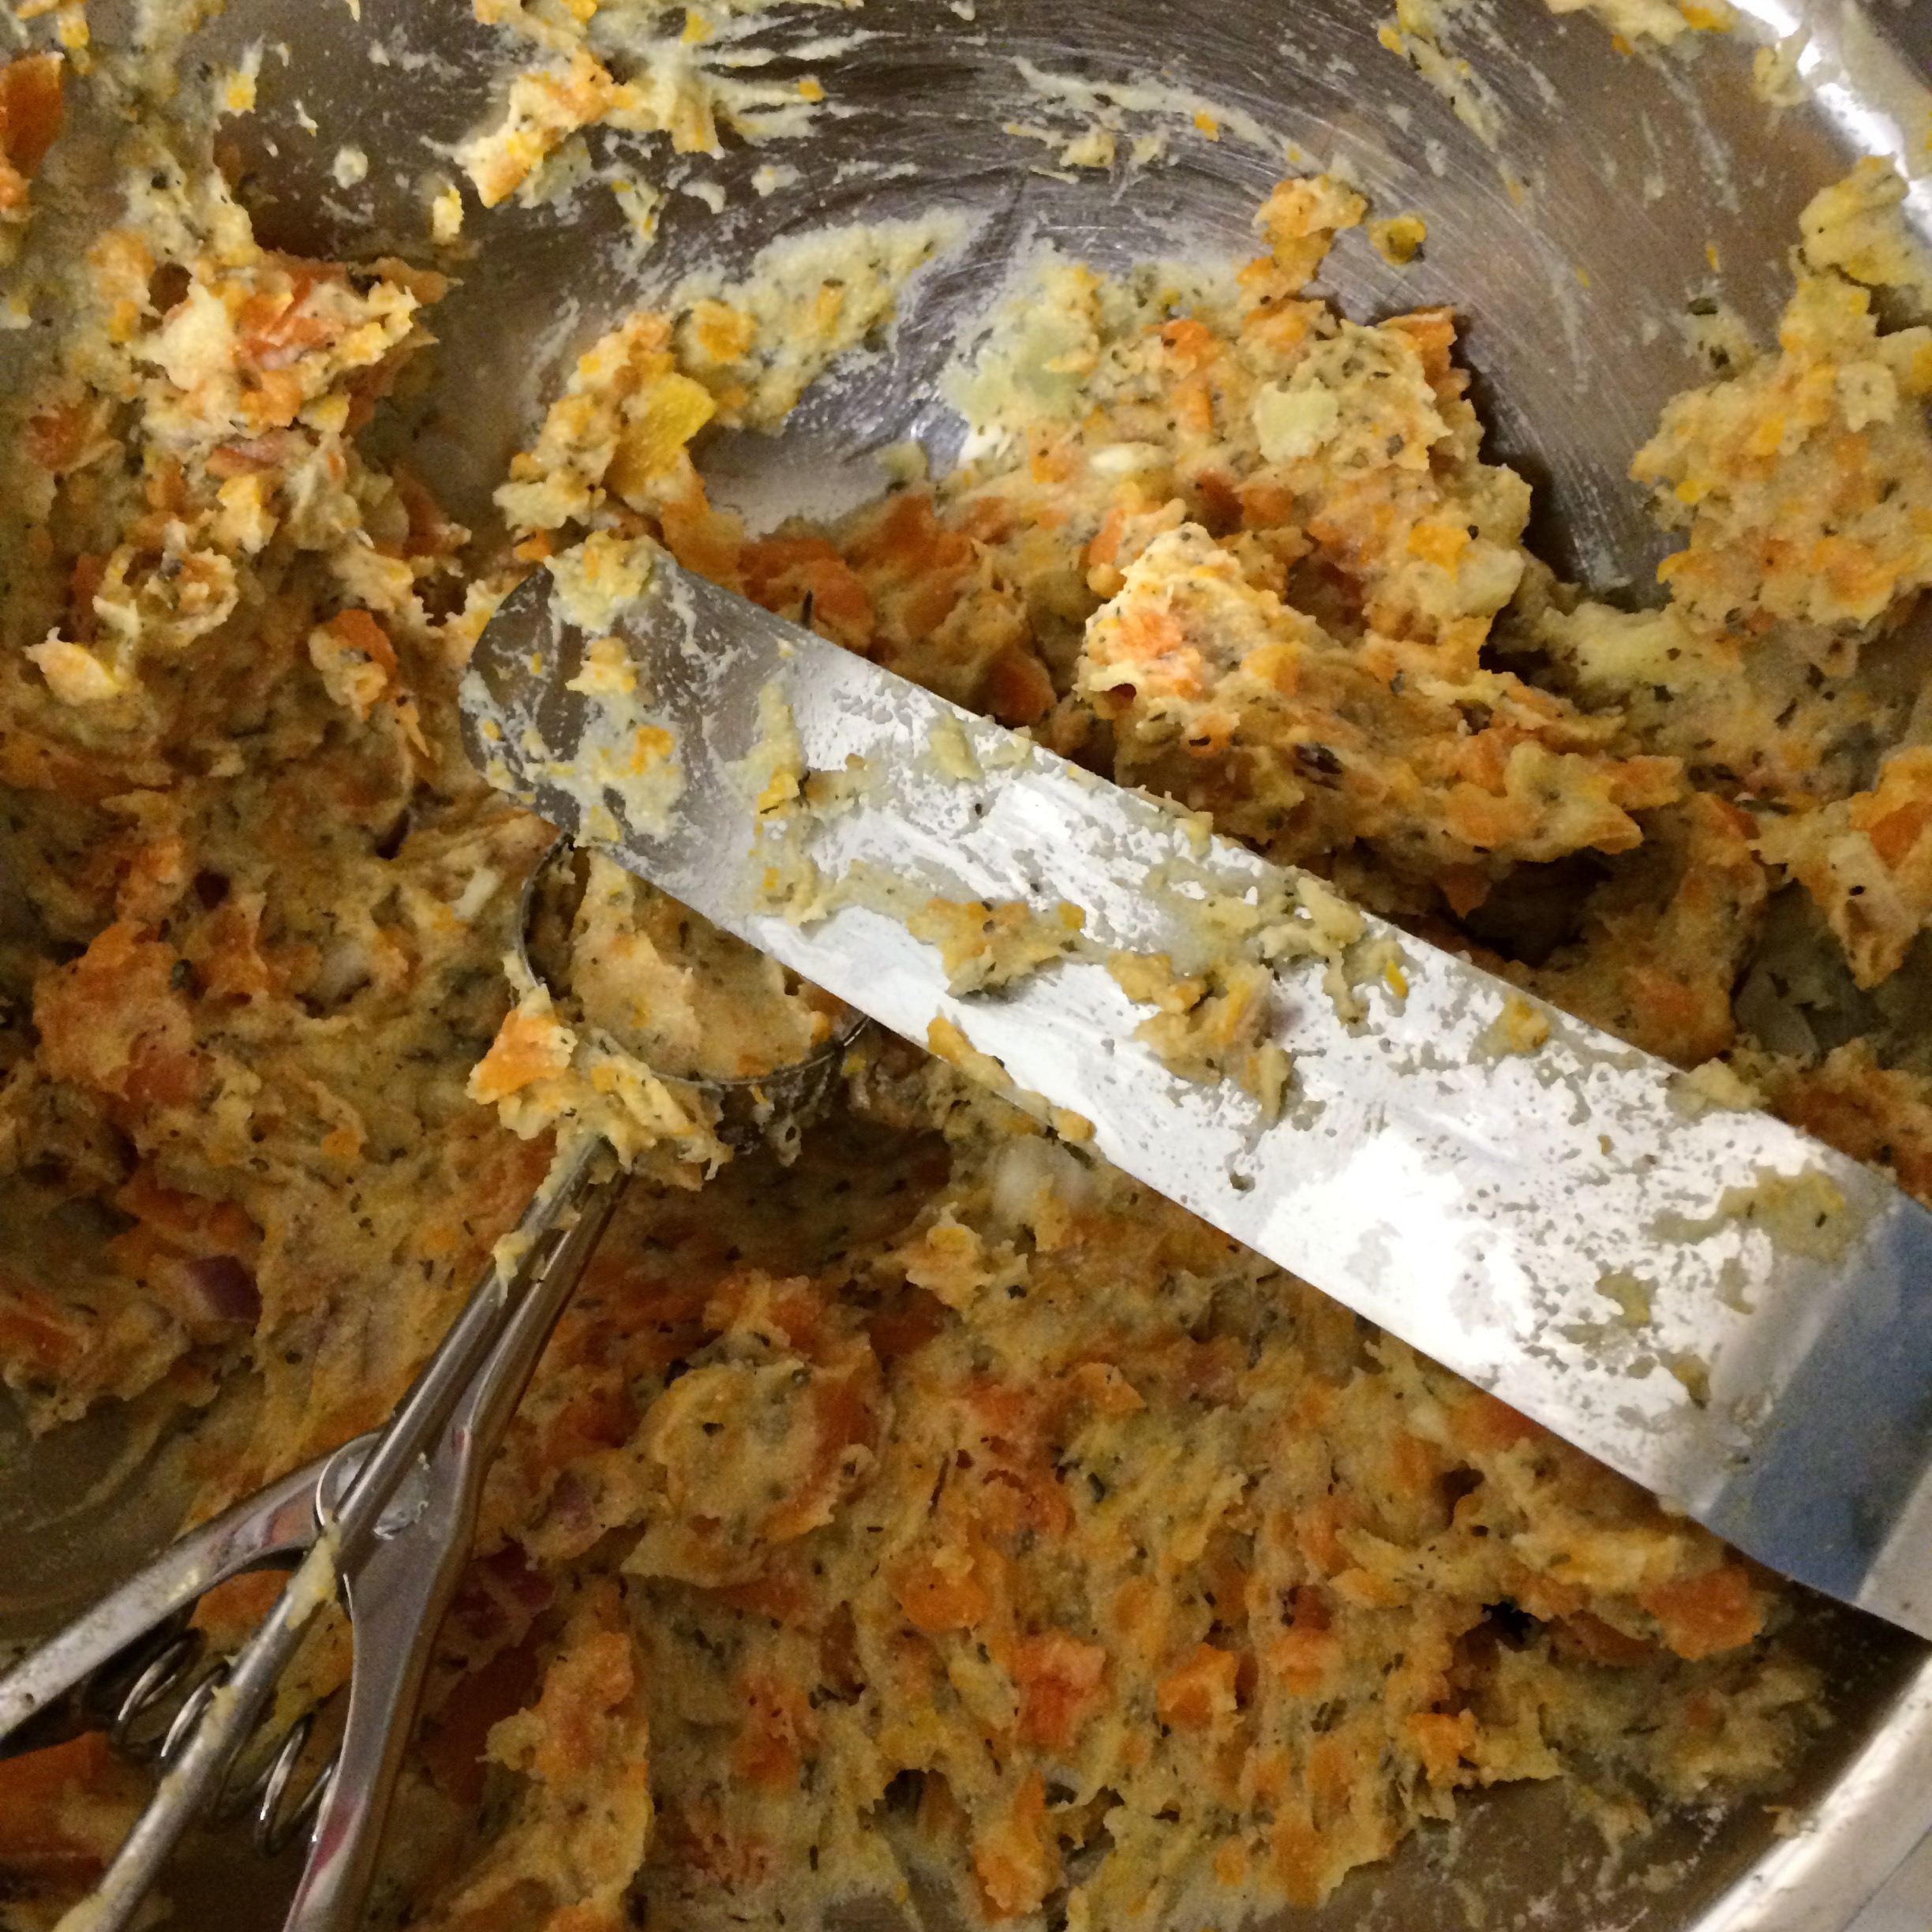
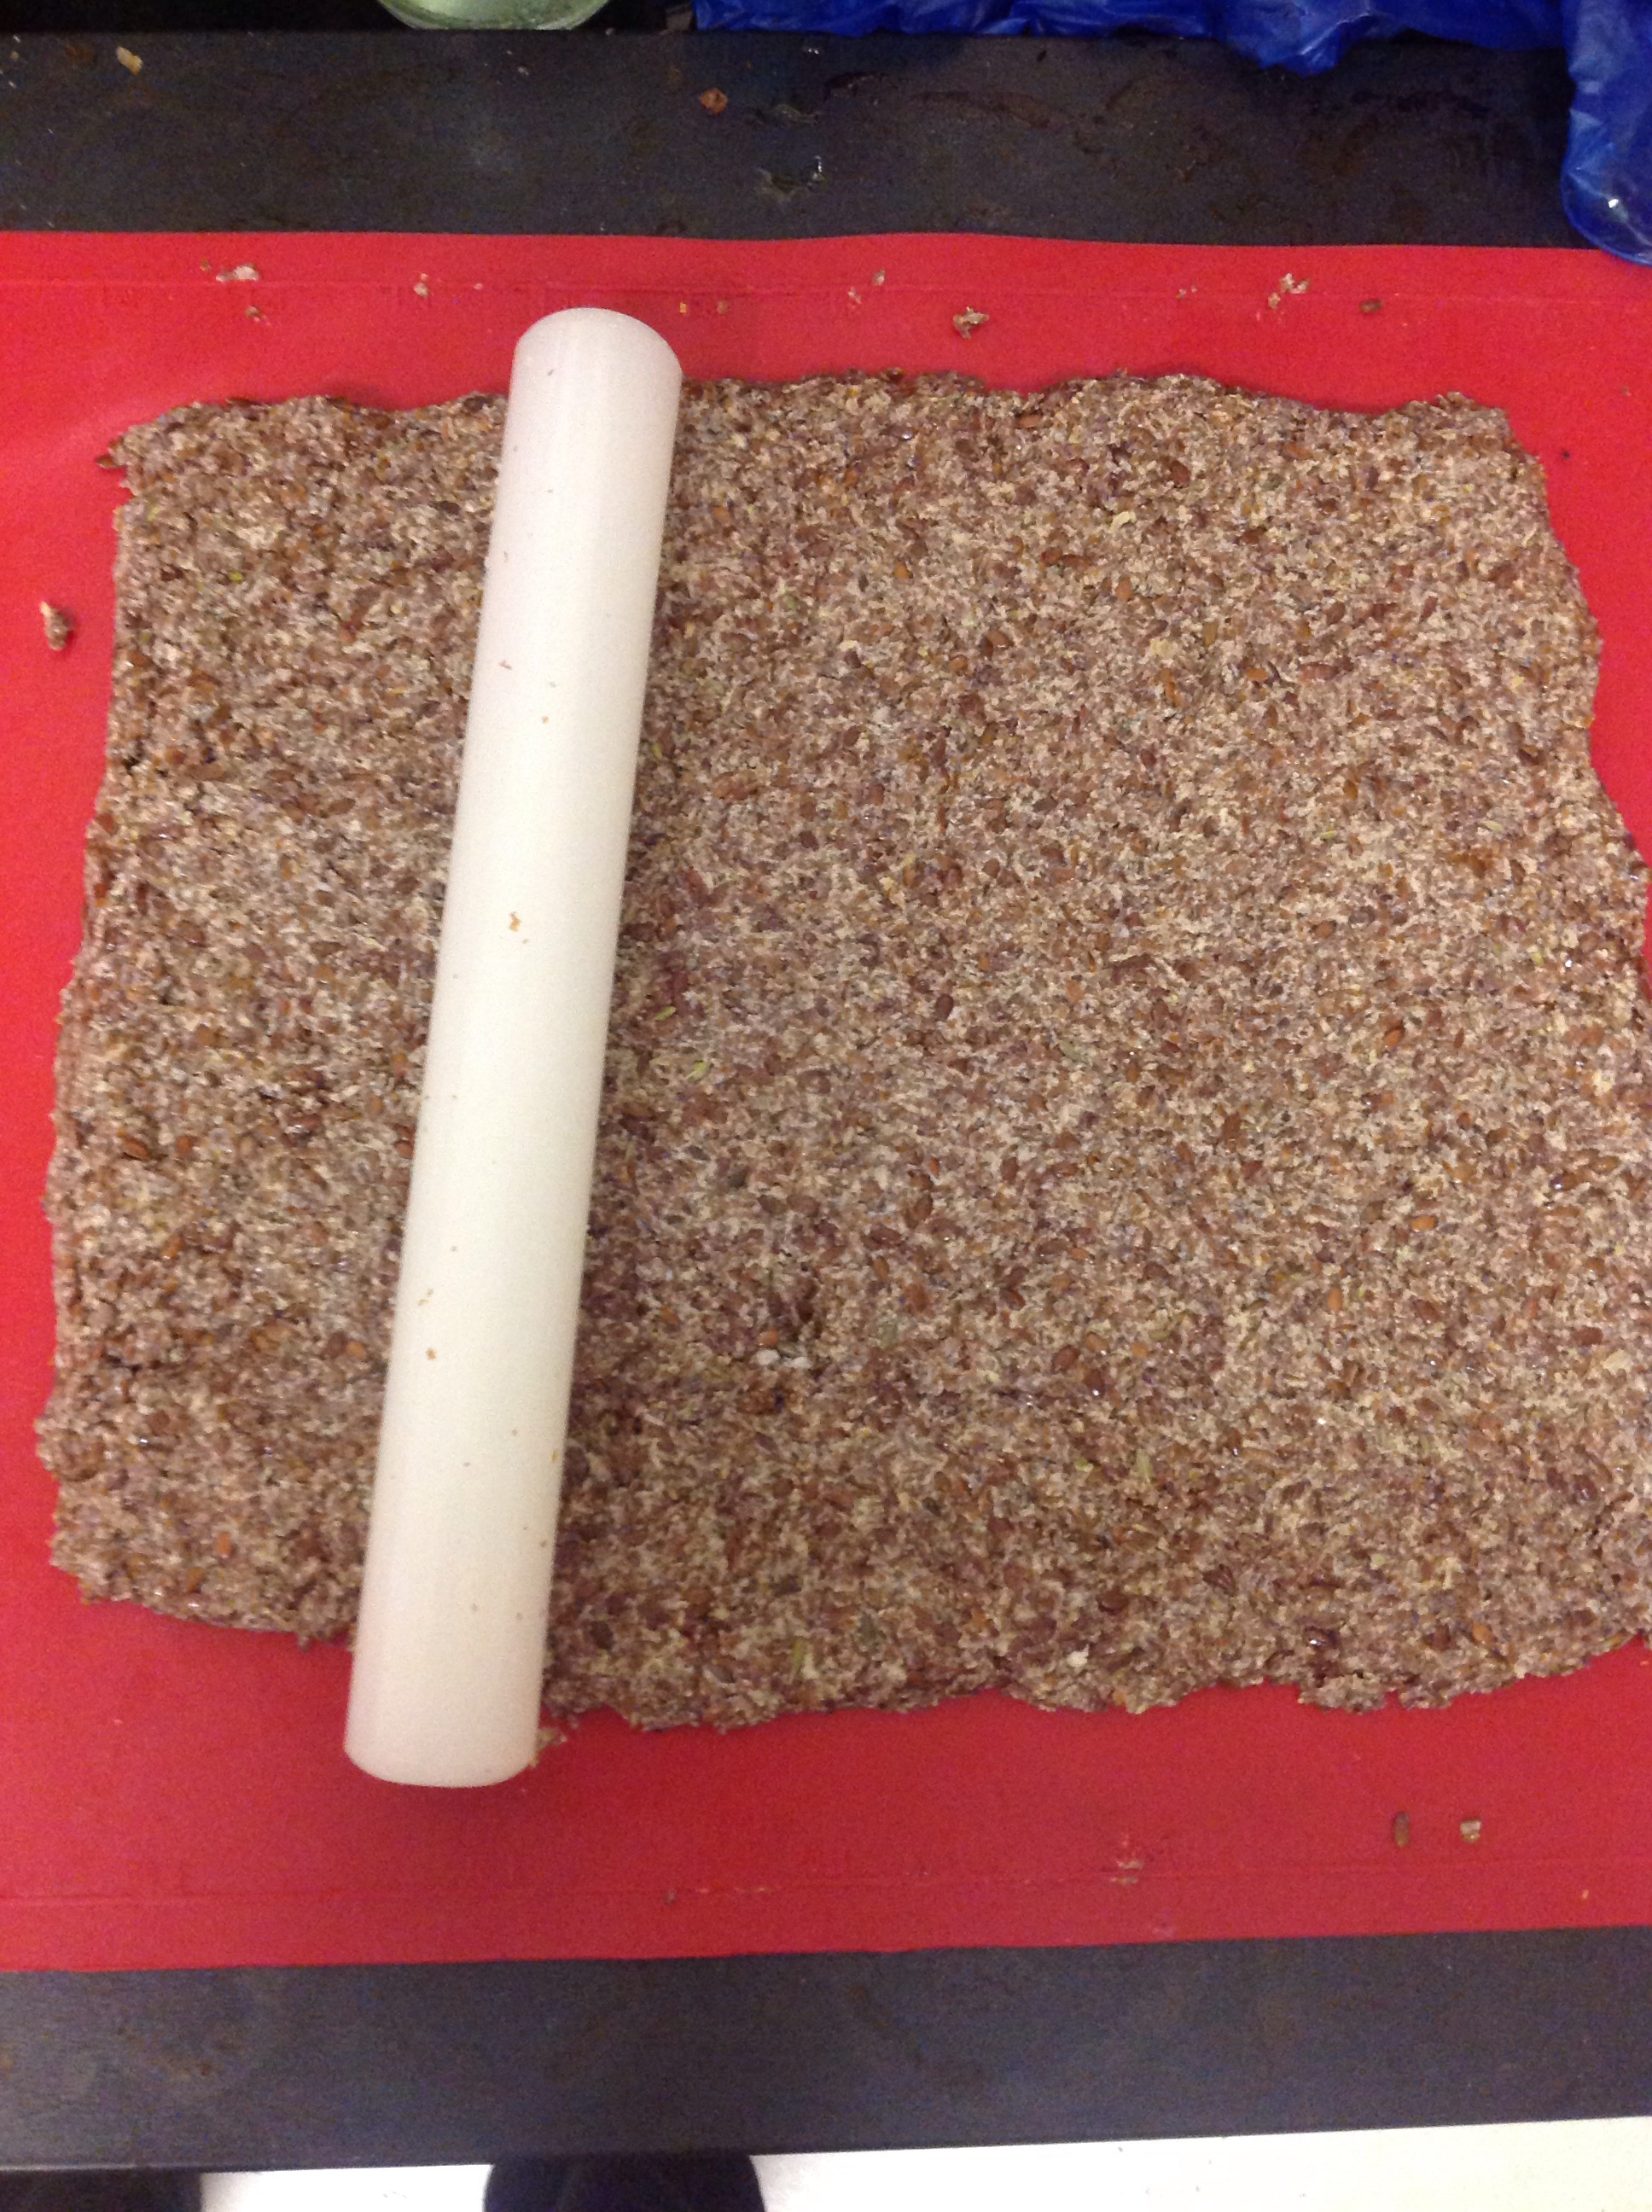
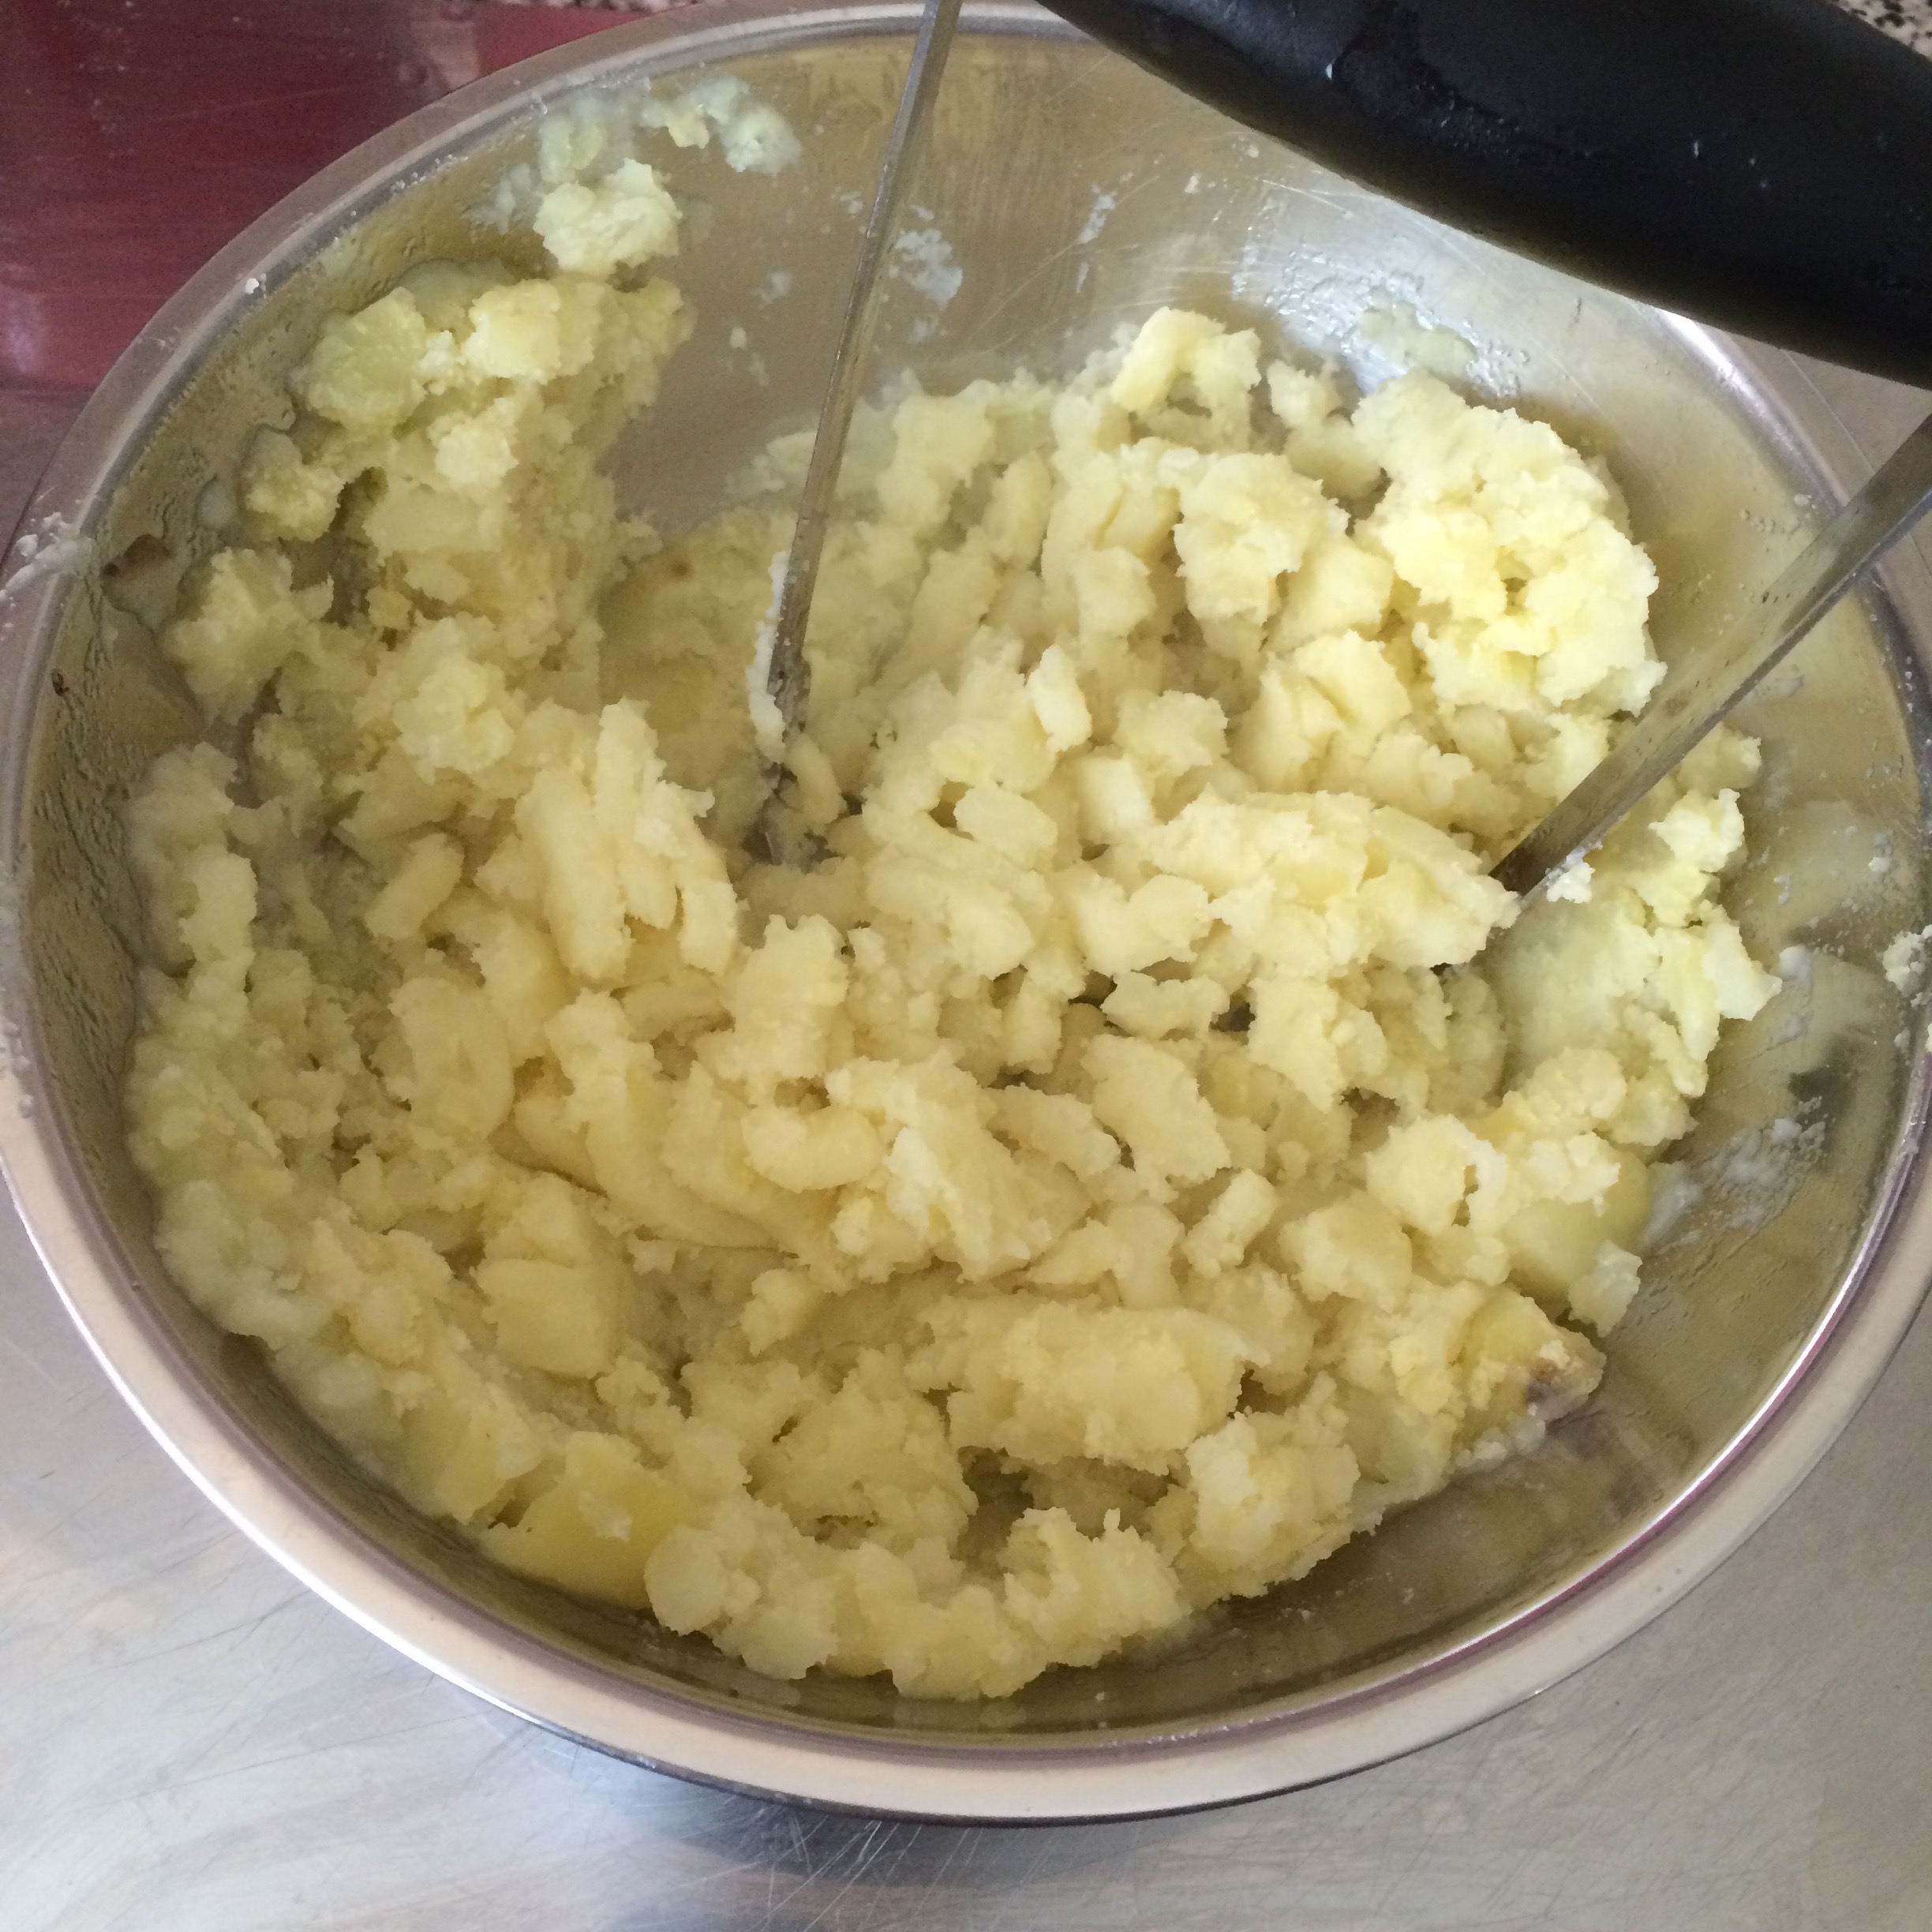
 Now add the flour which will make the mixture thicker,
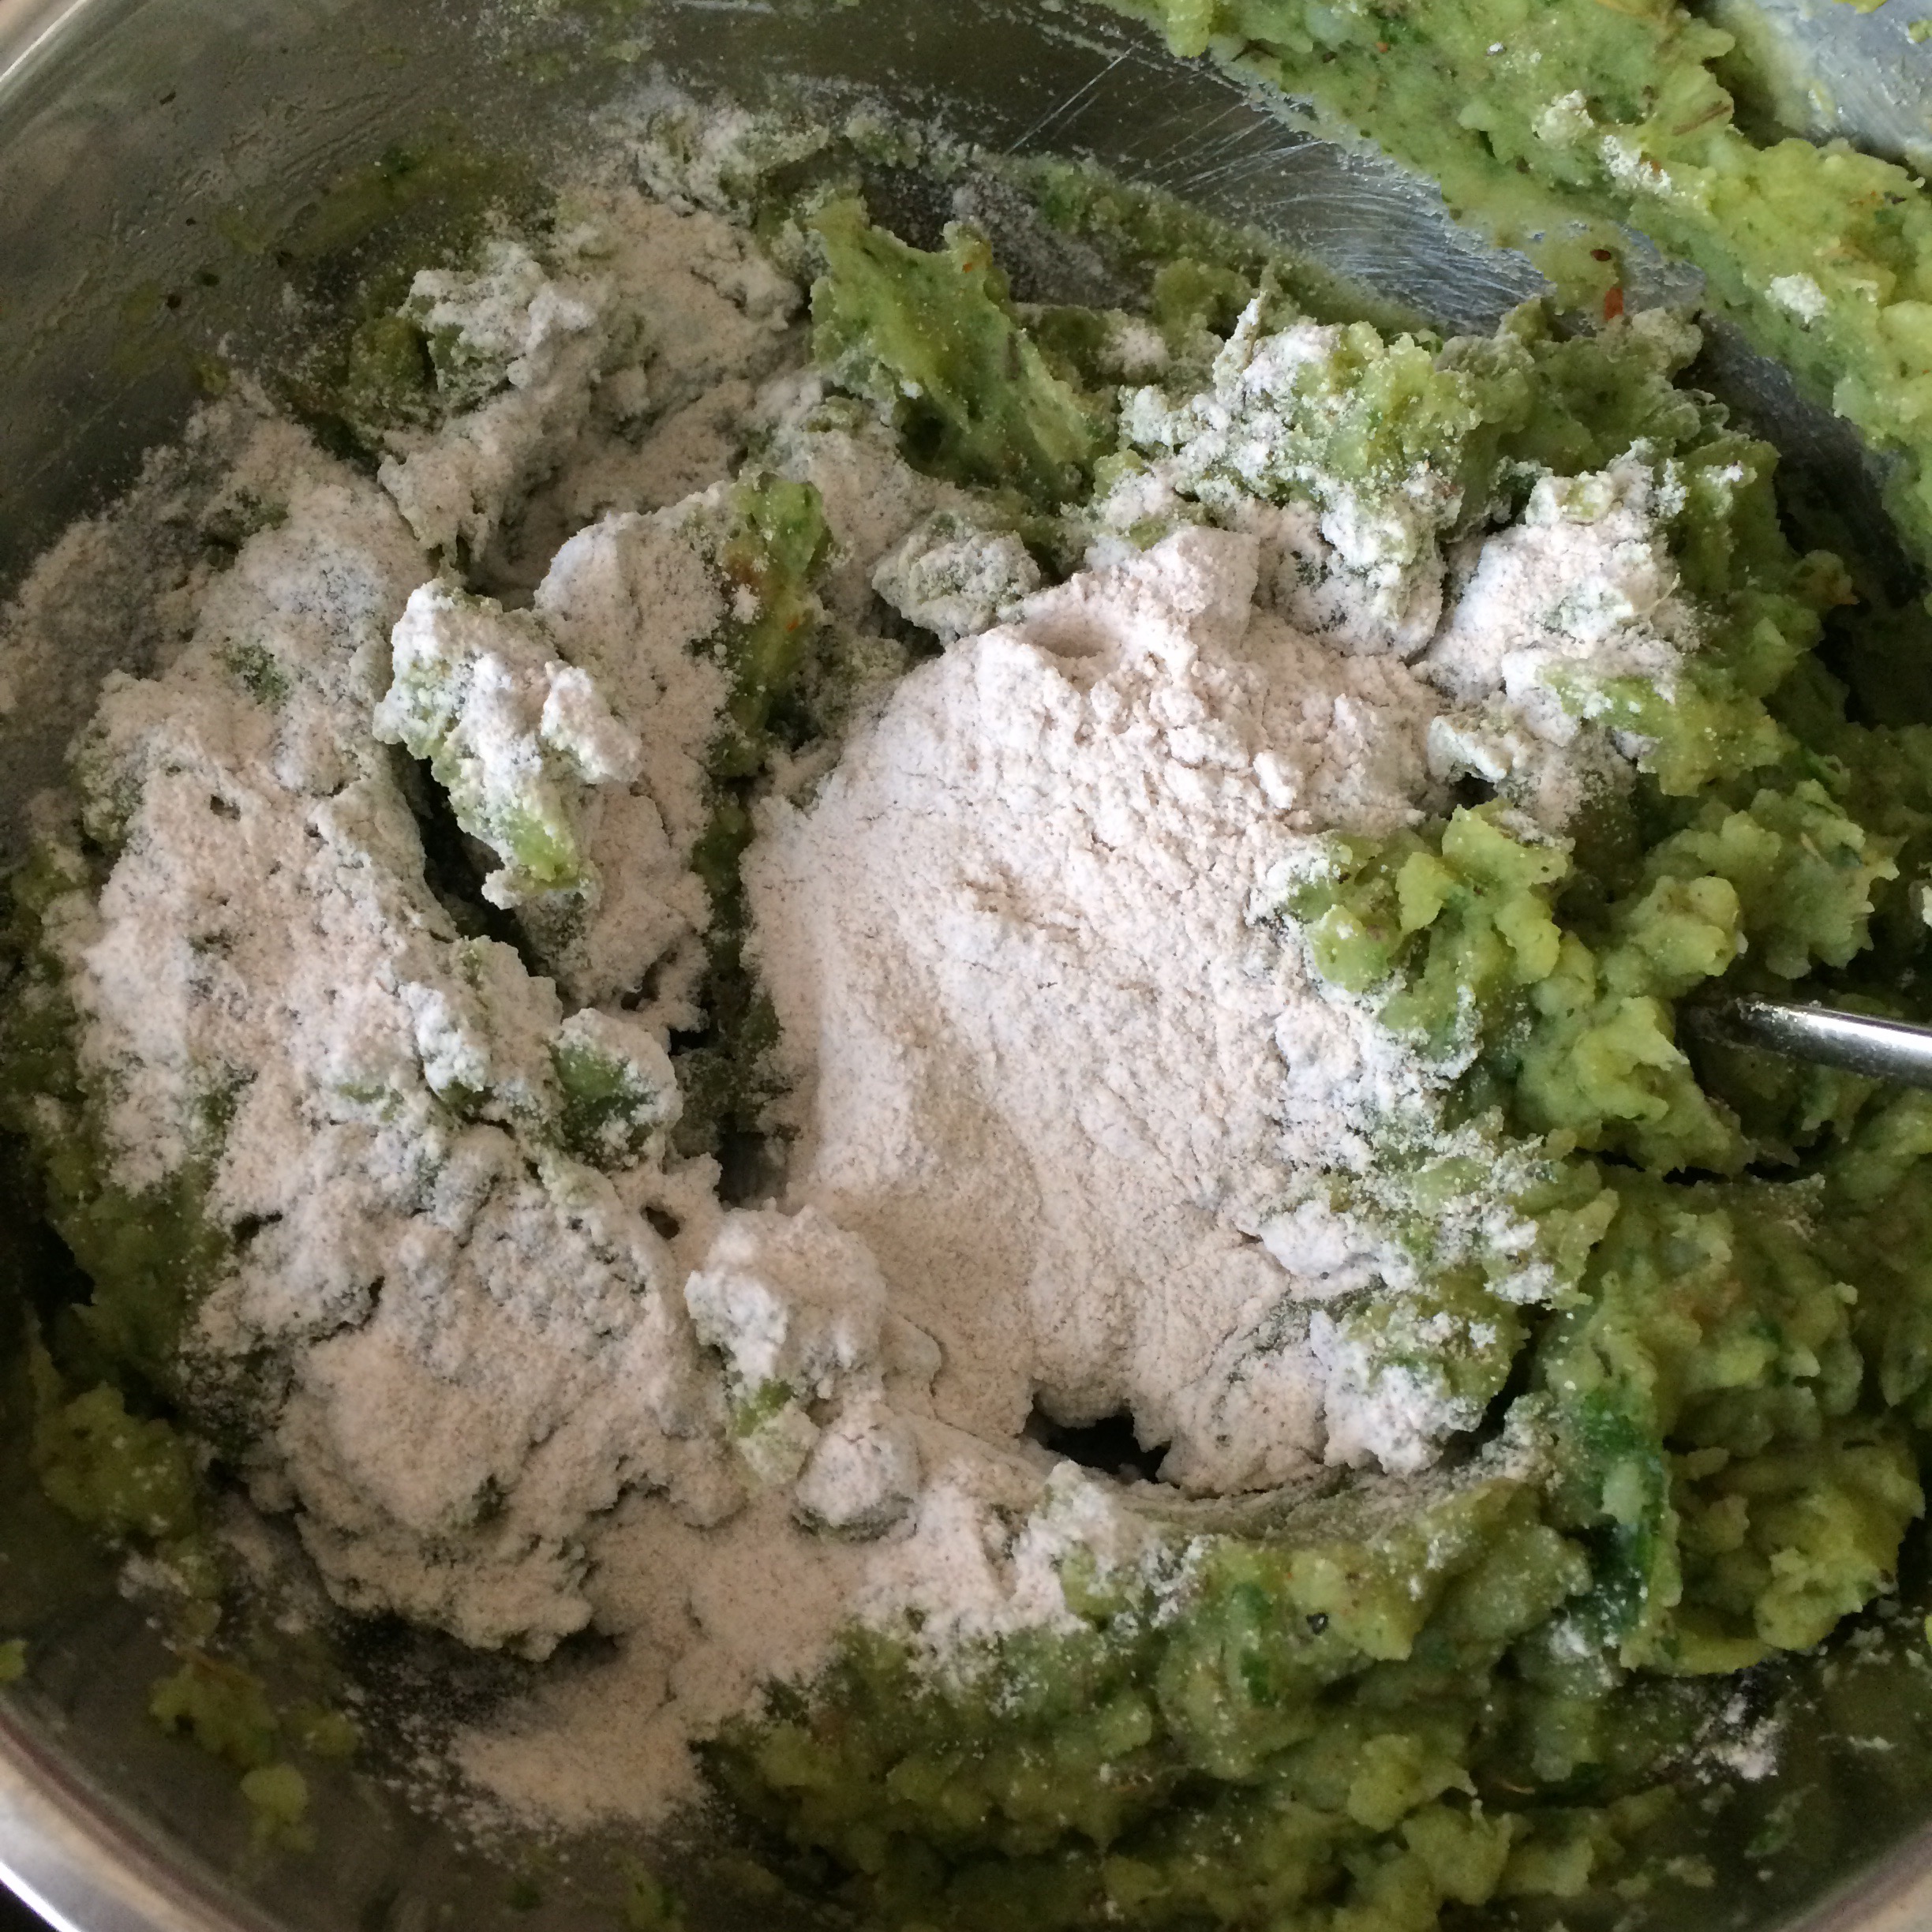
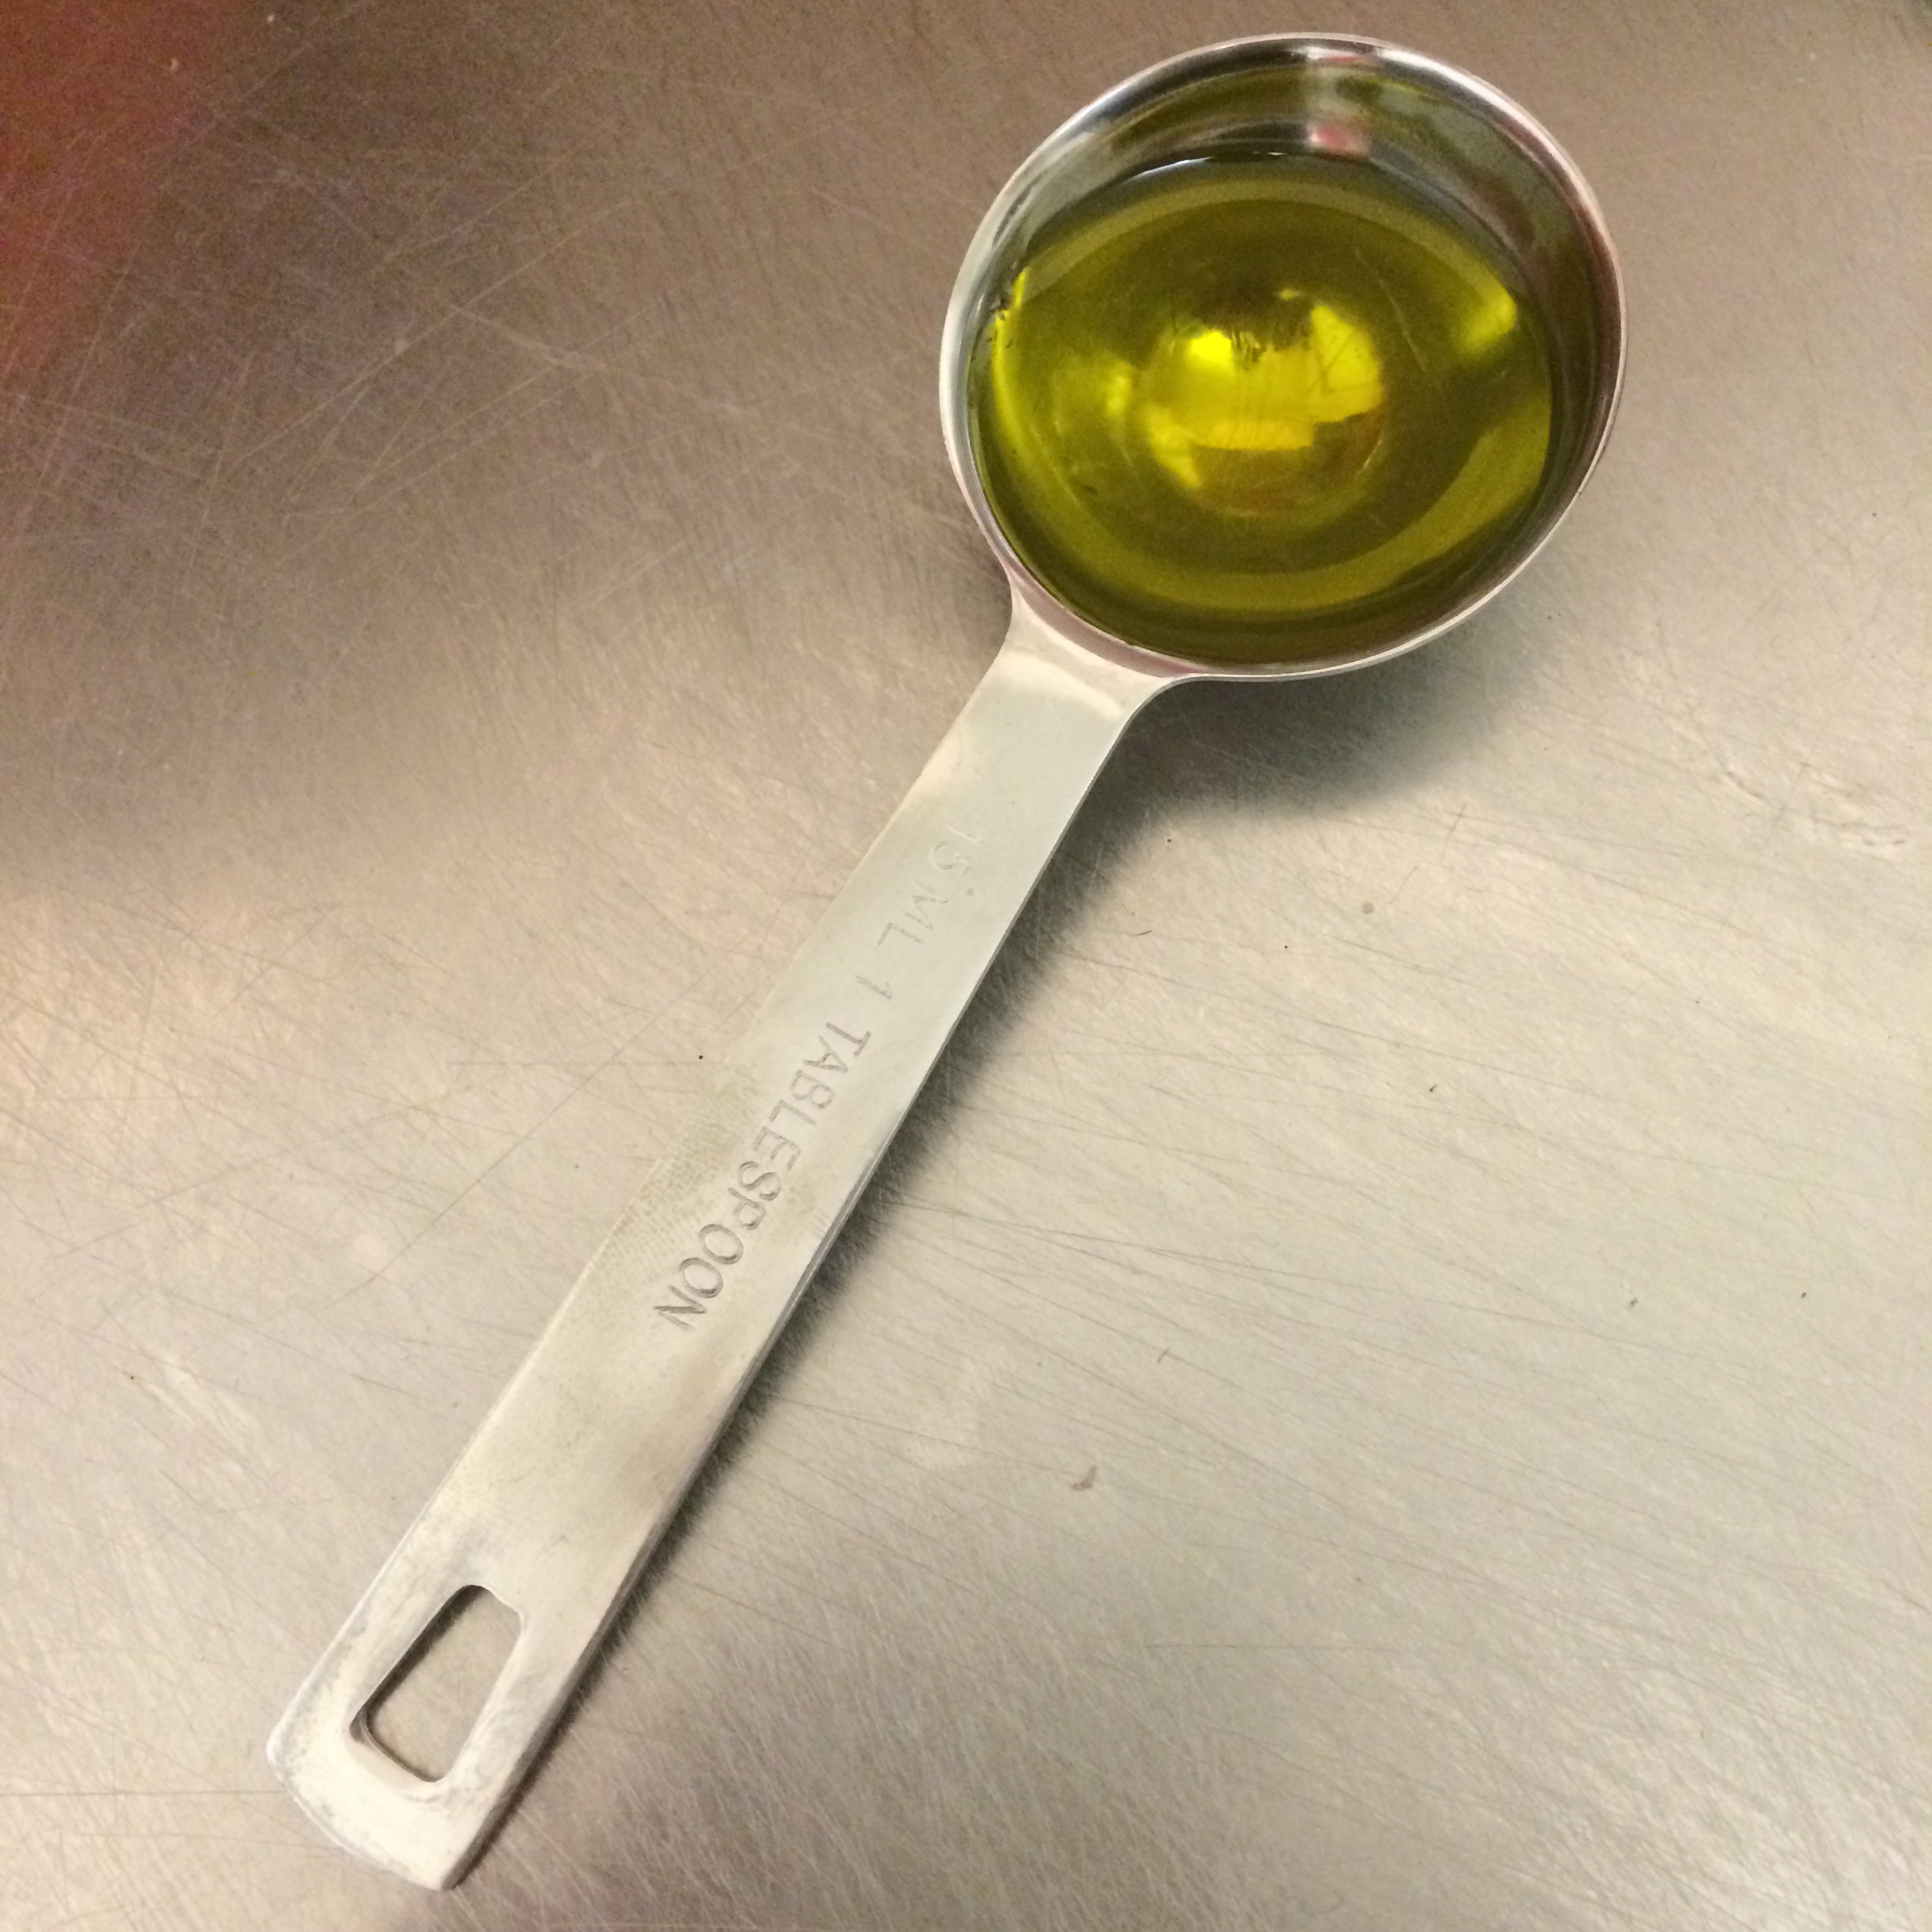
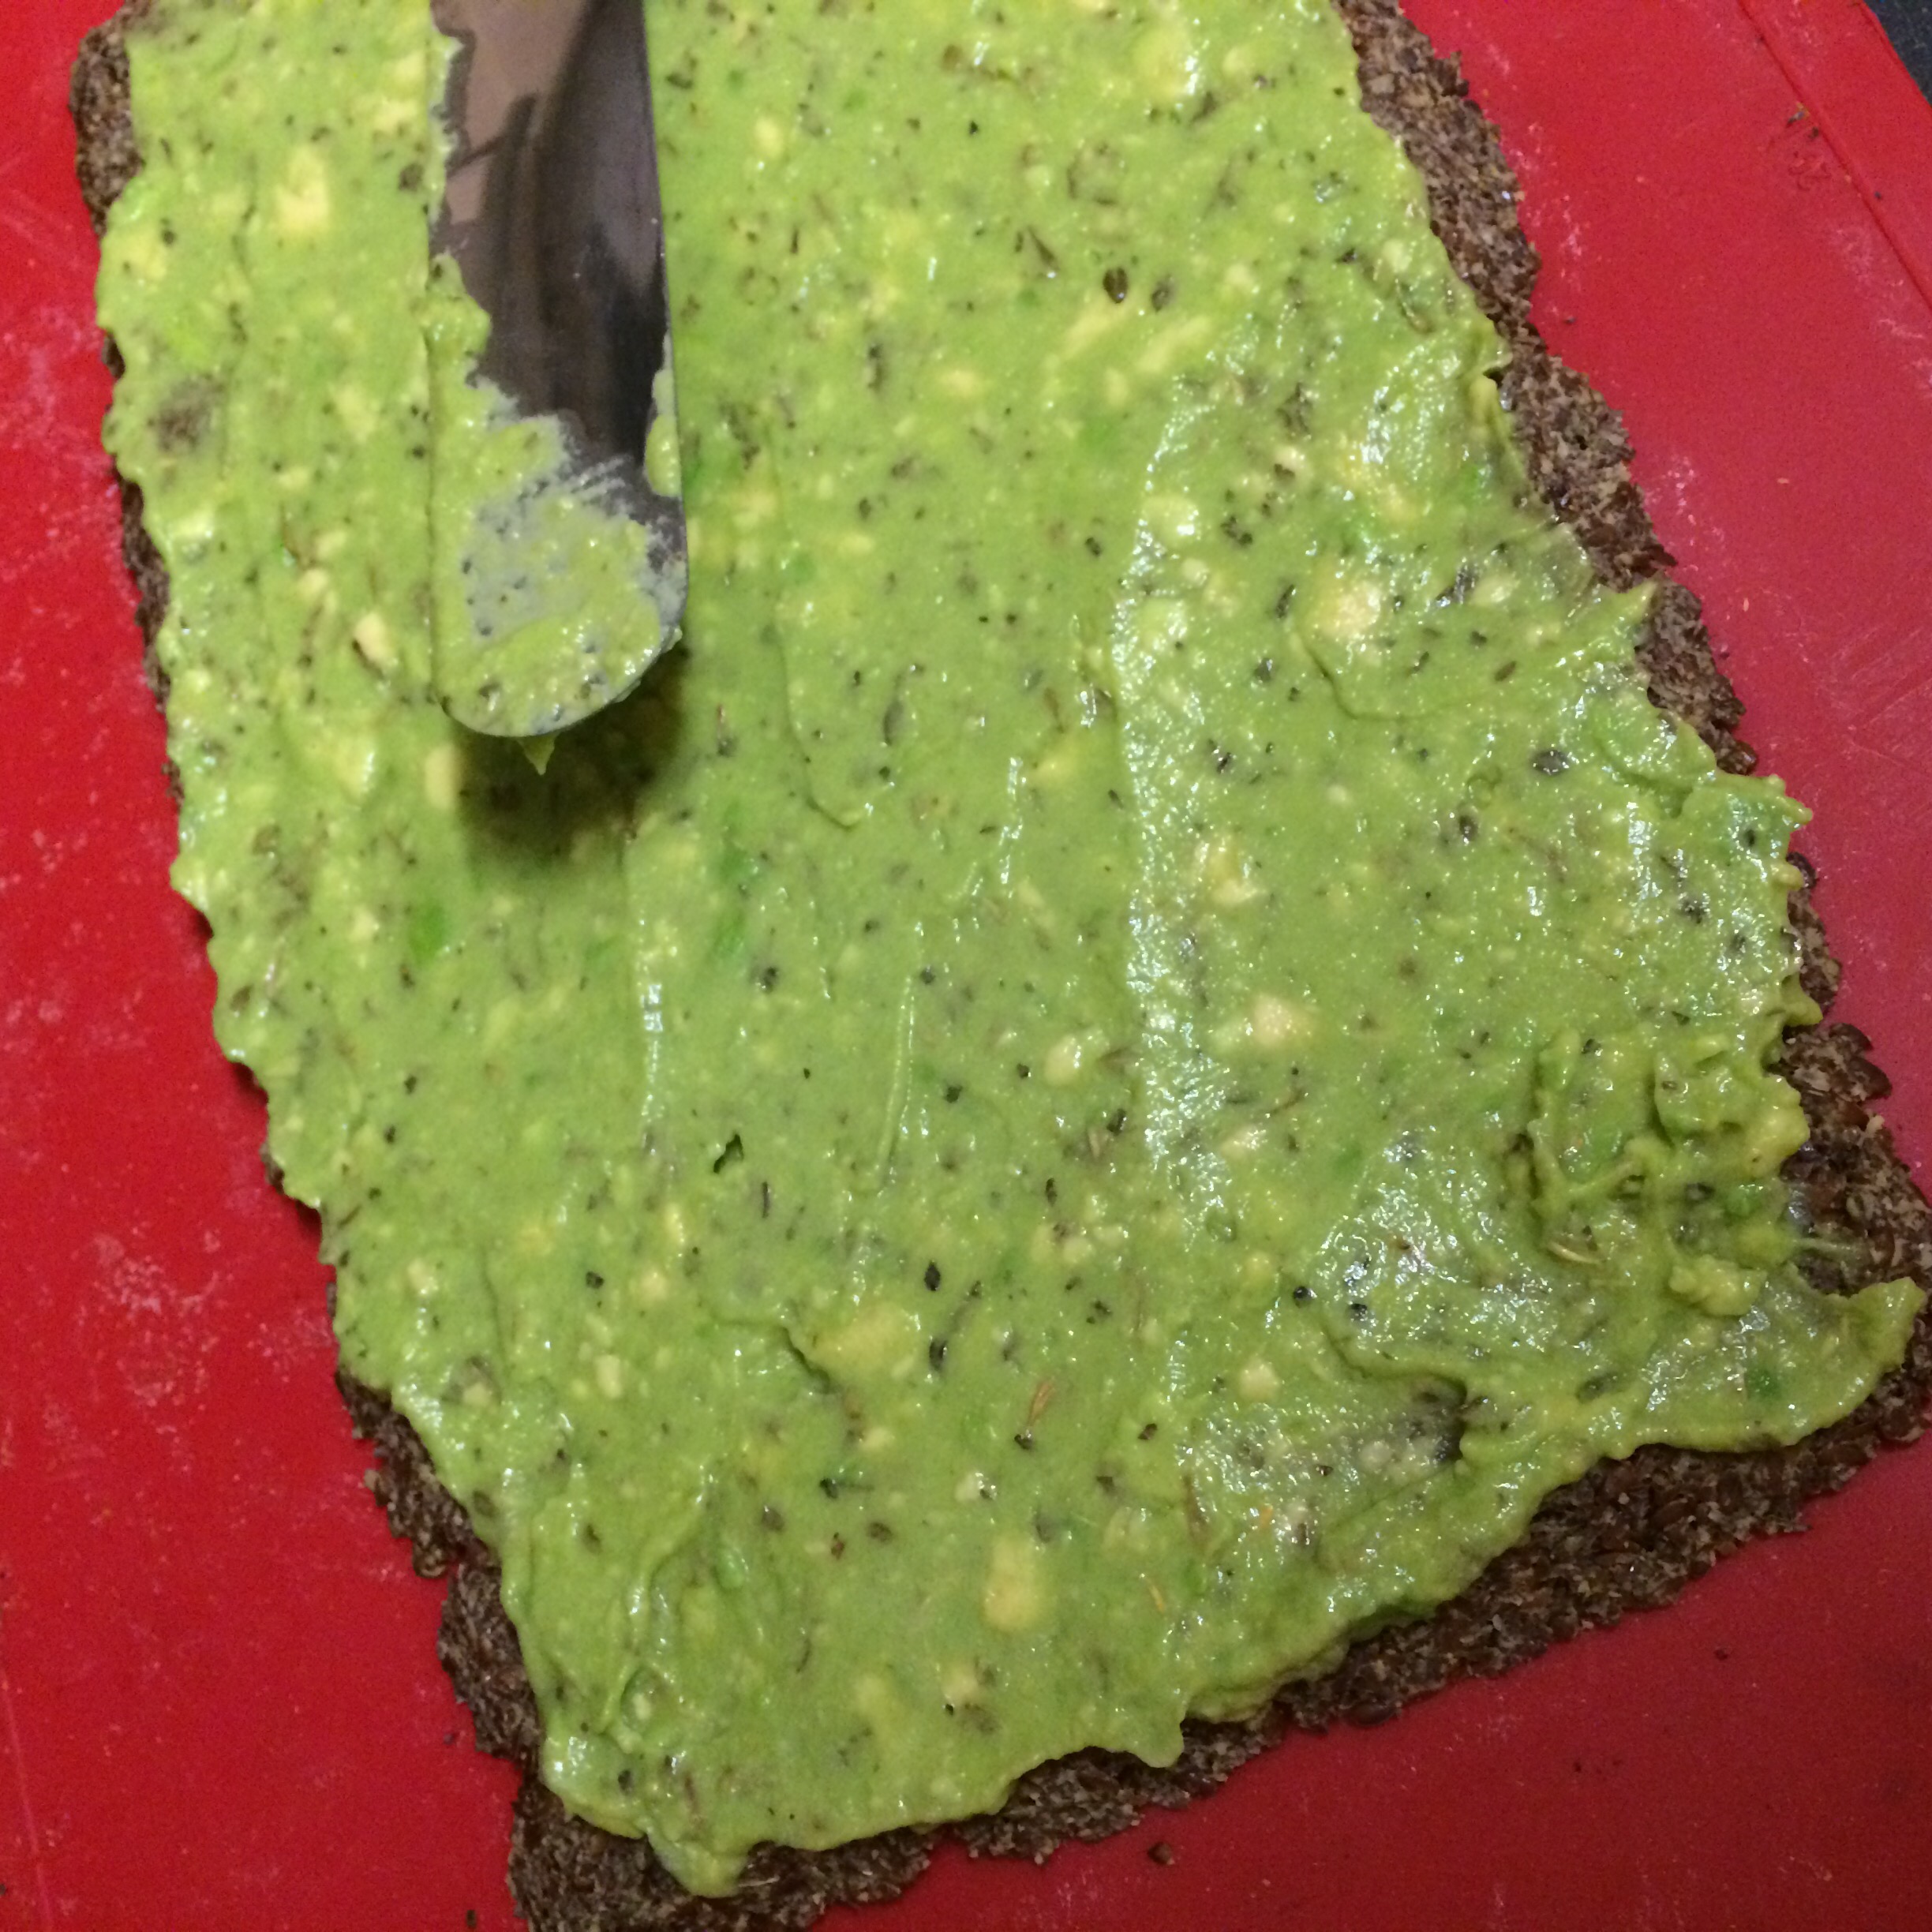
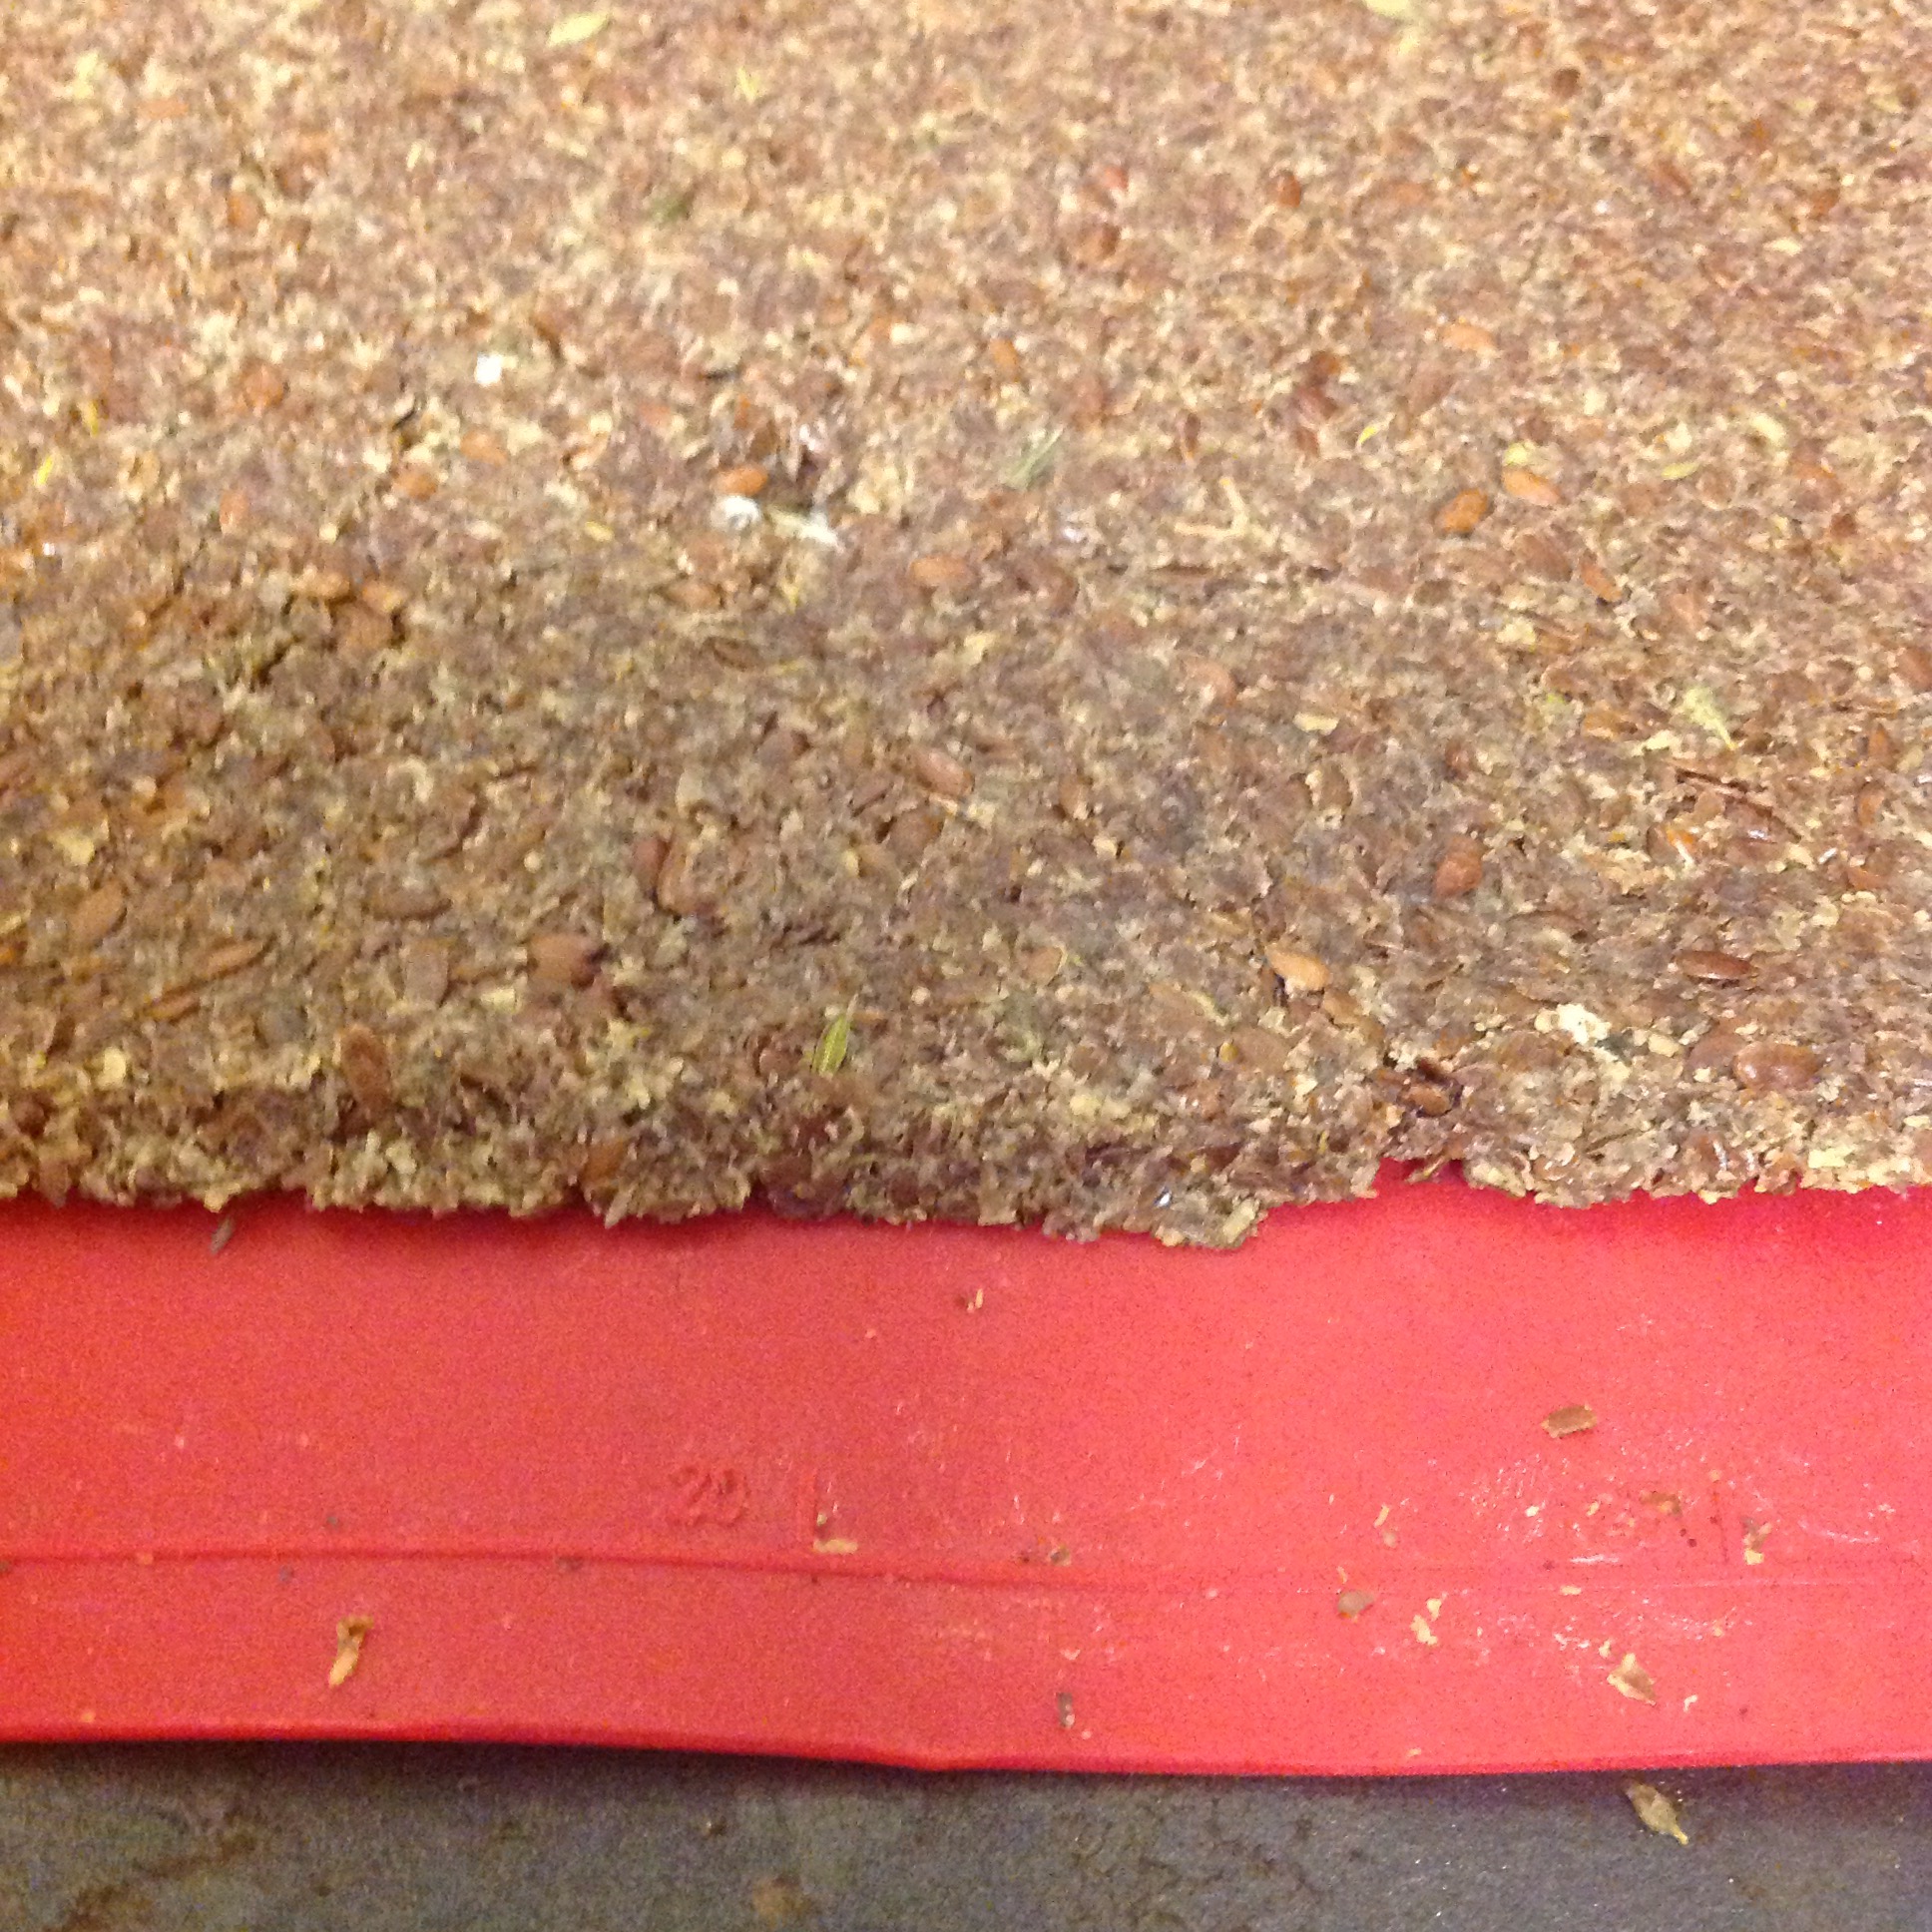
 Drizzle the tops with olive oil which will give them that extra crunch…