Thin Crust Coconut Flour Pizza Base 

We adore experimenting with new plant based pizza bases! No two pizza bases are ever the same. We can decide upon different thicknesses, different oils, different flours, different seasonings, between crust or no crust  – oh the decisions and choices are splendid! Any excuse to use our imagination!

This evening (mid-week) we were looking for a quite light and a not very crunchy base (since we are planning crunchy toppings!) 

Ingredients:
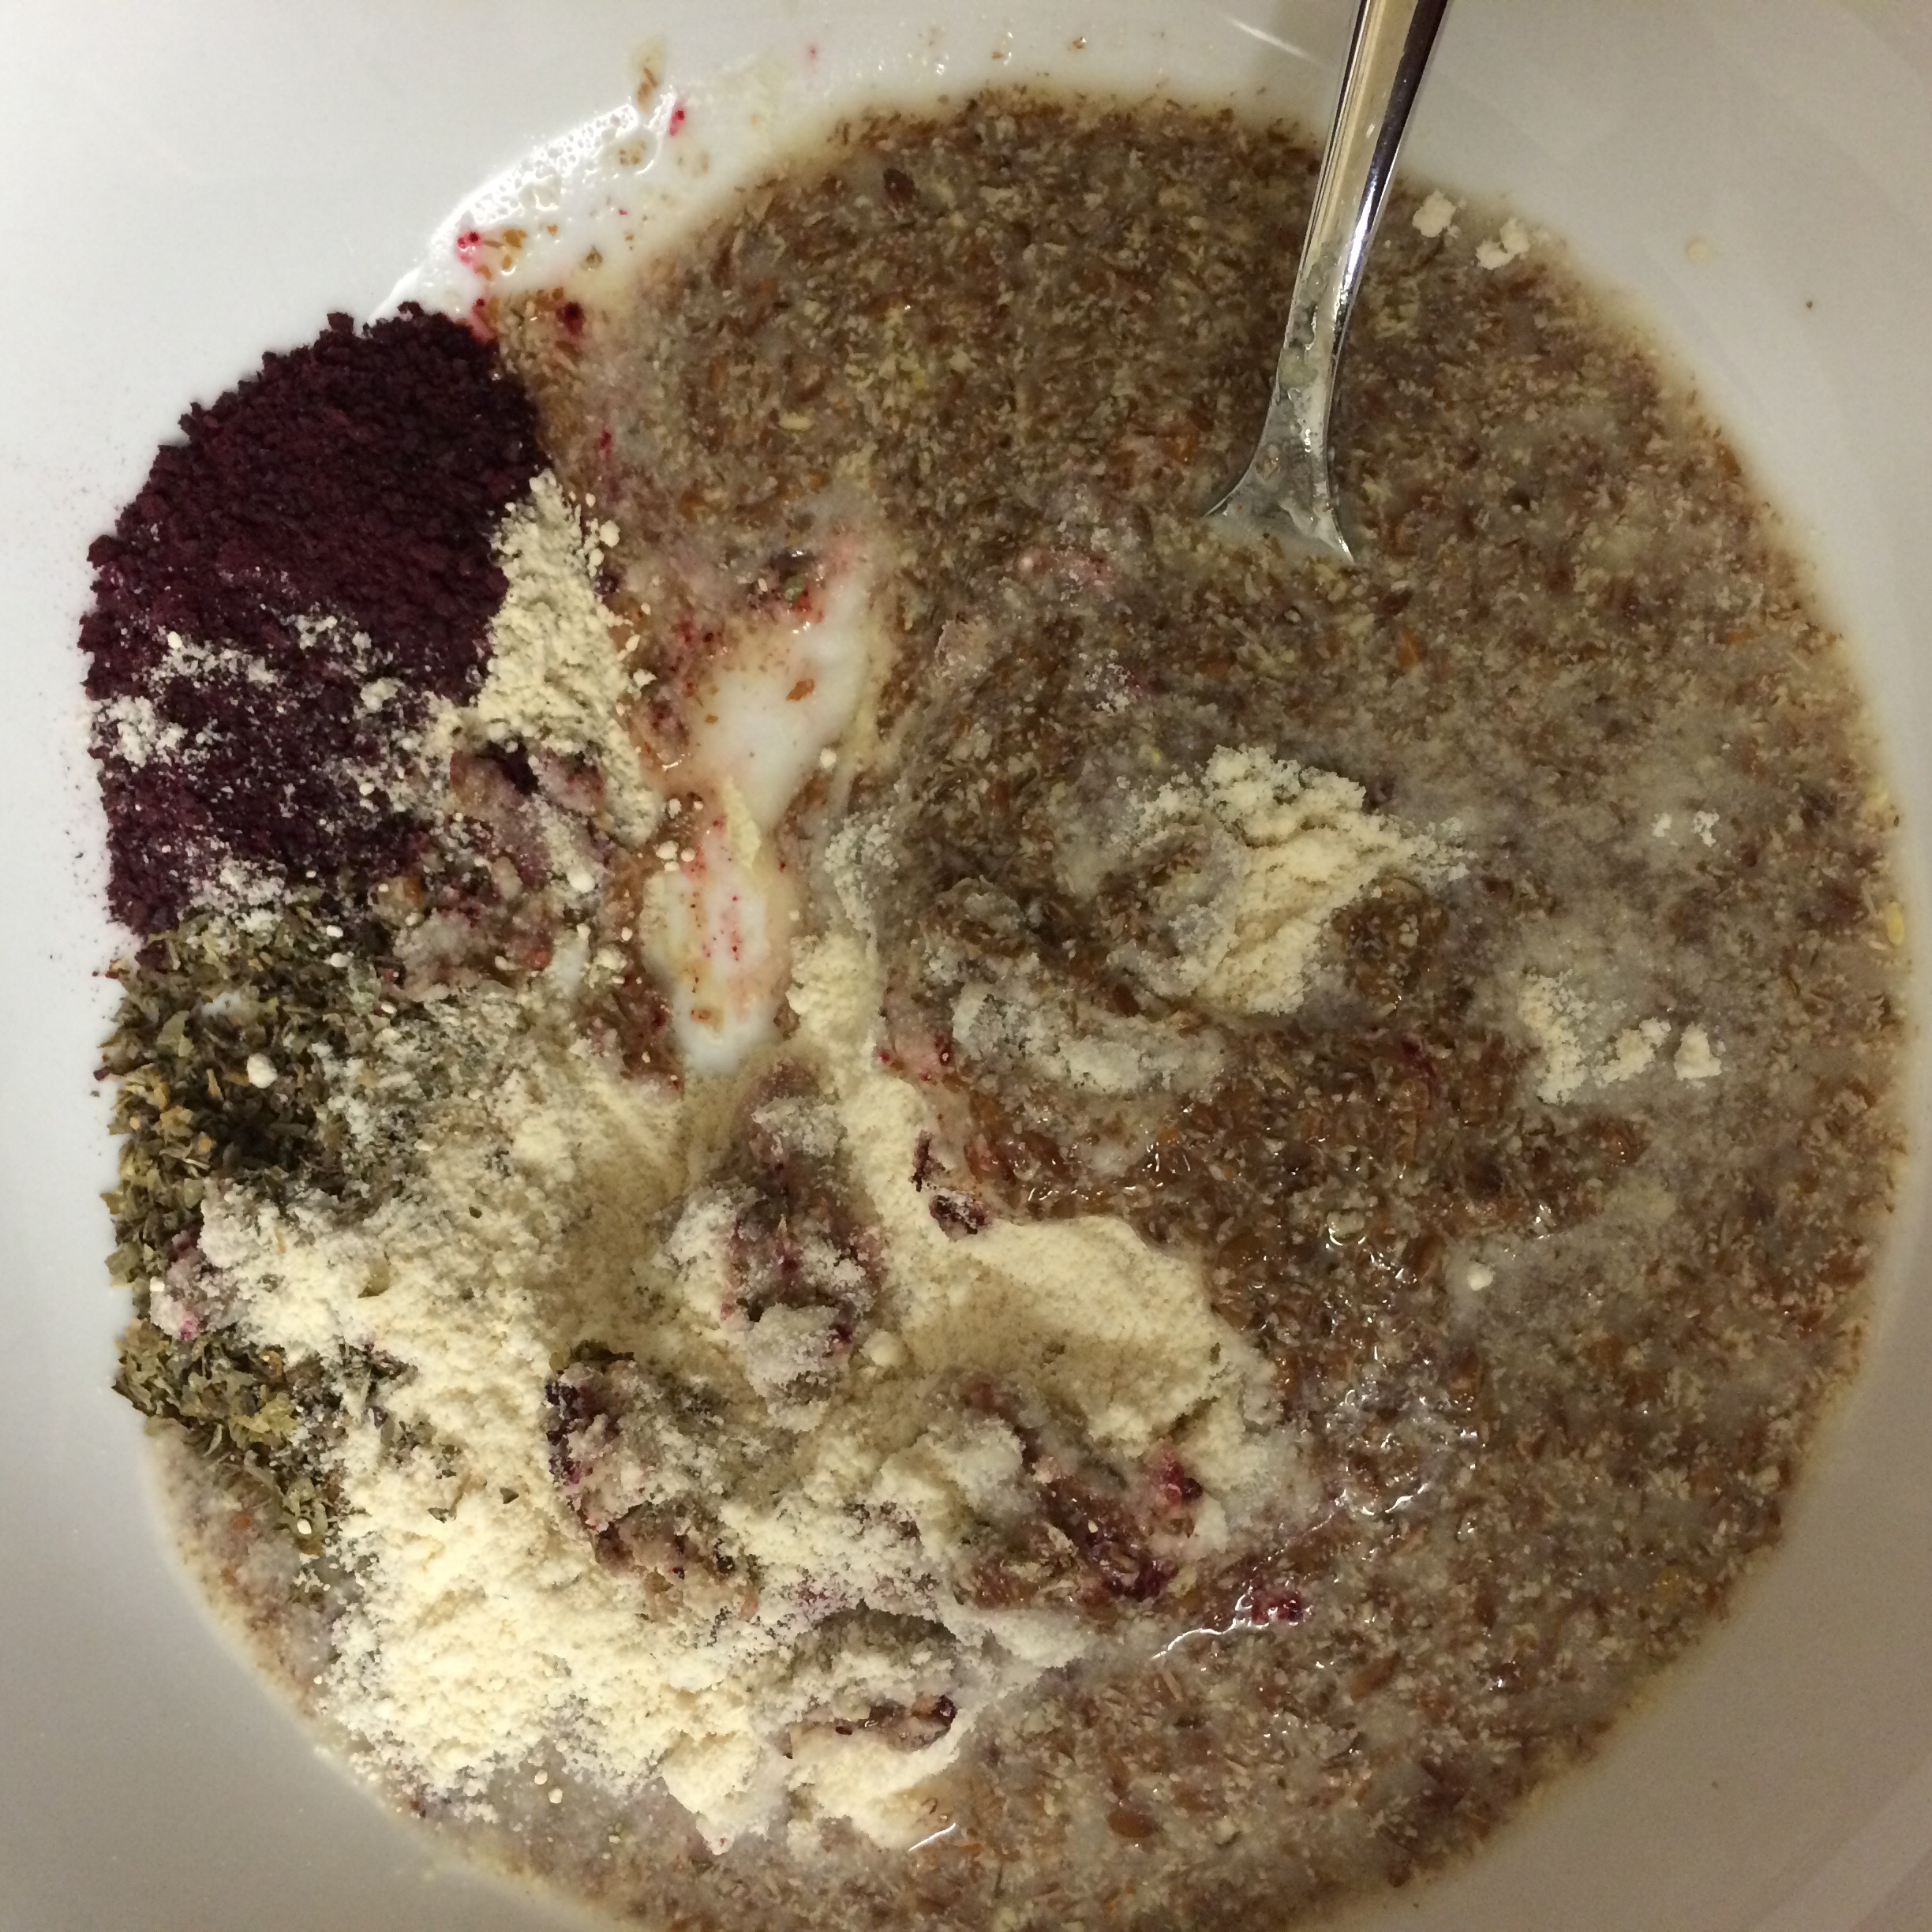
  • 1 1/2 cups of coconut flour
  • 1/2 cup of tapioca flour 
  • 1/2 cup of ground flax or linseed 
  • 3 tablespoons olive oil 
  • Pinch of salt
  • 2 tablespoons basil 
  • 1 cup of warm water

Add the coconut flour and tapioca flour first and sift through together, we find this really helps to ensure the flours are mixed thoroughly when kneading. Tapioca flour acts rather like a glue that holds everything together – the coconut flour is extremely powdery and not a replacement for ordinary flour. If you don’t have tapioca flour we sometimes use buckwheat instead.

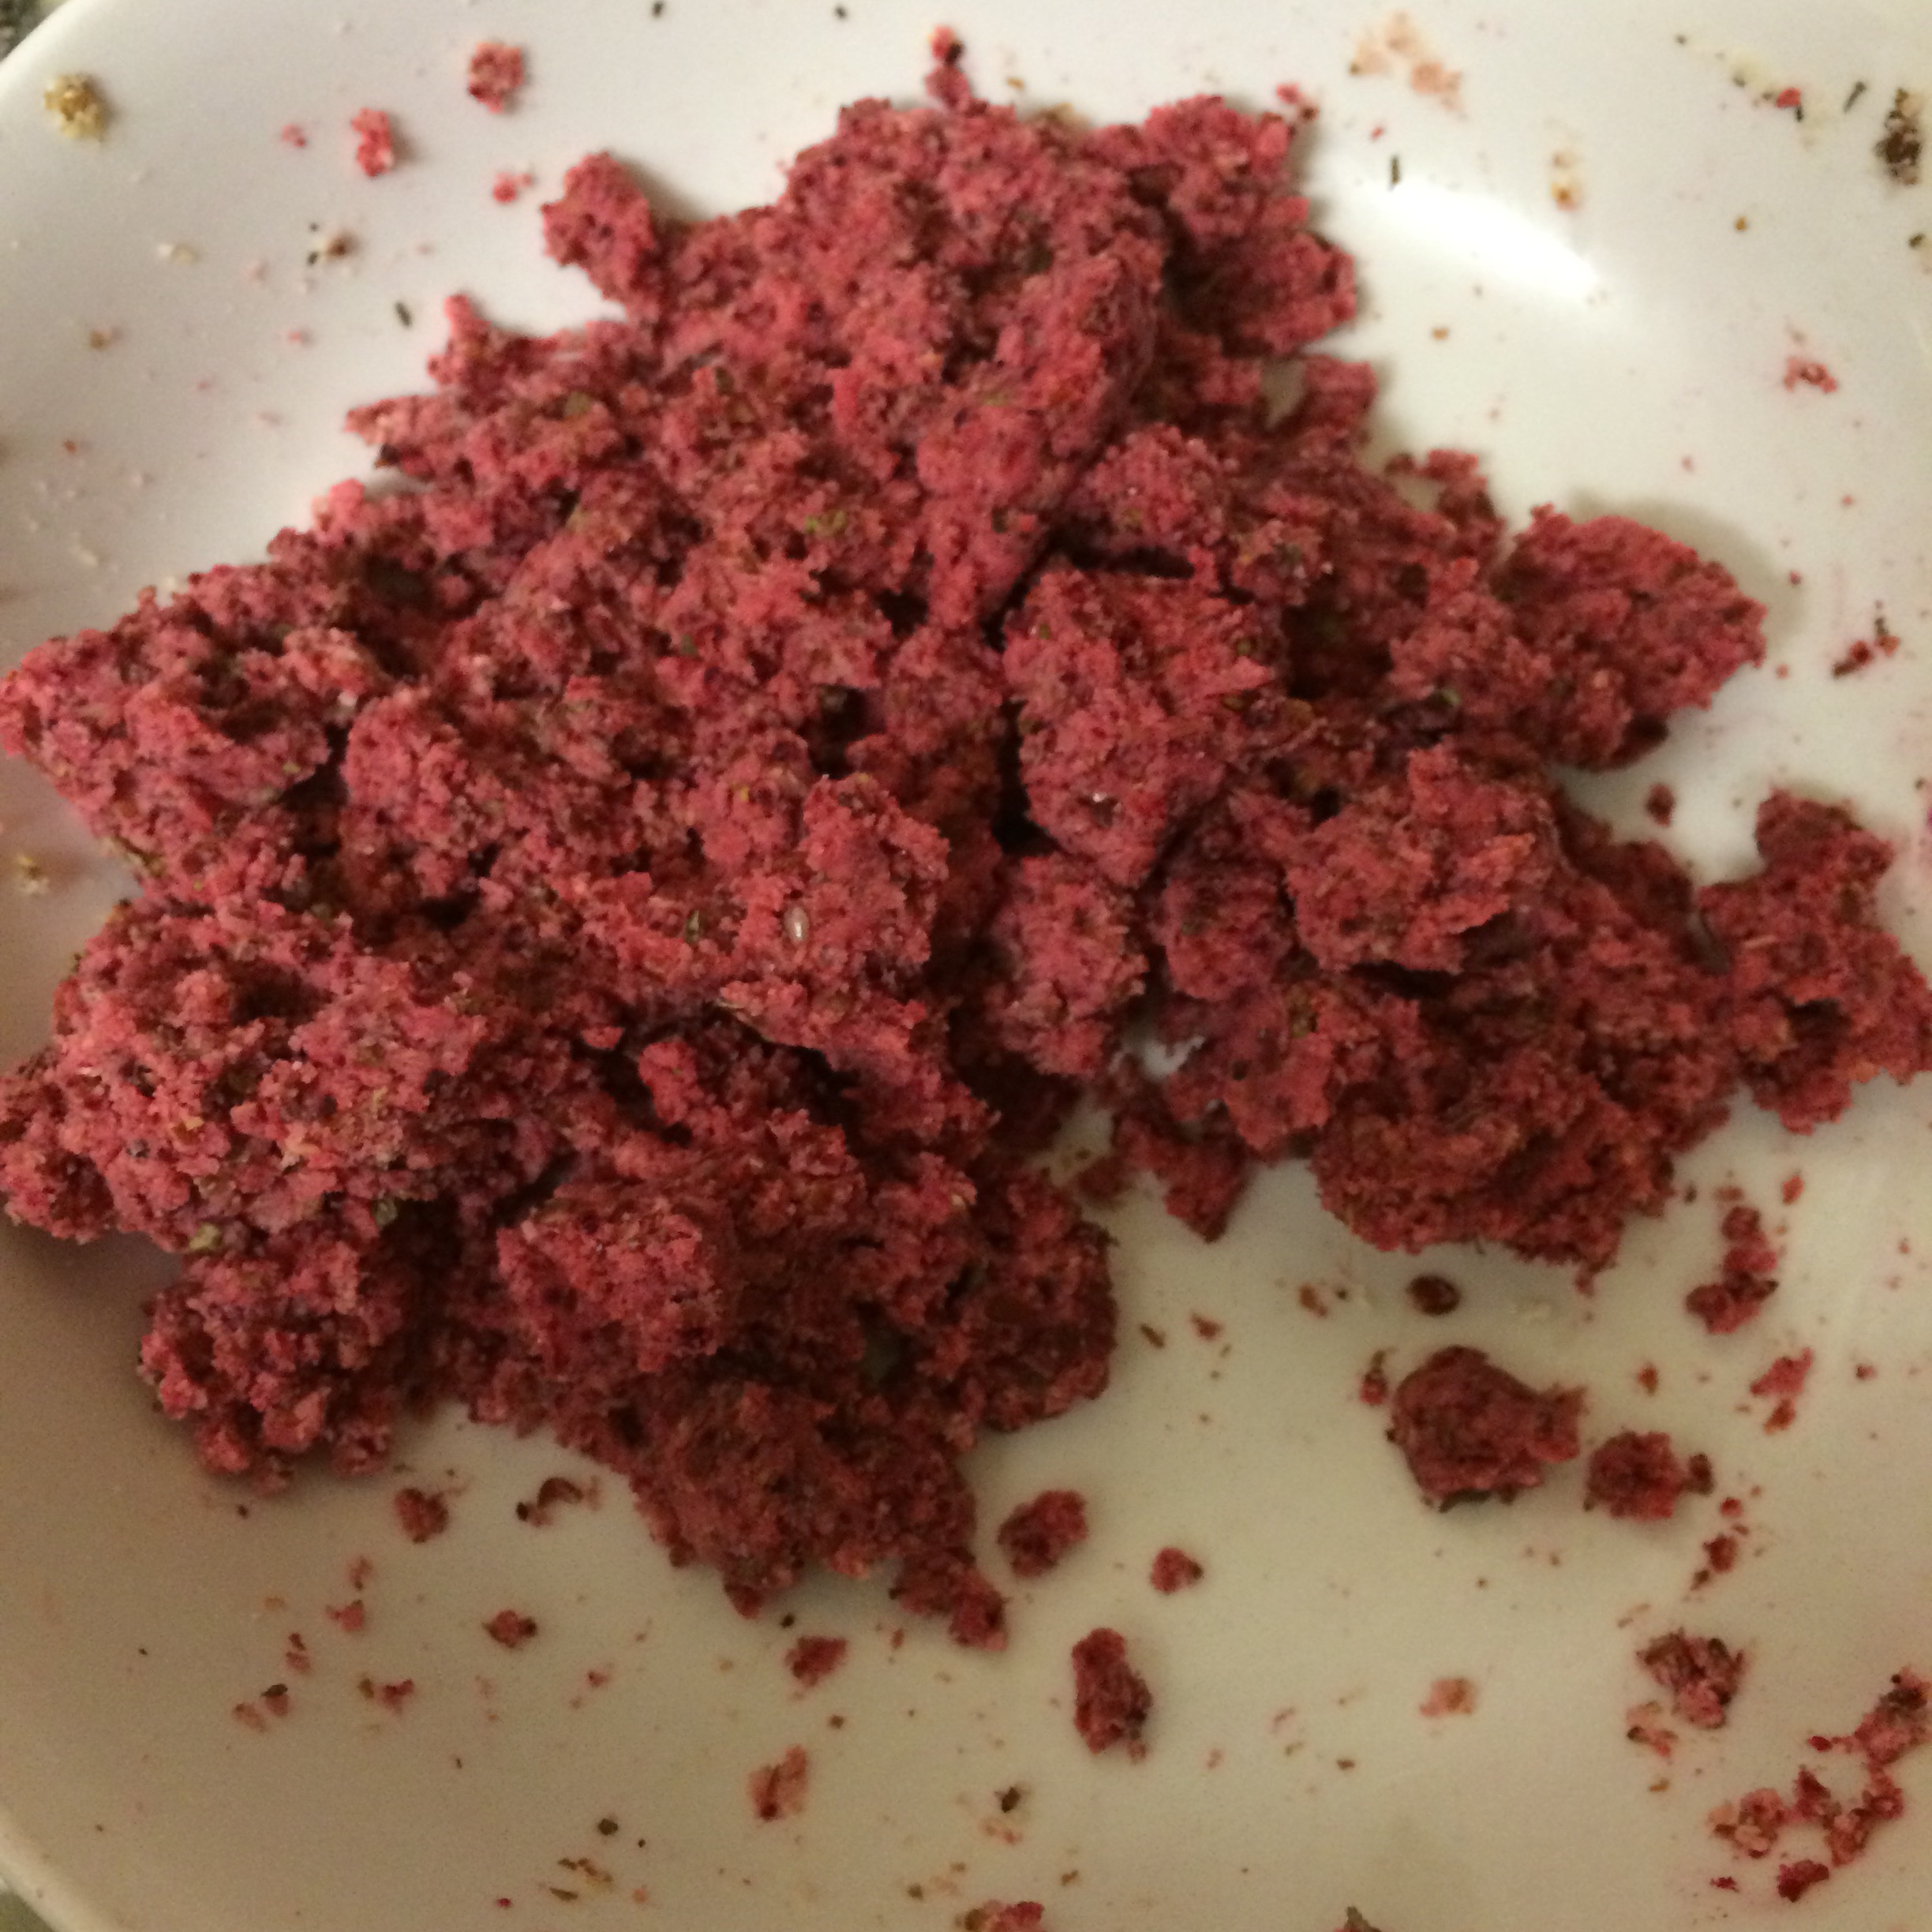
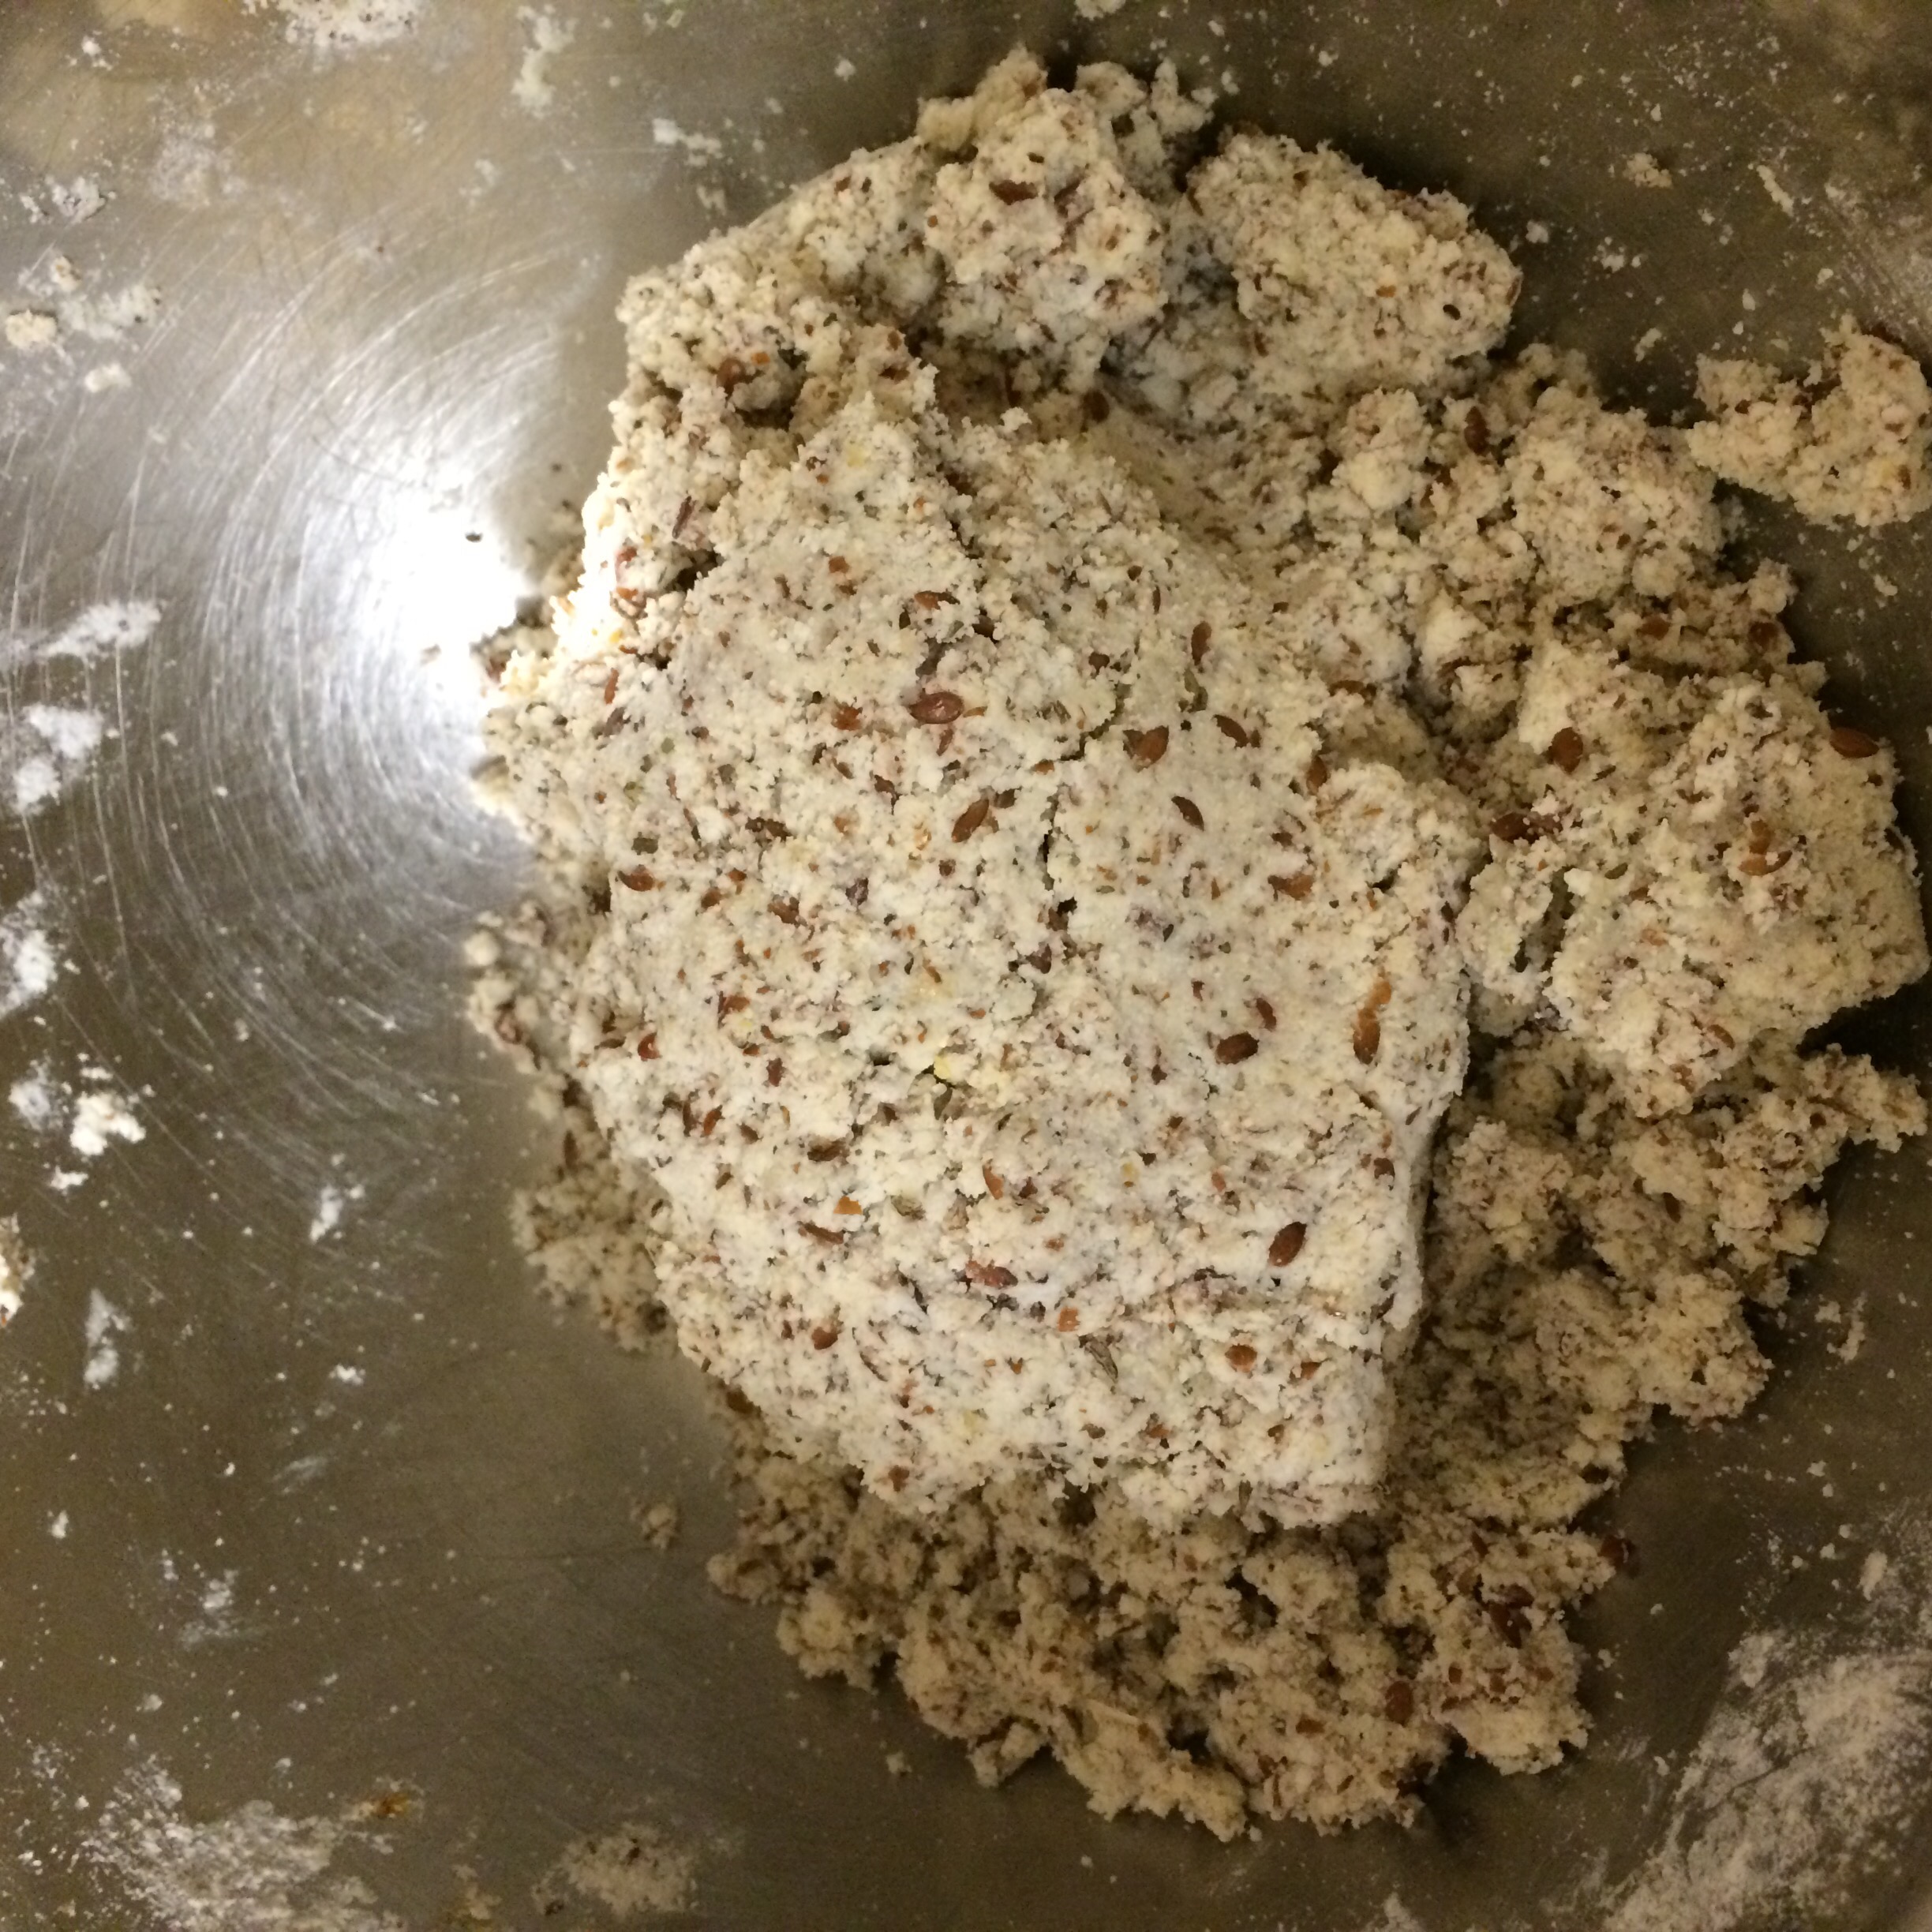
Add the rest of the ingredients to a mixing bowl and knead well until it forms a dough. 


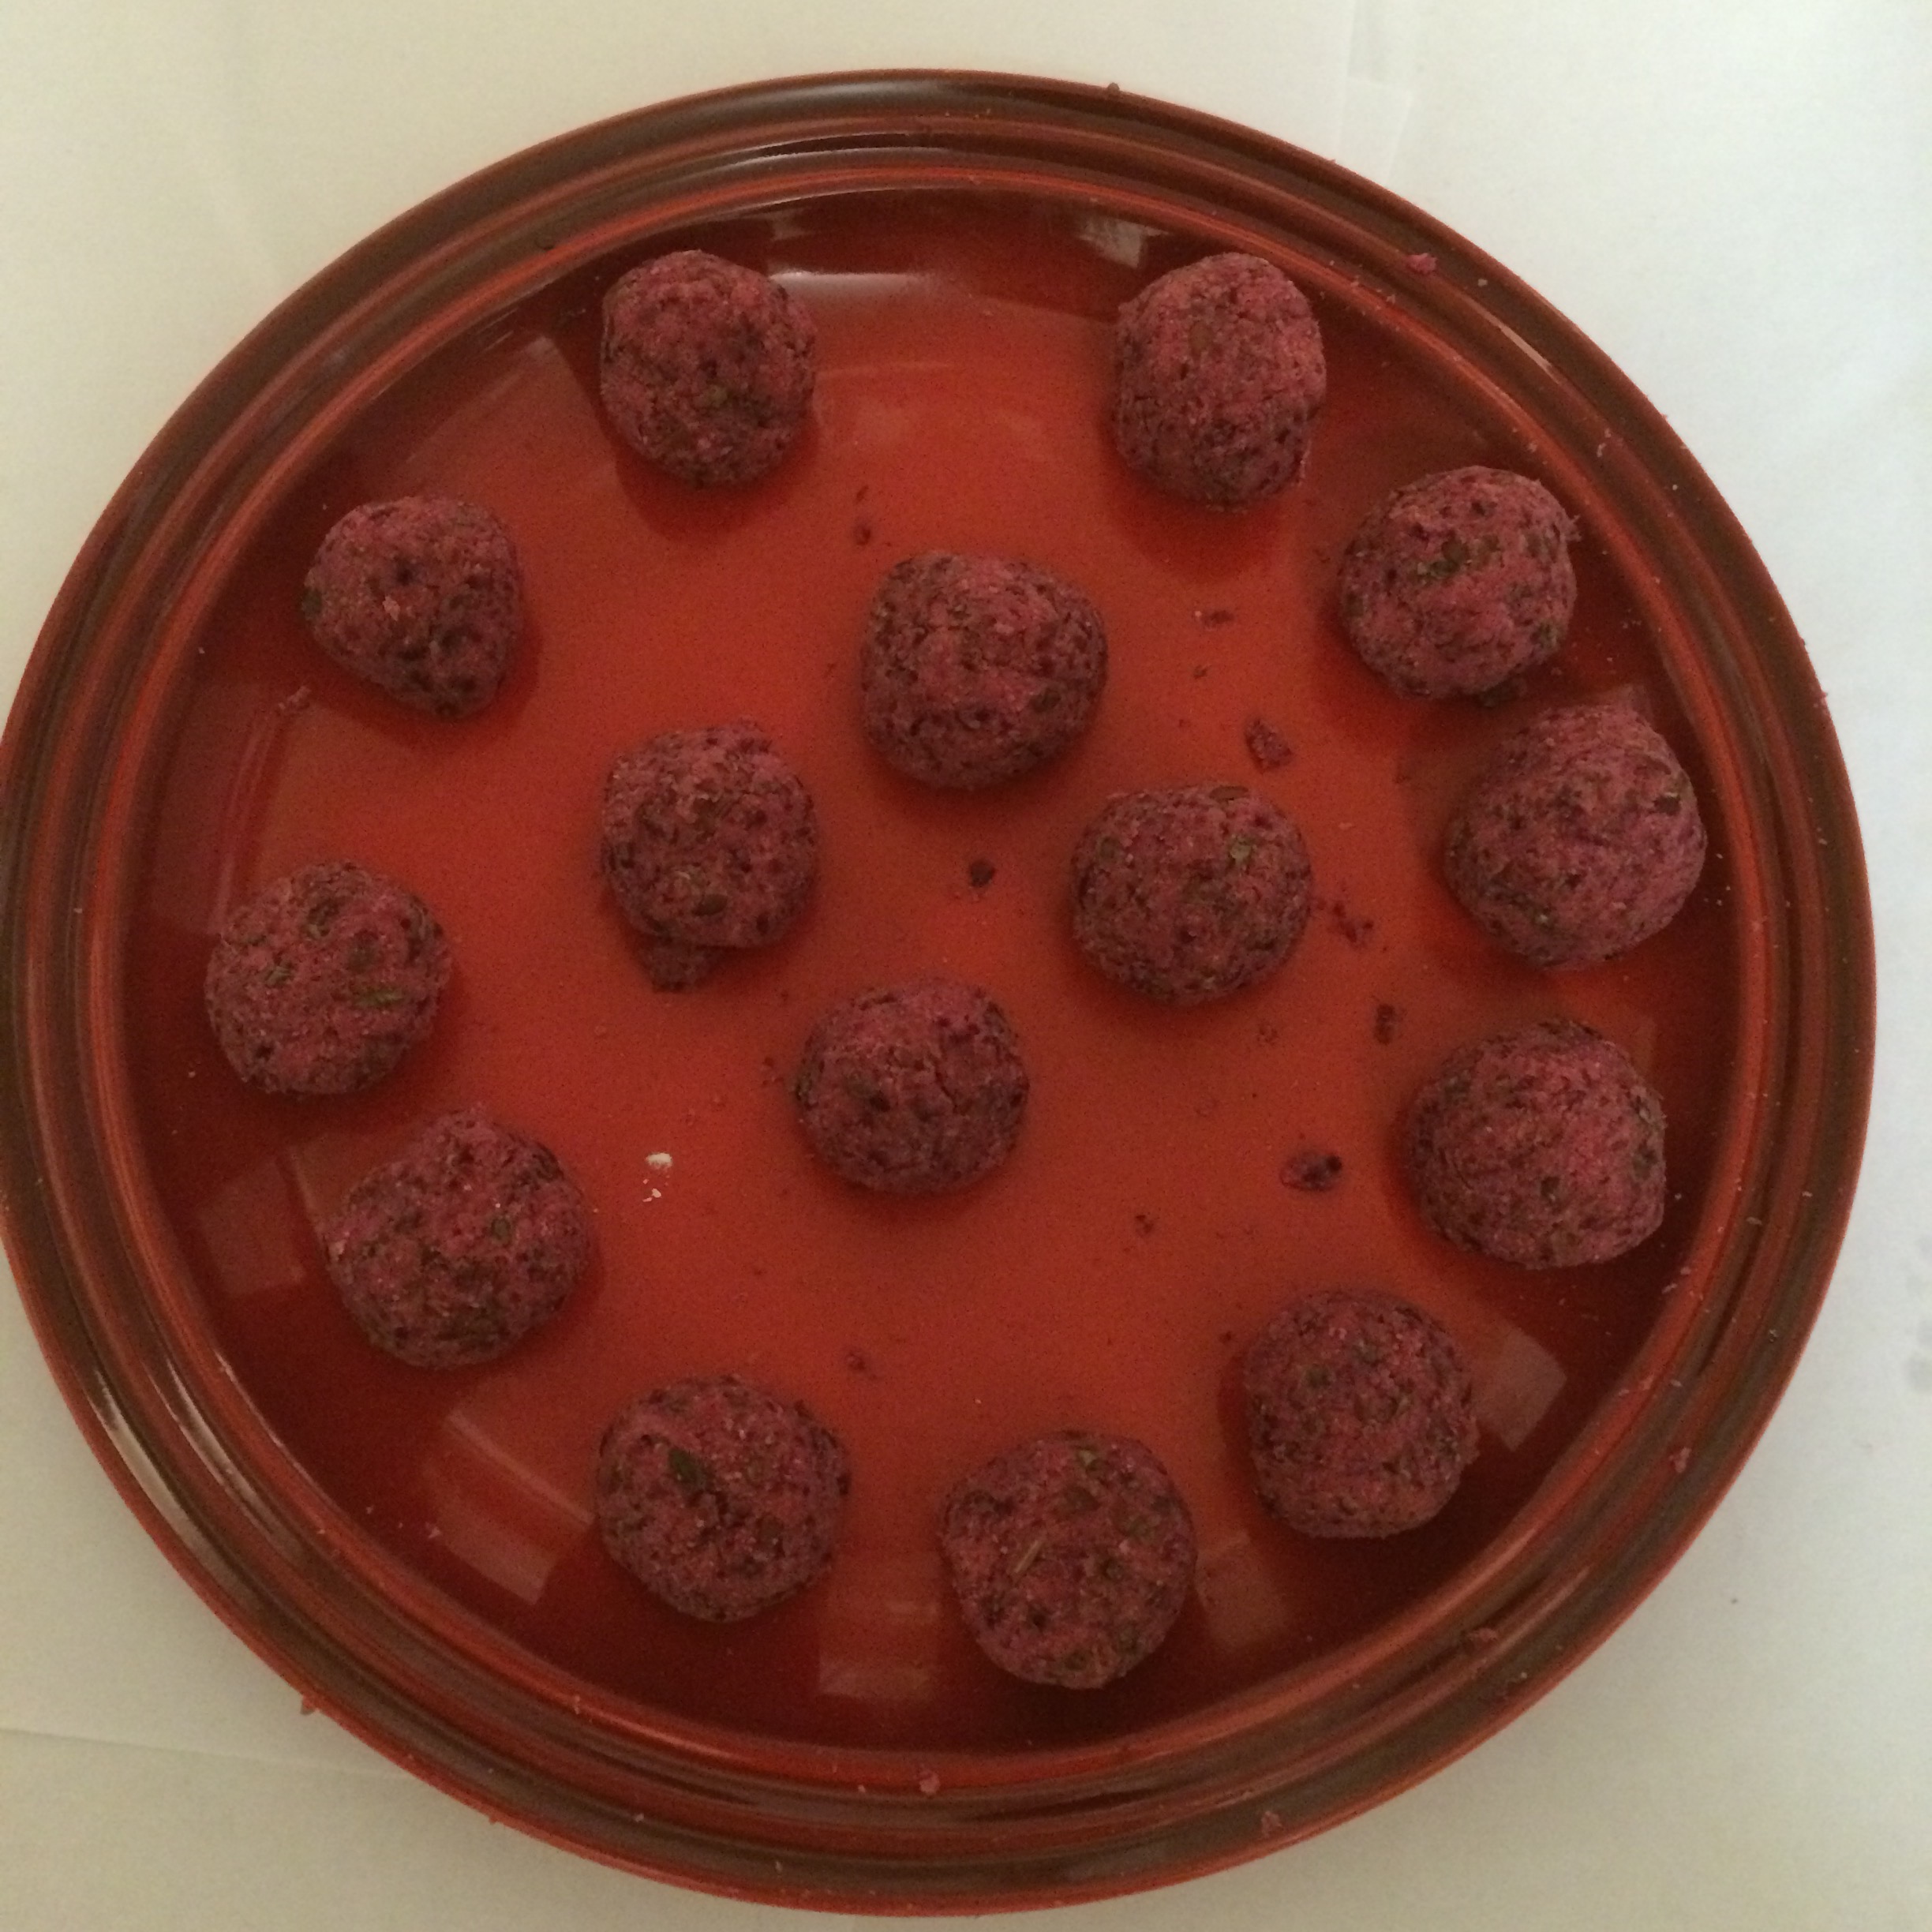
Then dust your pizza pan with a sprinkle of coconut flour to make sure the bottom doesn’t stick. 


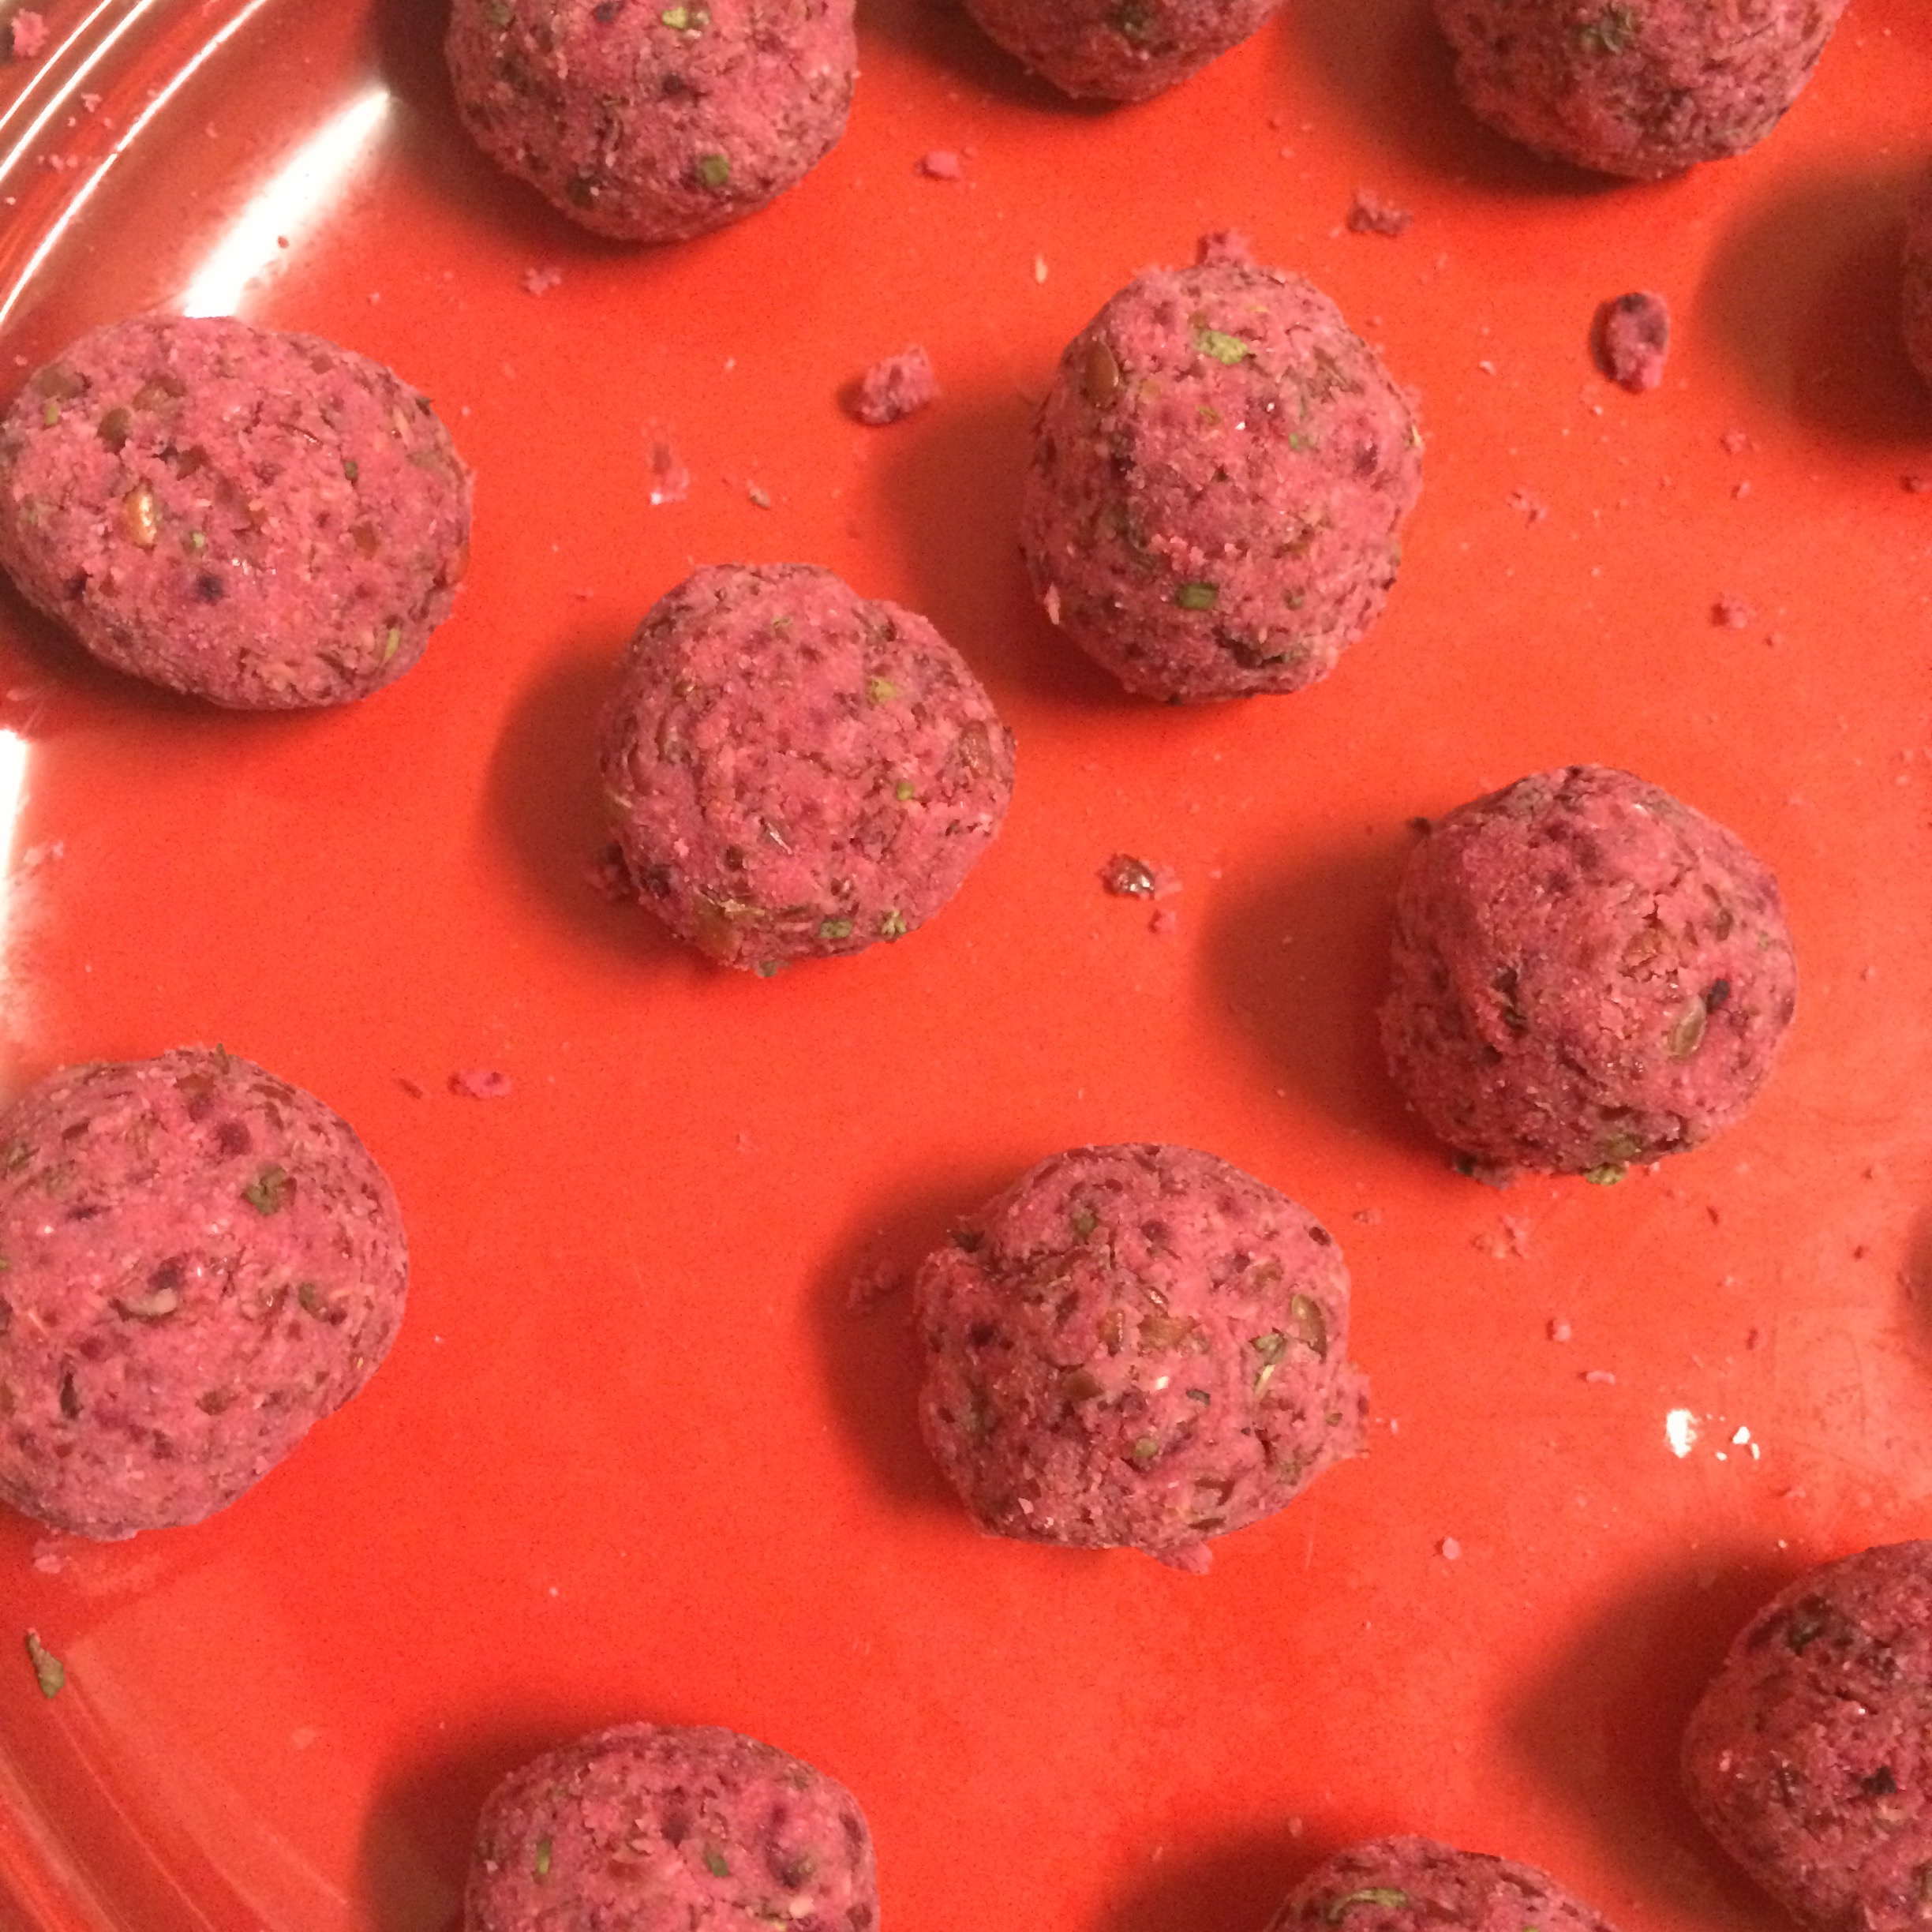
 Now don’t worry if the dough is crumbly it won’t be when it bakes! However we find rather than rolling out into a flat dough we can just pour the mixture on top of our pizza pan and mould to the shape of the pan 

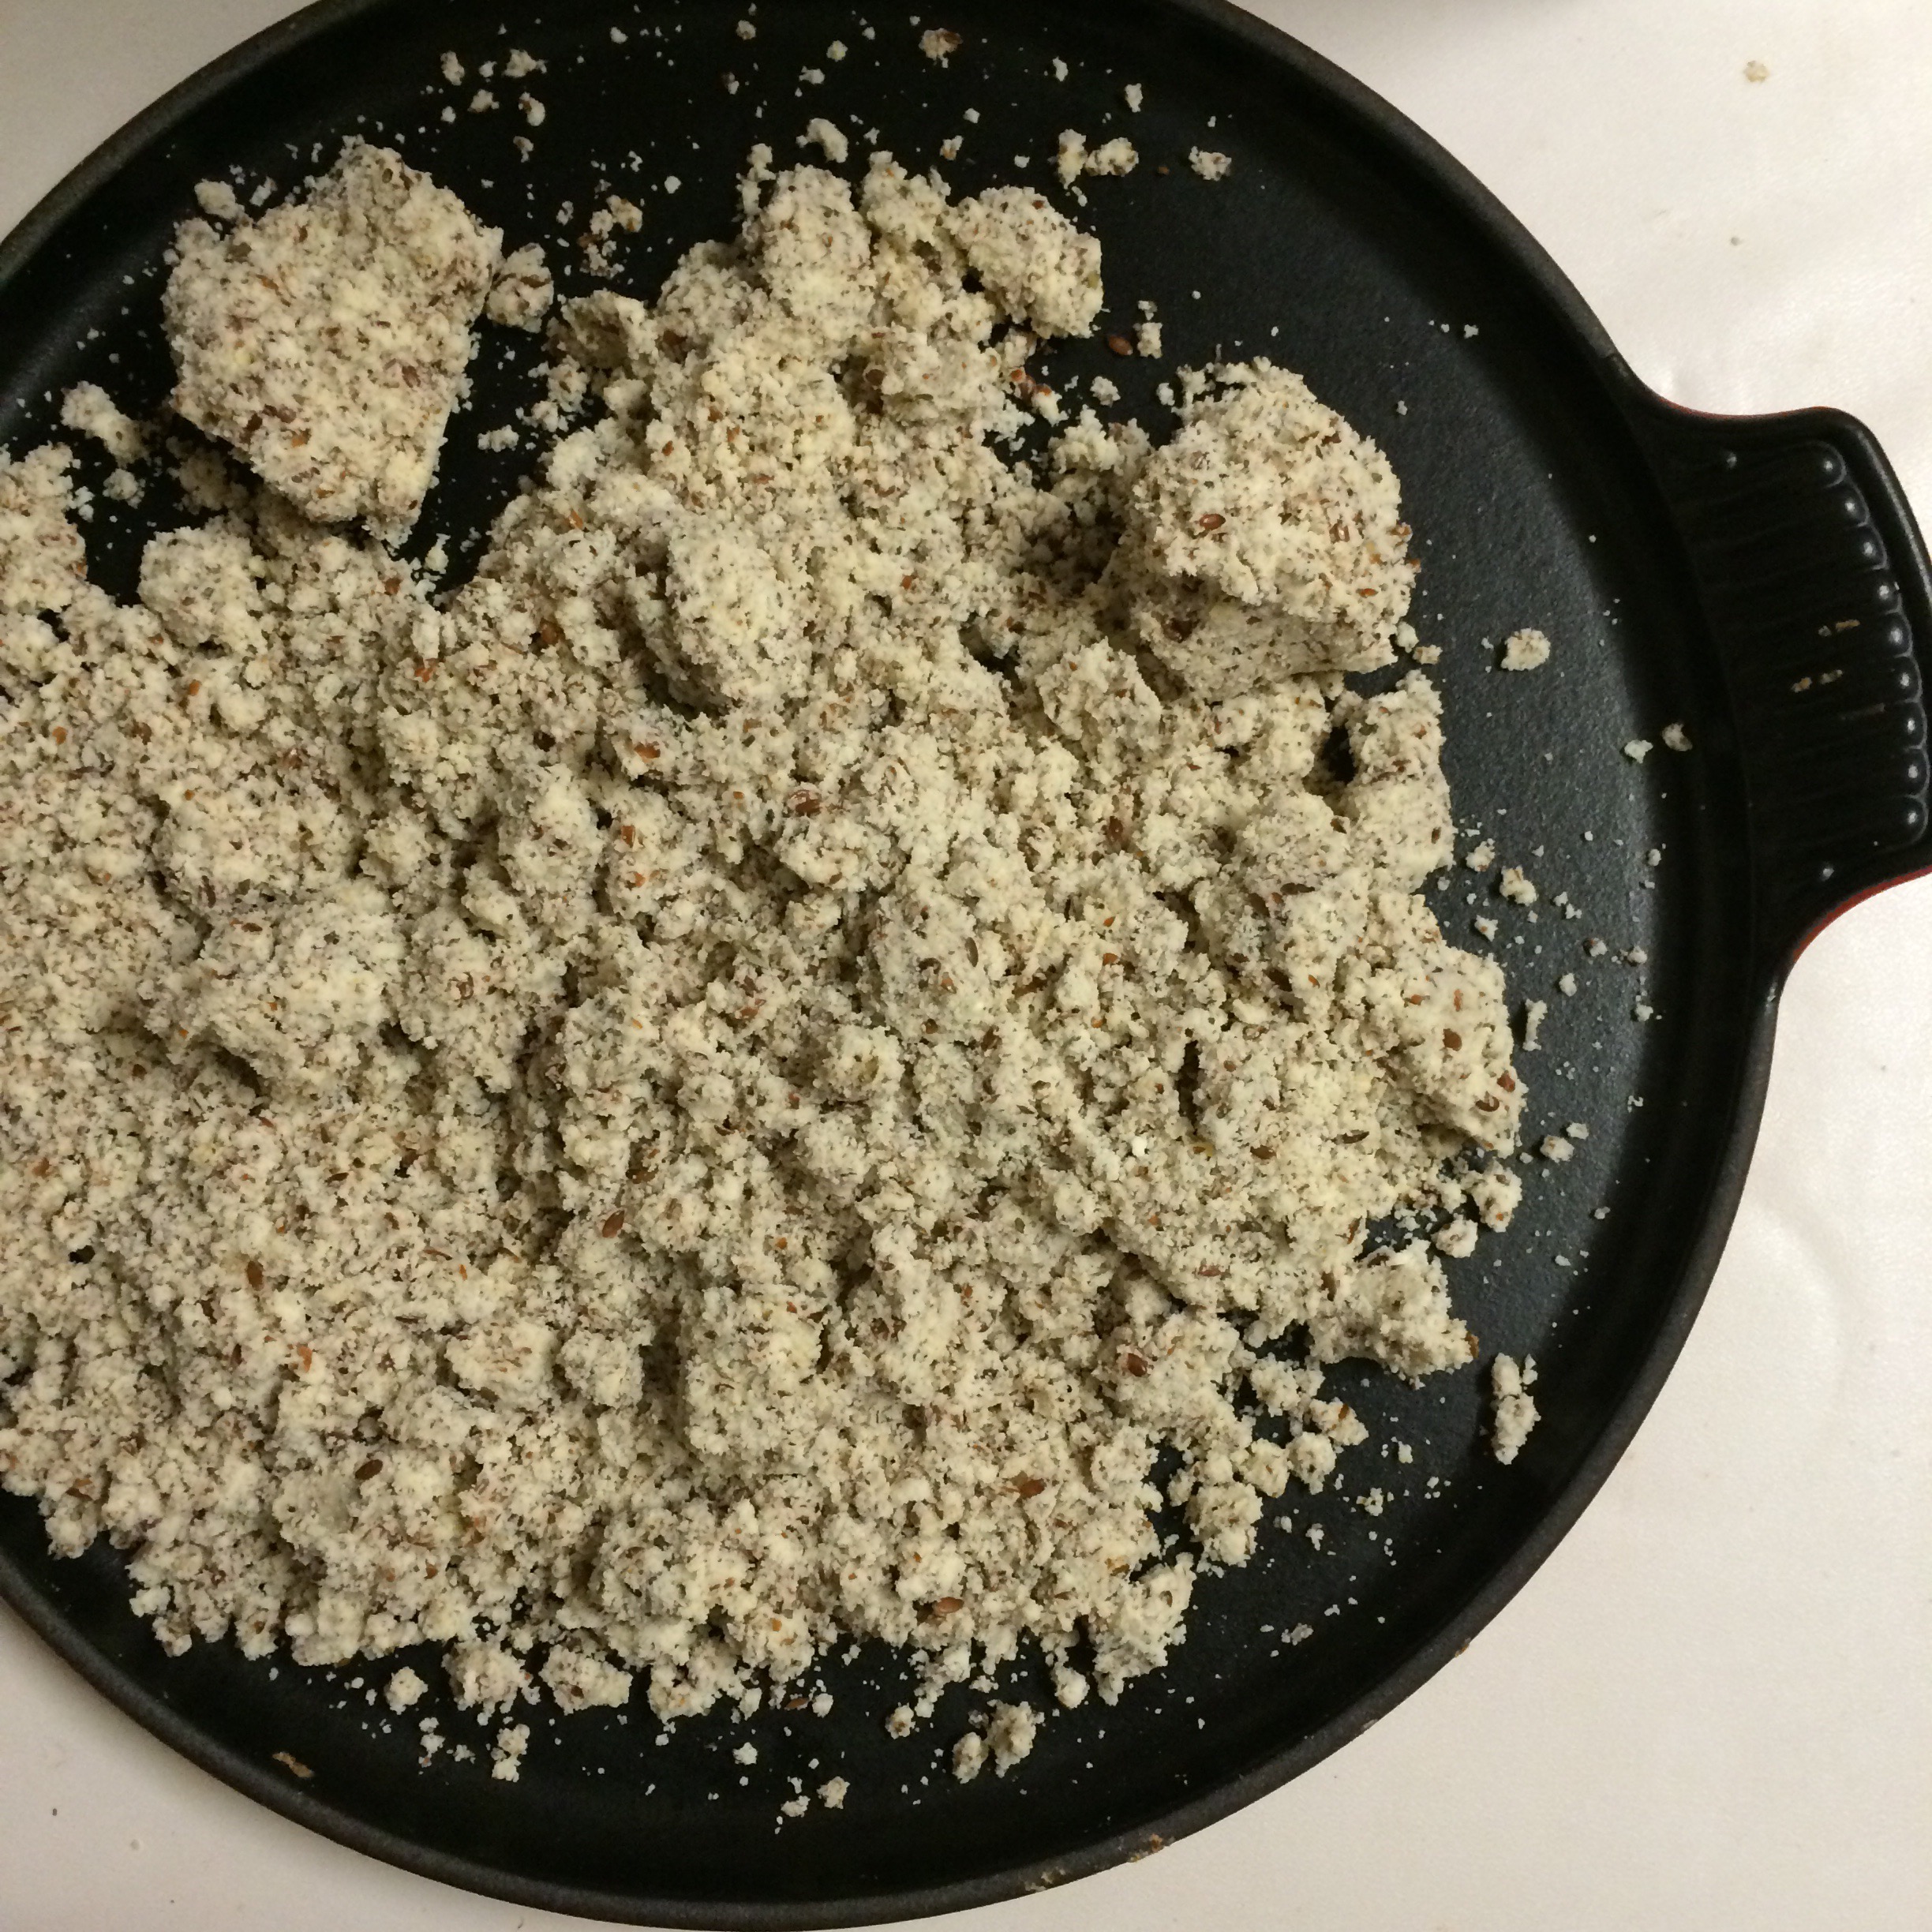
Press down the mixture by pressing lightly with your fingers on the mixture or small rolling pin. 
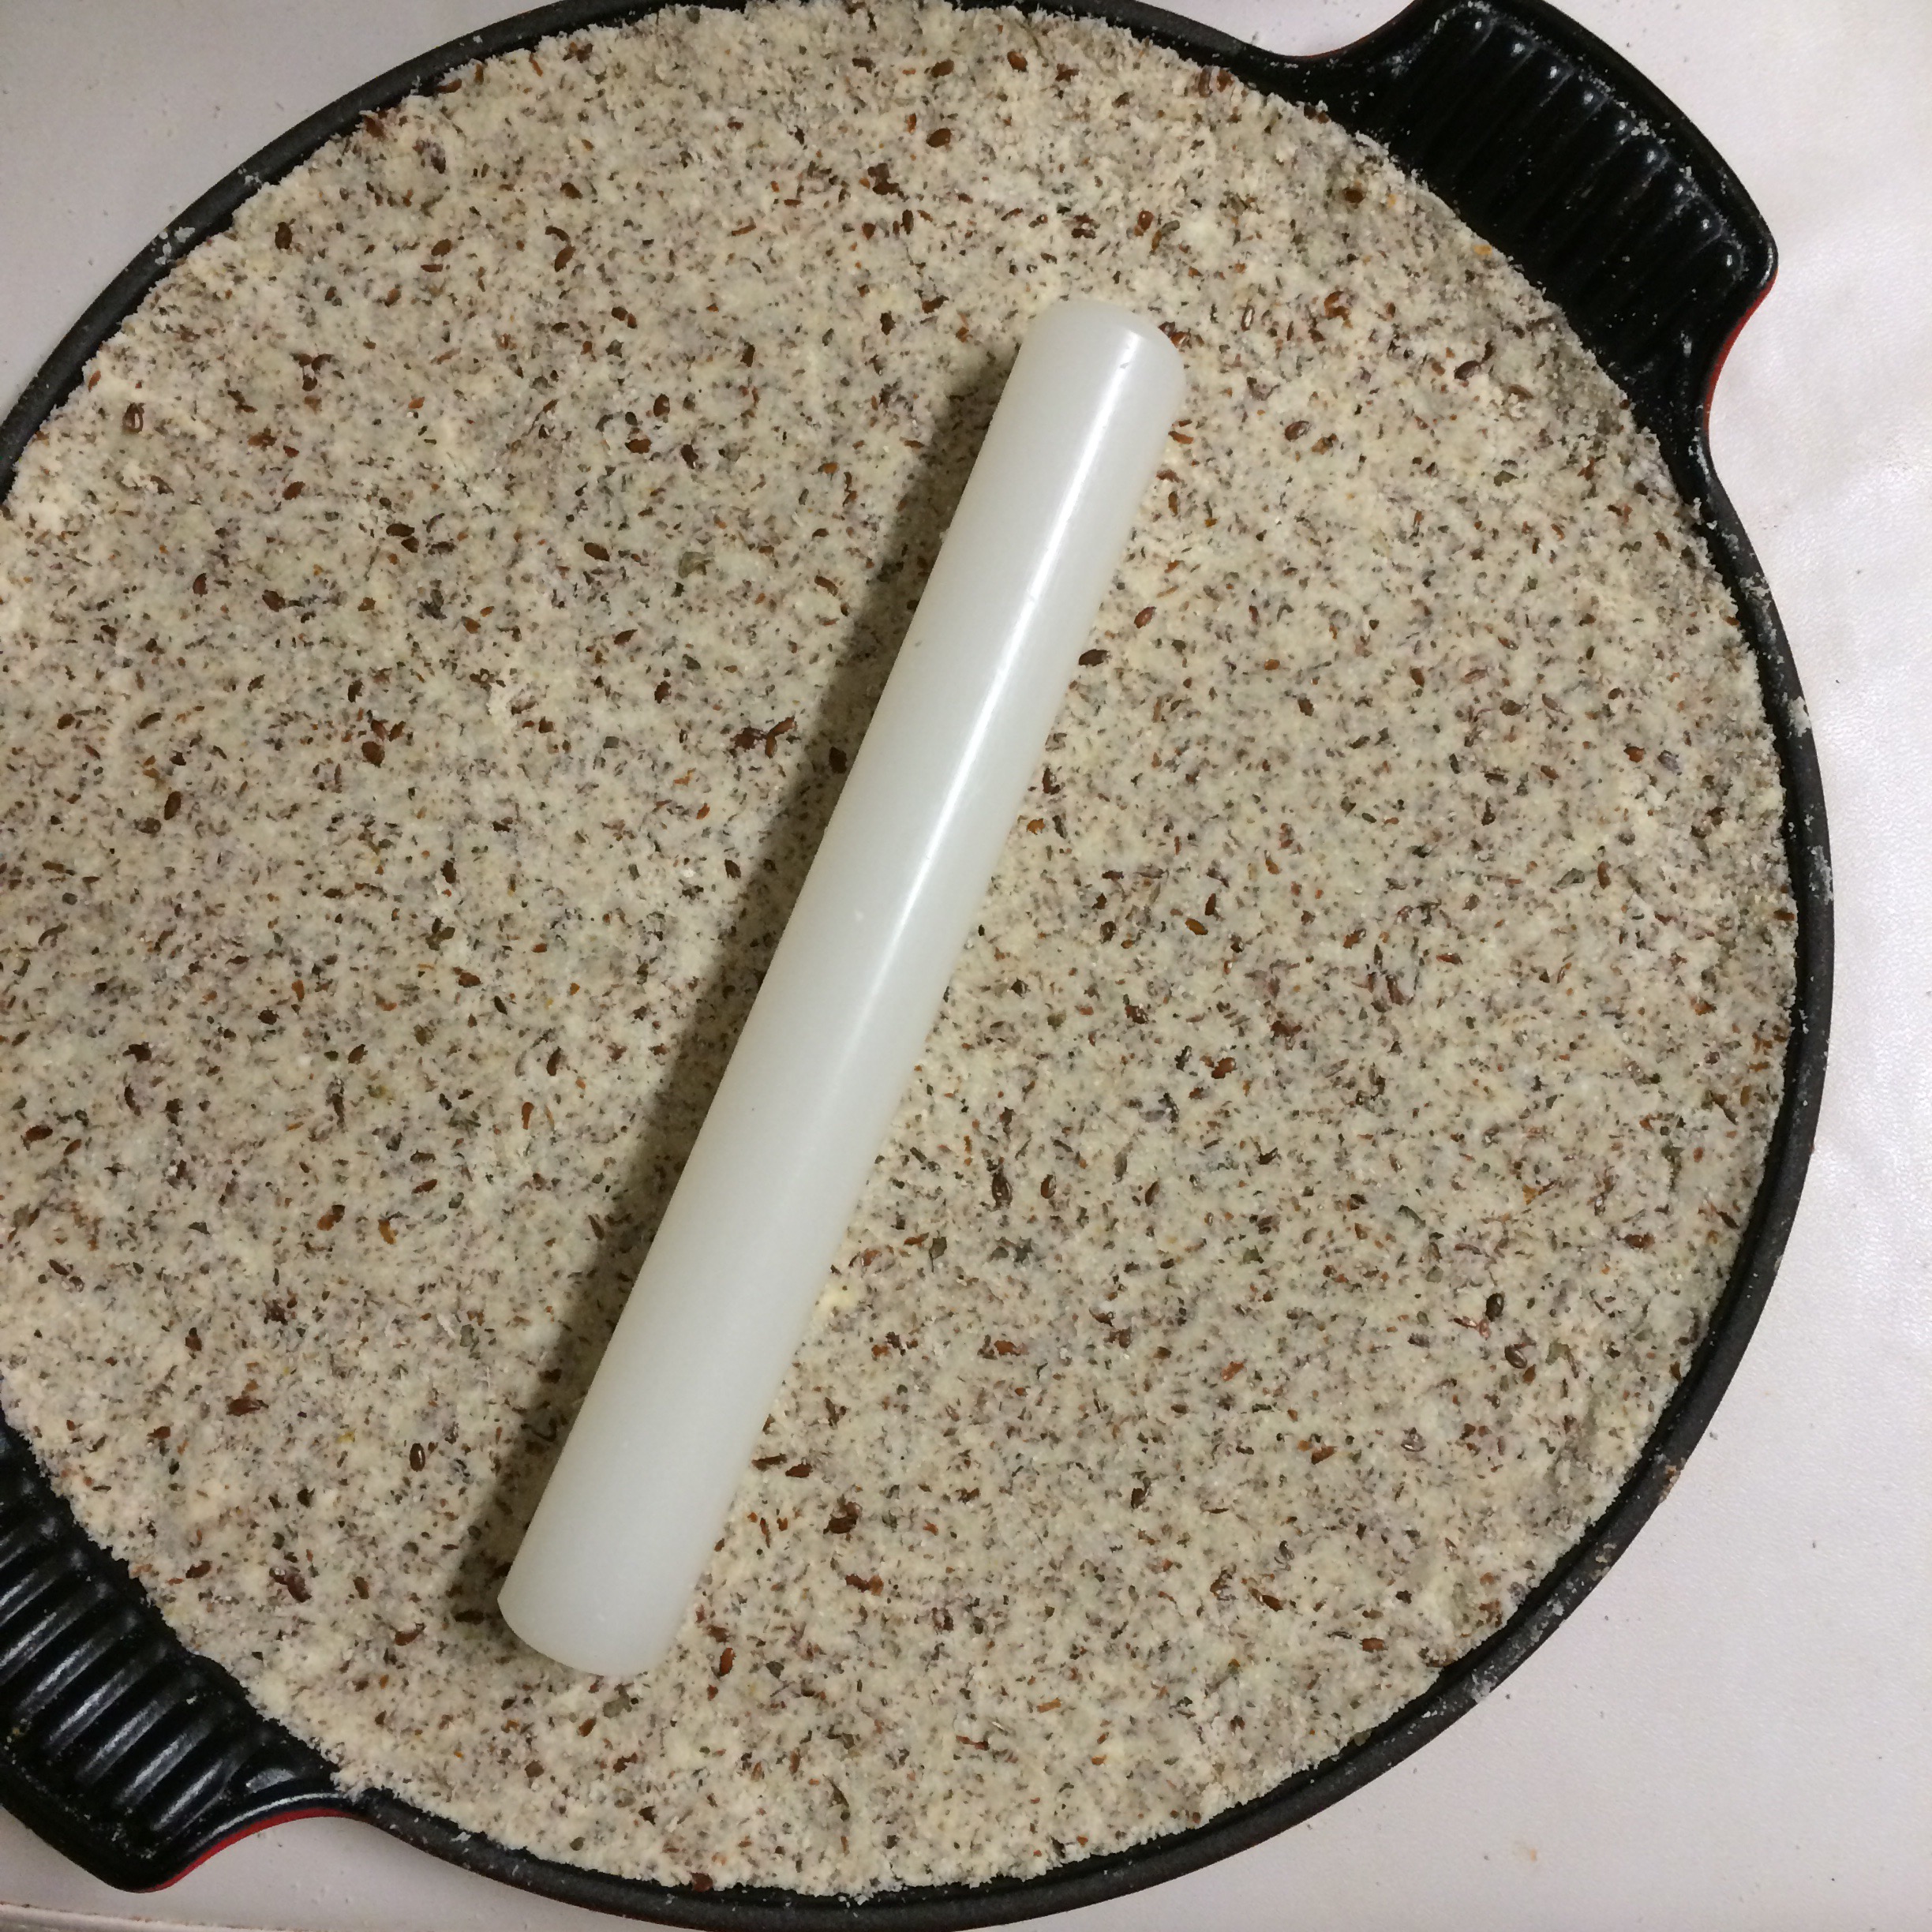
Then cook until base is solid and the base begins to crisp at edges – estimately 15-20 minutes.

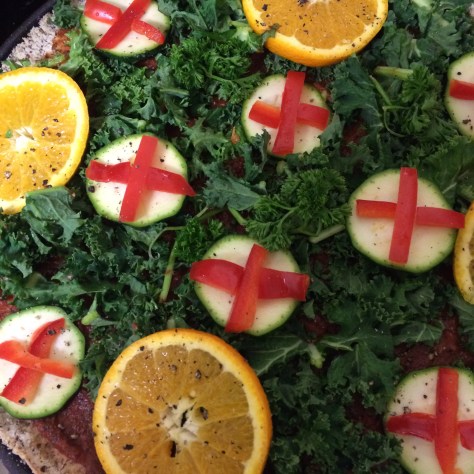
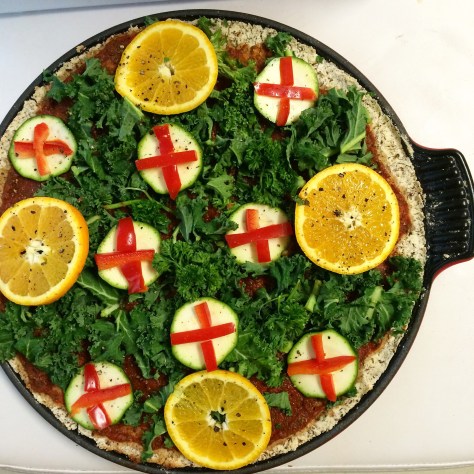
Then spread your Perfect Pizza Sauce and simply add your toppings – as you can see below, we chose potato slices, Kale broccoli and onion for tonight’s pizza!  

D.E.Licious 👌😋 


Beetroot Coconut Flour Gnocchi 

We used to assume that Gnocchi was always made with potatoes and since converting to a gluten free diet we were determined to find a way to make it without wheat. 

The great thing about making meals homemade is you actually have to learn about what you’re eating! Before we could make gnocchi however we had to learn exactly what it is! 

According to Wikipedia Gnocchi are: “various thick, soft dough dumplings that may be made from semolina,[1] ordinary wheat flour,[2]egg,[3] cheese,[4] potato,[5]breadcrumbs,[6] or similar ingredients” 

Wow, learn something new everyday! We had no idea you could even make gnocchi without potatoes. And so ladies and gentlemen we present to you a recipe for coconut flour gnocchi: 

Ingredients: 

  • 4 tablespoons of coconut flour
  • 3 flax eggs (3 tablespoons of ground flaxseed and 9 tablespoons of water) 
  • 1 teaspoon garlic powder
  • 1/4 teaspoon of salt
  • 1 tablespoon basil
  • 2 teaspoons beetroot powder

Makes 15 gnocchi balls.

Add all dry ingredients to a mixing bowl…. 

 Add flax eggs and mix well until consistency feels like a sticky dough. 

A sticky, well combined PINK dough! 

Then roll mixture into approximately 1/2 inch balls and leave to chill in the fridge for at least an hour ( or more) We left them for 2 hours. 


Then heat a pan until it begins to boil. When the water is boiling add the little balls of gnocchi in. When they rise to the top (it’ll take about 2 minutes) catch them with a slotted spoon and set aside.

    Serve with salad…


And/or add your favourite sauce. We added a homemade blend of tomato and basil 👌🍅

Voila! A delicious nutritious lunch 😋

Product Review – The ‘rice’ cube

For our debut product review we’ve decided to choose a product which we really think more people need to know about.

*drum roll please* Introducing
THE ‘RICE’ CUBE! 

Now as you know we love on our blog something that can make shapes with our food. Contrary to what you may have been taught as a toddler – we really believe you SHOULD play with your food, anything to make food more creative and interesting. We have to eat everyday so why not make meals different and presentable. We love cookie cutters, stencils, spiralisers, pressers – Any gadget that can create a new way to eat or arrange our food.

So when we discovered The Rice Cube – we were most excited! 

Now all our recipes our grain free so you might be surprised by our obtaining a ‘rice’ cube? However we strongly believe that the company named their amazing product all wrong! What we saw instead was the DICE cube and unlimited possibilities. 

When we had a look at their website we knew instantly that the cube wouldn’t only just work for rice however any form of mashable/blendable food. We were thinking potatoes, different coloured quinoa, beans, warm buckwheat, lentils and an array of doughs! We ordered ours from Amazon at the reasonable price of £9.76 and ran to the postman every day until it arrived…. 

And then that day came!!! 

IMG_9972.JPG

Re-write: “let’s dice everything so it looks cool” 😆

IMG_9973.JPG
Turn dice into art, so quick and easy 😉

IMG_9976.JPG

Neat canapés in seconds…. 😆 

No knives 

No special skills… 

IMG_9975.JPG

Falafel ooo now that’s an idea and burgers yes we can make diced vegan burgers and cookies and breads and… And… And mmmmmm

IMG_9977.JPG
Nothing like being greeted with a little message in a box 😀

IMG_9978.JPG

The ‘rice’ cube consists of these two wonderfully vibrant red pieces which perfectly match our kitchenware which of course was a bonus! Not to mention both parts ARE DISHWASHER PROOF! (Which is a serious plus point if like us you’re allergic to washing up! ☺️)

Here’s a photo by photo demonstration of how we started off first experimenting making buckwheat cubes. (You’ll need a ‘rice’ cube and some cooked buckwheat)

So here we go! Assembling the two pieces together as per the helpful handy instructions and filling with our warm cooked buckwheat (it works best when it is warm because it is little sticky!): 

IMG_9990.JPG
Then we push the top clamp down rather reminding us of that satisfying feeling when you push down a hole punch of any kind! (Maybe that’s just us!)

IMG_9991.JPG

And when we opened it up… 

IMG_9993.JPG
Just look at that! 😮😳

IMG_9995.JPG

Amazing! We put some diced salad vegetables into the top ones too! 

IMG_9999.JPG

IMG_0001.JPGOh so neat!

For our second experiment we were making our Chia Seed Dough Balls mixture and decided why have dough balls when we can have dough cubes!?

And with half the mixture we added some beetroot juice because why have dough cubes when you can have half PINK dough cubes!? 

Now look how awfully artistic dough balls can be 😉 


We made a whole tray ready to bake!  

And when they were served they tasted perfect! 


So ladies and gentlemen – moral of the story? You need to get yourselves A DICE we mean ‘rice’ cube 😉!  And keep an eye (or two 👀) on our Just Ate Vegan Instagram Feed and we’ll post lots more ideas as we create them! 

We hope you enjoyed reading this review as much as we did creating it – if you’ve got any questions leave a comment or email us and in the meantime – TOP product ‘Rice’ Cube Folks! 

JA Ladies x

St George’s Day England Pizza

Happy St George’s Day! We love themed days! Themed days in our kitchen means our minds zoom into sixth gear into creative overdrive to try and find food to theme to the theme! 

Usually our first stop is the cookie cutter drawer where we are usually bound to have something, though to my dismay this morning we couldn’t find any dragons or roses – (now noted on the ever-growing, never-ending ‘to buy’ list. Hands up who has one of those? 😆) 

Second stop, Google. Our when-in-despair-Google-is-there motto resulted in many England flag cupcakes however an alarming shortage in our household of all ingredients sweet and sticky wouldn’t make for an appetising recipe. 

And… So on to stop three: The Fridge. 


Perfect. Third time lucky – 30 second eye scan and we knew just what to do! a St George’s Day Pizza coming to you! 

First the base made with coconut flour, tapioca flour,  ground linseed/flaxseed, a drizzle of olive oil, warm water and a pinch of salt. Mixed into a fluffy dough, kneaded and rolled into the pan and baked for 18-20 minutes.


And then we stirred together some of our Perfect Pizza Sauce 🍎👌 whilst we were waiting for the base to crisp at the edges. 

For the toppings We sliced some courgette with our Oxo Good Grips Mandoline and sliced some red pepper strips and created: drum roll please…..  


Little red England inspired flags! These were placed on top of some chopped curly kale for our base topping to represent the scenic English meadows and Summer country picnics on the grass. 

Now we are sure from our history  learning we rememembed a Prince Orange, and sure enough we confirmed after a short research that William III, King of England was also sovereign Prince of Orange – a loose connection, we know! However enough to excuse some slices of orange on our pizza!  


A sprinkle of salt and pepper and into the oven it went until crispy!! 

Et Voila! 20 minutes later – A delicious healthy and plantbased gluten free and organic pizza themed for St George’s Day lunch!   


For more of our pizza creations… Take a visit to our Just Ate Pizza Page for lots more plantbased pizza ideas! 


Did you theme your dinner for St George’s day? Get in touch or leave a comment below! We’d love ton hear from you… 

The JA Ladies x